
This homemade Golden Oreo recipe is my twist on the classic packaged vanilla sandwich cookie. Light, crispy, golden cookies sandwich a thick vanilla creme filling that's just as rich and satisfying as the original. Like my standard Oreo recipe, these are made from scratch with simple, familiar ingredients and are completely egg-free, dairy-free, and vegan friendly.
I've included a handy chart so you can customize the filling amount to suit your taste.

After finalizing my version of the classic Oreo cookie, I set out to create a Golden Oreo recipe that captures its crisp texture and sweet vanilla flavor. Using my original recipe as a base, I baked 10 batches to nail the perfect color, texture, and satisfying snap.
One key discovery was using cake flour instead of all-purpose. Its lower protein content limits gluten development, resulting in a lighter, more delicate cookie-just right for Golden Oreos.
Also, lowering the oven temperature to 300°F and baking for 15-16 minutes prevents excess browning and allows the leavening to create an ideal crisp yet tender texture.
To keep these Golden Oreos egg-free, dairy-free, and vegan like the originals, I use palm shortening in both the cookie and filling. It's solid at room temperature, neutral in flavor, and free from trans fats and hydrogenation.
The vanilla creme filling is the same thick, creamy, perfectly sweet recipe I developed for my classic Oreos. It tastes just like the store-bought version, but fresh and homemade. These cookies are more flavorful than the packaged variety, but close enough to satisfy even picky Oreo fans.
I highly recommend using a digital scale for this recipe-small differences, like a tablespoon of flour, can significantly affect texture and flavor.
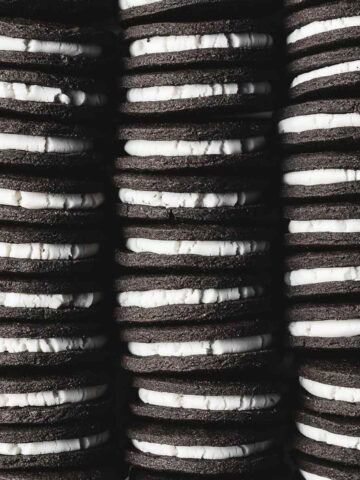
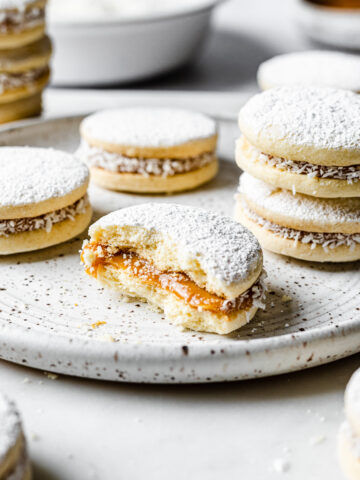
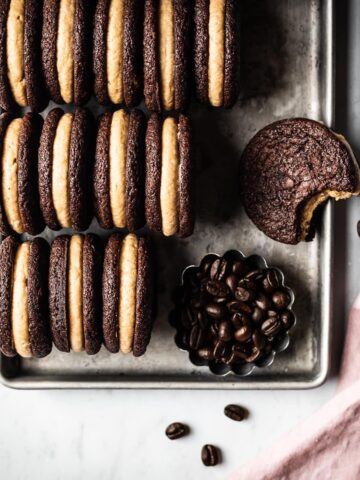
If you love sandwich cookies, try these airy dulce de leche-filled Argentine alfajores, chocolate coffee mascarpone sandwich cookies, or chocolate hazelnut Baci di Alassio.
And for another homemade take on a packaged favorite, check out my copycat Nutella Biscuits!
Jump to:
Yield
- This homemade Golden Oreo recipe makes 44 filled sandwich cookies.
- That's 88 cookies that are 1¾ inches (2 cm) in diameter.
- The filling recipe makes about 250 grams of filling.
- Each sandwich uses 5 grams of filling. There is enough to fill 50 cookies.
- For comparison, a standard pack of Golden Oreos contains 36 cookies, and a family pack has 48 cookies.
Ingredients
I've very thoroughly tested this recipe using the ingredients below. Each one plays a critical role in making sure these cookies turn out similar to Golden Oreos!

Cake flour - Cake flour has a lower protein content, which reduces gluten formation. This helps create a light crumb that closely matches the texture of a Golden Oreo.
You can substitute 75g of all-purpose flour for the cake flour, but note your cookies will have a mildly firmer, crunchier texture - think thin, well-baked sugar cookie rather than the airy, graham-cracker-like texture of a Golden Oreo.
Palm shortening - This recipe specifically calls for room temperature palm shortening. I use Spectrum brand palm shortening, which is sustainably sourced and ethically harvested.
Shortening is 100% fat (no water content, unlike butter), which is key to achieving both a crisp, snappy cookie and a thick cookie filling with less powdered sugar.
Its neutral flavor and bright white color allow the vanilla flavor to take center stage. It also has a higher melting point than butter, so the filling doesn't require refrigeration to stay firm.
I've also tested the cookies and the filling with Crisco, which is 100% vegetable shortening made of mostly soybean oil and some palm shortening. It works nicely in the cookie dough. I don't recommend it in the Oreo cream filling. Crisco creates a noticeably greasy mouthfeel, which isn't present with 100% palm shortening.
Granulated sugar - I like to use granulated sugar for the cookies because it's always in my pantry. Powdered sugar can create a smoother but slightly denser dough. I prefer the texture granulated sugar gives here.
Powdered sugar - Powdered sugar sweetens and thickens the homemade Oreo filling.
Corn starch - Corn starch adds lightness and a more powdery texture to the cookies. In the filling, it's a key ingredient for achieving a thick Oreo filling consistency without adding extra sweetness.
Light corn syrup - Clear, light corn syrup adds moisture (to help bind) and density to the cookies. In the filling, corn syrup adds slight chew and shine. It also helps reduce sugar crystallization so the filling stays soft longer instead of drying out.
Kosher salt - Desserts taste better with a bit of salt! I use Diamond Crystal kosher salt. Salt enhances the cookie flavor and helps balance the sweetness of the filling.
Imitation vanilla flavoring - To best mimic the sweet, bakery-style, vanilla-forward flavor of Oreo cookies, it's important to use imitation vanilla, which has a very specific flavor.
I feel a little strange even writing that, since 99% of the time I use pure vanilla extract in my baking. This is one exception. Feel free to substitute pure vanilla, but know it will change the taste - especially in the filling!
Baking soda - Baking soda provides a bit of leavening.
Cream of tartar - Cream of tartar is a powdered acidic leavening agent. It provides the acidity needed to activate the baking soda. It's an important ingredient that gives just enough lift to create a lighter cookie that's not too dense or crisp.
Instructions
These photos provide basic visual cues. Find detailed instructions in the recipe card.

Combine sifted flour, corn starch, cocoa powders, baking soda, salt and cream of tartar in a medium bowl.

Whisk until fully combined and set aside.

Add shortening and granulated sugar to a large mixing bowl.

Mix well until combined.

Add corn syrup and vanilla, and mix until fully incorporated. Scrape bowl as needed.

Add dry ingredients.

Scrape bowl and paddle well, and mix on low until dough comes together, about 30 seconds to 1 minute.

Place dough on parchment paper. Divide dough into 2 even pieces.

Roll one piece between two sheets of parchment paper to a thickness of ⅛ inch (3 mm).

Cut out circles using a 1¾ inch (2 cm) round cookie cutter.
If dough cutouts are still cool enough to be workable, proceed. If dough is sticky and warm, place in fridge on a baking sheet 3-5 minutes before moving on to next step.

Slide a small offset spatula under the base of each cookie cutout to loosen it from the parchment. Using the spatula, transfer cutouts to a parchment lined baking sheet. Cookies can be placed quite close together. Repeat rolling and cutting with second portion of dough and any leftover scraps.

Bake one pan at a time on center rack of oven for 11 minutes at 350 degrees Fahrenheit (177° Celsius, Gas mark 4).
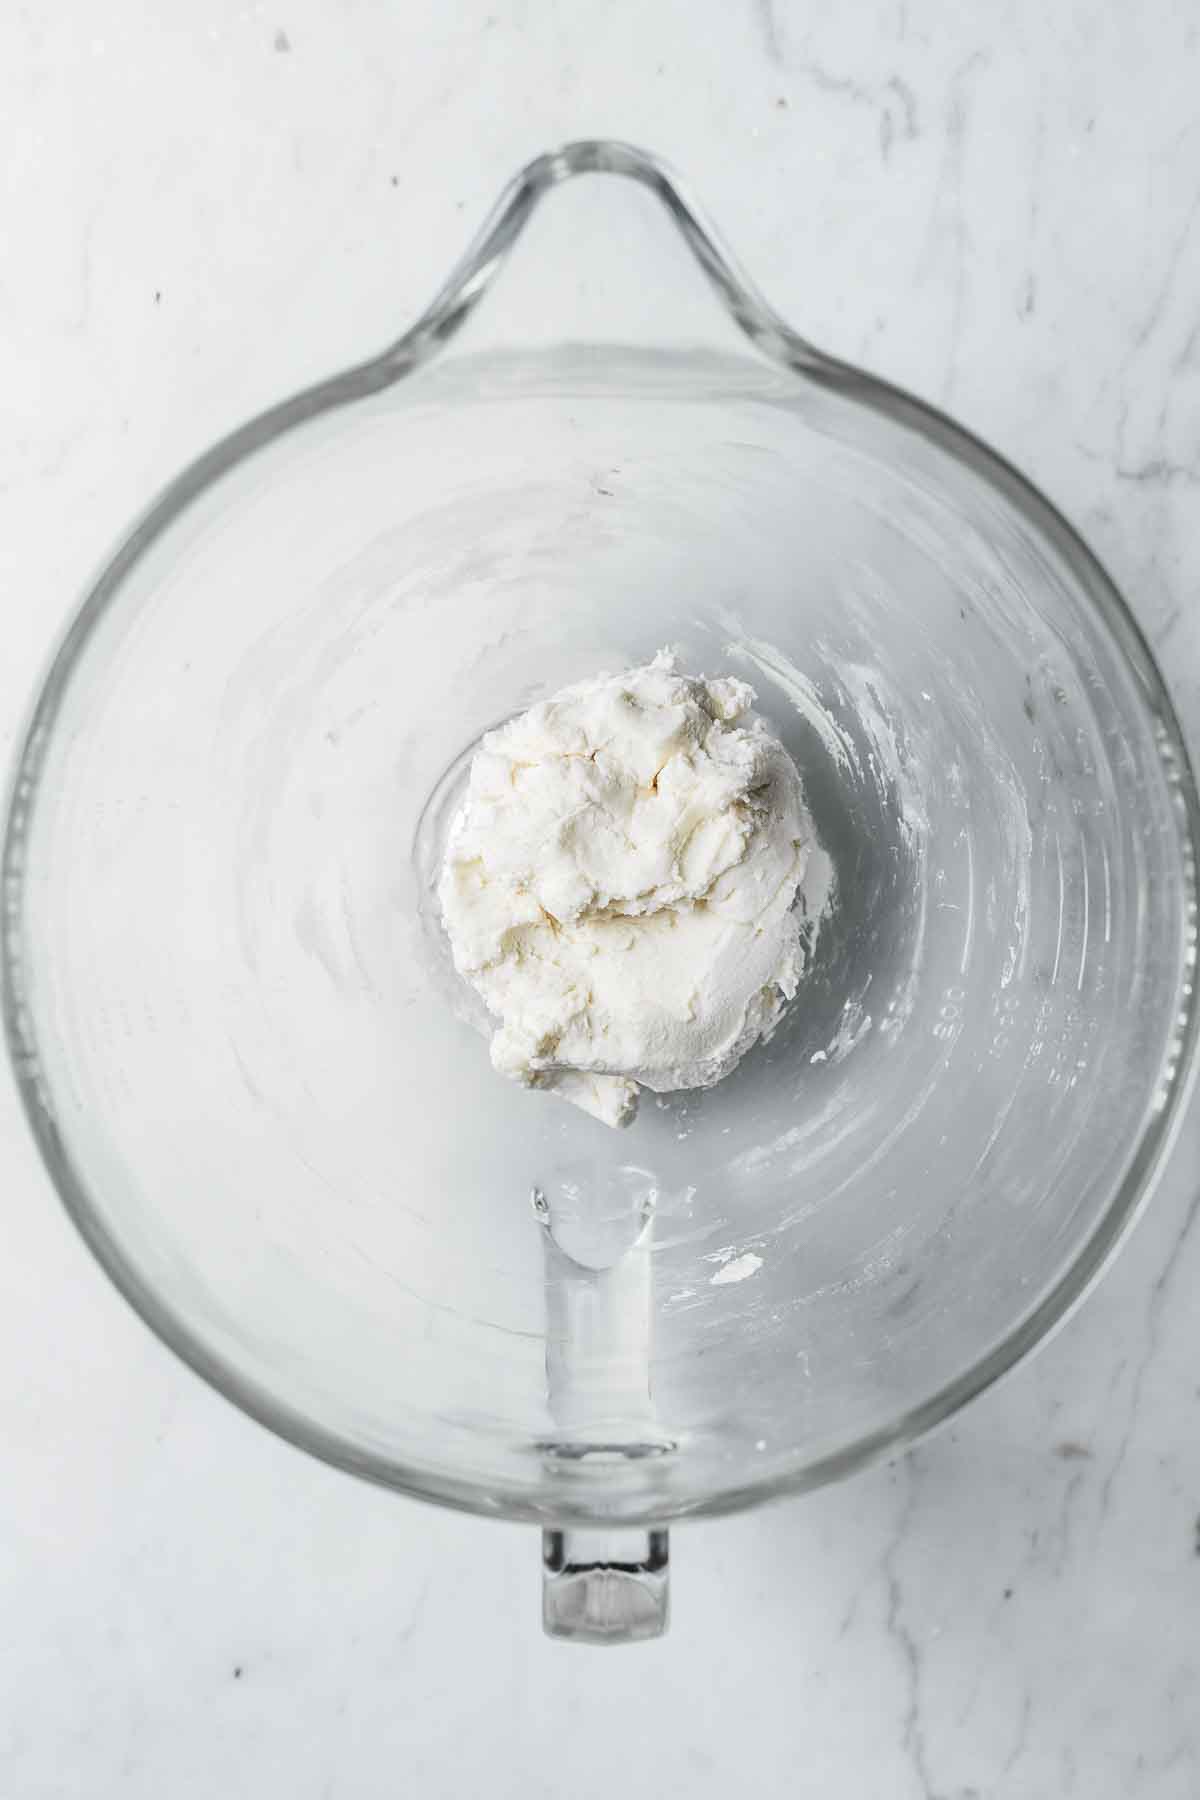
Prepare one batch of homemade Oreo cream filling according to the recipe instructions.

Scoop filling into 1 teaspoon (5 gram) portions. Roll between your hands to form a round ball. Place ball on bottom side of a cookie, and top with another. Press down gently to stick together, stopping before filling reaches edges of cookies.
Rolling each scoop of filling between your hands warms it slightly, making it softer and easier to press the cookies together without breakage.

Custom filling amounts
Modify the amount of filling depending on your preference. Use this handy chart to recreate your favorite kind.

Custom filling flavors
The classic vanilla filling is my go-to for these cookies, but you can easily change the flavor. See my homemade Oreo cream filling for tested variations including chocolate, coffee, mocha, lemon, orange, matcha, and lemon poppy seed. You can also combine two flavors in a single cookie for a split or layered filling.
Equipment
For uniform thickness: These cookies really benefit from rolling the dough to an even thickness. The best way to do this is with a set of pastry guides. I use these acrylic guides from Fat Daddio's because I can still use my favorite rolling pin and they help achieve a crisp, uniform batch.
For perfect circles: A good set of round cutters is essential. I use this 11-piece round set because it gives you every size you could possibly need and the edges are sharp for a clean cut.
For Baking: I use and recommend these USA Pan half sheet baking pans at King Arthur Flour for their durability and consistent results.
For most cookies, a light-colored, heavy-duty aluminum pan is the best choice. It promotes even baking and prevents the bottoms from getting too dark.
For dark cookies like these, you can get away with a darker pan, but the light-colored pan is the most versatile and reliable option.
For easy filling portions: A size #110 cookie scoop portions a 1 teaspoon (5 grams) scoop of creme filling, helping keep your filled Oreos uniform in size.

Love this recipe? Please leave a comment and star rating. ★★★★★ Your feedback, suggestions, and adaptations are very helpful to other bakers!
📖 Recipe

Golden Oreo Cookies
INGREDIENTS
Golden Oreo Cookies
- 168 grams cake flour, sifted, not self-rising flour
- 72 grams cornstarch, sifted
- 1 teaspoon baking soda, sifted
- ¼ + ⅛ teaspoon kosher salt, Diamond Crystal
- ½ teaspoon cream of tartar, sifted
- 96 grams palm shortening, room temperature; I recommend Spectrum brand
- 125 grams granulated sugar
- 26 grams (20 mL) corn syrup, light
- 20 mL imitation vanilla extract, for authentic Oreo flavor
- 1 batch homemade oreo cream filling, (click for recipe)
INSTRUCTIONS
Golden Oreo Cookies
- Preheat oven to 300° Fahrenheit (150° Celsius, Gas mark 2) with a rack in the center of the oven.
- In a medium bowl, whisk together cake flour, corn starch, baking soda, salt and cream of tartar. Set aside.168 grams cake flour, 72 grams cornstarch, 1 teaspoon baking soda, ¼ + ⅛ teaspoon kosher salt, ½ teaspoon cream of tartar
- In the bowl of a stand mixer fitted with the paddle attachment, beat palm shortening and sugar together on medium-low until well combined. Scrape bowl down several times between mixing to fully incorporate.96 grams palm shortening, 125 grams granulated sugar
- Add corn syrup and vanilla. Mix on medium speed until fully incorporated. Scrape bowl.26 grams (20 mL) corn syrup, 20 mL imitation vanilla extract
- Add dry ingredients and mix on low speed until dough comes together, about 30 seconds to 1 minute. Scrape down bowl as needed to incorporate all flour.
- Gather dough together and divide into 2 equal portions. Working with smaller portions of dough means you'll extract more usable cutouts from each roll. This reduces re-rolling, which can activate more gluten and make the dough tougher. It can also lead to air in the dough, which creates bubbles when baked.
- Roll one portion between two sheets of parchment paper until ⅛ inch (3 mm) thick. I use pastry guides to ensure precise thickness. Remove top layer of parchment.
- Use a round cookie cutter to cut cookies into 1¾ inch (4.5 cm) circles. If dough is warm and soft, chill in freezer for 2-3 minutes before transferring cutouts to baking sheet. This will help the cutouts retain their round, flat shape.
- Slide a small offset spatula under each cutout to loosen and transfer to a light colored baking sheet lined with parchment paper. Place about ½ inch apart.I can fit 24 cookies on a half sheet pan.
- Bake one pan at a time for 15-16 minutes. Cookies should be set, no longer glossy, and barely golden. Fully cool cookies on baking sheet.
- Repeat with second portion of dough.
- Gather all scraps into a ball and roll again until all dough has been used.
- Mix one batch of homemade oreo cream filling according to recipe instructions.
Assembly
- Using a #110 scoop or a teaspoon, scoop a leveled amount of filling out of the bowl. Using your hands, roll it into a small ball. It should weigh 5 grams. Standard Golden Oreo cookies have about 4 grams of filling per cookie. I prefer a bit more filling, so I've bumped it up to 5 grams per cookie.
- Turn a cookie upside down and place the ball of filling in the center. Place another cookie right-side-up on top of the filling and press gently.
- Pick the cookie up and turn it sideways so you can see the filling (this will help you press the filling evenly.) Gently press using both hands until the filling is the same thickness as one of the cookies. It won't quite extend to the edges.
- Repeat process until all cookies are filled.
EQUIPMENT
- Pastry guides (⅛ inch, 3 mm)
- round cookie cutter (1¾ inch, 4.5 cm)
- #110 cookie scoop (1 teaspoon)
NOTES
- No mixer? You can mix the dough by hand with a spoon. The shortening and sugar mixture doesn't need to be creamed and fluffy, just very well combined.
- I use imitation vanilla extract here (I know, weird!) rather than pure vanilla extract in order to best mimic store bought Oreo flavor. You can use pure vanilla, but it won't give the same sweet bakery-like vanilla flavor.
- I've also tested the cookies and the filling with Crisco, which is 100% vegetable shortening made of mostly soybean oil and some palm shortening. It works nicely in the cookie dough. I don't recommend it in the Oreo cream filling. Crisco creates a noticeably greasy mouthfeel, which isn't present with 100% palm shortening.
- If your dough doesn't come together when it's fully mixed, use your hands to squeeze it together into clumps. Working the dough just a bit will help warm up the palm shortening enough for the dough to bind into one ball.
- I use a 1¾ inch (4.5 cm) round cookie cutter, which is almost exactly the same size as a real Oreo.
- If your rolled dough is beginning to soften up and the cutouts are too soft to transfer, place the dough on a baking sheet in the freezer for about 2 minutes - just long enough to firm it up a little.
- When done, the cookies should be set, no longer glossy, and barely golden.
- The cookies are fragile straight from the oven and will firm up significantly as they cool. Resist the urge to move them too soon. Let them cool completely on the baking sheet first.
- The dough can be made ahead. Wrap it well and store in an airtight container in the fridge for up to 1 week, or freeze for up to 3 months. When ready to use, defrost in the fridge, then let come to room temperature before rolling.
- Store filled cookies in an airtight container at room temperature for up to 1 week, or freeze for up to 3 months.
- While delicious served immediately, these cookies benefit from resting overnight once filled. The filling firms up nicely, and the flavors deepen, creating a more balanced texture and taste without losing that classic twist-apart quality.
- Custom filling amounts: For a batch that yields 44 cookies, use ¾x the filling for Thins, 1.5x for Double Stuf, 2x for Mega Stuf, and 2.5x for Most Stuf. Refer to my customizable filling chart for a visual reference.
- Custom filling flavors: For instructions on adapting the Oreo cream filling into flavors like chocolate, lemon, matcha and mocha, see the custom filling flavors section of the Oreo cream filling recipe.
Dani says
Would it be possible for me to use Agave instead of corn syrup?
Kathleen Culver says
Hi Dani,
I wouldn't recommend agave here - it's about 1.5 times sweeter than corn syrup.
Agave is also significantly thinner in consistency and has a higher water content.
Since this is a copycat recipe, I recommend the corn syrup to get the desired texture and flavor.
A more similar substitute is Lyle's golden syrup, if you need to replace the corn syrup.
Thanks so much!
Kathleen
mary says
could i use crisco for this?
Kathleen Culver says
Hi Mary,
I haven't tested with Crisco, but I think you could!
I've read a few reviews mentioning that Crisco has a greasier mouthfeel, but I'm not sure if that's accurate.
I'd love to have your input if you give them a try with Crisco.
Thanks very much,
Kathleen
Kathleen Culver says
I’ve since tested both the cookies and filling with Crisco. It works nicely in the cookie dough. It can be used for the filling in a pinch, although I prefer palm shortening for the filling because Crisco has a more noticeable greasy mouthfeel. I’ve added more details about the substitution to the ingredient notes above.