
These Andes mint chocolate cookies are crisp at the edges and soft and chewy in the center, with plenty of chopped Andes mints folded into a rich chocolate dough. They're full of cool, refreshing mint flavor and only need a brief 30-minute chill before baking.

At restaurants, you've likely received an after-dinner treat of complimentary Andes mints. Those little rectangular chocolates in shiny green wrappers, with layers of chocolate and pale green crème de menthe filling?
These cookies feature a generous amount of those mints, chopped and folded into the chocolate dough. A few extra pieces are added to the tops of the warm cookies, where they melt into little pools of mint chocolate.
The edges are crisp, while the centers stay soft and chewy, with pockets of melted mint chocolate throughout.
The dough is straightforward to mix up and only requires a brief 30-minute chill before baking.
For more chocolate drop cookies, try my fudgy double chocolate cookies and these chocolate peanut butter cup cookies.
Jump to:
Ingredient NOTES
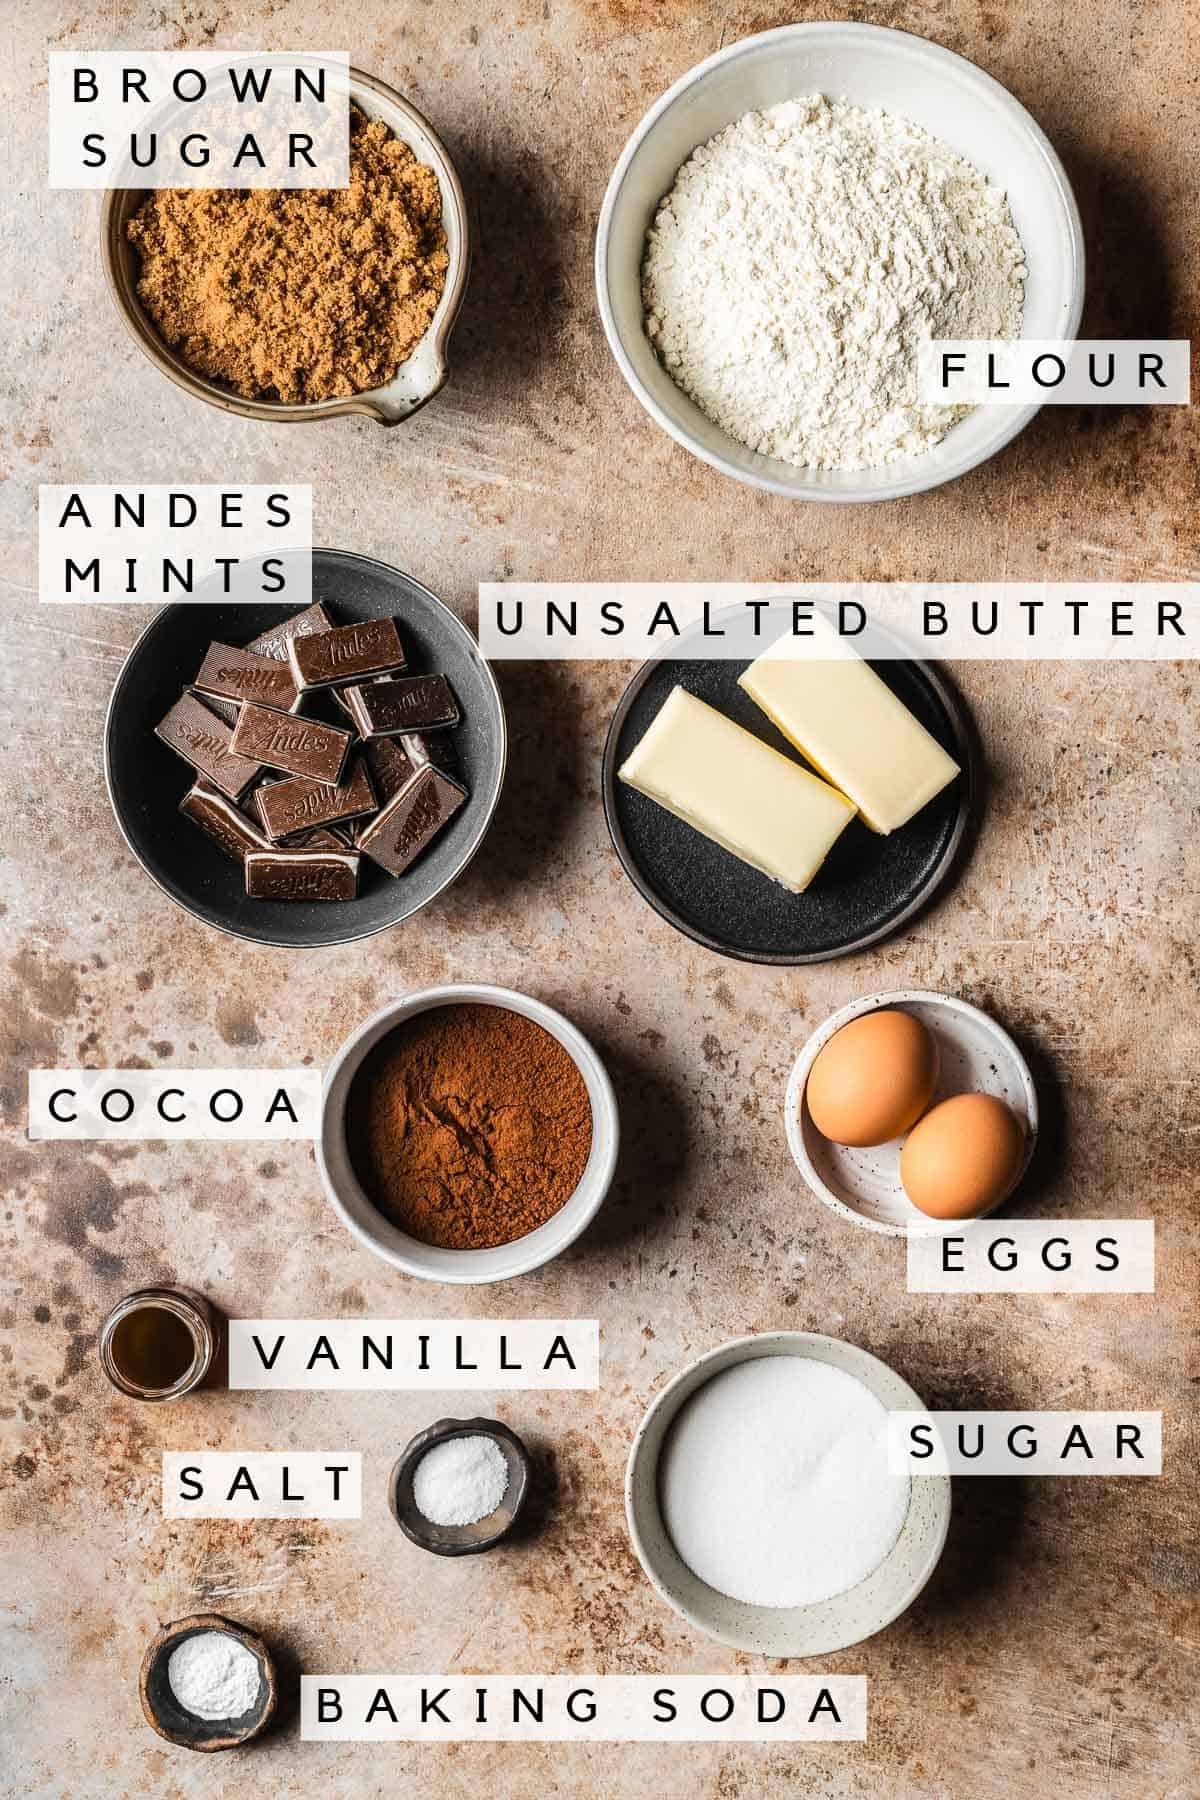
* See recipe card for full list of ingredients and quantities.
Andes mints - You can find Andes mints in the candy section of your grocery store or online. I've also seen individually wrapped Andes mints sold loose in the bulk candy section at WinCo.
Cocoa powder - Use Dutch process cocoa powder in this recipe. It provides a darker, richer flavor than natural cocoa.
Brown sugar - The higher proportion of brown sugar adds moisture and helps keep the centers soft and chewy.
Unsalted butter - Use room temperature unsalted butter so you can control the amount of salt in the recipe.
Granulated sugar - Granulated sugar helps the cookies develop crisp edges.
Eggs - Large eggs should be at room temperature.
Kosher salt - I use Diamond Crystal Kosher salt in all my recipes.
Instructions
These photos provide visual cues. Find the detailed instructions in the recipe card.

Chop Andes mints into pieces. I cut each mint in half lengthwise, then cut each half into fourths. Set aside.
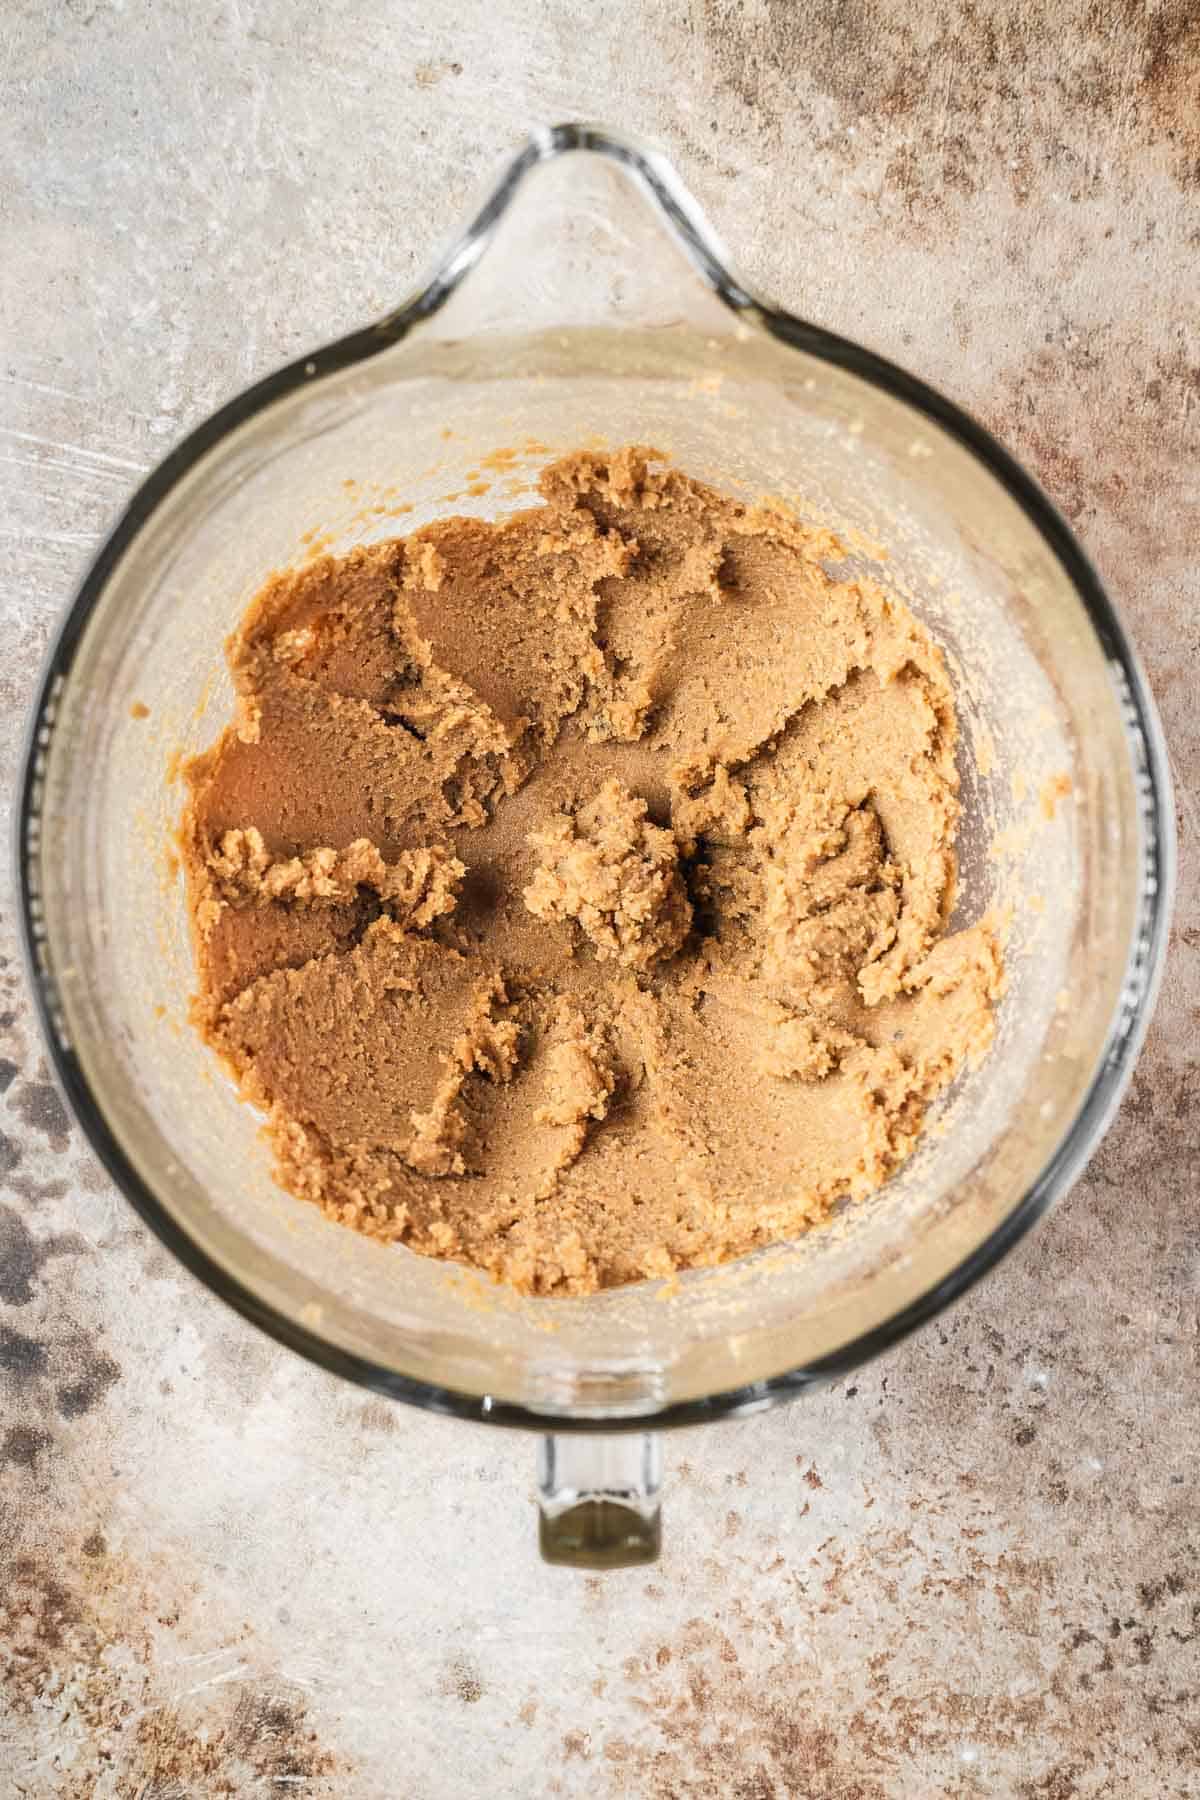
Add butter and sugars to a large mixing bowl. Cream on medium-high speed until light and fluffy, about 2 minutes.
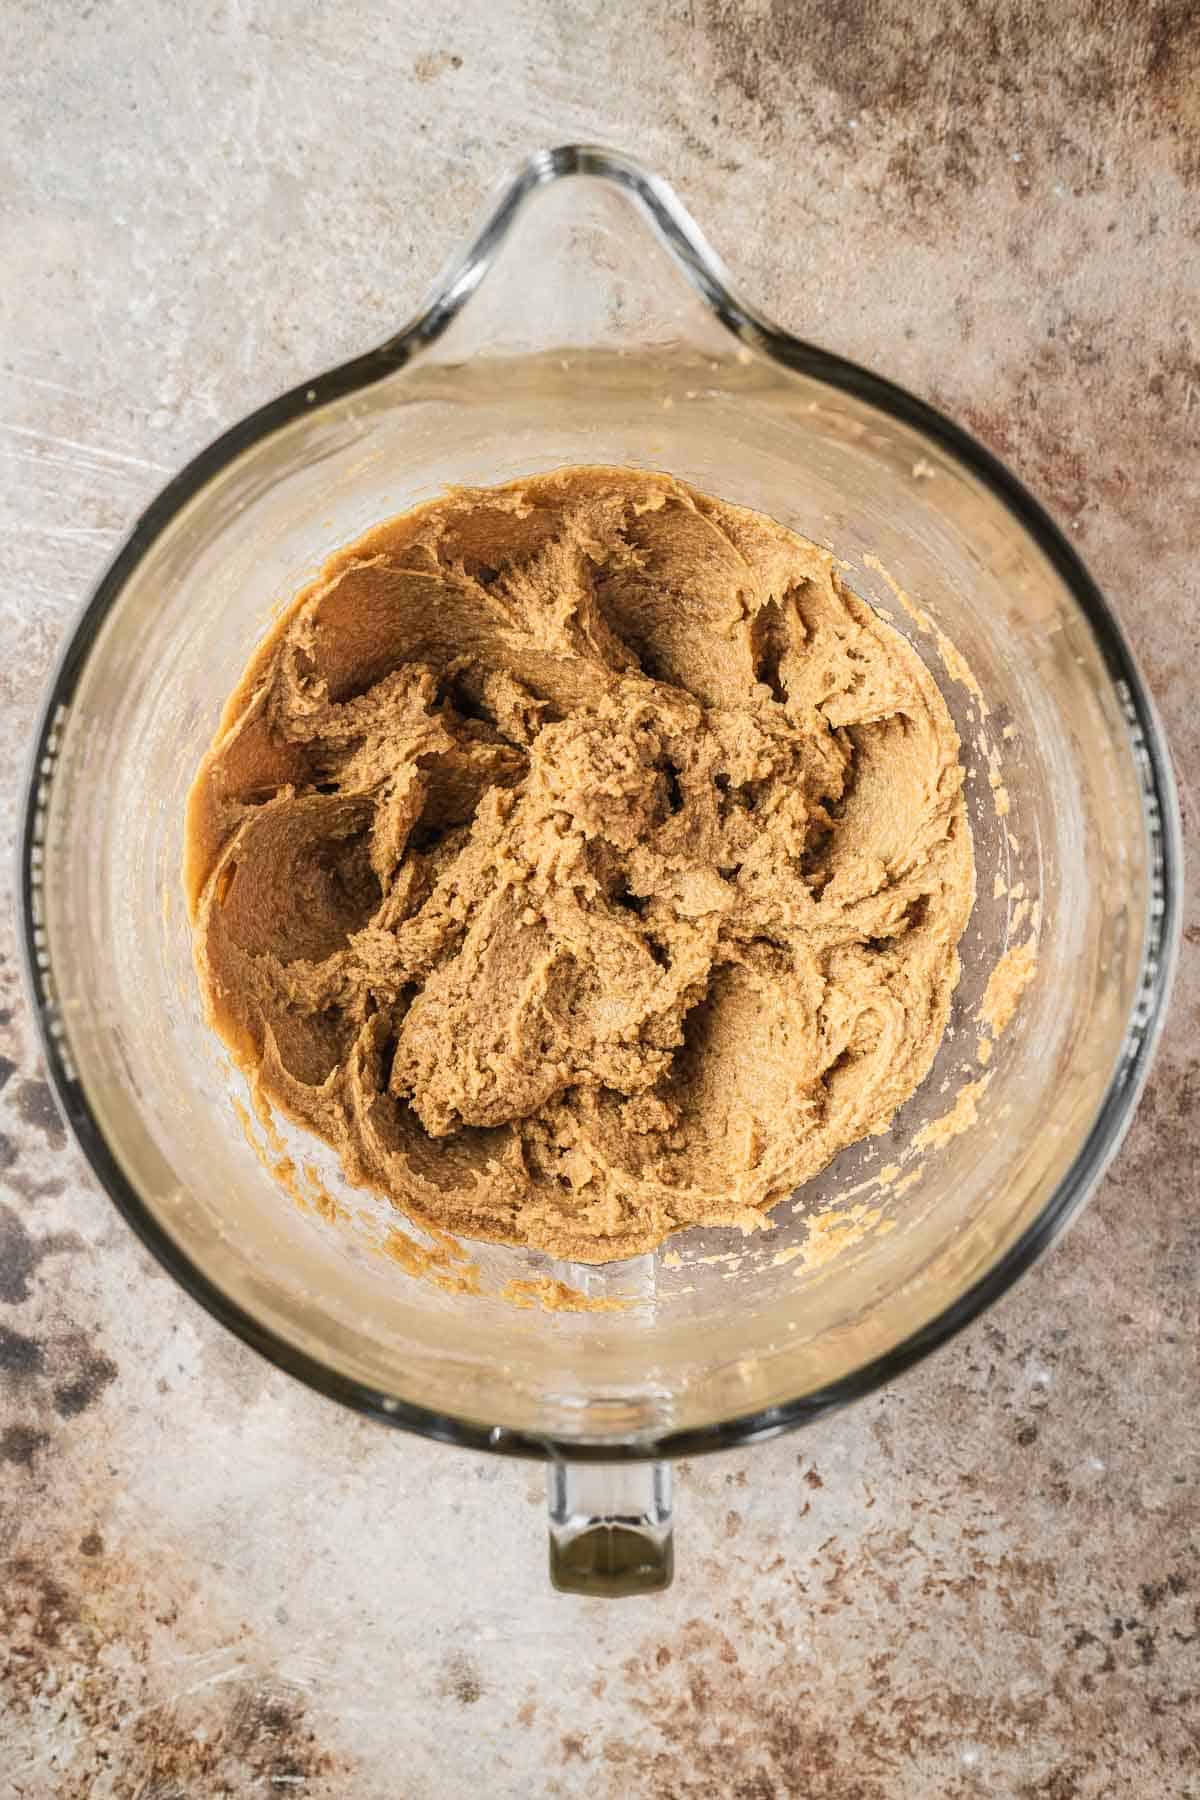
Add eggs and vanilla, and mix until fully incorporated.
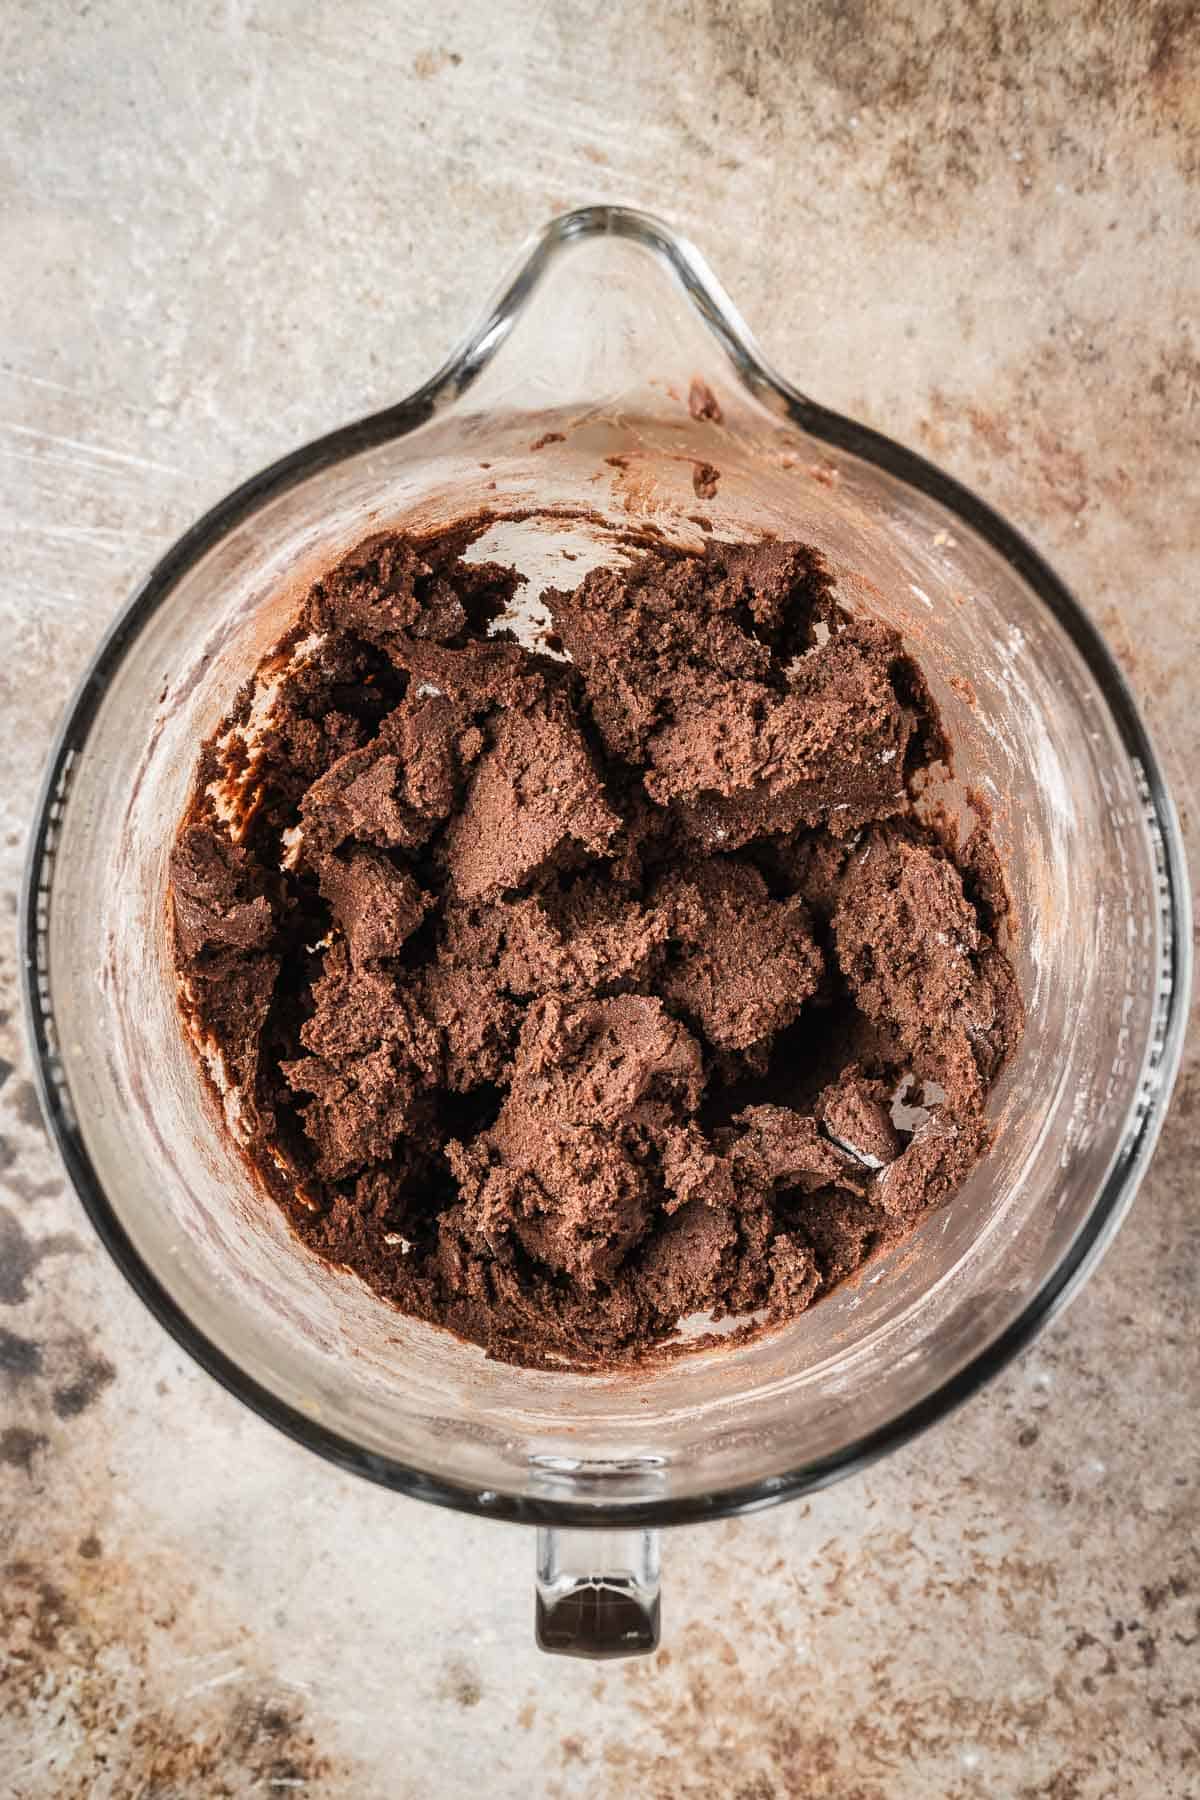
Add dry ingredients. Stir until just a few flour streaks remain.
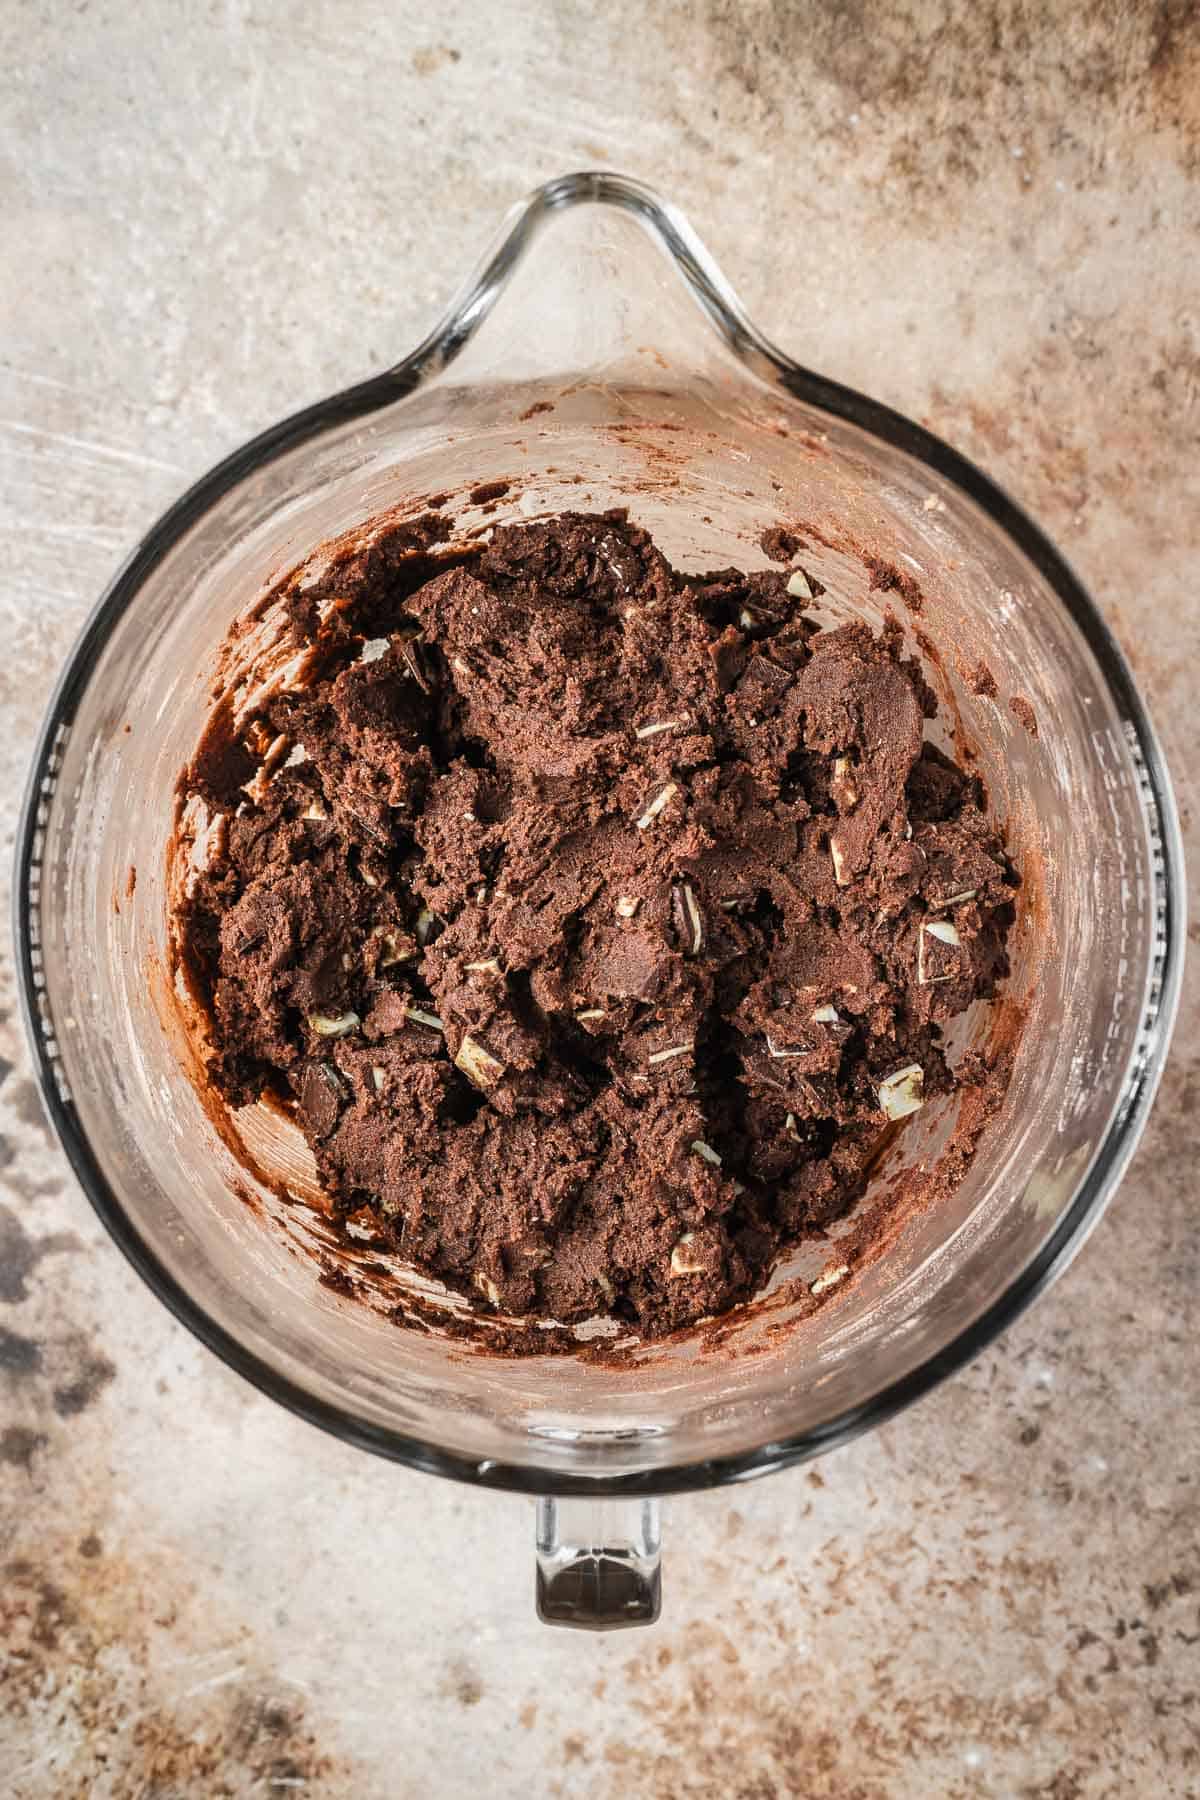
Mix in the chopped Andes mints.

Scoop dough into approximately 3 Tablespoon balls. Place on a parchment lined baking sheet and refrigerate for at least 30 minutes, until firm.

Portion 6 scoops of dough out onto a parchment lined rimmed baking sheet. Bake one sheet of cookies at a time for 12-13 minutes.

Add a few pieces of the reserved Andes mint chunks to the top of each cookie. The residual heat will melt them. Cool cookies on pan for 10 minutes before moving to cooling rack.
Hint: Don't overbake these cookies! Since they are made with a dark dough, you won't be able to use color cues to tell when they are done. They should look much less oily and shiny and have an almost matte finish. They'll still be soft in the center when you take them out, but will set as they cool.

Equipment
Cookie scoop - I use a medium cookie scoop (1½ Tablespoons, size 40) and combine two scoops to make each large, 3 Tablespoon cookie. You can also use a single large cookie scoop. Using a scoop helps keep the cookies uniform in size so they bake evenly.
Baking pans - I bake my cookies on rimmed half sheet baking pans (13 x 18 inches).
Round cookie cutters - Use a round cookie cutter or the rim of an upside down glass to swirl the cookies back into a round shape immediately after baking, while they're still hot and pliable. I have this same set and use it all the time.

Frequently asked questions
I recommend Dutch process cocoa powder (also called Dutched or alkalized cocoa powder) for these cookies. The alkalization process reduces acidity, resulting in a darker color and deeper chocolate flavor.
I haven't tested this recipe with natural cocoa powder. I expect it might produce lighter-colored, slightly cakier cookies. For best results, stick with Dutch process cocoa powder.
The most important thing is not to overbake them! Since the dough is so dark, you can't rely on color to tell when the cookies are done.
Look for edges that are set and a surface that's lost most of its oily shine. The centers will still be soft when you remove the cookies from the oven, but they'll firm up as they cool. Leave them on the baking sheet for 10 minutes before transferring them to a cooling rack.
Also, don't make the cookies smaller than the recommended 3 Tablespoon size. Their large size helps create those soft, chewy centers.




Love this recipe? Please leave a comment and star rating. ★★★★★ Your feedback, suggestions, and adaptations are very helpful to other bakers!
📖 Recipe

Andes Mint Chocolate Cookies
INGREDIENTS
- 226 grams unsalted butter, room temperature
- 250 grams brown sugar, dark
- 150 grams granulated sugar
- 2 large eggs, room temperature
- 15 mL vanilla extract, pure
- 340 grams all purpose flour
- 42.5 grams cocoa powder, Dutch process (alkalized)
- 1¼ teaspoons kosher salt, Diamond Crystal
- ¾ teaspoon baking soda
- 340 grams Andes mints, unwrapped
INSTRUCTIONS
- Separate 8 Andes mints from the rest to use for topping the baked cookies. Chop all of the mints into chunks, keeping the two piles separate. Set aside.I cut each mint in half lengthwise, then cut each half into fourths. Set aside.340 grams Andes mints
- In the bowl of a stand mixer fitted with the paddle attachment, cream butter and sugars on medium-high speed until light and fluffy, about 2 minutes.250 grams brown sugar, 150 grams granulated sugar, 226 grams unsalted butter
- Add eggs and vanilla and mix until fully incorporated. Scrape down sides of bowl.15 mL vanilla extract, 2 large eggs
- Add flour, cocoa powder, salt and baking soda. Mix until just a few flour streaks remain.340 grams all purpose flour, 42.5 grams cocoa powder, 1¼ teaspoons kosher salt, ¾ teaspoon baking soda
- Stir in the larger amount of chopped Andes mints, reserving the small pile.
- Preheat oven to 350° Fahrenheit (177° Celsius, Gas mark 4) with rack in center of the oven.
- Scoop dough into approximately 3 Tablespoon balls. Place on a parchment lined baking sheet and refrigerate for at least 30 minutes, until firm.If you have a #40 medium 1½ Tablespoon cookie scoop like I do, use 2 scoops per cookie.
- Place 6 scoops of dough onto a parchment lined rimmed baking sheet, spaced at least 2 inches apart. Keep remainder of cookie dough refrigerated until baking.Don't try to add more - these are big cookies and will spread.
- Bake one sheet of cookies at a time for 12-13 minutes. The edges will be set, but the centers will still be soft. Place 3 or 4 reserved chunks of Andes mints on the top of each cookie. The residual heat will melt them.
- Cool cookies on pan for 10 minutes and then transfer to a cooling rack to fully cool.
EQUIPMENT
- medium cookie scoop #40, 1.5 Tablespoons
Comments
No Comments