This chocolate cookie crust is a rich, flavorful upgrade to the classic version with Nabisco Chocolate Wafers-now discontinued. It starts with my homemade chocolate wafer cookies, made with a blend of Dutch process and black cocoa for a deep, bold flavor.
It's not overly sweet, making it the ideal balance for rich fillings. I've fine-tuned the butter-to-crumb ratio for an easy press-in crust that holds together beautifully and provides the perfect texture.
Best of all, you can skip the time-consuming cookie cutouts and use my slab-baking shortcut to quickly turn one big sheet cookie into tasty crumbs, creating a no-fuss crust in no time.
After developing a recipe for homemade chocolate wafer cookies, I received numerous requests for a way to turn them into a simple, delicious crust for cheesecakes, pies, and tarts. When I updated the wafer cookie recipe, I knew it was time to create a cookie crumb crust recipe for you!
This recipe is the result. I've fine-tuned the butter-to-crumb ratio to ensure a perfectly balanced texture-crisp but not too crumbly, with just the right amount of moisture to hold everything together.
The rich chocolate flavor of the crust comes from a blend of Dutch process and black cocoa in the wafer cookies. This provides a deep, complex taste that's dark and intense.
I've opted not to add additional sugar to the crust, as I find the wafer cookies already provide enough sweetness. Fillings are generally sweet, so the deeper, darker flavor of the crust offers a nice contrast. However, I've included the option of adding a tablespoon or two of granulated sugar if you prefer a slightly sweeter crust.
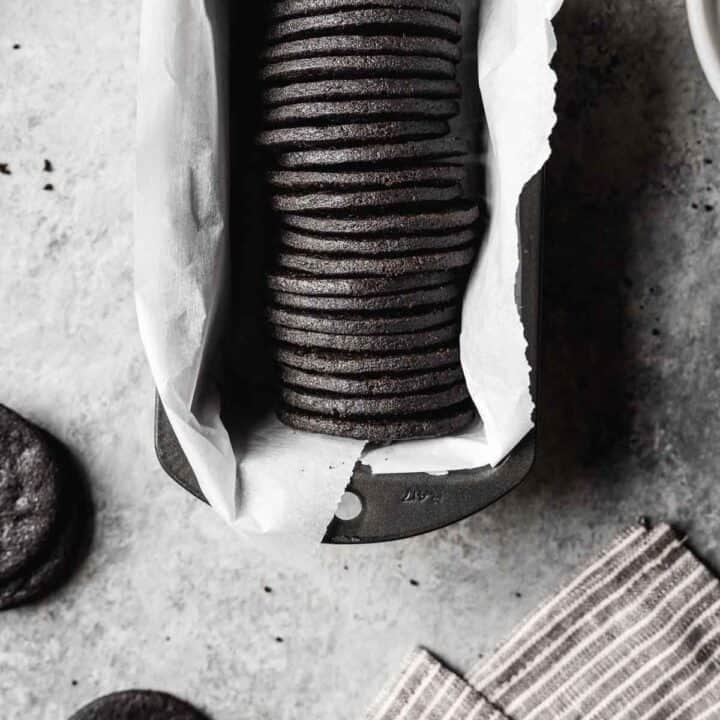
And to make this process as easy as possible, I've incorporated my slab-baking shortcut. Don't waste time cutting out individual cookies! Instead, quickly bake a single large cookie slab, then break it into pieces for a fast and efficient way to make rich, chocolatey crumbs!
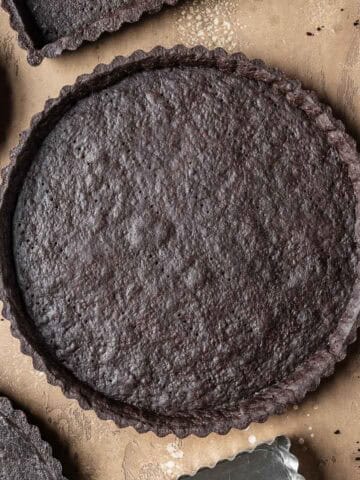
Use this chocolate crumb crust to create a perfectly crisp, flavorful base for pies, cheesecakes, and tarts.
CHOCOLATE WAFER COOKIES
See my crisp chocolate wafer cookie recipe for step by step photos and detailed instructions for making these versatile cookies. Better than the discontinued Nabisco version!
Jump to:
Ingredients
* See recipe card for full list of ingredients and quantities.
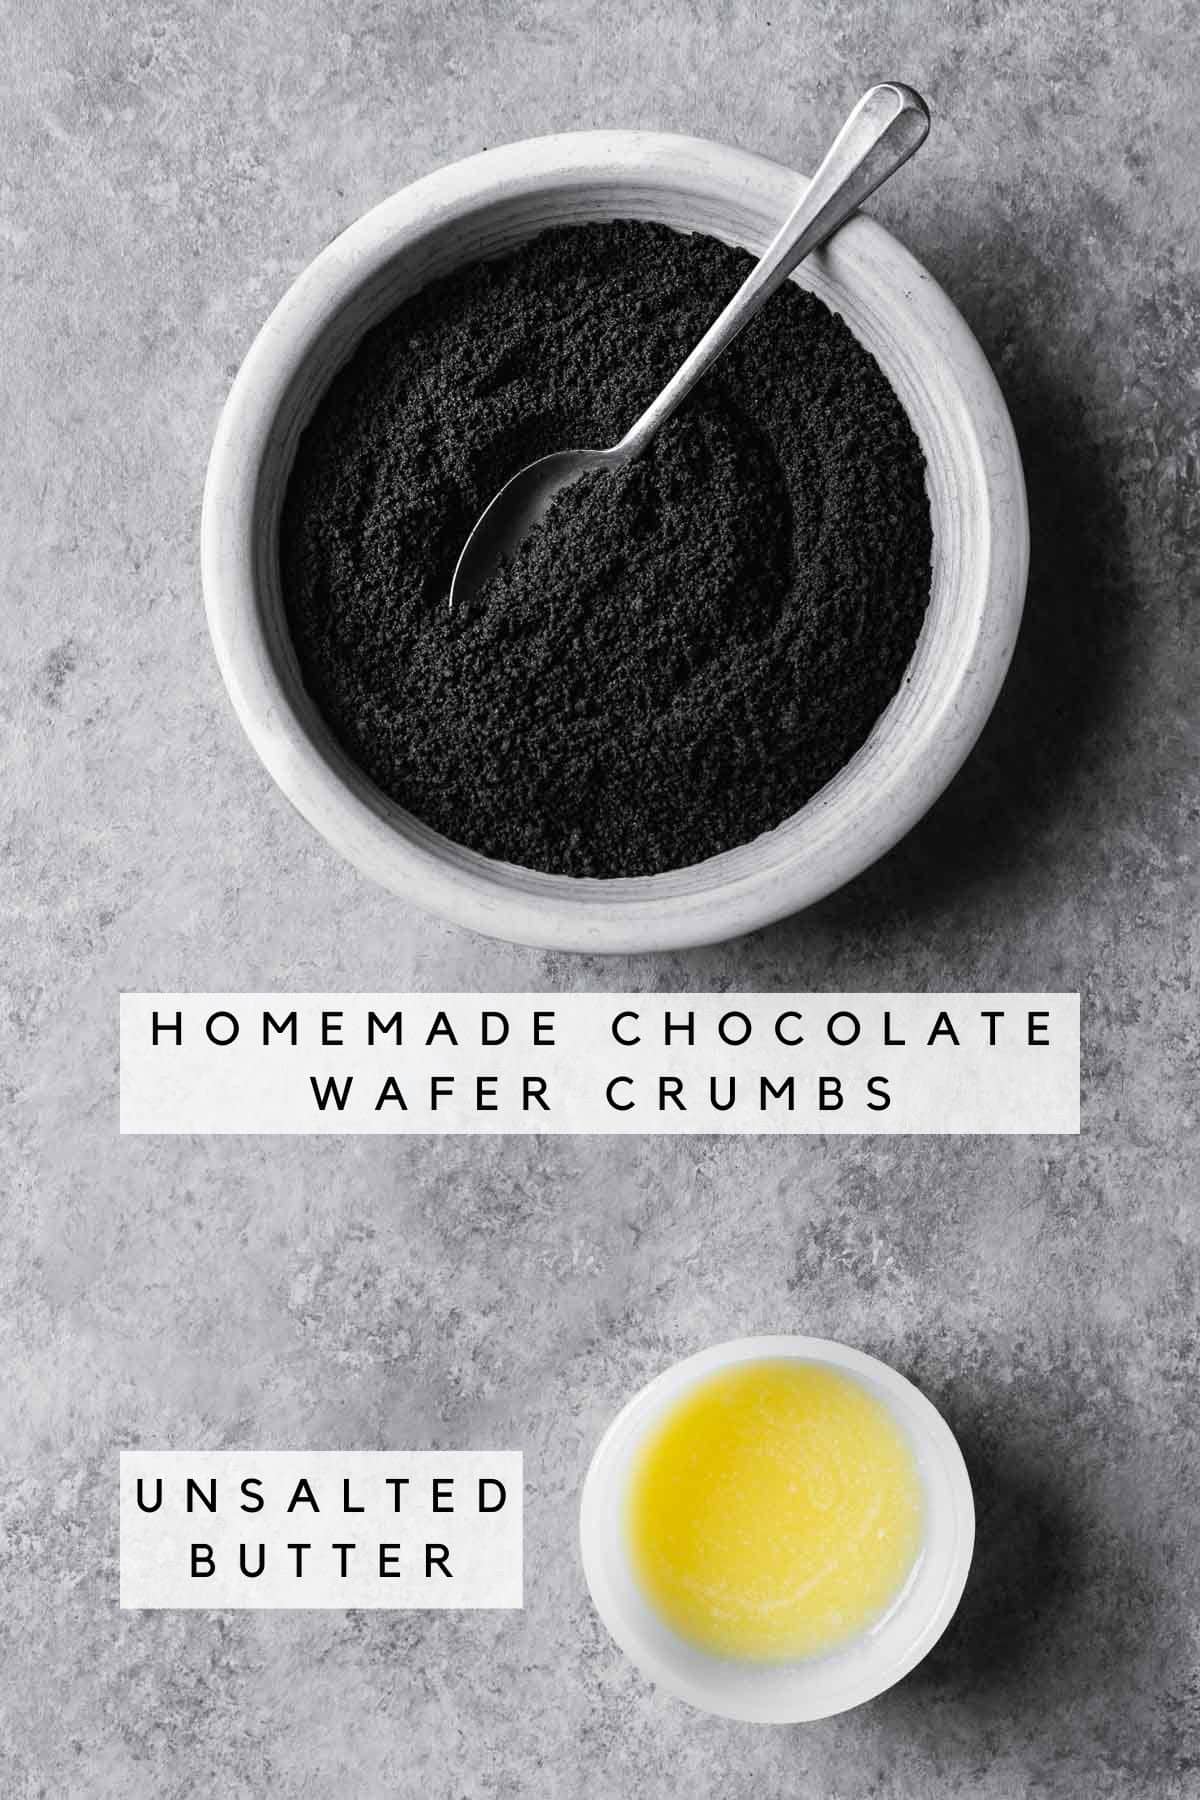
Chocolate wafer cookie crumbs - from one batch of homemade chocolate wafer cookies (click for recipe). Follow the instructions for the slab-baking method to skip cutting individual cookies.
Unsalted butter - You'll need melted butter (warm, not hot) to help bind the cookie crumbs together and create the perfect crust texture. Since the wafer cookies have a higher fat ratio than many store-bought cookies, I've reduced the amount of butter to balance that out.
Granulated sugar - My personal preference is for no added sugar, as I find the wafer cookies sweet enough. If you prefer slightly more sweetness, you're welcome to add 1-2 Tablespoons of granulated sugar. I've listed it as optional in the ingredients.
Instructions
These photos provide basic visual cues. Find the detailed instructions in the recipe card.
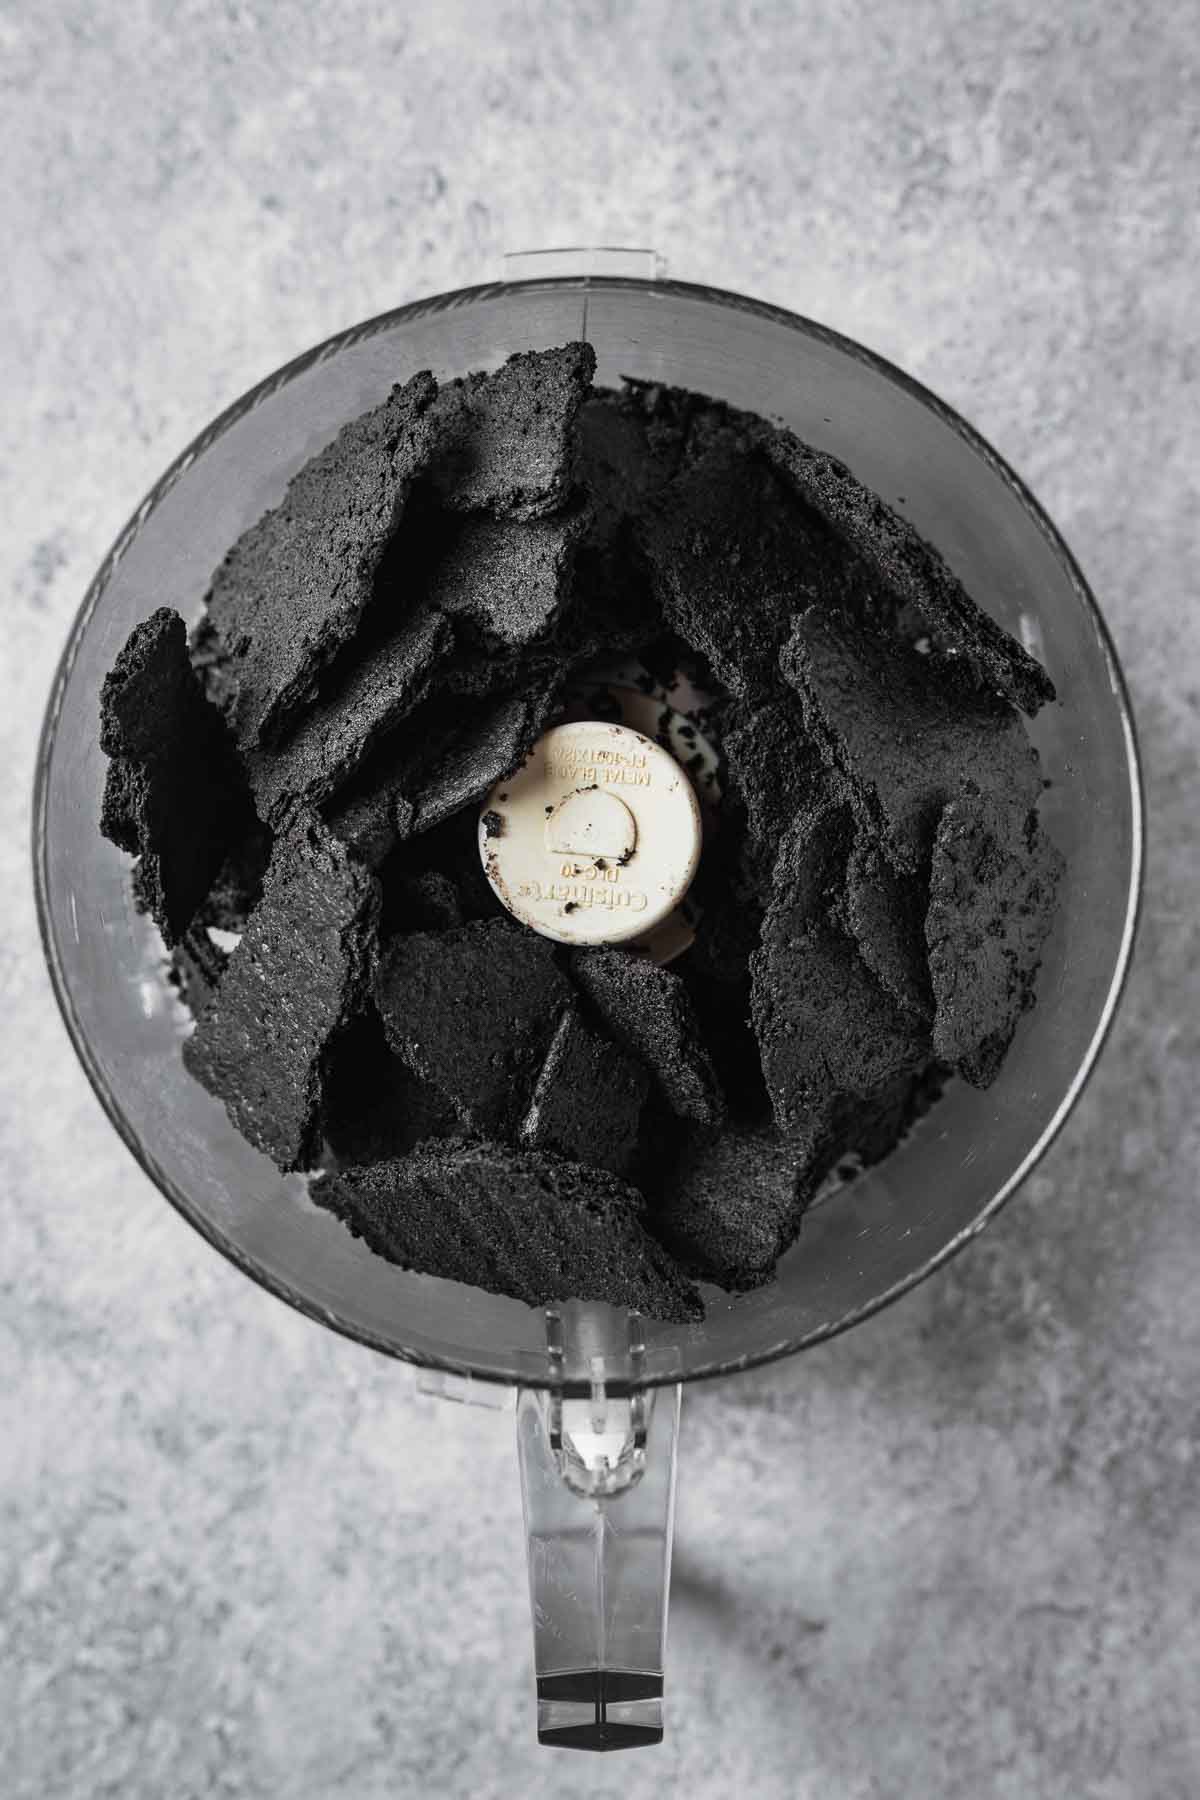
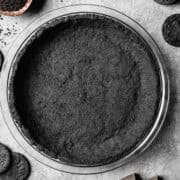
Break up your slab of chocolate wafer cookies and place into the bowl of a food processor.
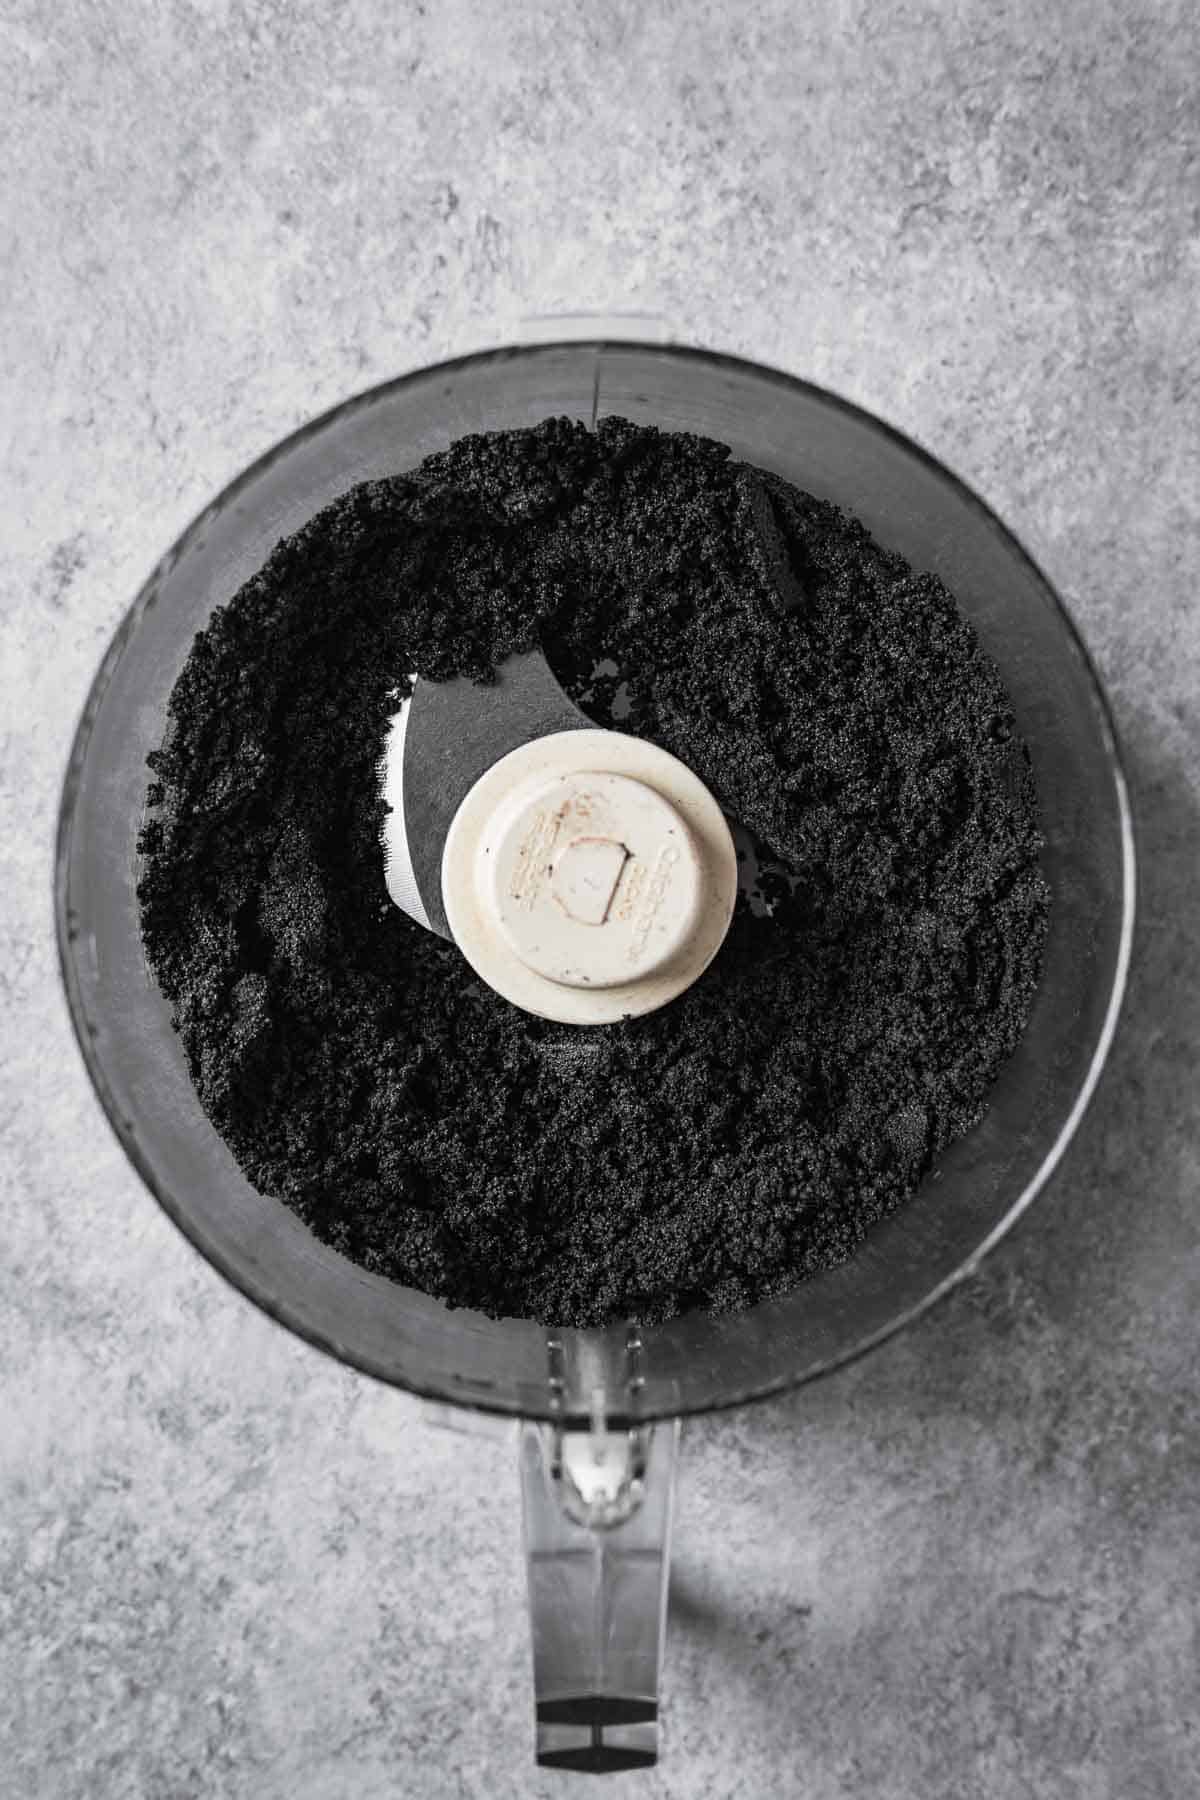
Pulse until finely ground. Add melted butter (and sugar, if using) and pulse until incorporated. Scrape bowl to stir in any unmixed melted butter.
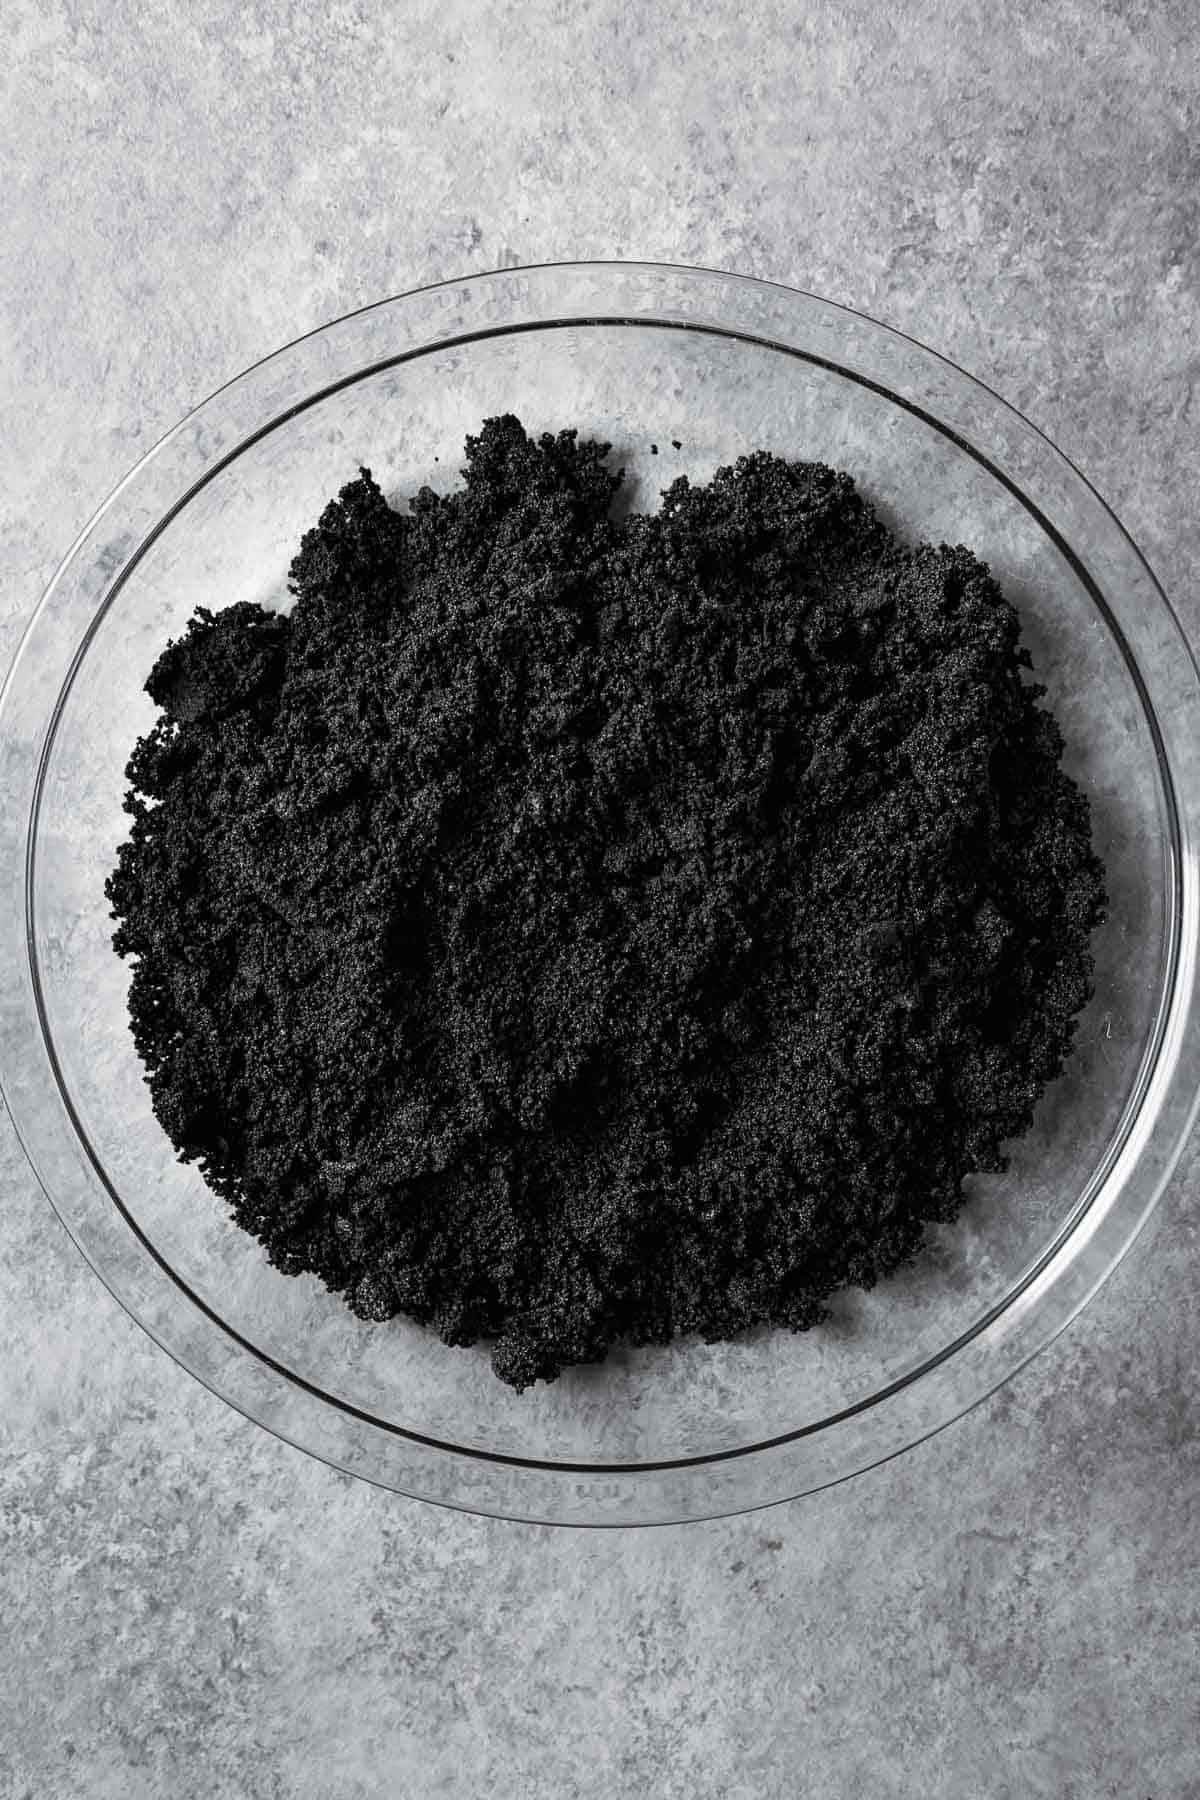
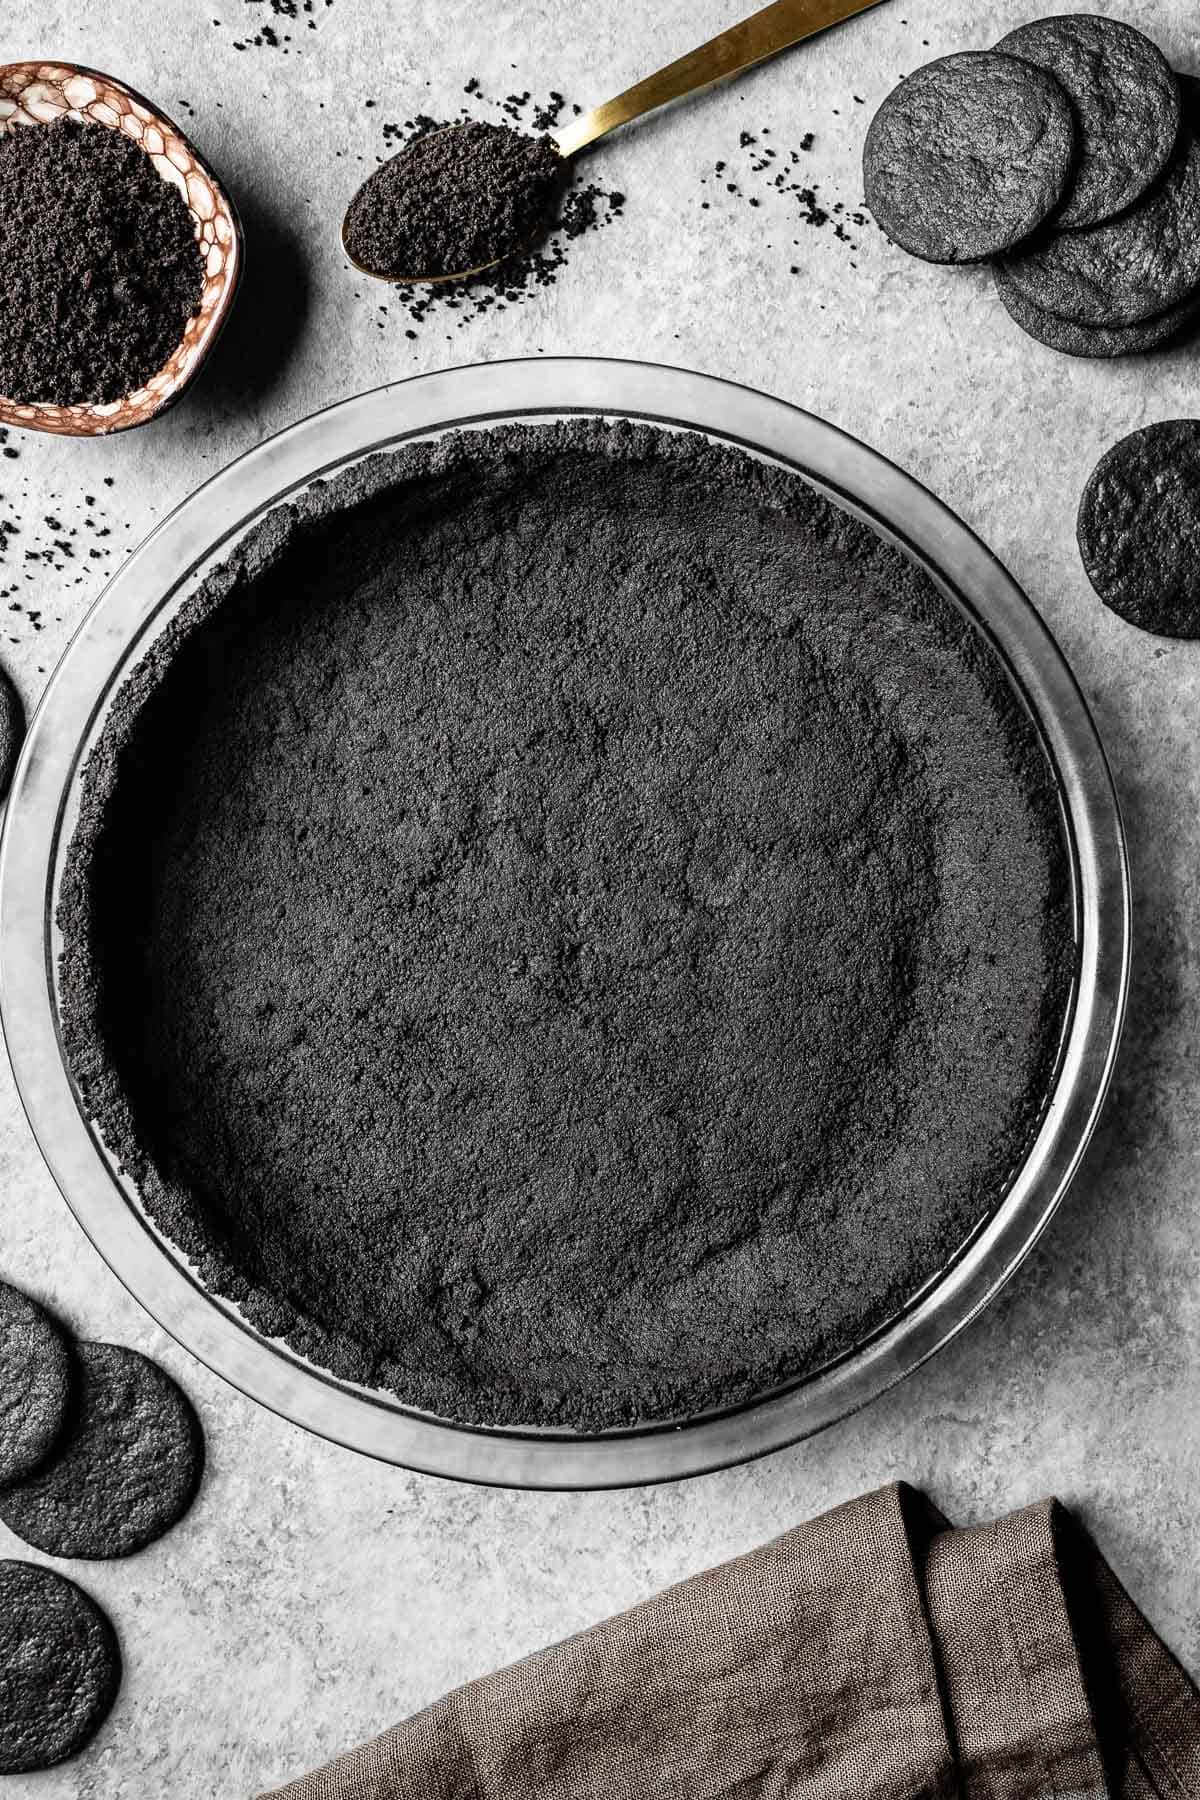
Pour crumb mixture into 9 inch pie plate. You can also use a 9.5 inch tart pan, or cover the base of a 10 inch springform pan.

Press into base and up sides of pie plate using a flat bottomed measuring cup.
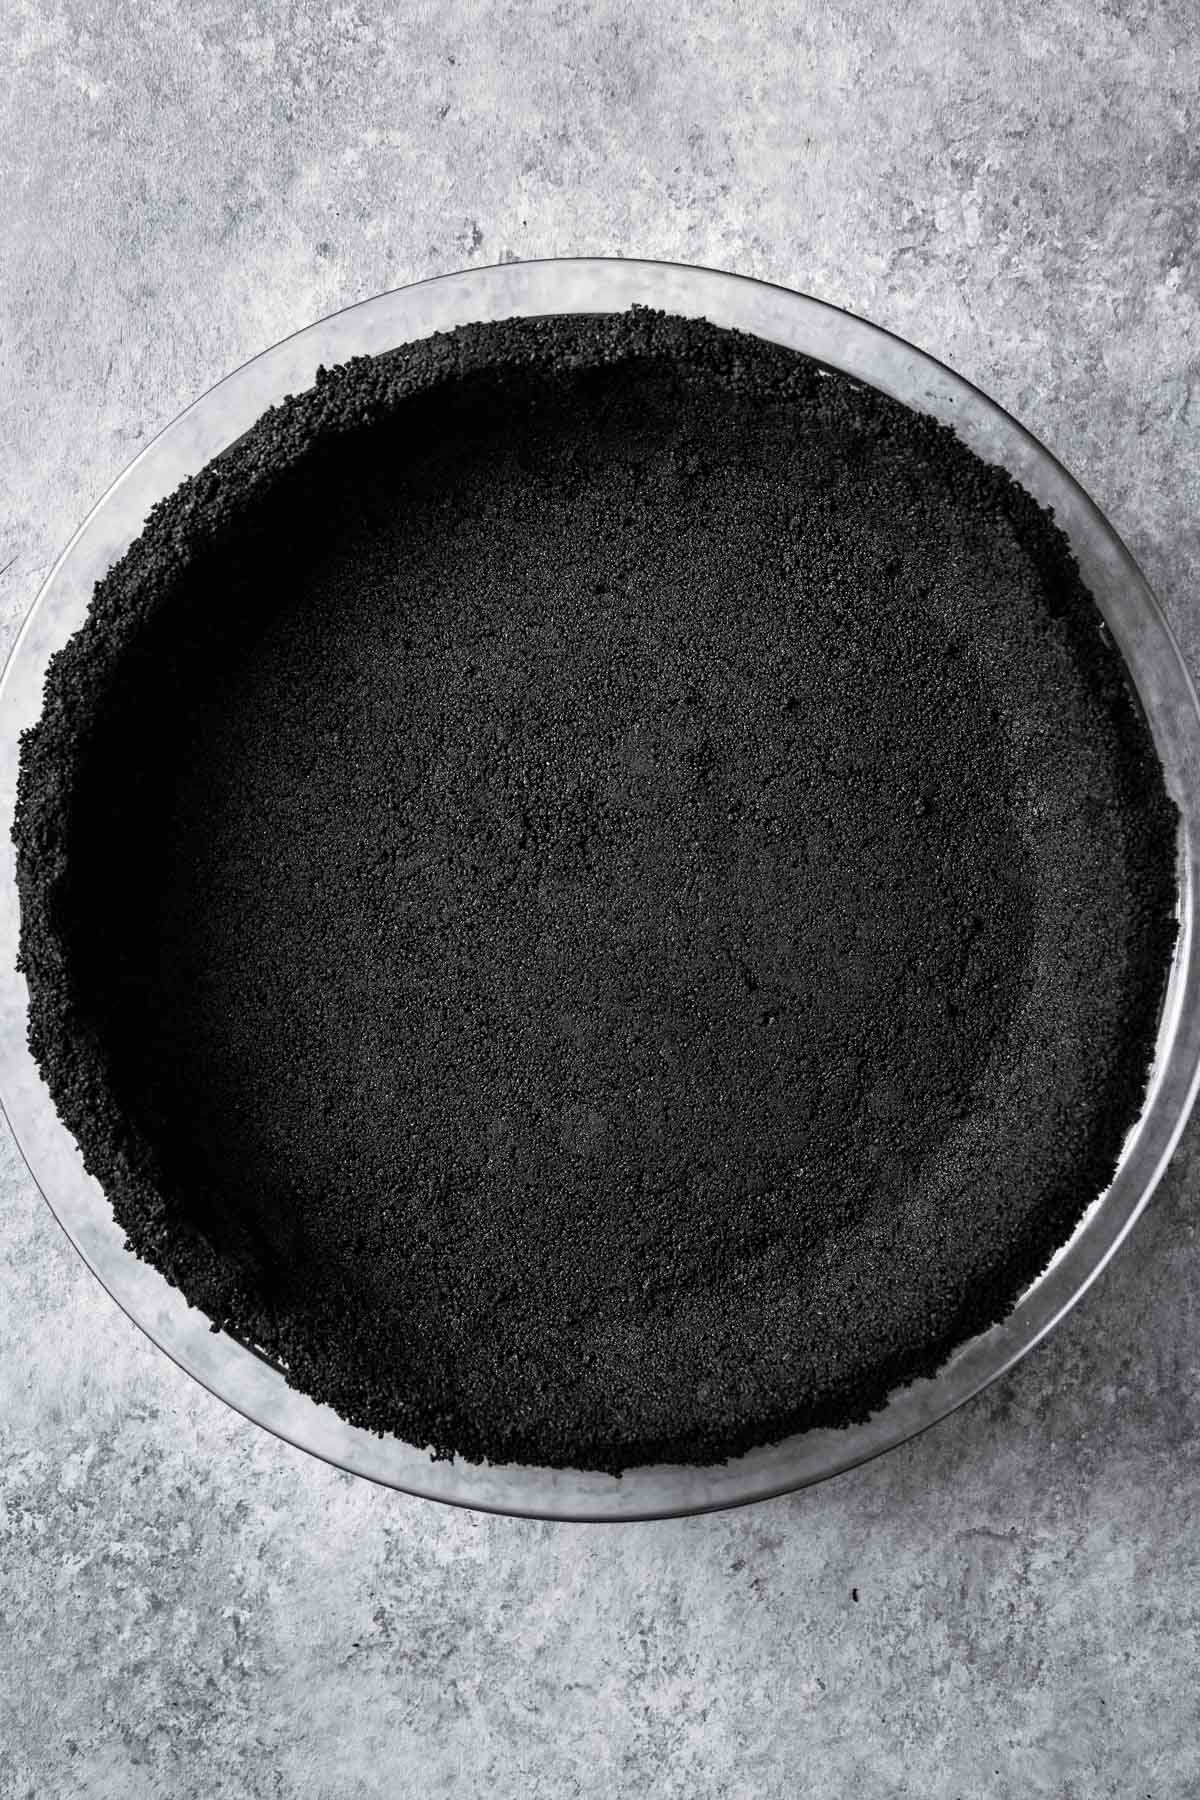
Use your fingers to compress the crust mixture to the side of the pie plate and form a tidy top edge.
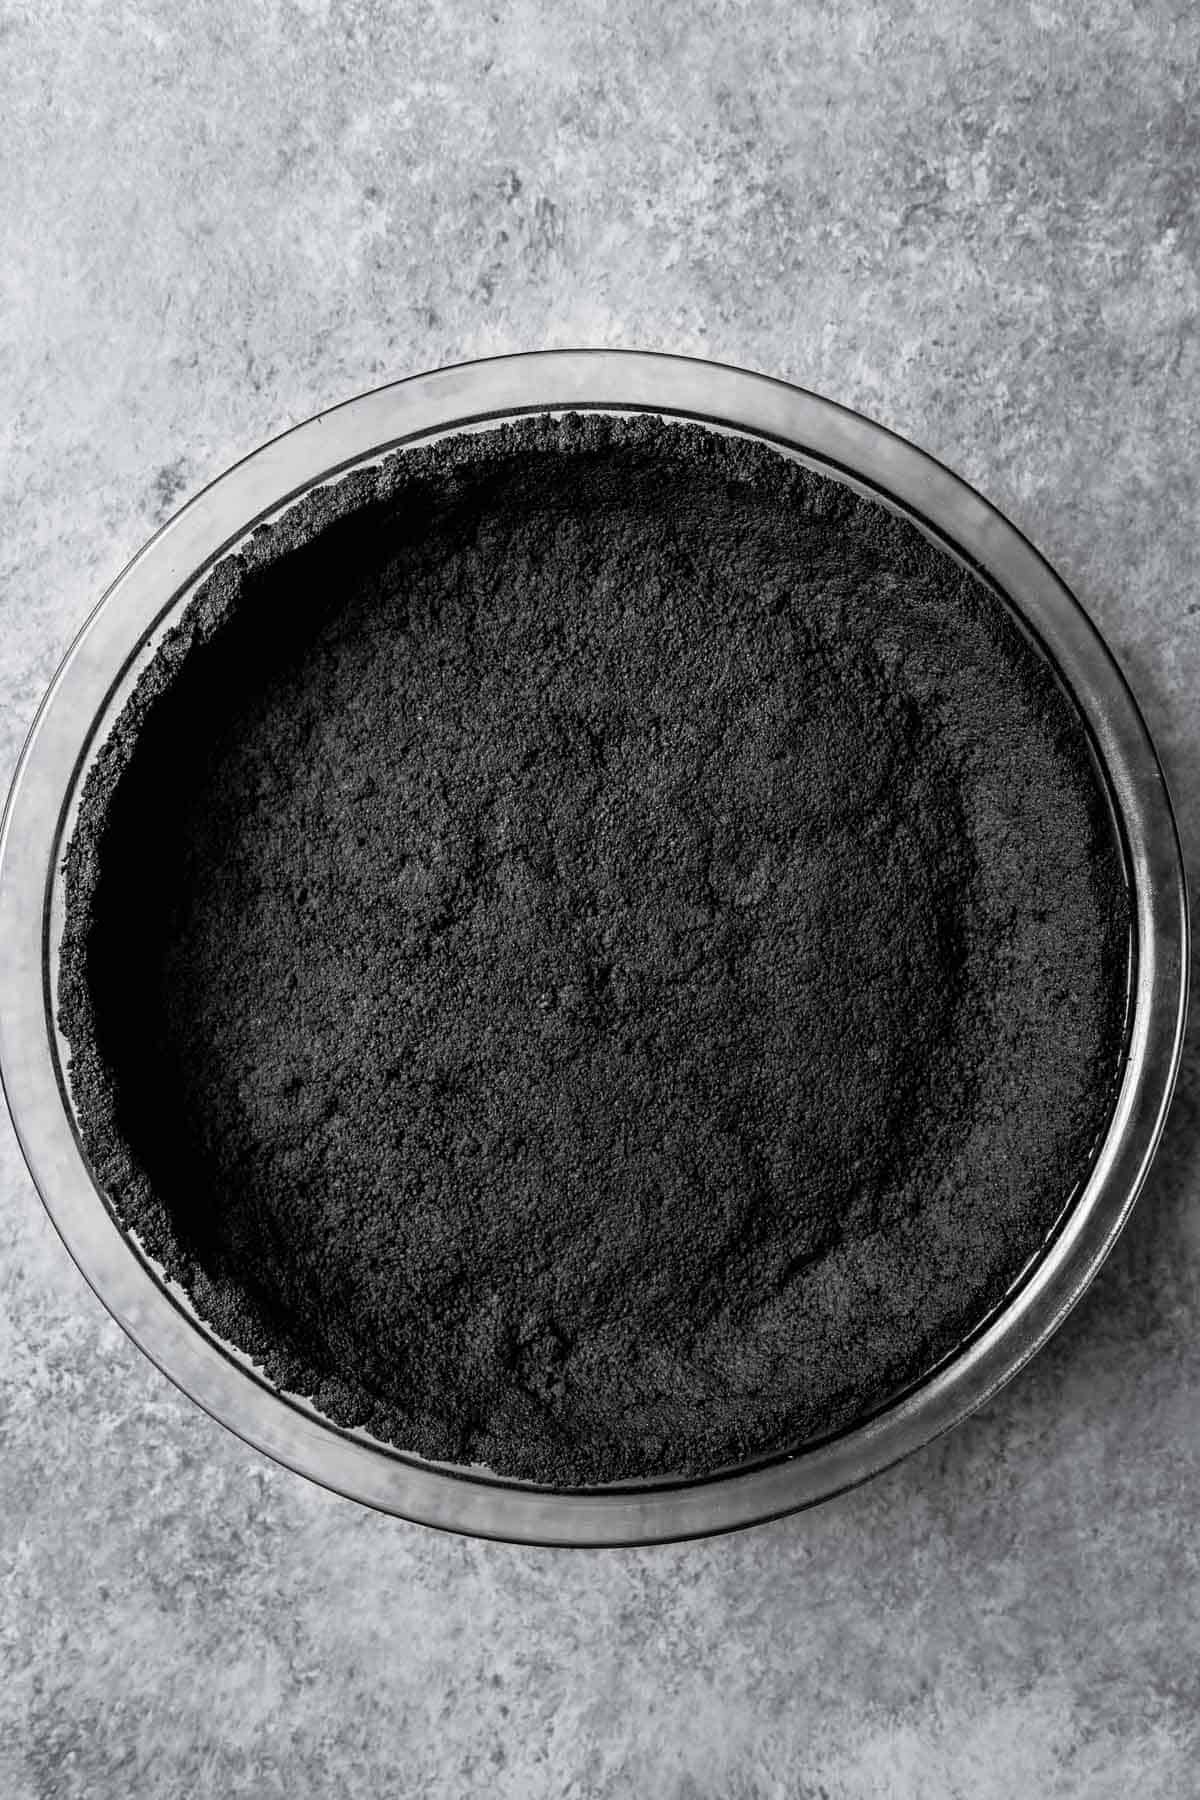
Bake for 8-10 minutes in a metal pan, or 10-12 minutes in a glass pan. Cool completely before touching or filling!
Press the crumbs into the pan firmly enough for the crust to hold its shape without crumbling. It's a medium pressure. Don't do it so firmly that it gets really dense. It will be hard to slice!
Equipment
Food processor - While I've used a food processor to process the crumbs and mix in the butter, you can also crush the cookies in a zippered bag with a rolling pin and stir in the melted butter by hand.
Pie pan - I use a 9 inch (23 cm) pie pan for this recipe.
Frequently asked questions
This crust recipe is developed specifically for my version of chocolate wafer cookies, which have a higher fat content than some store-bought varieties.
That difference affects the amount of butter needed to bind the crumbs. For best results, I recommend using a crust recipe that's tested with the specific cookies you're using.
It's intentionally less sweet to balance richer, sweeter fillings. You can add 1-2 tablespoons of sugar if you prefer a sweeter crust.
Even if you're using a no-bake filling, baking helps set the crust so it holds together and doesn't turn soggy. Just 10 minutes in the oven firms it up and brings out the rich cocoa flavor.
This recipe yields enough press-in crumb crust for:
One 9-inch (23 cm) pie pan
One 9.5-inch (24 cm) tart pan
One 10-inch (25.5 cm) springform pan (base only)
For a springform crust that goes halfway up the sides, use 1.5x the recipe.
Love this recipe? Please leave a comment and star rating. ★★★★★ Your feedback, suggestions, and adaptations are very helpful to other bakers!
📖 Recipe
Chocolate Cookie Crust
INGREDIENTS
- 1 recipe chocolate wafer cookies, bake using slab method
- 2 Tablespoons unsalted butter, melted (warm, not hot)
- 1-2 Tablespoons granulated sugar, optional
INSTRUCTIONS
- Preheat oven to 350 degrees Fahrenheit (177° Celsius, Gas mark 4).
- Break up your slab of chocolate wafer cookies and place into the bowl of a food processor.1 recipe chocolate wafer cookies
- Pulse until finely ground. Add melted butter (and sugar, if using) and pulse until incorporated. Scrape bowl to stir in any unmixed melted butter.2 Tablespoons unsalted butter, 1-2 Tablespoons granulated sugar
- Pour crumb mixture into 9 inch pie plate. You can also use a 9.5 inch tart pan or cover the base of a 10 inch springform pan.
- Using a flat bottomed measuring cup, press crumbs into base and up sides of pie plate.Press the crumbs into the pan firmly enough for the crust to hold its shape without crumbling. It's a medium pressure. Don't do it so firmly that it gets really dense. It will be hard to slice!
- Use your fingers to compress the crust mixture to the side of the pie plate and form a tidy top edge.
- Bake crumb crust for 8-10 minutes in a metal pan, or 10-12 minutes in a glass pan. Cool completely before touching (it's fragile when hot) or adding fillings!
NOTES
- Follow the slab baking method in the chocolate wafer cookie recipe to skip cutting out individual cookies.
- Press the crumbs into the pan firmly enough for the crust to hold its shape without crumbling. It's a medium pressure. Don't do it so firmly that it gets really dense. It will be hard to slice!
- Bake the wafer crust for 10-12 minutes in a glass pan, or 8-10 minutes in a metal pan, until the crust looks set, slightly darkened, and dry to the touch. It may still feel a little soft while warm but will firm up as it cools.
- Let the crust cool completely before touching (it will be fragile!) or adding fillings. In a glass pan, this usually takes about 30-40 minutes at room temperature. You can speed cooling by placing it on a wire rack or cooling it in the fridge once the pan is no longer hot.
Mary says
I'll need to see all of your recipes now! Your work is so well explained in great detail! I see you answered comments on Christmas for the Nabisco cookie recipe and that showed me how much your followers mean to you! Thank you Kathleen, extraordinary kudos to you!
Kathleen Culver says
Thank you so much, Mary!
I appreciate your kind words.
Kathleen