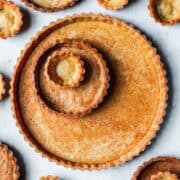
This pâte sucrée recipe provides a simple, no fuss method for making classic French sweet tart dough. It's commonly used as a tart crust for filled tarts of all kinds. The dough is flavorful, buttery and tender, while also sturdy enough for your favorite tart fillings.
Detailed photos and step by step instructions walk you through the process of creating a golden brown tart shell. No pie weights (of any kind) needed!
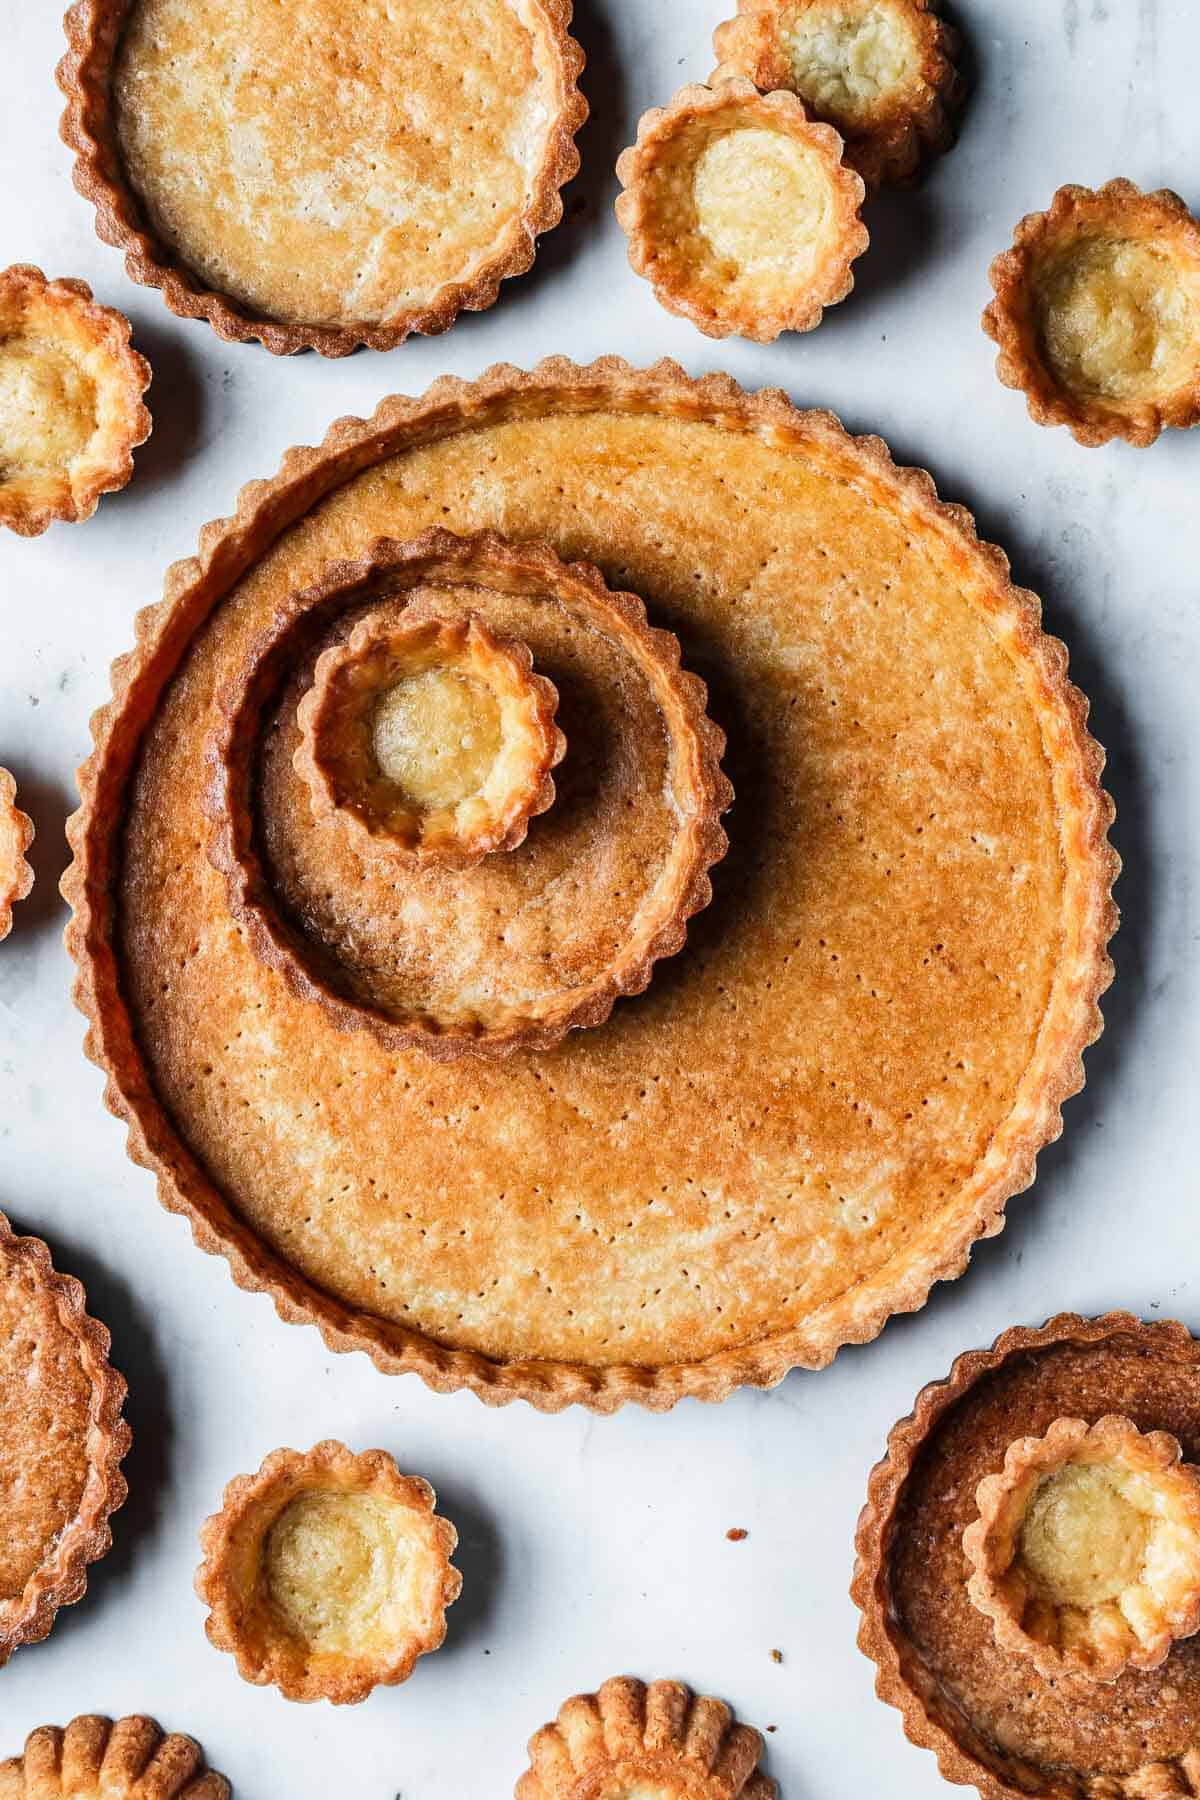
Tarts might be one of my favorite thing to bake. A well made tart shell is a bit like the classic little black dress - it's endlessly customizable, and always looks good.
This pâte sucrée recipe is excellent for beginner and experienced bakers alike. It's quick to make, and extremely forgiving. You can make it in a mixer, a food processor, or even by hand, if you're up for the workout.
It can be par-baked to accept a frangipane or custard filling that needs further baking, or can be fully blind baked for fillings such as ganache, pastry cream or panna cotta.
I've used it as the base of this reader favorite chocolate coffee mascarpone tart, a black forest style sour cherry chocolate tart, and a French fresh fig tart.
The sweet tart dough rolls out beautifully, but can also be pressed into the tart pan with your fingers. If it cracks while you're shaping it, simply press in a bit of extra dough to patch the damage.
If the dough becomes too soft or pliable, simply place it into the refrigerator for 5 or 10 minutes until the butter hardens again. With this recipe, It's hard to go wrong.
The flavor is sweet, with a buttery taste that maintains both a crisp sturdiness and a shortbread cookie texture.
I first tried this recipe via David Leite, who got it via Joanne Chang of Flour Bakery. Once I had baked it a few times, I knew it was a keeper. A tart dough that doesn't require pie weights to bake into a beautiful golden hued tart AND has excellent flavor? I'm sold.
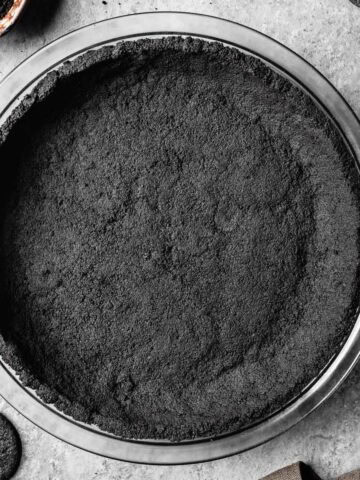
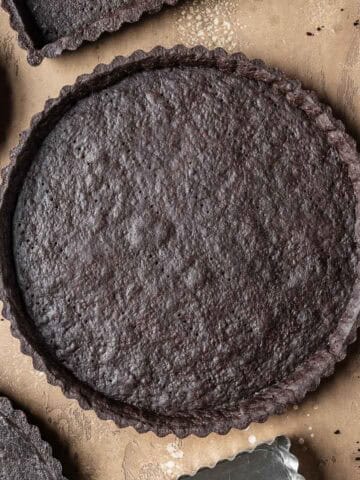
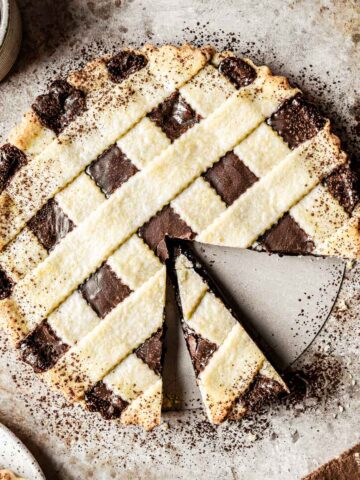
You can find all my tart recipes here - there's a wide variety of flavors and fillings. I also have a pâte sucrée au chocolat for chocolate lovers.
Jump to:
Ingredients
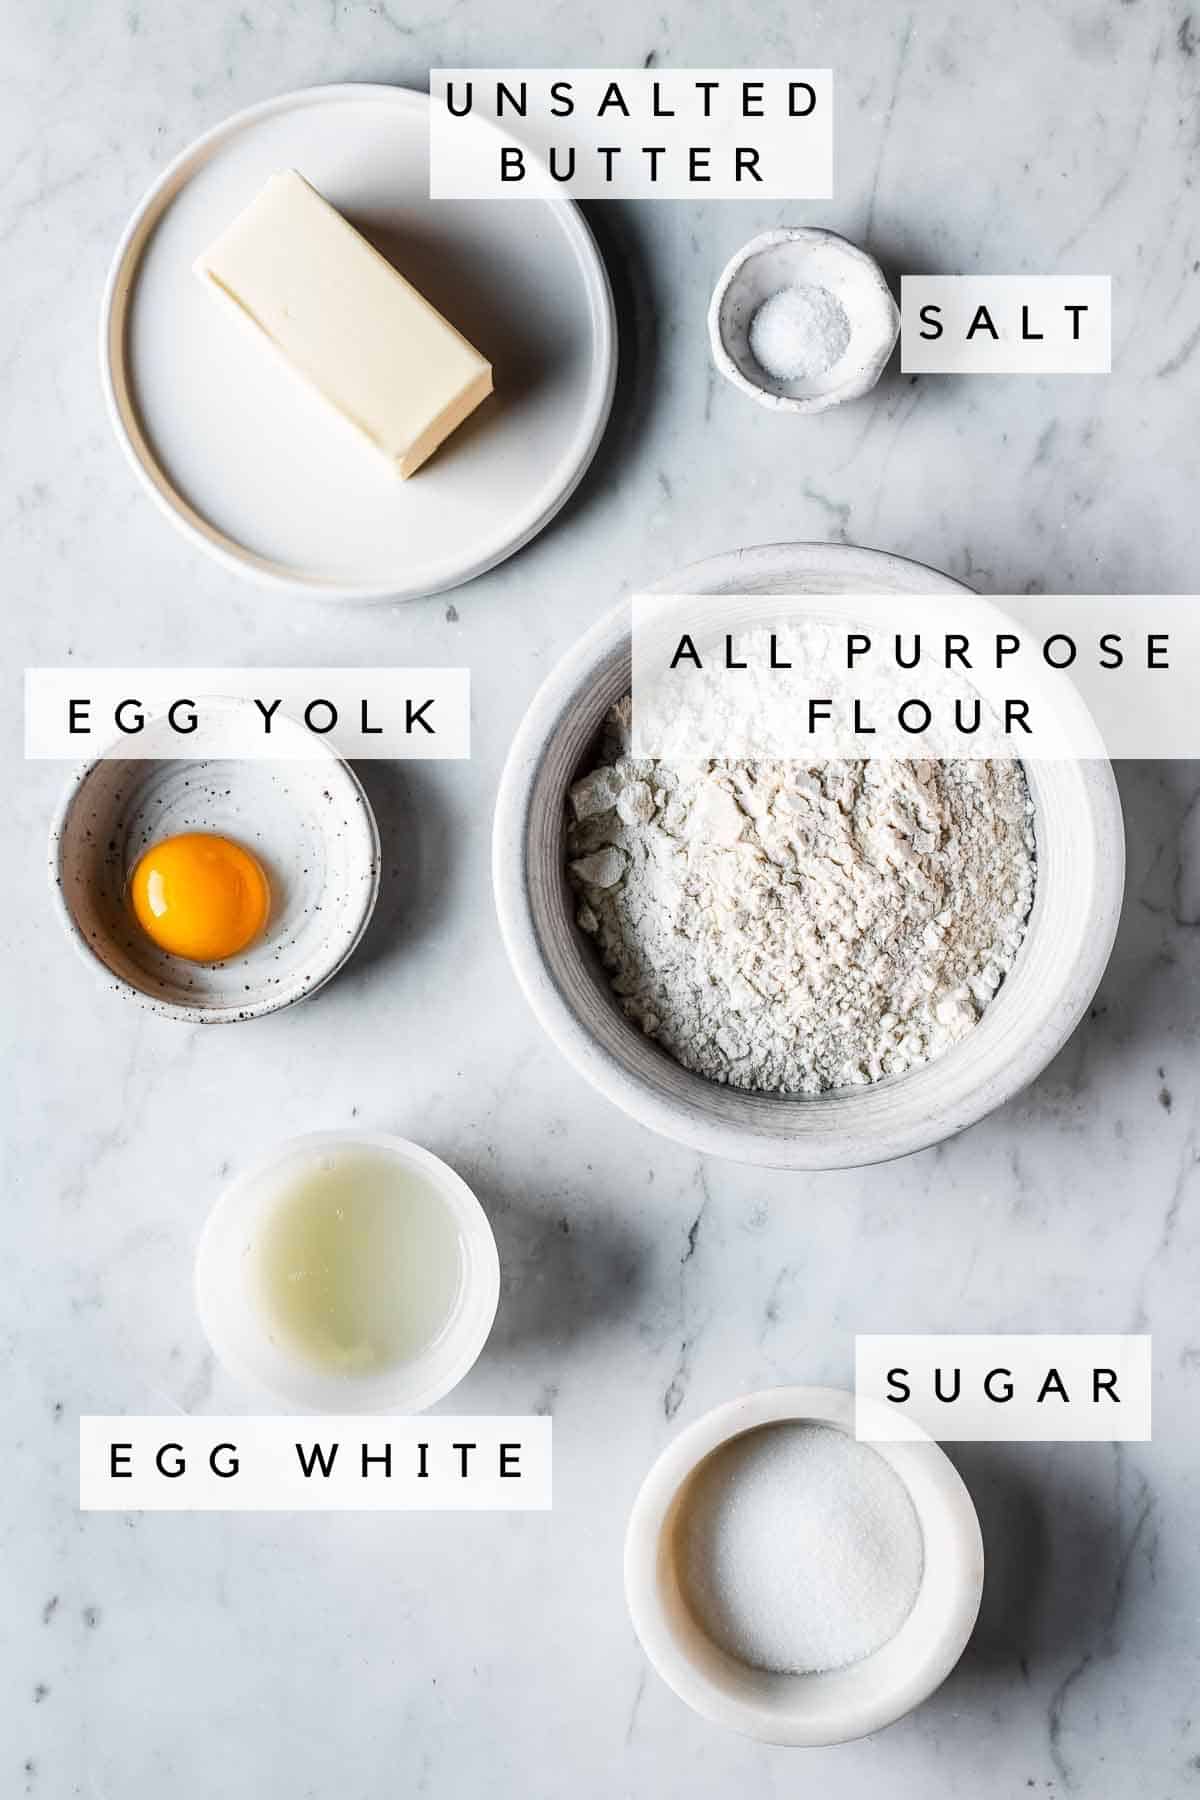
* See recipe card for full list of ingredients and quantities.
Unsalted butter - This recipe calls for room temperature butter. Pastry making often requires chilled ingredients, but here we're using a creaming method that needs softer butter.
Granulated sugar - I like to use granulated sugar as it's always in my pantry. Some pâte sucrée recipes call for powdered sugar, which is much finer. Feel free to use an equal amount of either. Note that using powdered sugar may result in a slightly more dense tart crust.
Kosher salt - Desserts taste better with a bit of salt! I use Diamond Crystal kosher salt, which has lighter, flakier crystals than Morton salt, and therefore less sodium per teaspoon.
If using Morton kosher salt, multiply recipe amount by 0.75 (use three ⅛ teaspoons for this recipe.) If using table salt, reduce by 0.5 (¼ teaspoon for this recipe.)
Egg - One large egg works twofold in this recipe:
The yolk (approximately 17 grams) serves as a binder to provide structure to the dough. There is enough moisture from the egg yolk to pull the dough together. It doesn't need any additional liquid.
The white is reserved for an egg wash brushed onto the baked crust. The egg wash helps seal the base and sides, plugging any small holes and forming a protective layer against wet fillings.
If you don't have an egg white, you can skip this step. If you're concerned about sealing the tart, brush a very thin layer of chocolate (white, milk or dark, depending on your filling) onto the cooled tart interior instead.
Instructions
These photos provide basic visual cues. Find the detailed instructions in the recipe card.
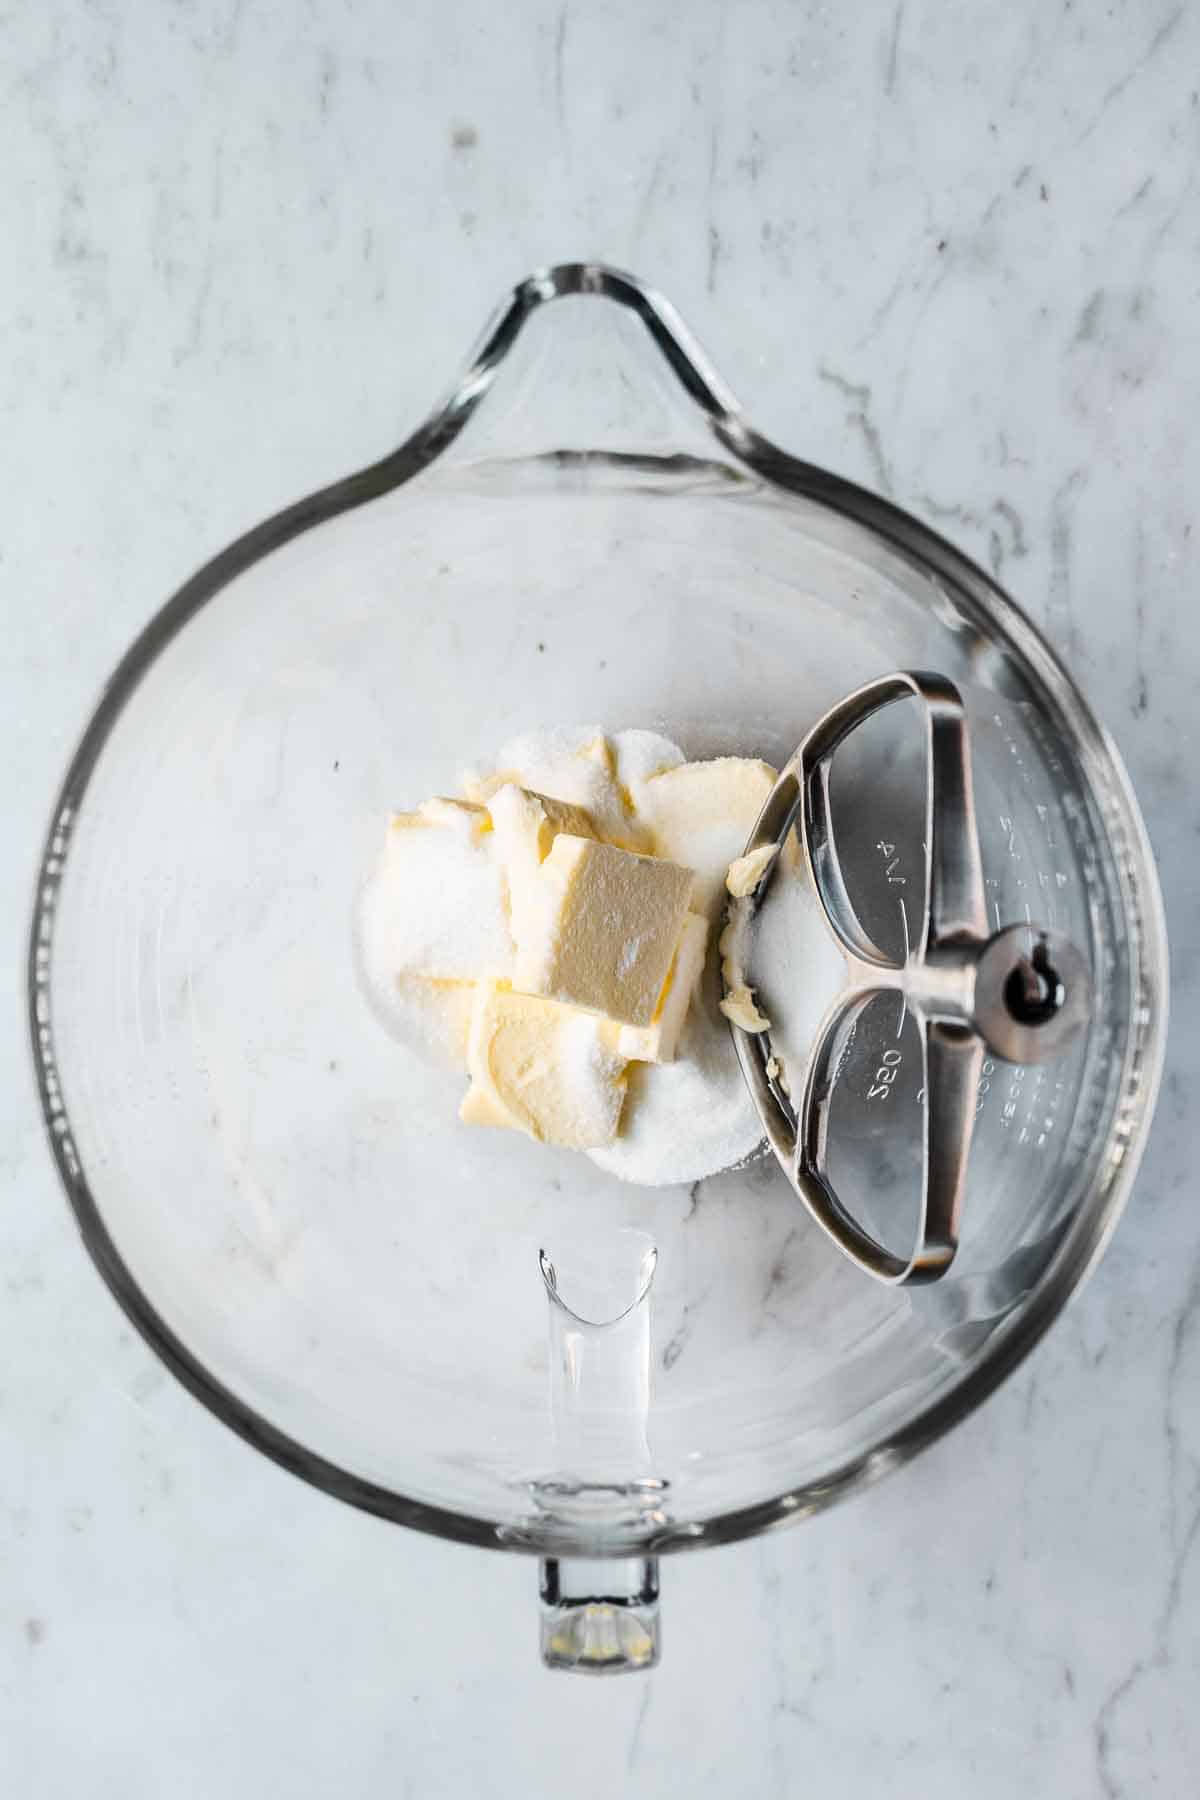
Add butter, sugar and salt to bowl of stand mixer fitted with paddle attachment.
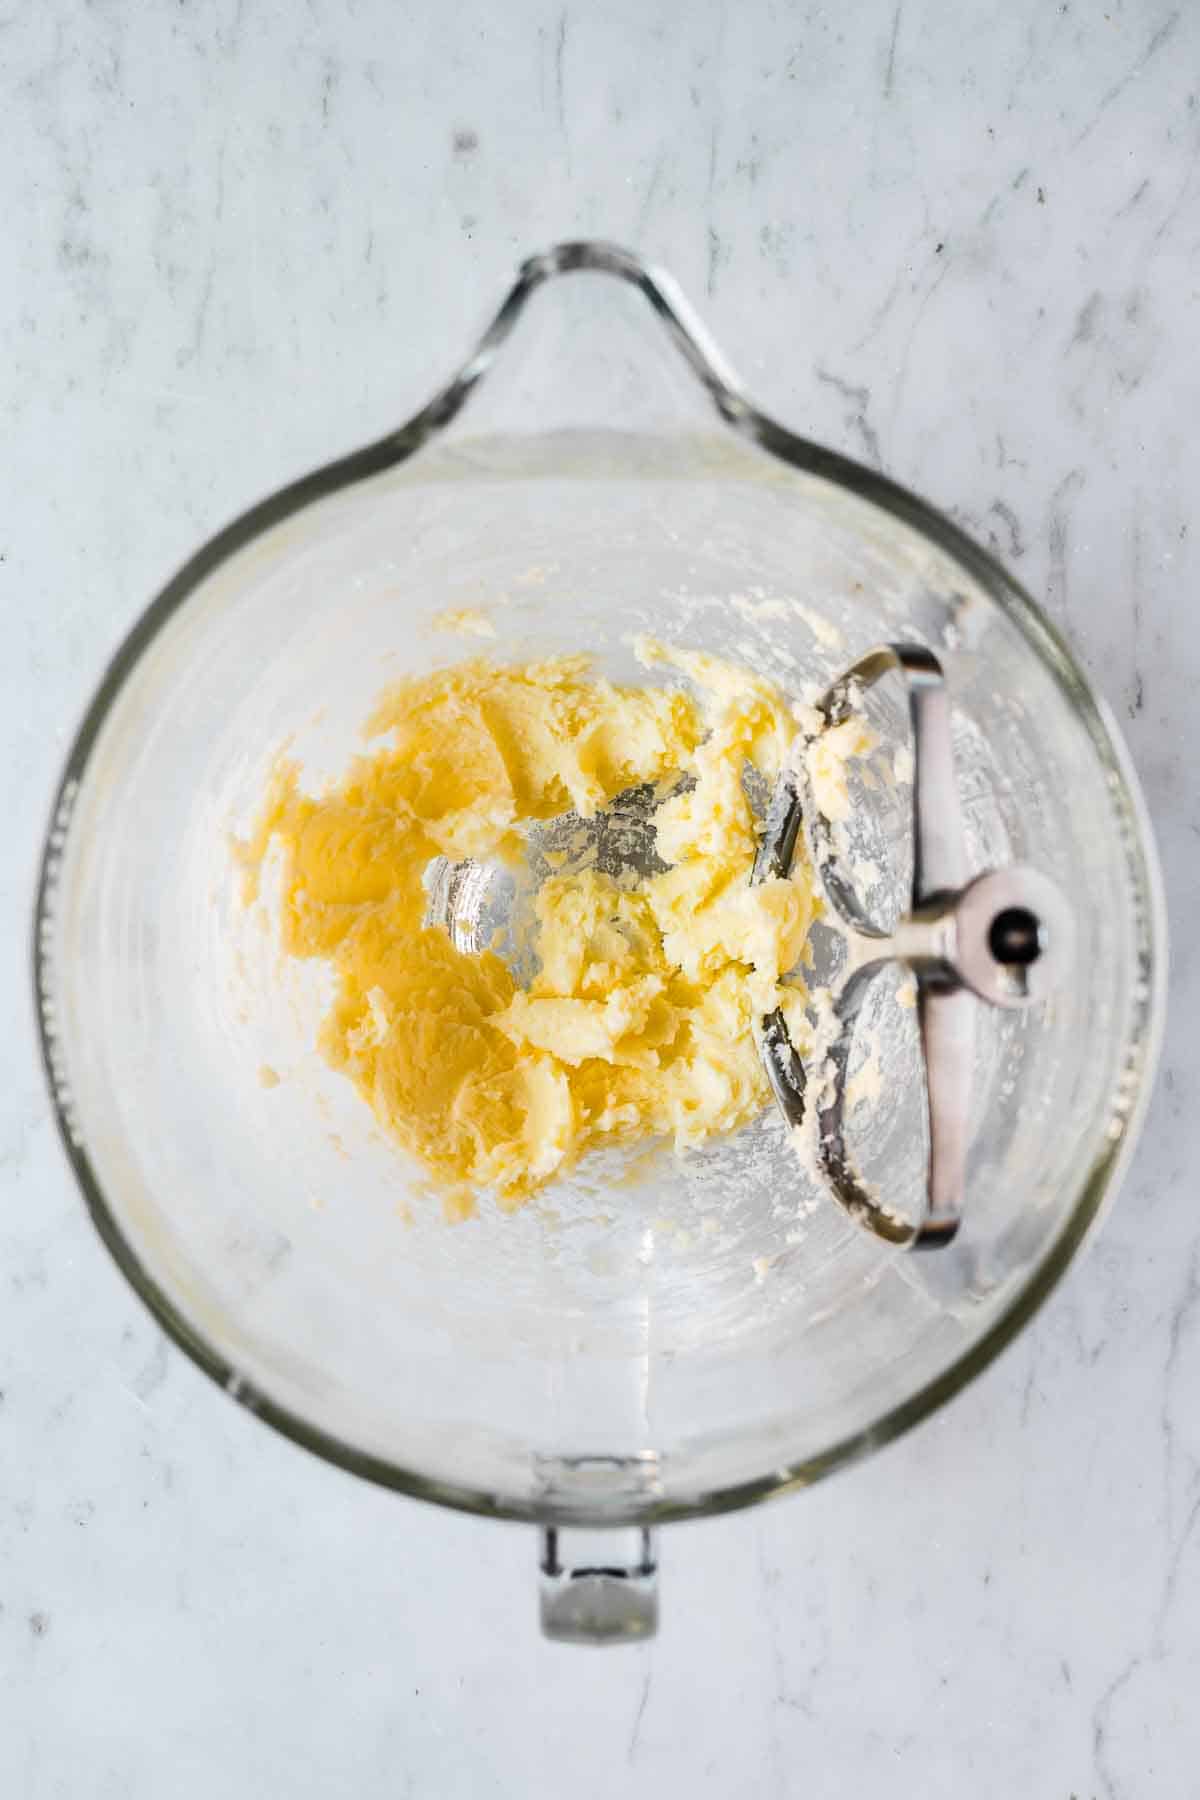
Beat on medium speed until mixture is well combined. Scrape down sides of bowl.
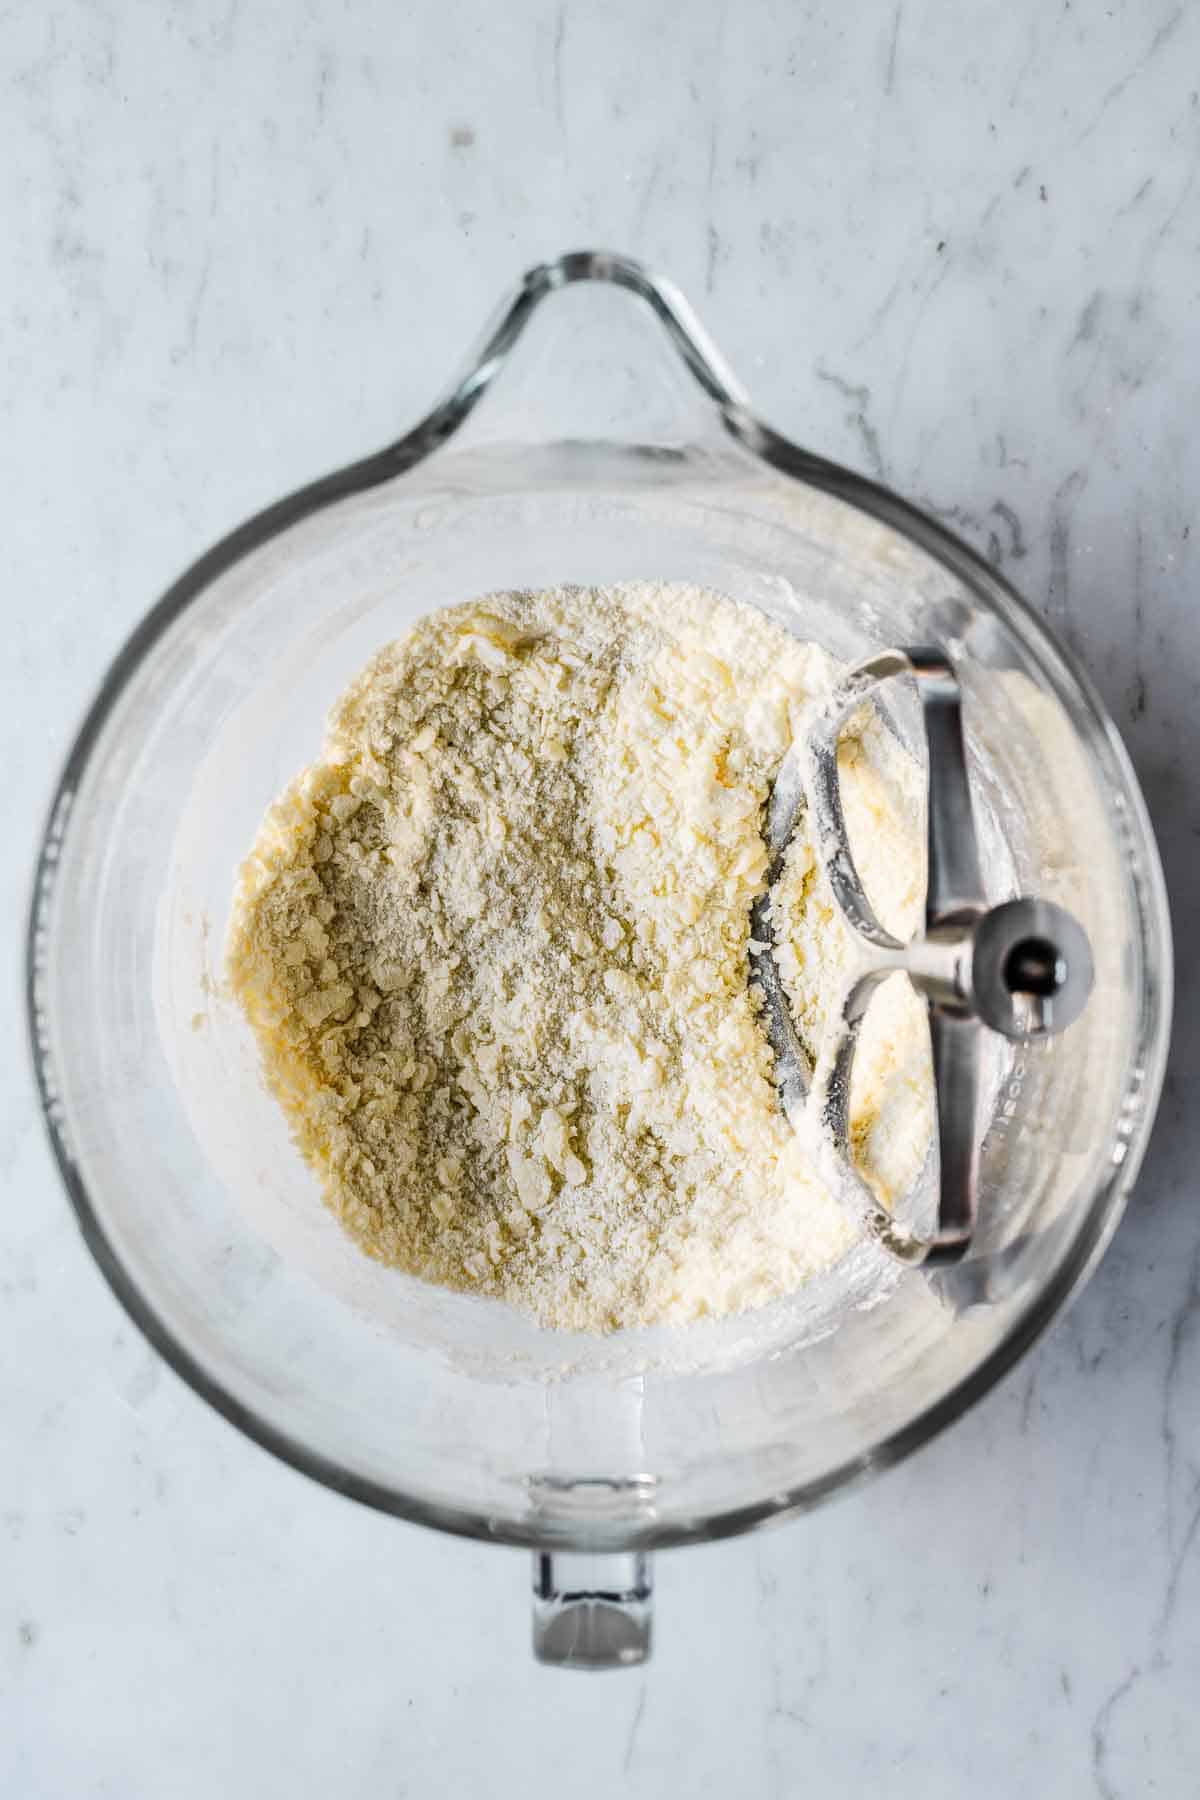
Add flour. Mix on low speed until coarse and grainy, about 1 minute. Scrape sides to incorporate all butter.
Butter pieces should break down into a combination of coarse sand and pea sized lumps.
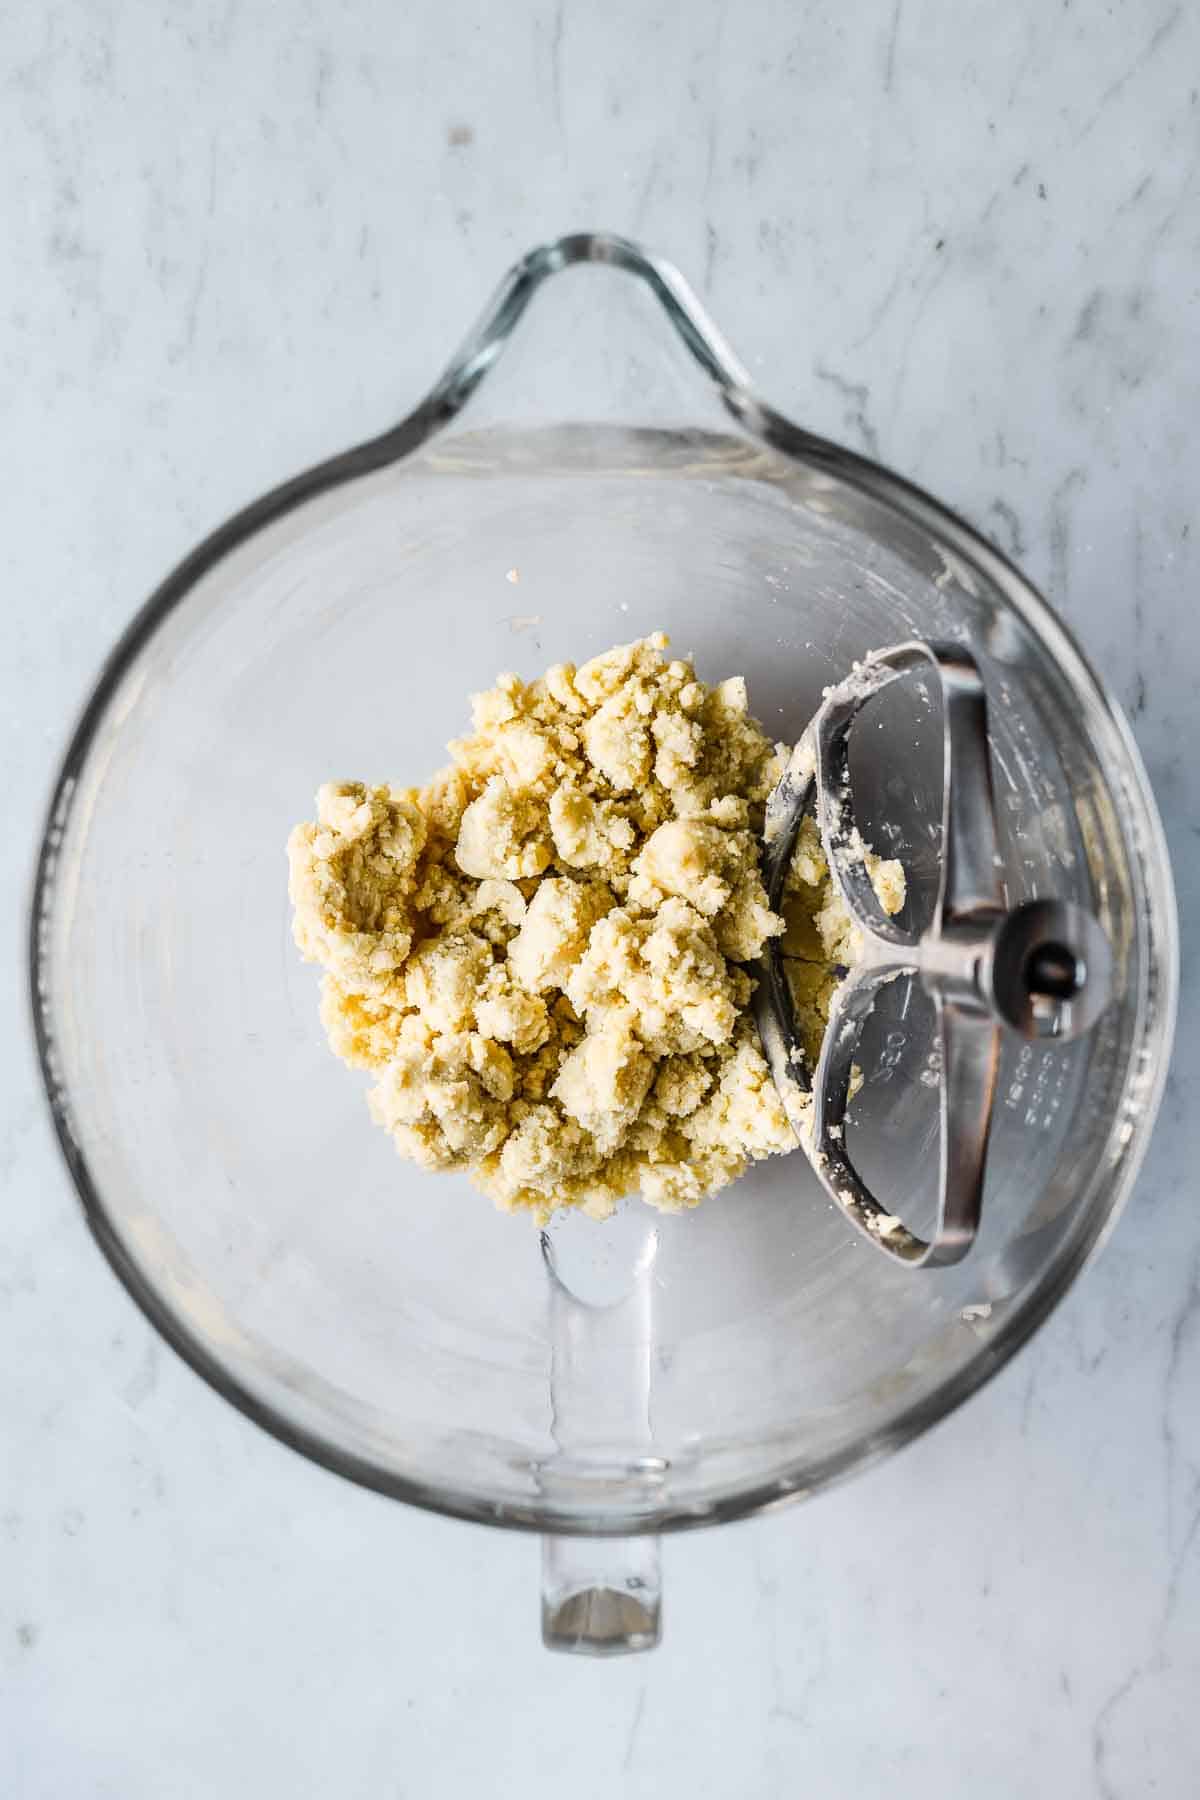
Dough should start to pull together into a ball.
Even if it doesn't, dough should stay together when you pinch it between your fingers.
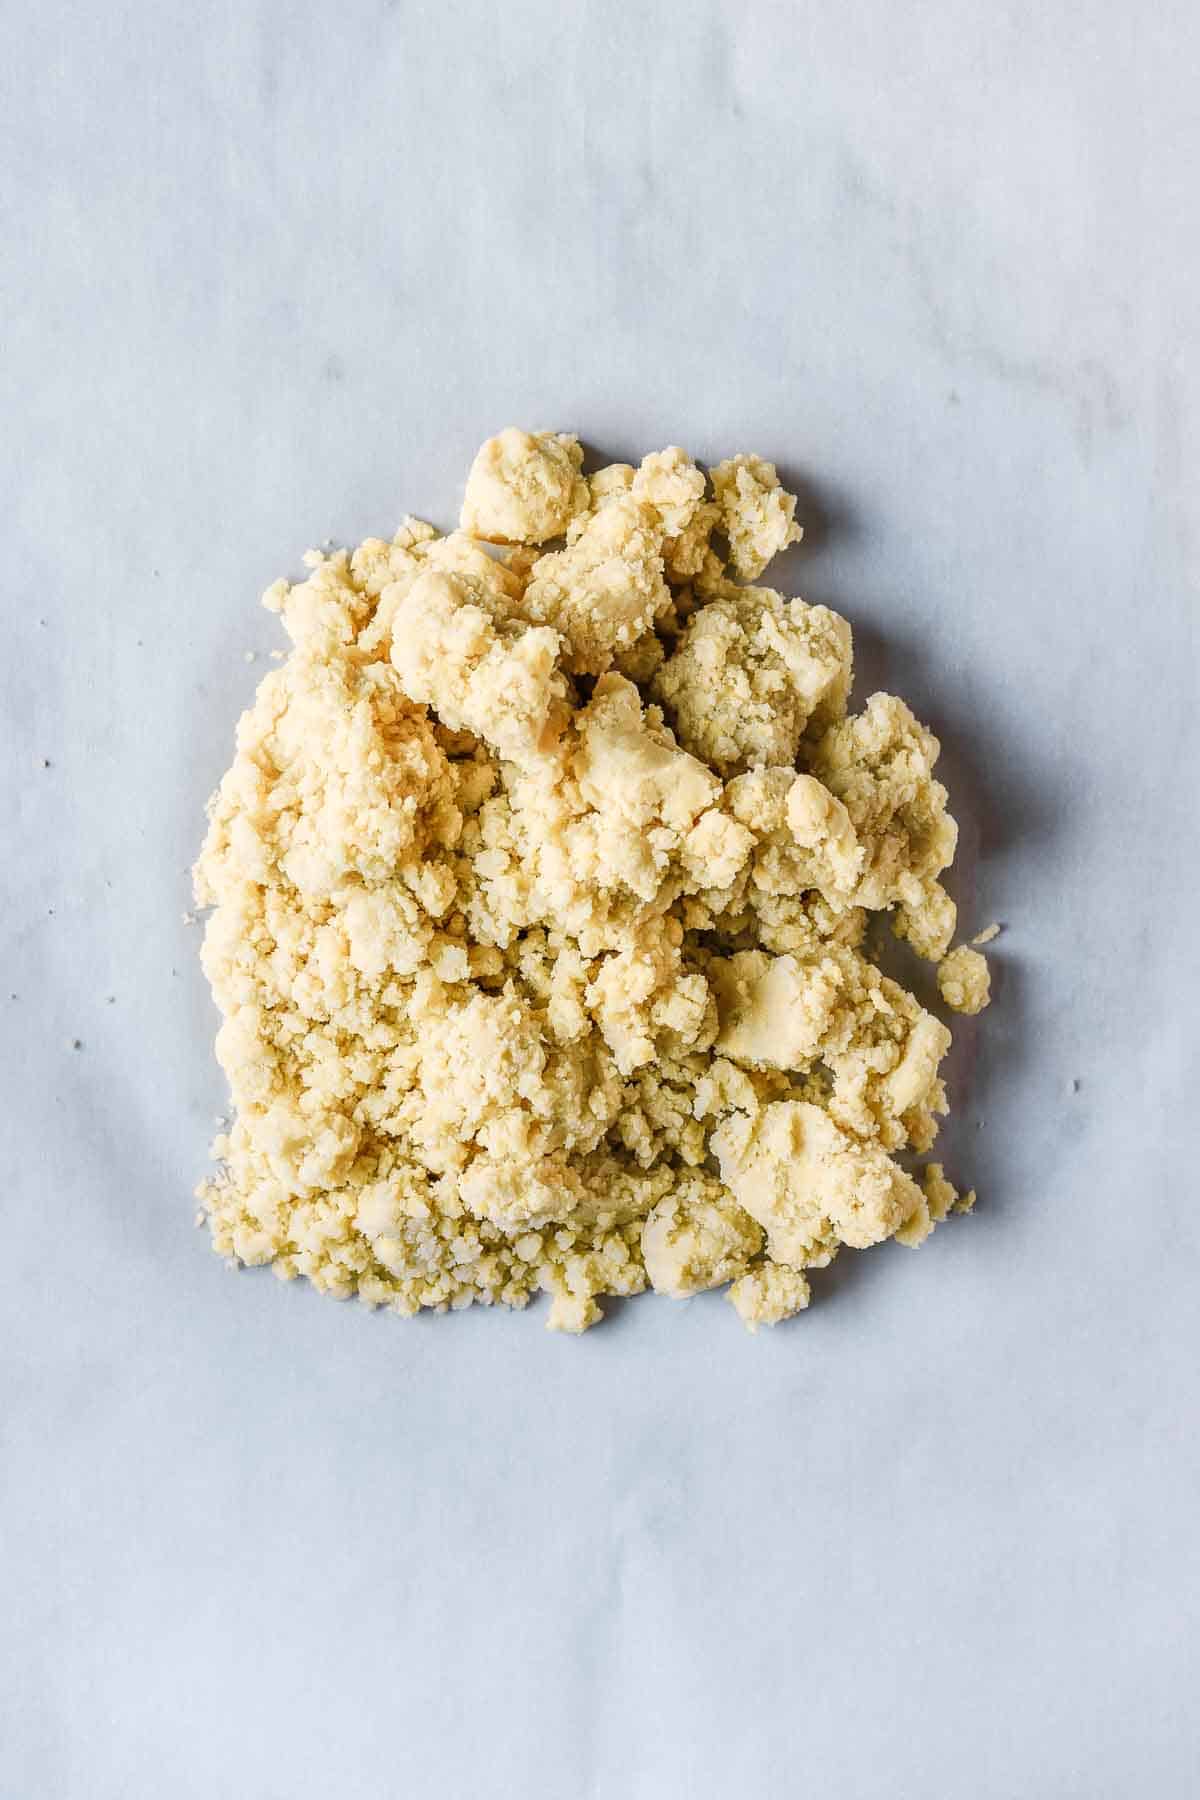
Dump mixture out onto a large piece of parchment paper.
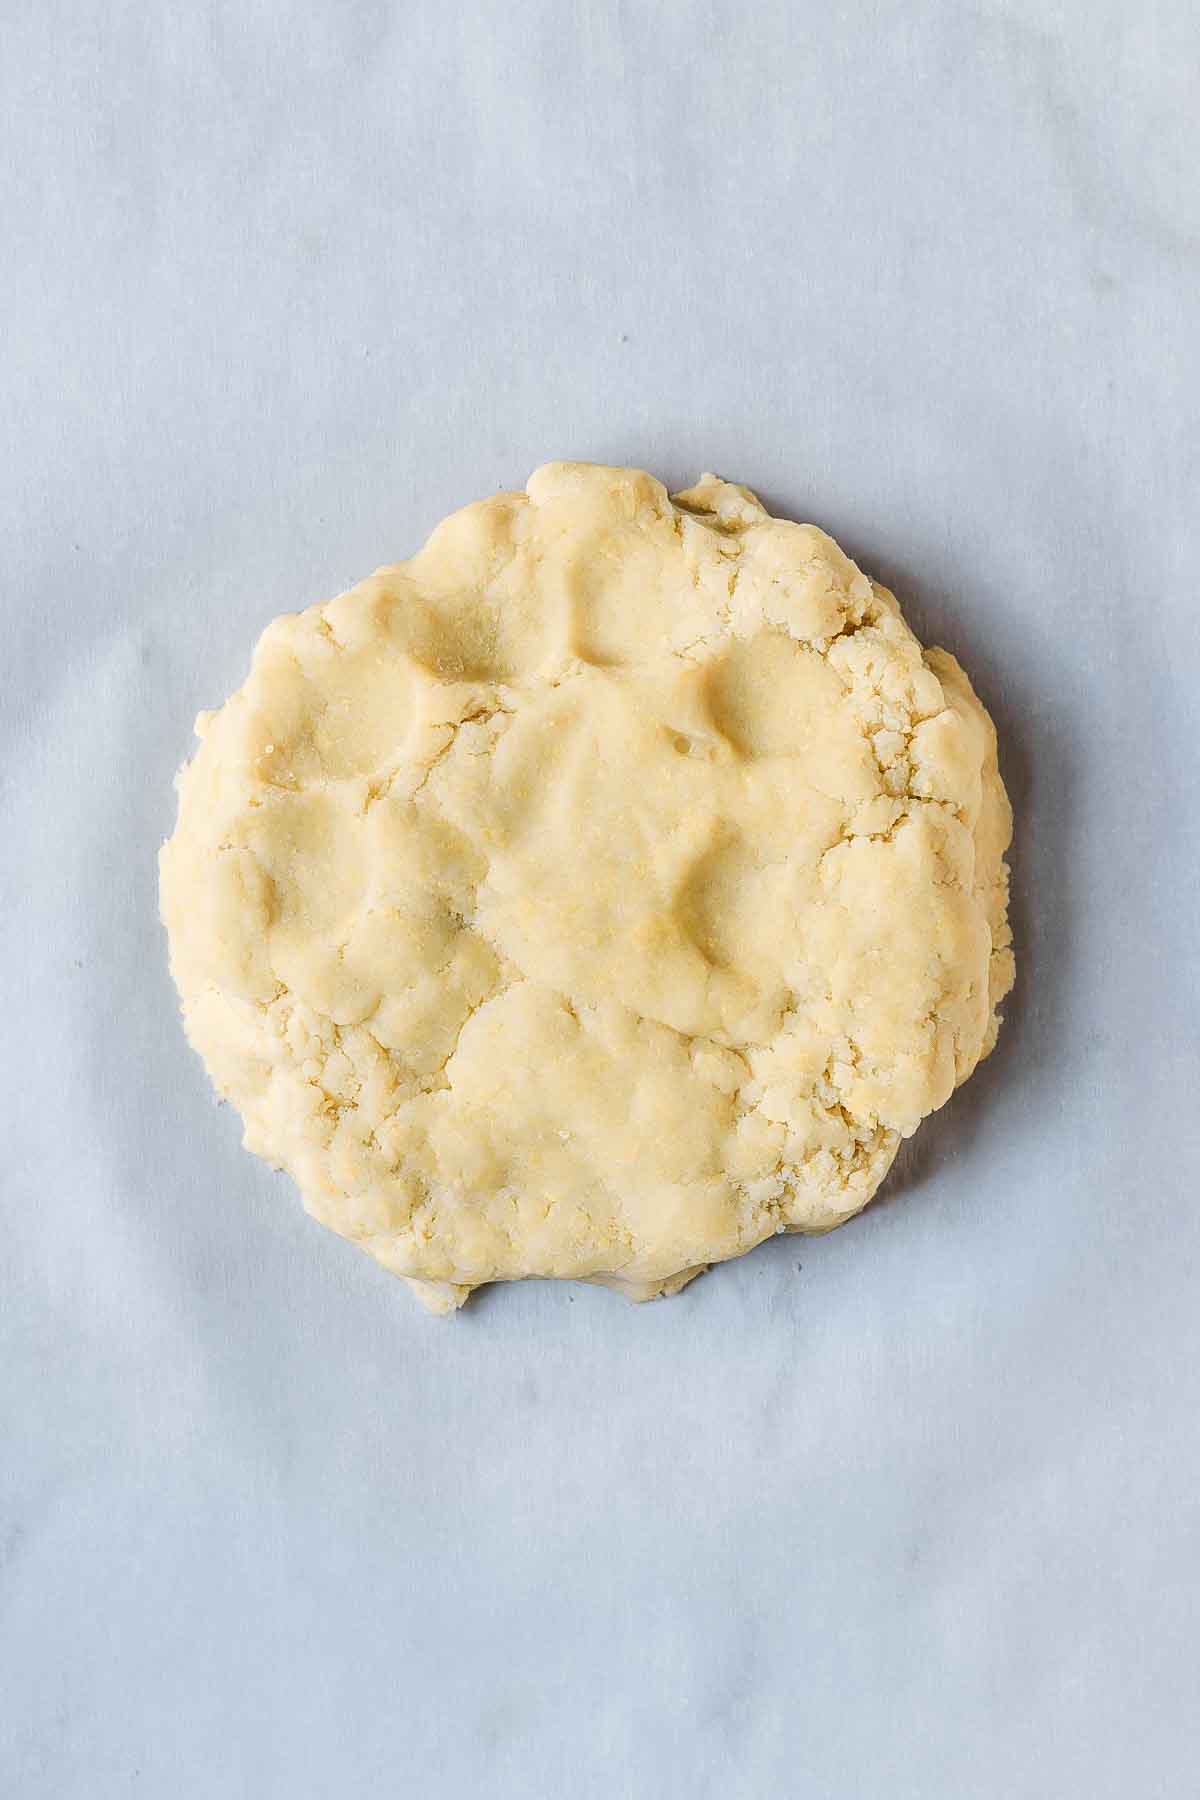
Press dough into a disc shape and cover with another piece of parchment.
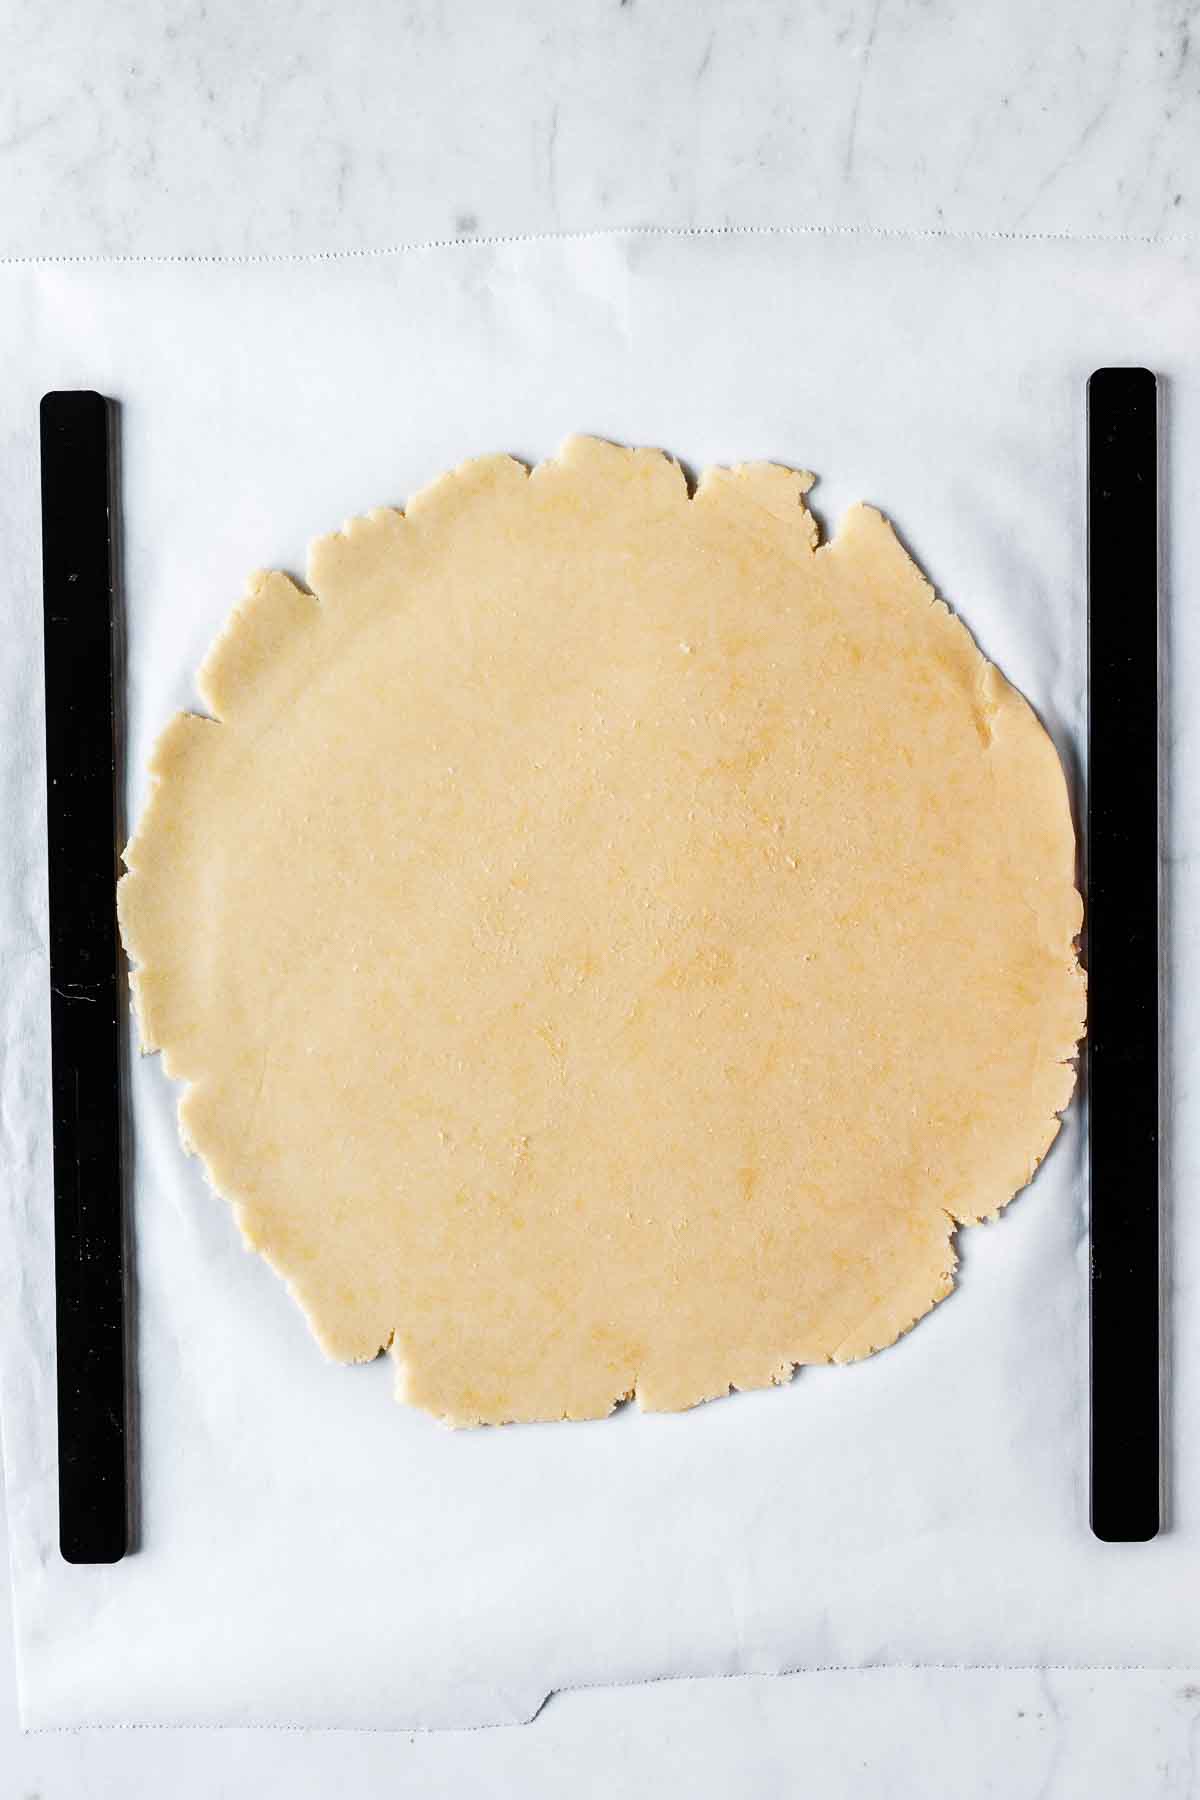
Roll dough into 11 inch circle with a thickness of ¼ inch (6 mm).
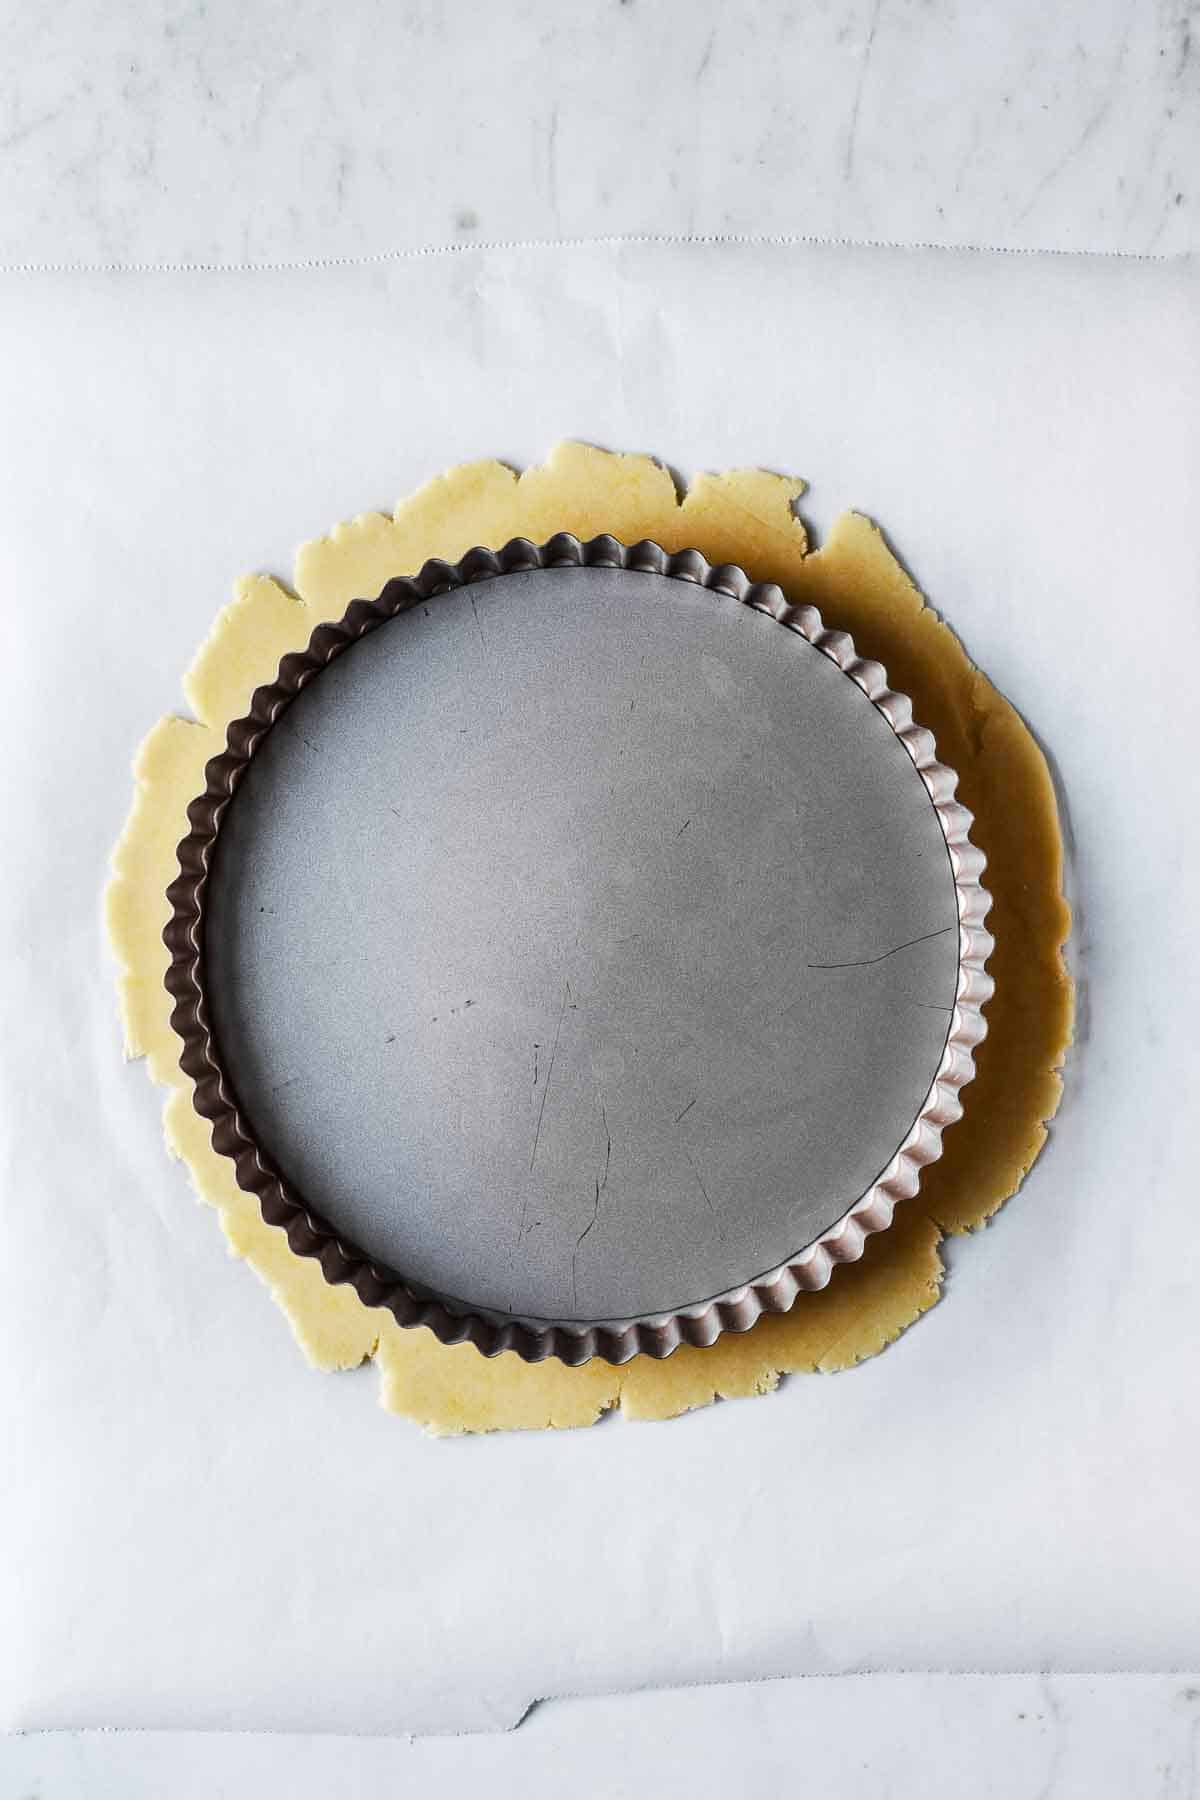
Check size using tart pan for reference.
Hint: If dough is still cool enough to be workable, proceed. If dough is sticky and warm, place in fridge for 5-10 minutes before moving on to next step.
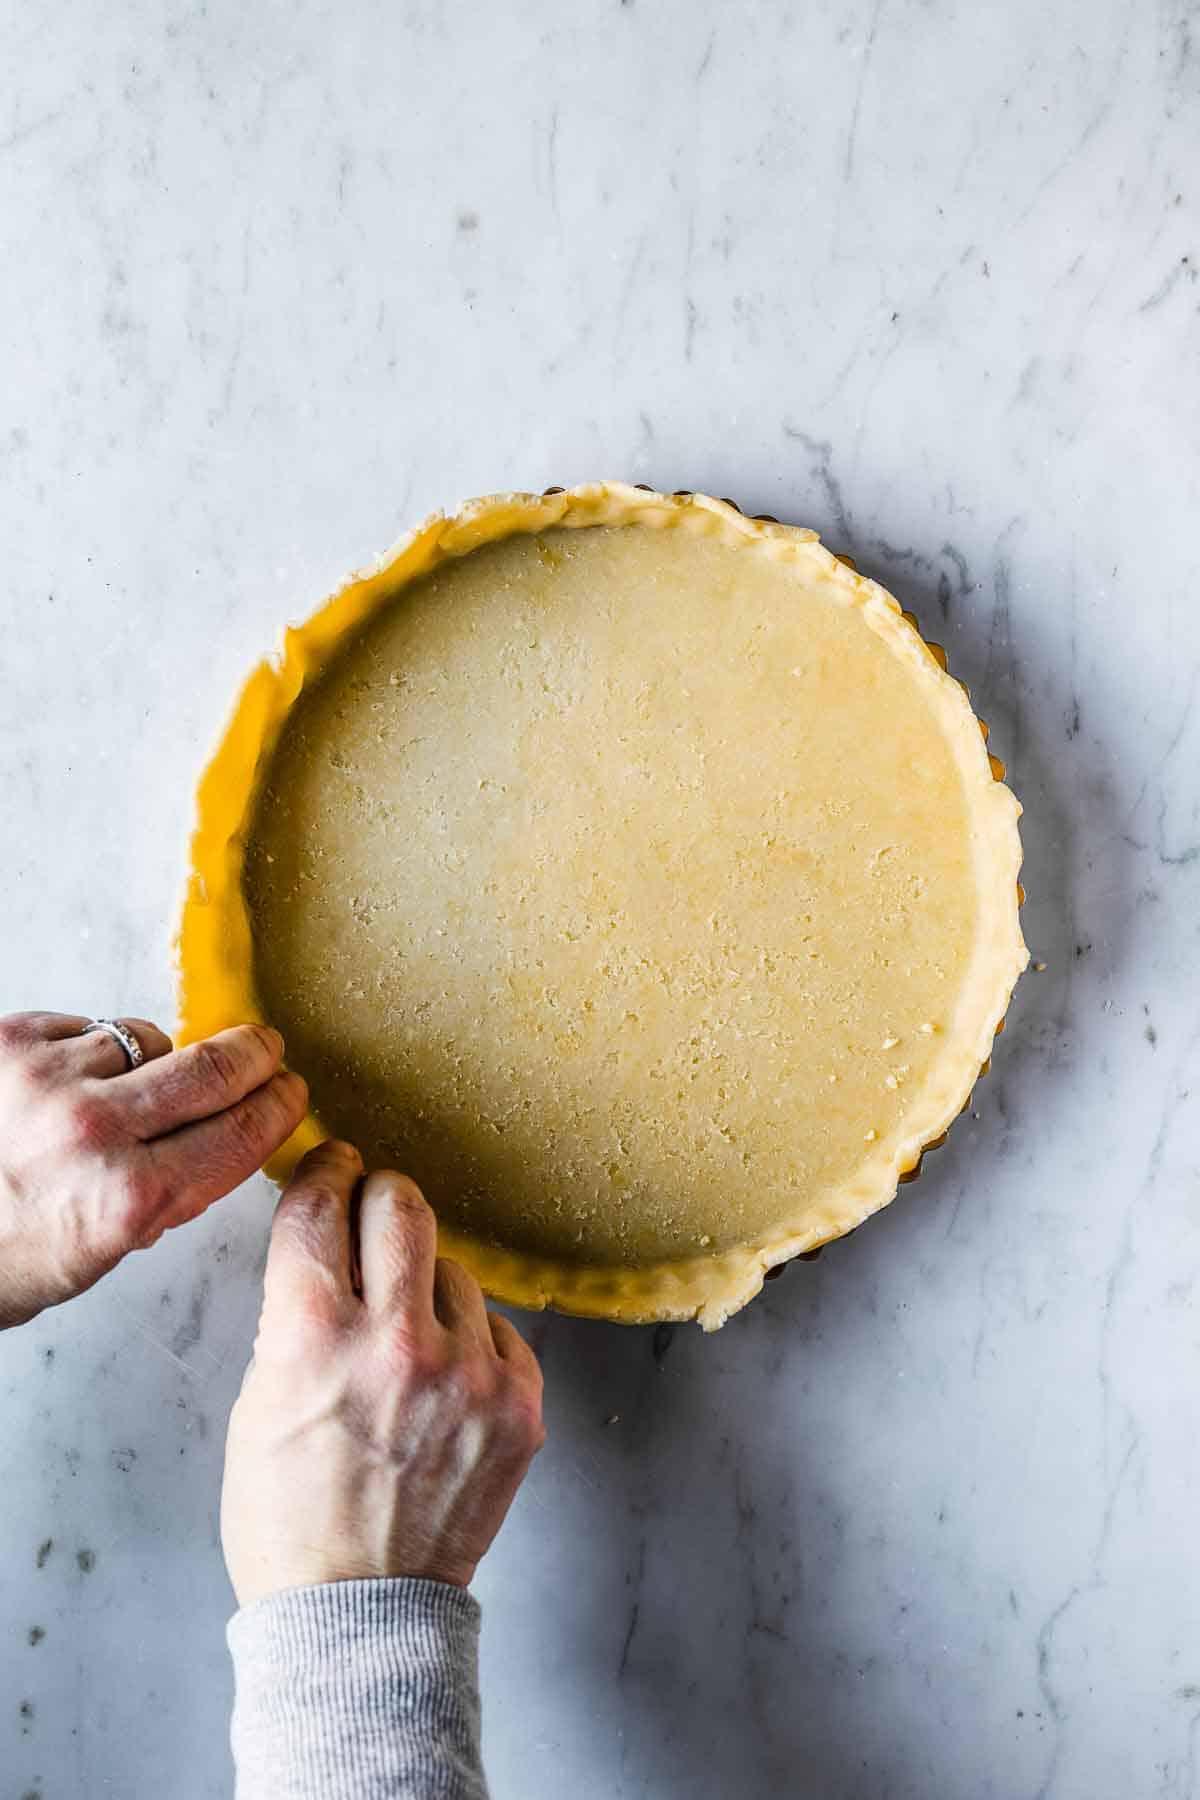
Peel top layer of parchment off dough. Loosely replace parchment, flip dough over, and discard top layer of parchment.
Use your hand under parchment to carefully flip rolled out dough onto tart pan. Lift sides of dough up and away from sharp tart edge. Press dough into base and corners of pan. Do not trim excess dough.
Chill in the fridge, uncovered, for minimum 1 hour.
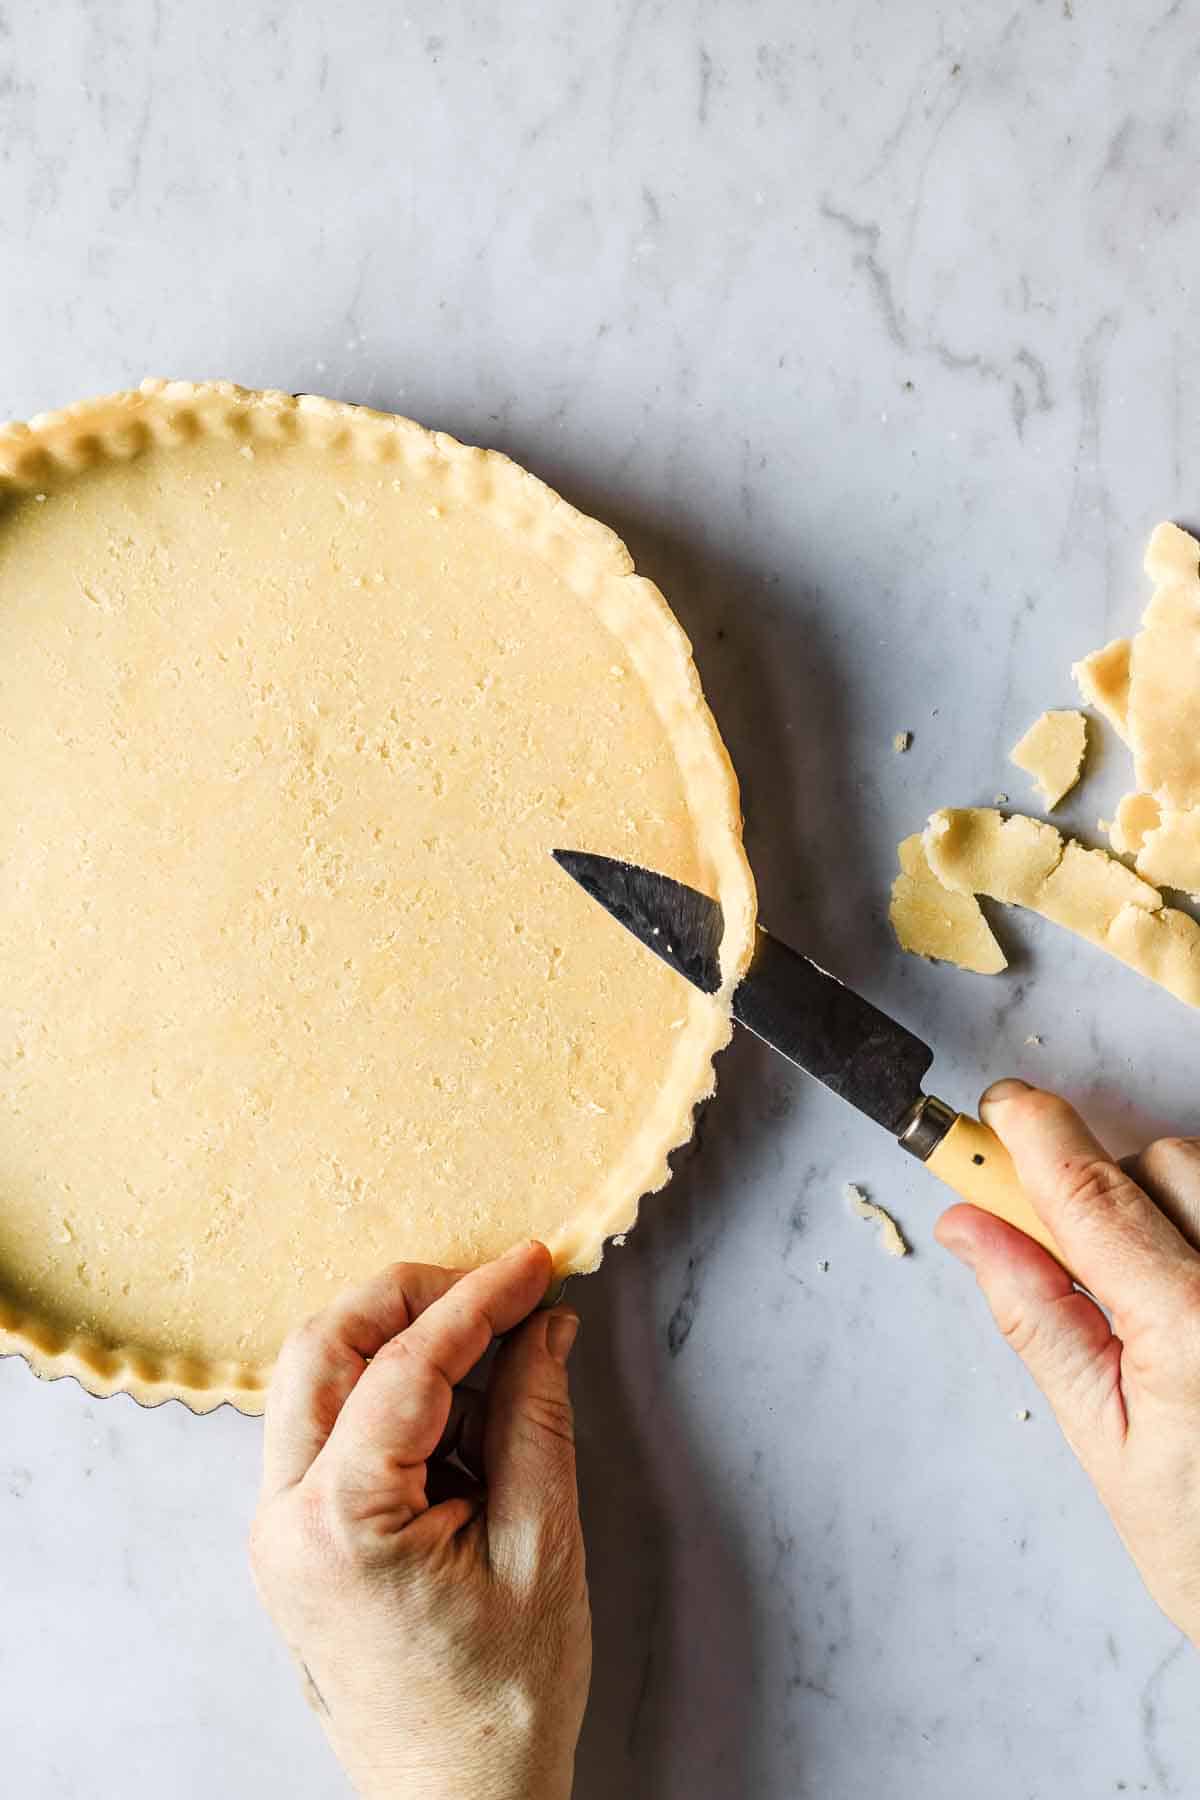
Remove chilled tart from refrigerator. Trim excess dough with knife held parallel to work surface to ensure tart shell has a clean edge.
Hint: When placing dough in pan, make sure to press dough gently into all corners for a tight fit. If any cracks or tears occur, patch with extra dough scraps. It's very forgiving!
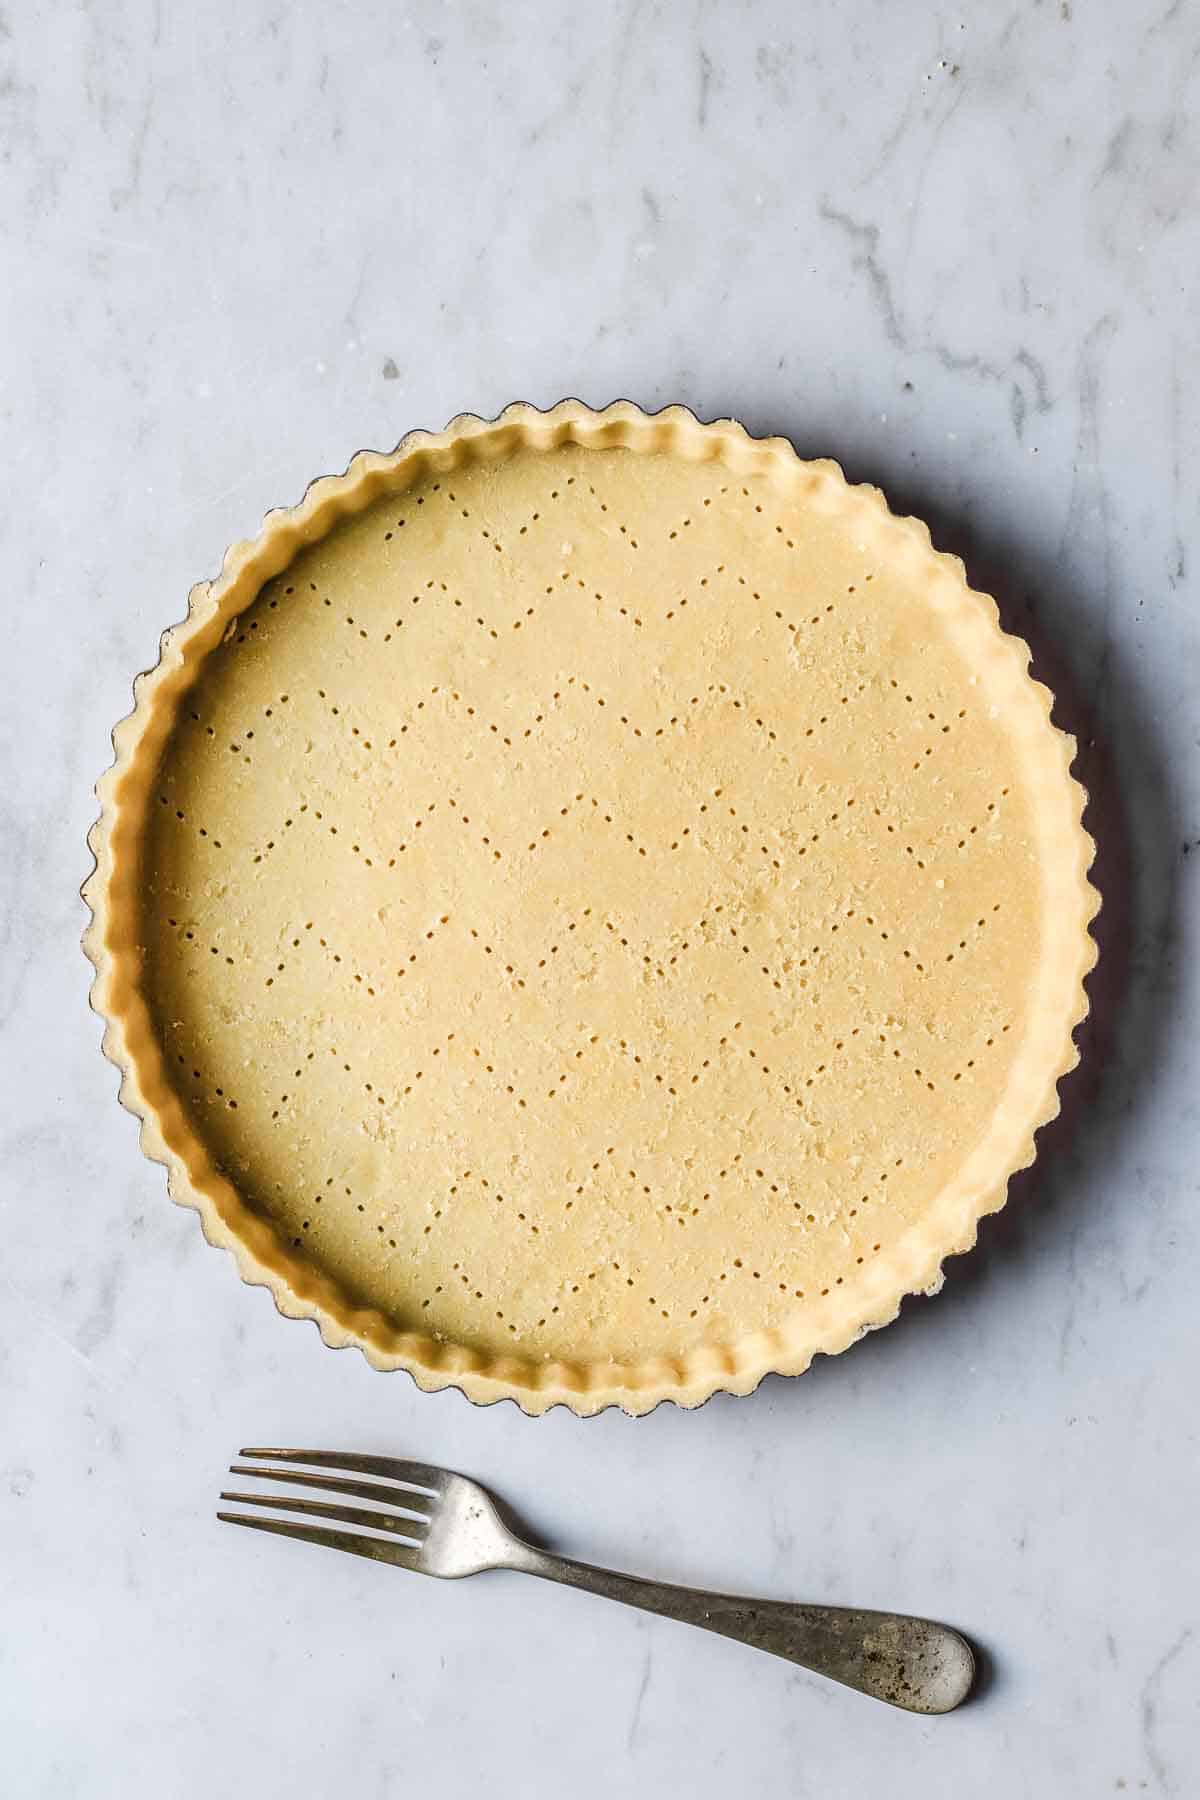
Use a fork to dock the base of the dough (prick holes in it.)
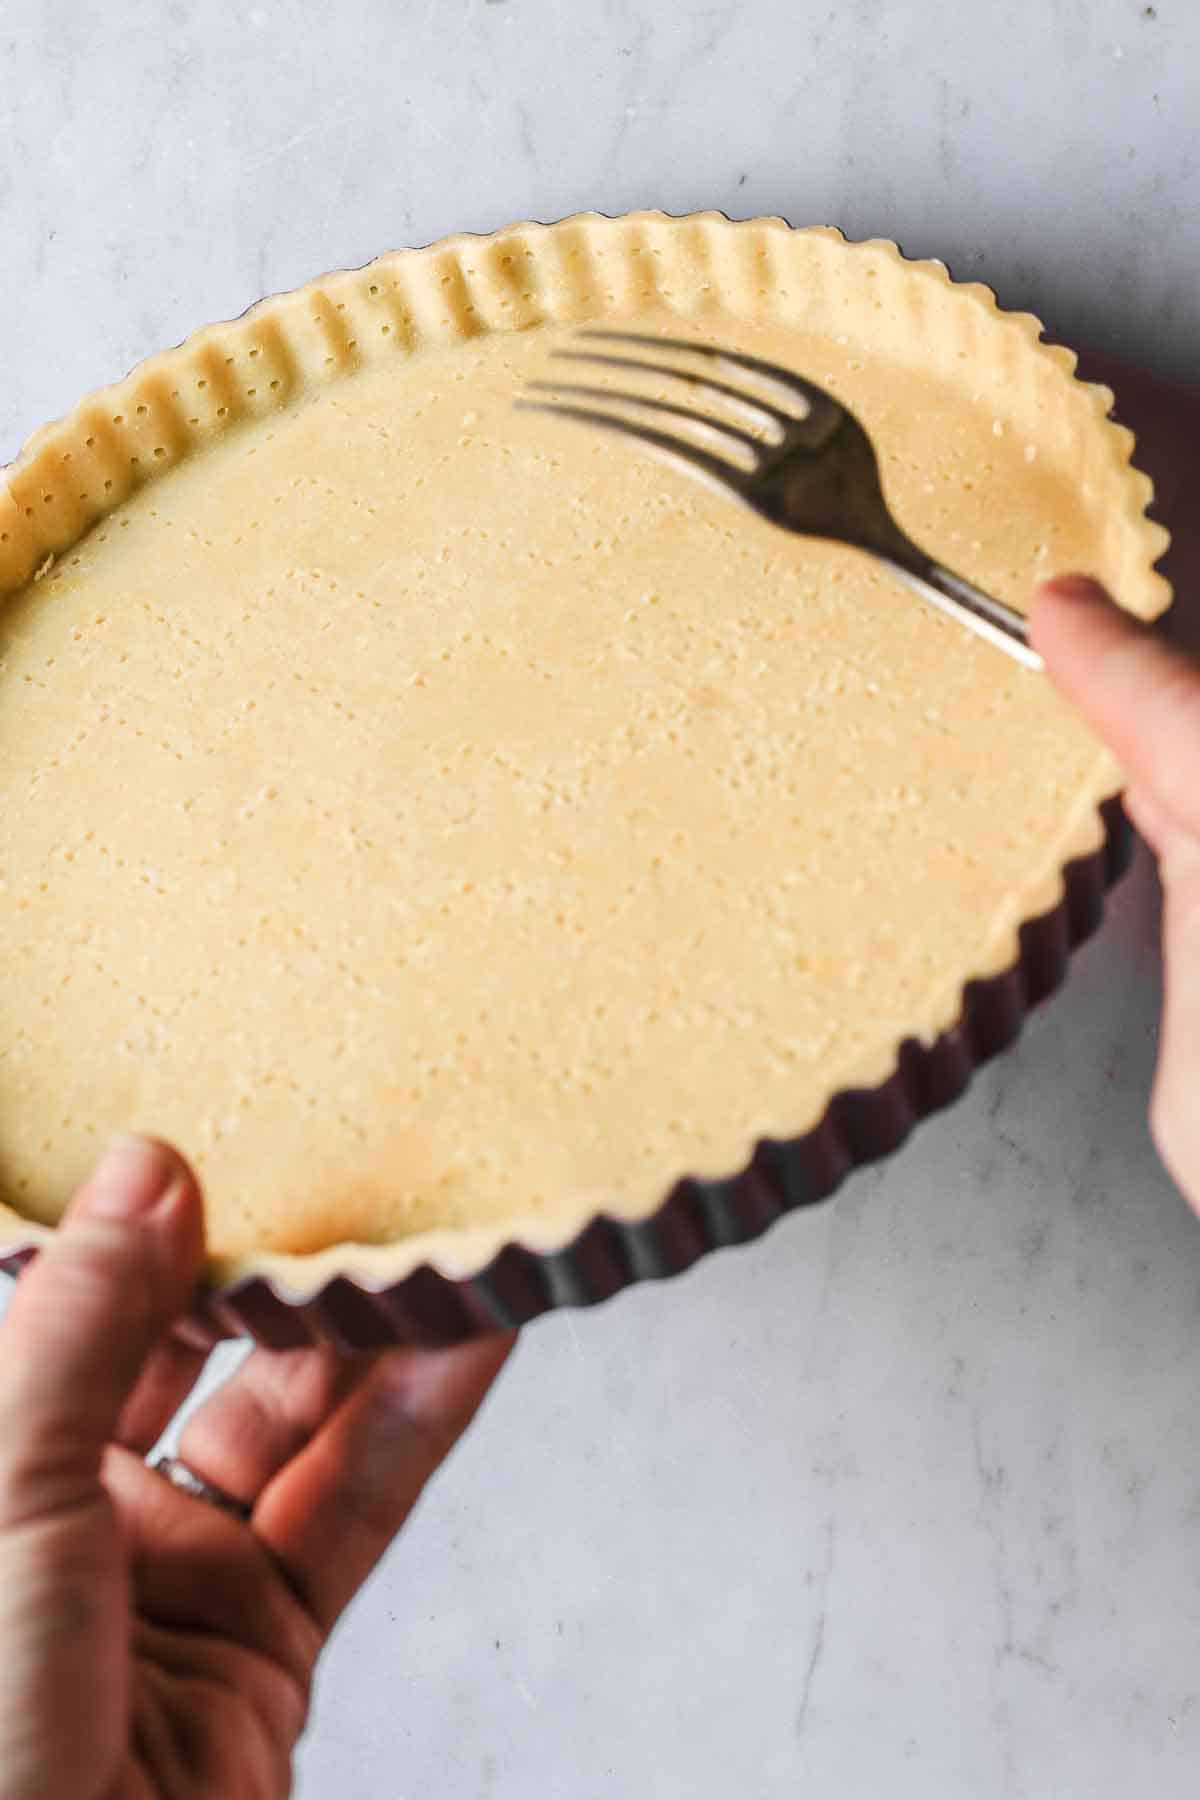
Hold the fork flat to dock the sides of the tart in two horizontal rows.
Place tart shell onto parchment lined baking sheet and bake for 25 minutes, until crust becomes dull and begins to turn pale golden color. Remove from oven and let cool for 3-5 minutes.
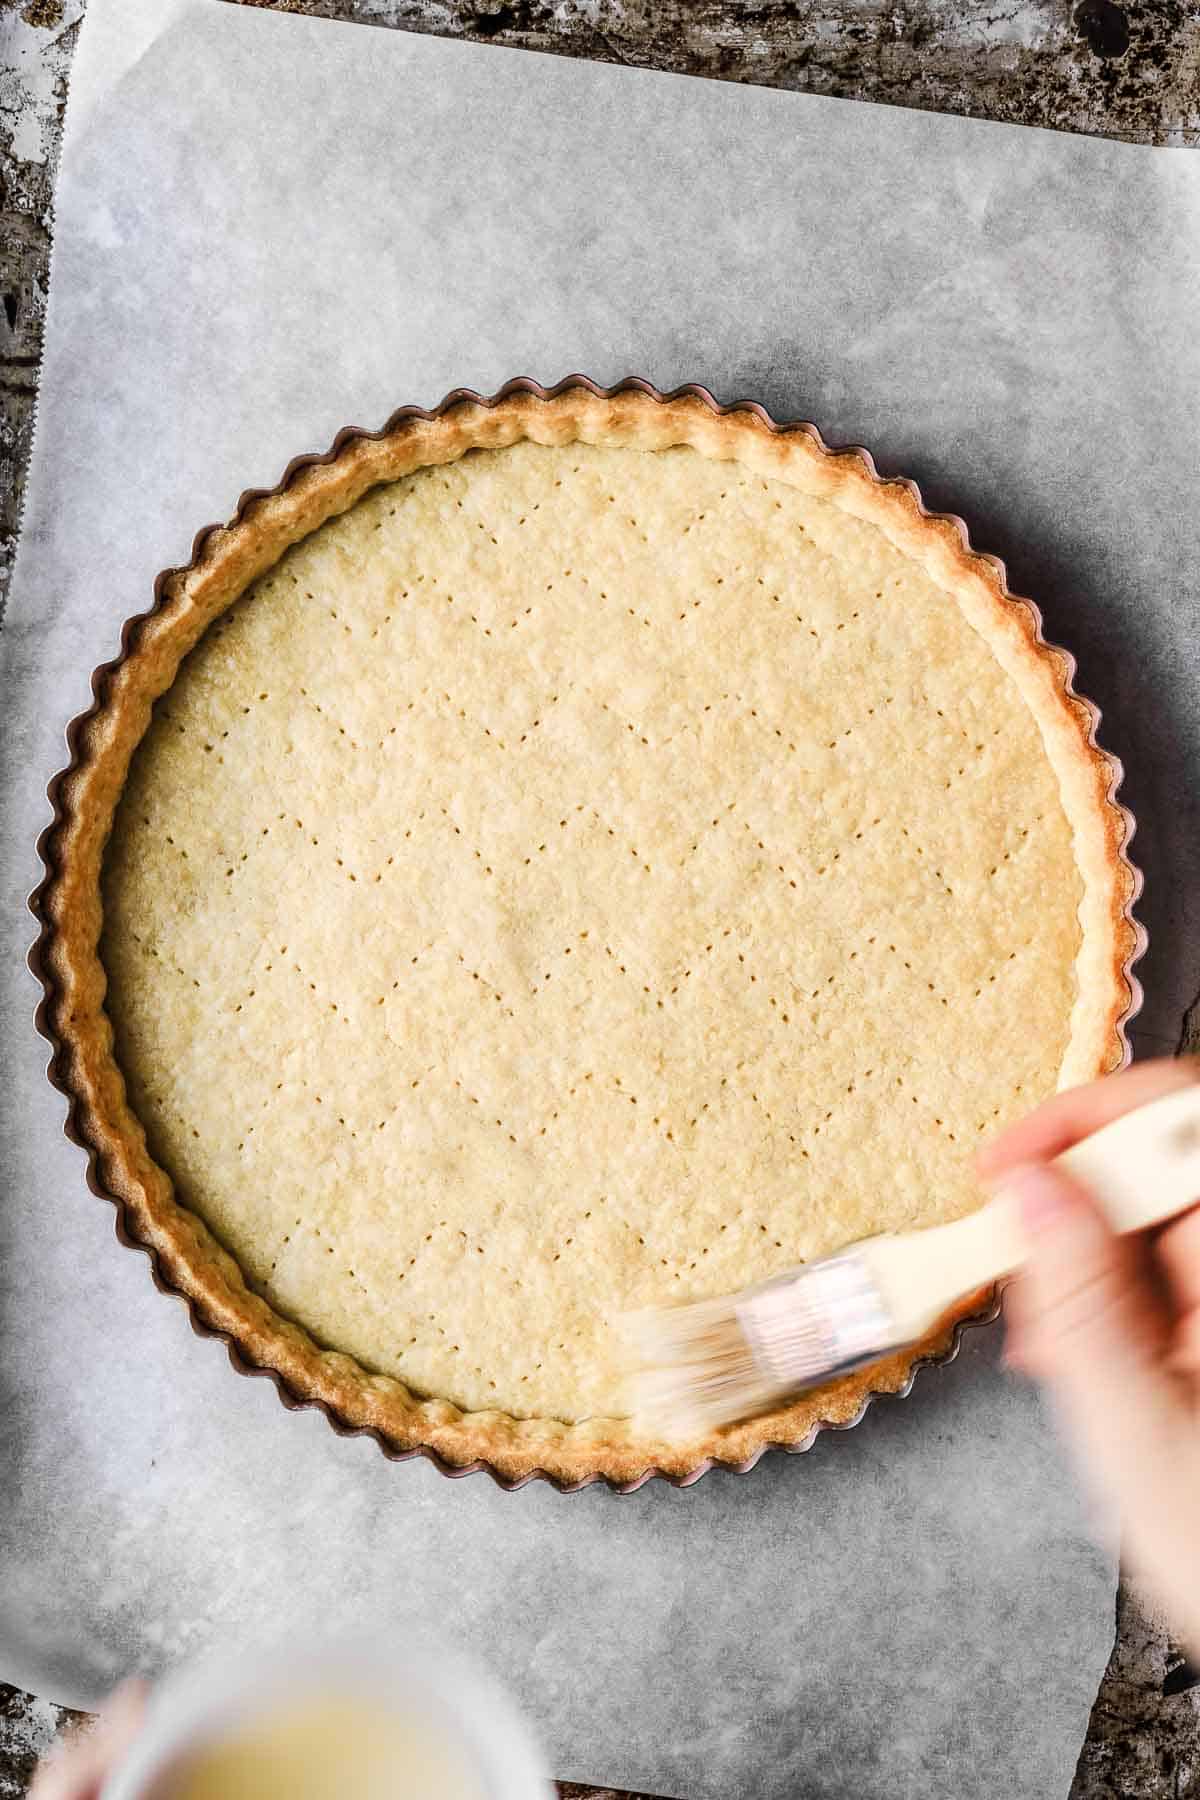
Using a pastry brush, brush the base and sides of tart with egg white mix.
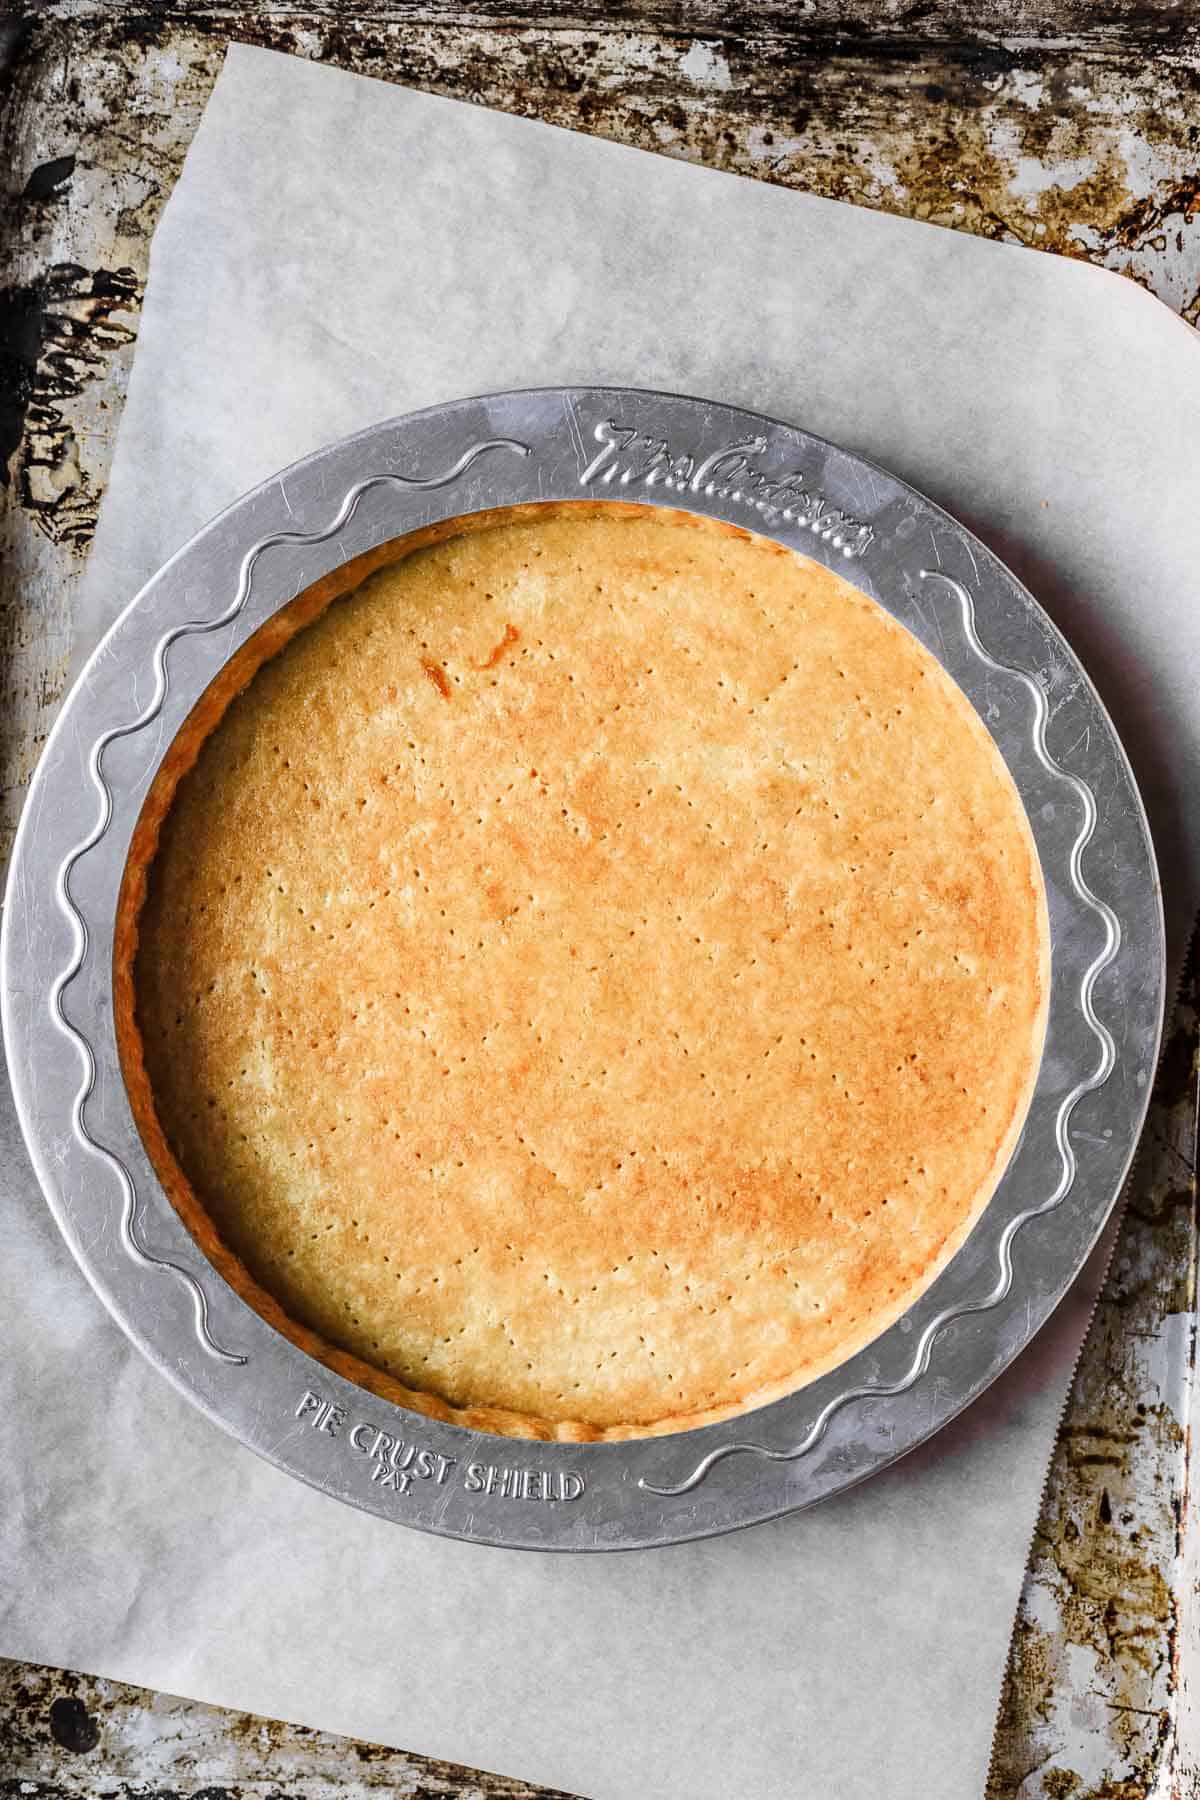
Bake tart crust for additional 10-15 minutes, to desired shade of golden brown.
You may need to add pie shield here to protect edges of the tart from browning too much.
Remove from oven. Cool completely in tart pan on a cooling rack.
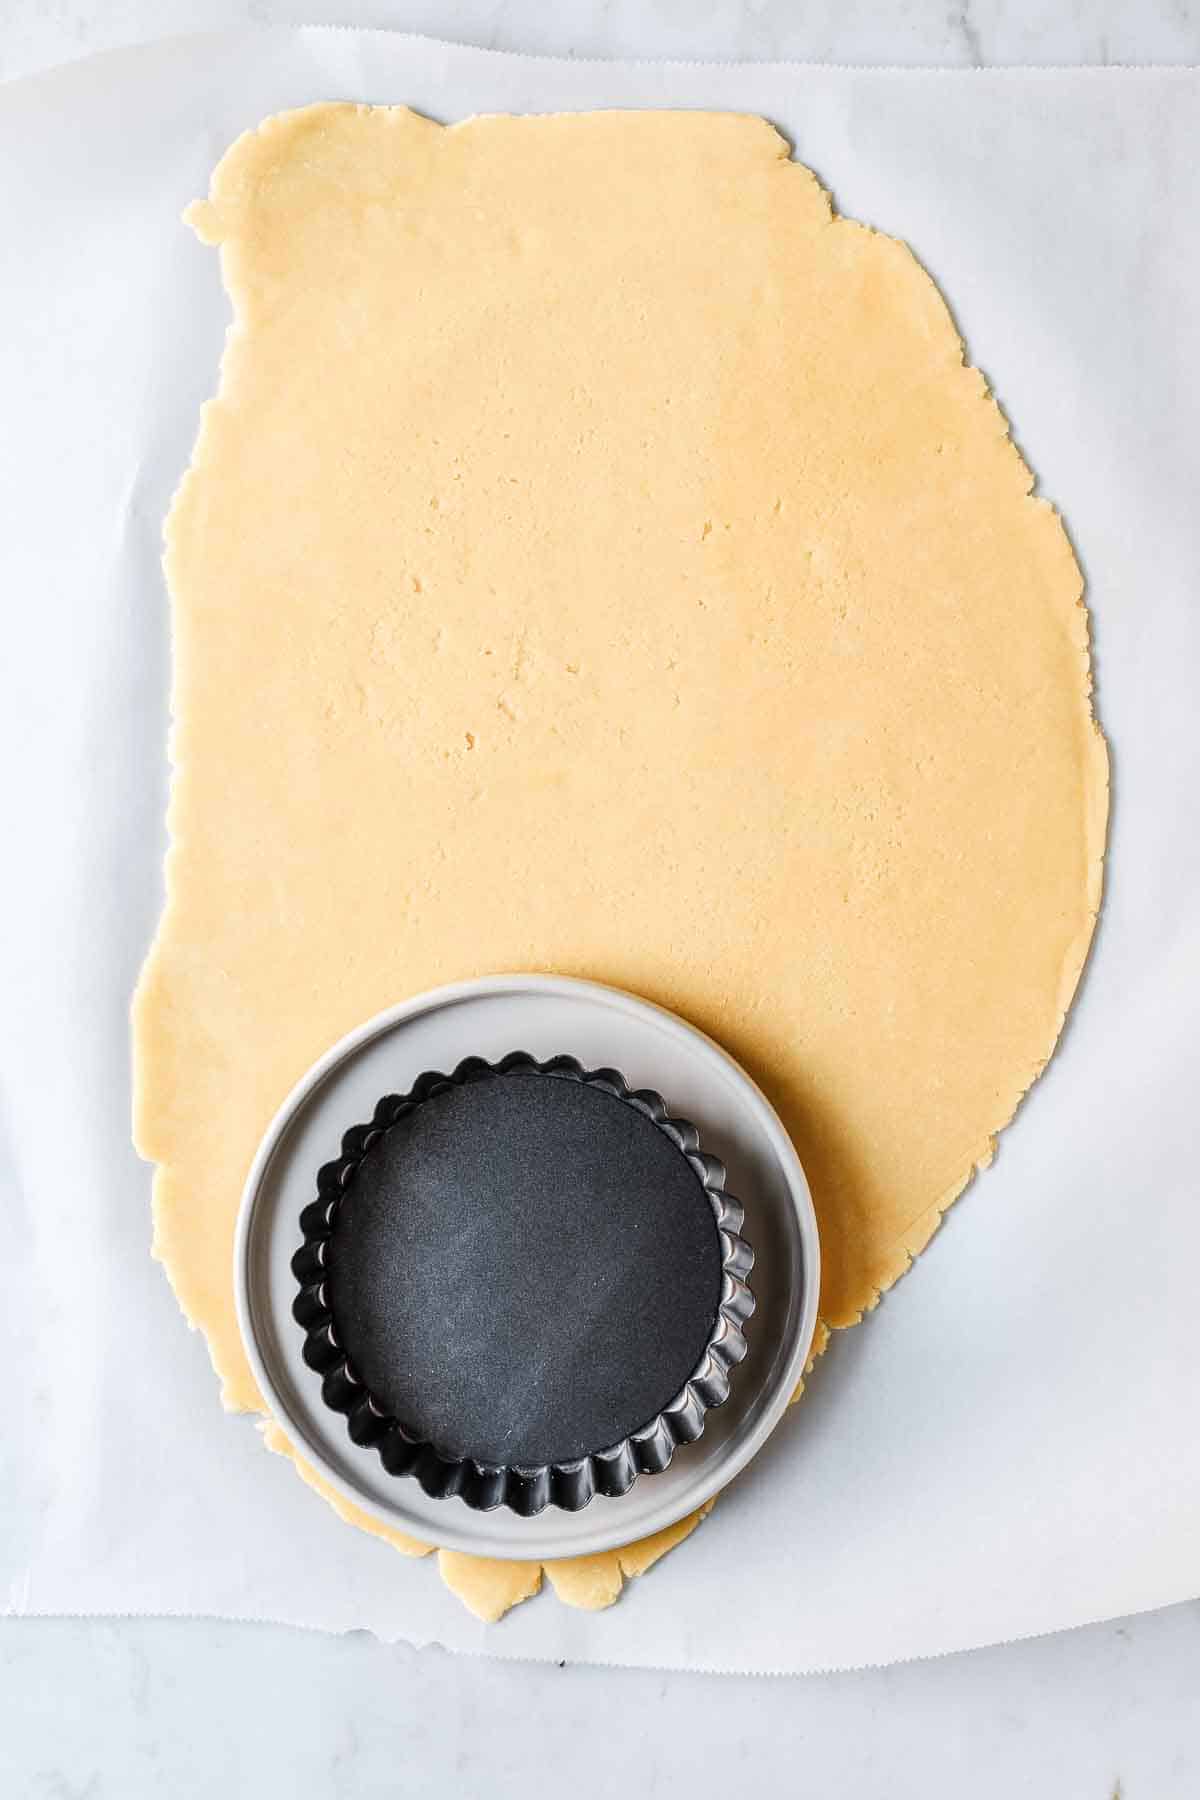
For 4 inch mini tarts, use a larger plate or bowl as a guide to cut out circles.
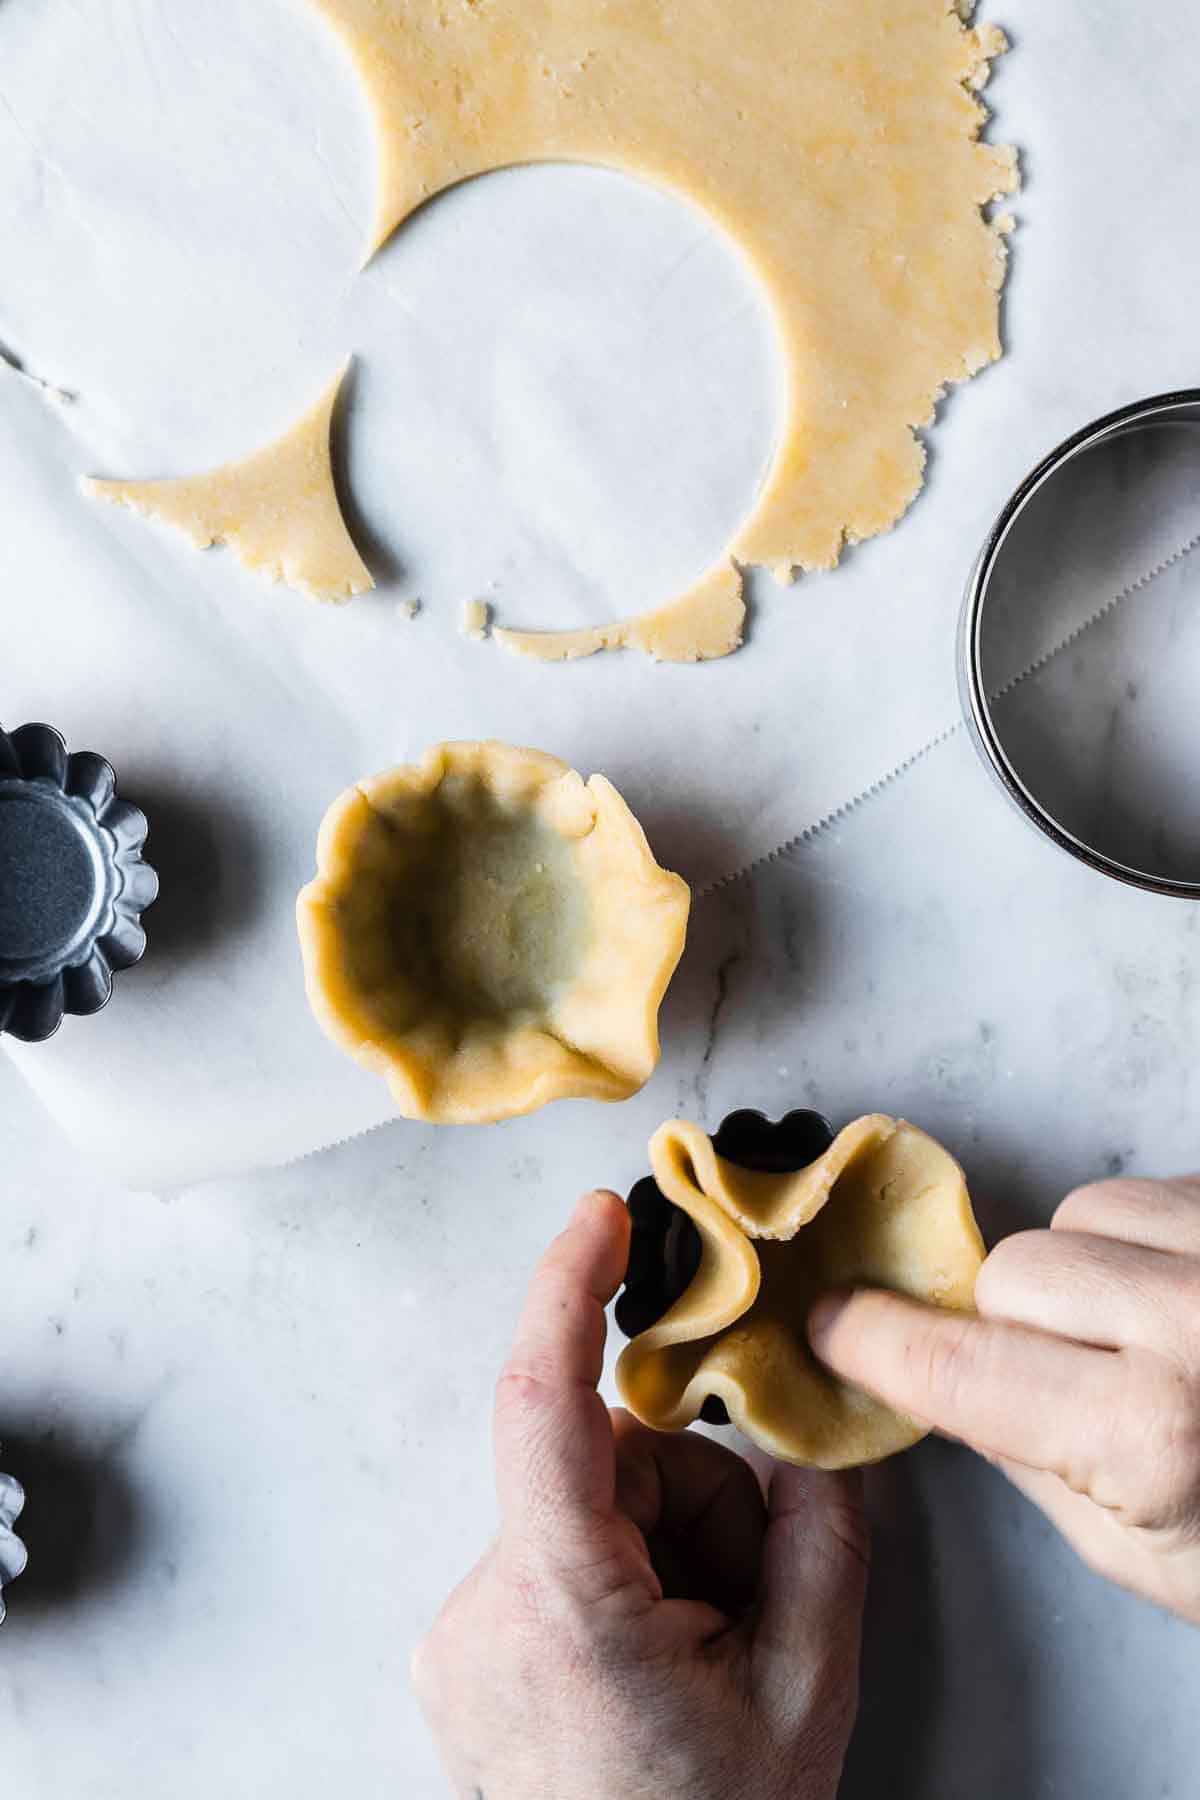
For 2.6 inch tartlets, use a glass or a 3 ¼ inch round cookie cutter.
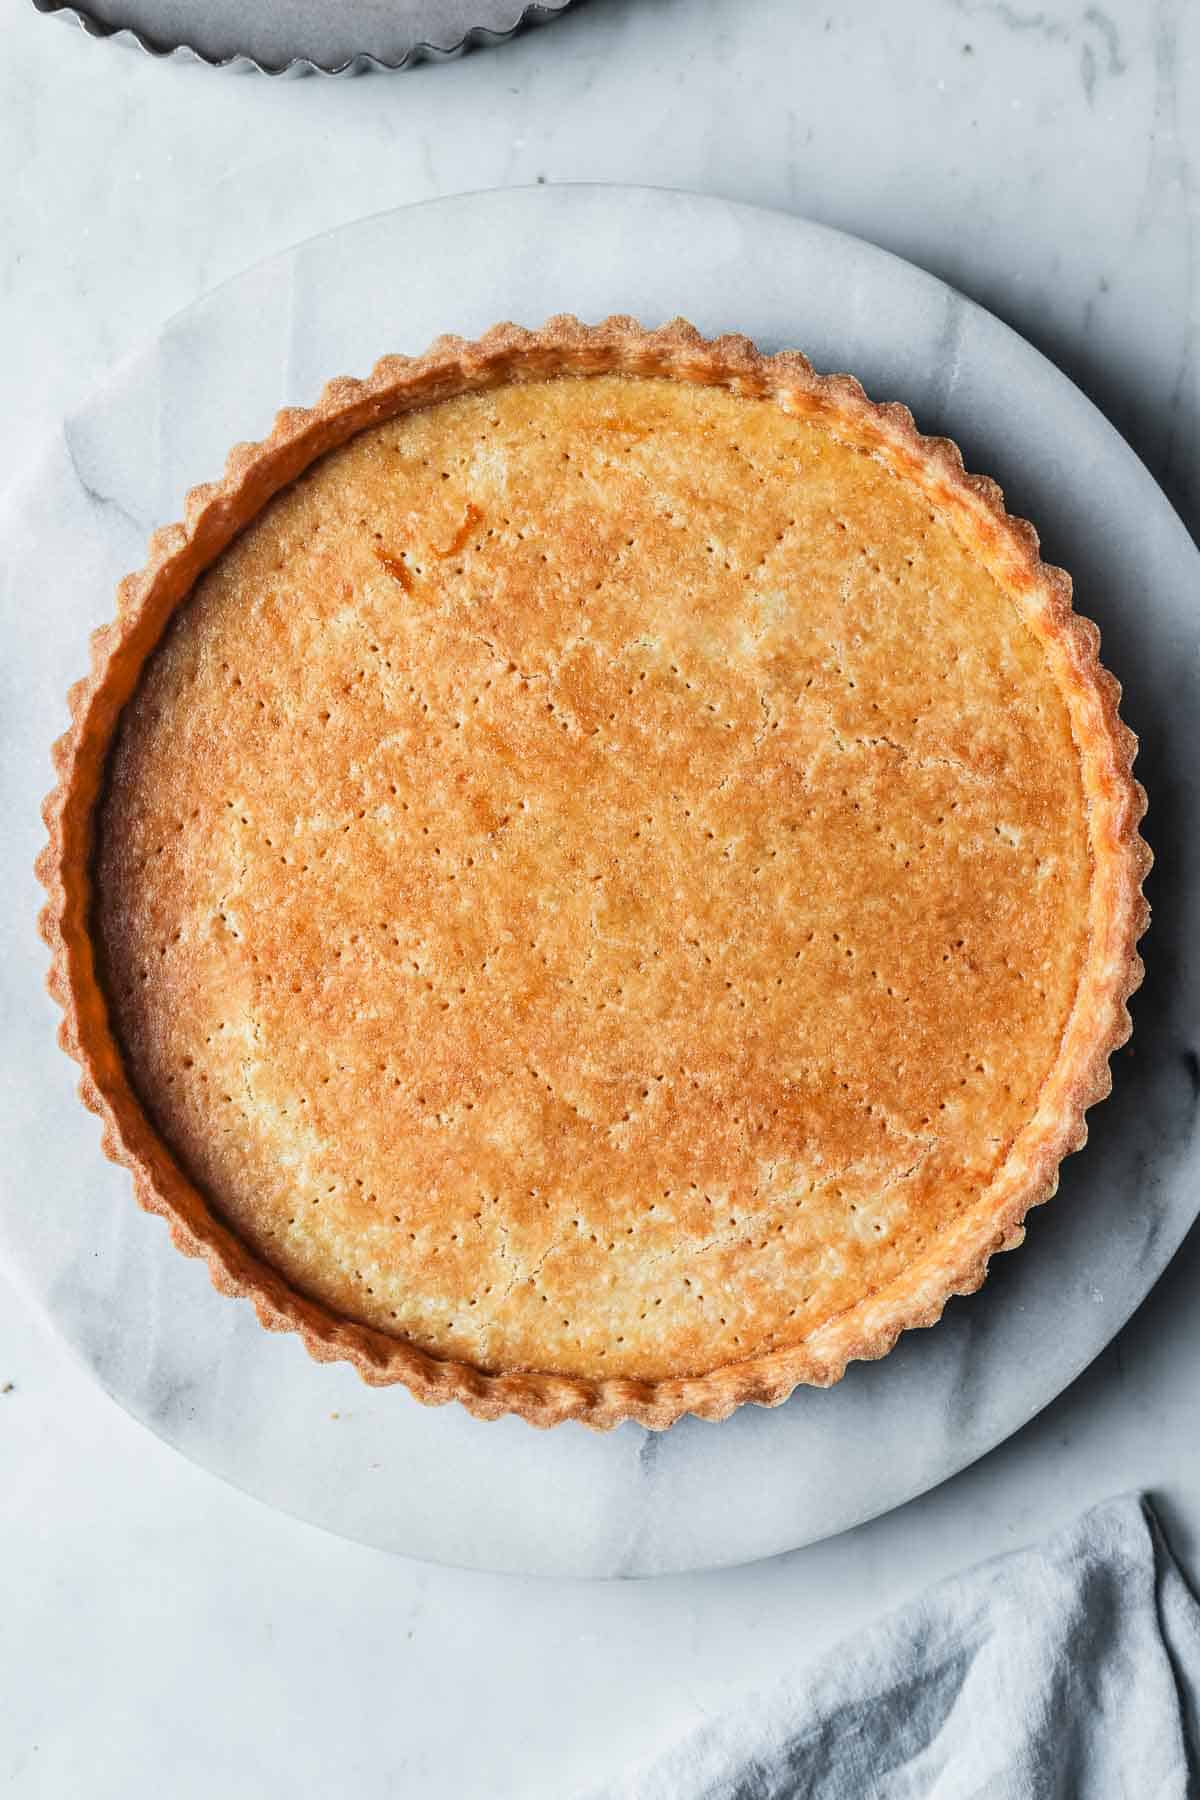
Par Baking vs Blind Baking
Par baking- The pâte sucrée is partially baked empty, then filled and fully baked. I have several par baked tarts that use this pâte sucrée recipe, including a rhubarb frangipane tart and pear hazelnut tart.
Blind baking (also called pre-baking) - The pâte sucrée is fully baked while empty. After cooling, the tart shell is filled with no-bake fillings like pastry cream, ganache, and fruit curd.
This recipe provides baking times for both par baking and blind baking, so you can make any type of tart your heart desires!
Variations
This sweet tart dough is infinitely variable! While the standard version is delicious as is, small additions can add another layer of flavor. When considering an add-in, think about how it will complement your filling of choice.
- Citrus zest - Use a microplane to zest the peel of a lemon, lime, or half an orange or grapefruit into the granulated sugar. Rub with your fingers to incorporate the citrus oils into the sugar and proceed with recipe as written.
- Herbs - Add a ½ teaspoon of finely chopped fresh rosemary, thyme or mint to the dough along with the sugar.
- Spices - Add a bit of ground cinnamon, ginger, cardamom or nutmeg to the dough for a warm spiced flavor. You could also try ground anise seeds, cloves or even black pepper. Start small (¼ teaspoon) and add more as needed.
- Seeds - Add a teaspoon of poppy seeds or sesame seeds to the dough along with the flour. Poppy seeds would pair wonderfully with the lemon zest!
- Espresso powder - Whisk ½ teaspoon of espresso powder into the flour for a subtle espresso taste. Add up to 1 teaspoon for a stronger flavor.
- Chocolate - Use my chocolate tart dough recipe for a rich chocolate tart crust.
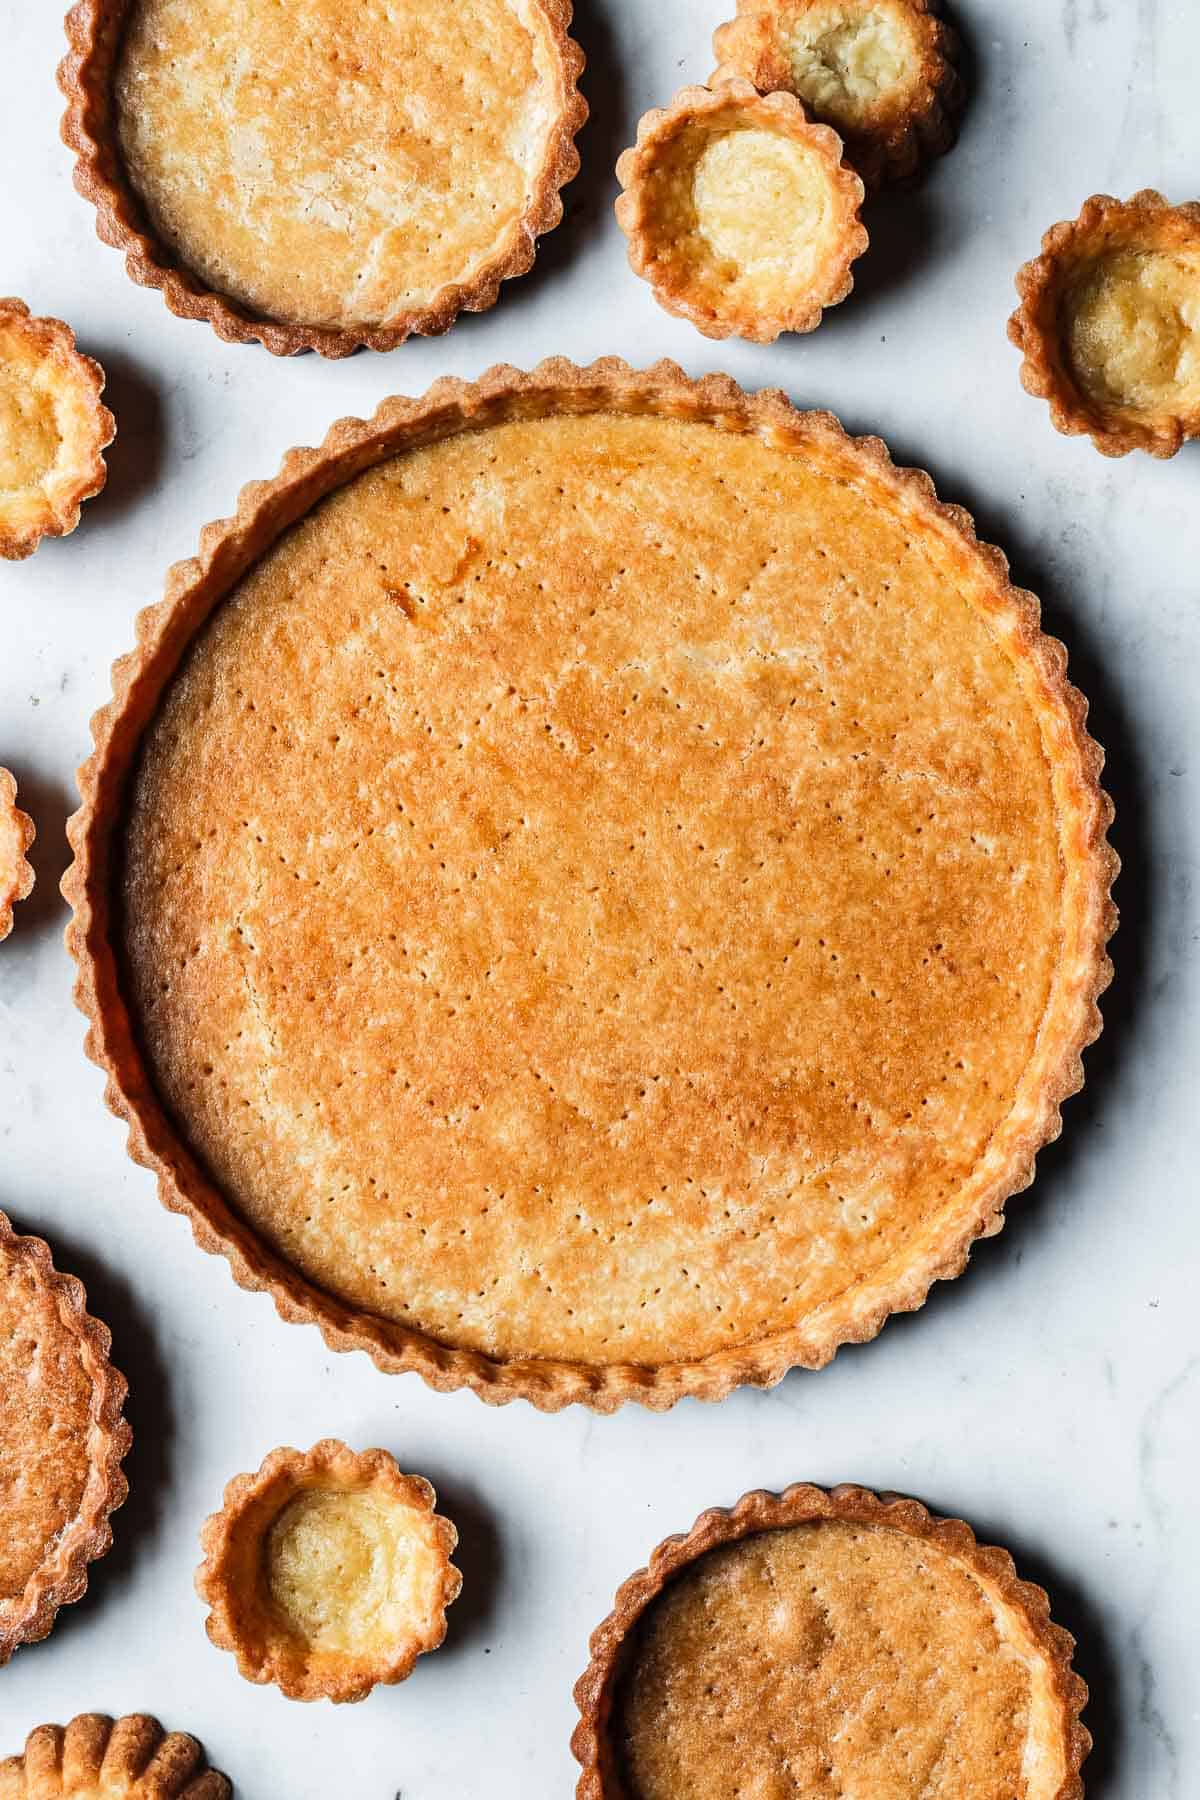
Equipment
For my large tart recipes, I use this 9.5 inch round tart pan with a removable base.
I also have these 4 inch round mini tart pans (set of 4) with a removeable base and 2.6 inch round tartlet pans (set of 12).
A set of pastry rolling guides helps easily roll dough out to a precise thickness No more guessing!
I prefer dough guides that are independent of the rolling pin. I find them more versatile than rolling pin rings. This way I can also use my favorite vintage wooden rolling pin! This set has pairs of 3, 6 and 10mm acrylic guides - roughly ⅛", ¼" and ½".
I use a pie shield to protect the outer crust from browning too soon. If you don't have a pie shield, you can use strips of aluminum foil.
A half sheet baking pan (18 x 13 inches) keeps the base of the tart from browning too quickly and catches any drips or spills. Sometimes a bit of butter leaks from the bottom of the tart. Save yourself the work of cleaning the oven and use a baking sheet underneath!
Storage
Store baked and unfilled pâte sucrée in an airtight container at room temperature for up to 2 days, or well wrapped in the refrigerator for up to 5 days.
To freeze unbaked pâte sucrée: Follow recipe through step 12, docking the crust. Wrap well with plastic wrap, and place in an airtight container in the freezer for 2-3 months. Bake directly from frozen.
Hint: This only works if you won't need your tart pan in the meantime, or have more than one!
To freeze baked pâte sucrée: Wrap well with plastic wrap, and place in an airtight container in the freezer for 2-3 months. Unwrap and place on a cooling rack to defrost at room temperature before filling.
Frequently asked questions
Do I need to use pie weights to bake this tart shell?
No! Hooray! This tart shell bakes beautifully without the need to add pie weights. For maximum success, make sure the dough is well chilled (at least 1 hour in the refrigerator) before baking.
Love this recipe? Please leave a comment and star rating. ★★★★★ Your feedback, suggestions, and adaptations are very helpful to other bakers!
📖 Recipe
Pâte Sucrée (Sweet Tart Dough)
INGREDIENTS
PÂTE SUCRÉE (SWEET TART DOUGH)
- 113 grams (½ cup, 4 ounces) unsalted butter, room temperature
- 50 grams (¼ cup) granulated sugar
- ½ teaspoon kosher salt
- 120 grams (1 cup) all purpose flour
- 1 large egg yolk
- 1 large egg white, for egg wash
- 1 Tablespoon water, for egg wash
INSTRUCTIONS
PÂTE SUCRÉE (SWEET TART DOUGH)
- Into the bowl of a stand mixer fitted with paddle attachment, add the butter, sugar and salt. Beat on medium speed until mixture is well combined. Scrape down sides of bowl.113 grams (½ cup, 4 ounces) unsalted butter, 50 grams (¼ cup) granulated sugar, ½ teaspoon kosher salt
- Add flour. Mix on low speed until coarse and grainy, about 1 minute. Scrape sides to incorporate all butter. Butter pieces should break down into a combination of sandy mixture and very small lumps.120 grams (1 cup) all purpose flour, 1 large egg yolk
- Add the egg yolk and mix for about 30 seconds to 1 minute. The dough should start to pull together into a ball. Even if it doesn't, the dough should stay together when you pinch it between your fingers.
- Dump the mixture out onto a large piece of parchment paper.
- Press the dough into a disc shape and cover with another piece of parchment.
- Roll the dough into an 11 inch diameter circle with a thickness of slightly less than ¼ inch thick (6 mm)If dough is still cool enough to be workable, proceed. If dough is sticky and warm, place in fridge for 5-10 minutes before proceeding to the next step.
- Peel the top layer of parchment off the dough. Loosely replace the parchment, flip the dough over, and discard the top layer of parchment.
- Use your hand under the parchment to carefully flip the rolled out dough onto the tart pan.
- With one hand, carefully lift the sides of the dough away from the sharp tart edge. Using your other hand, gently press the dough into the base and corners of the pan. Leave extra dough overhanging the tart. Ensure that no empty air space remains between the dough and the pan. If any cracks or tears occur, patch with extra dough scraps. It's very forgiving!
- Move untrimmed tart onto a baking sheet and and chill in the fridge, uncovered, for a minimum of 1 hour.
- Remove chilled tart from refrigerator. Trim the excess dough with a knife held parallel to your work surface to ensure the tart shell has a clean edge.
- Use a fork to dock the base of the dough (prick holes in it.) Hold the fork flat to dock the sides of the tart in two horizontal rows.See process photos in recipe instructions for details. If using a perforated tart pan, docking should not be necessary.
- Place tart shell in freezer to chill while oven preheats.
- Preheat oven to 350 degrees Fahrenheit (177° Celsius, Gas mark 4) with rack in center of oven.
- Place tart shell onto a parchment lined baking sheet and bake for 10-15* minutes if par baking, and 20-25* minutes if blind baking, until crust becomes dull and is beginning to turn a pale golden color. Remove from oven and let cool for 3-5 minutes.*Use the shorter range of time for 2.6" tartlet and 4" mini tart pans.
- Whisk together the egg white and water in a small bowl. Using a pastry brush, brush the base and sides of the tart with the egg white.1 large egg white, 1 Tablespoon water
- Bake tart crust for an additional 5-10 minutes, to desired shade of golden brown. You may need to add a pie shield here to protect the edges of the tart from browning too much. Strips of aluminum foil are fine, too.
- Remove from oven. Cool completely in tart pan on a cooling rack.
EQUIPMENT
- 4 round mini tart pans
- 12 round tartlet pans

Gayle says
I love your recipes and use them often. Thank you for sharing.
Kathleen Culver says
Thank you so much, Gayle!
I'm so happy you're enjoying my recipes.
Kathleen
Tamera Leighton says
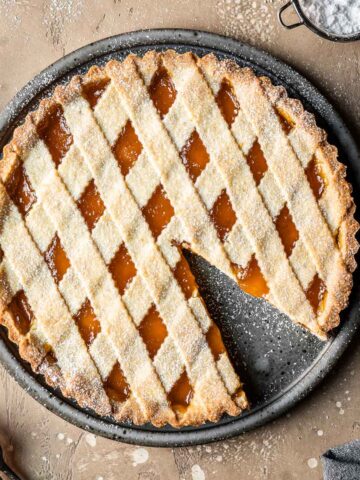
The extras are great with your pineapple jam.
Kathleen Culver says
Thanks, Tamera!
That sounds like a great way to use up the scraps.
Kathleen