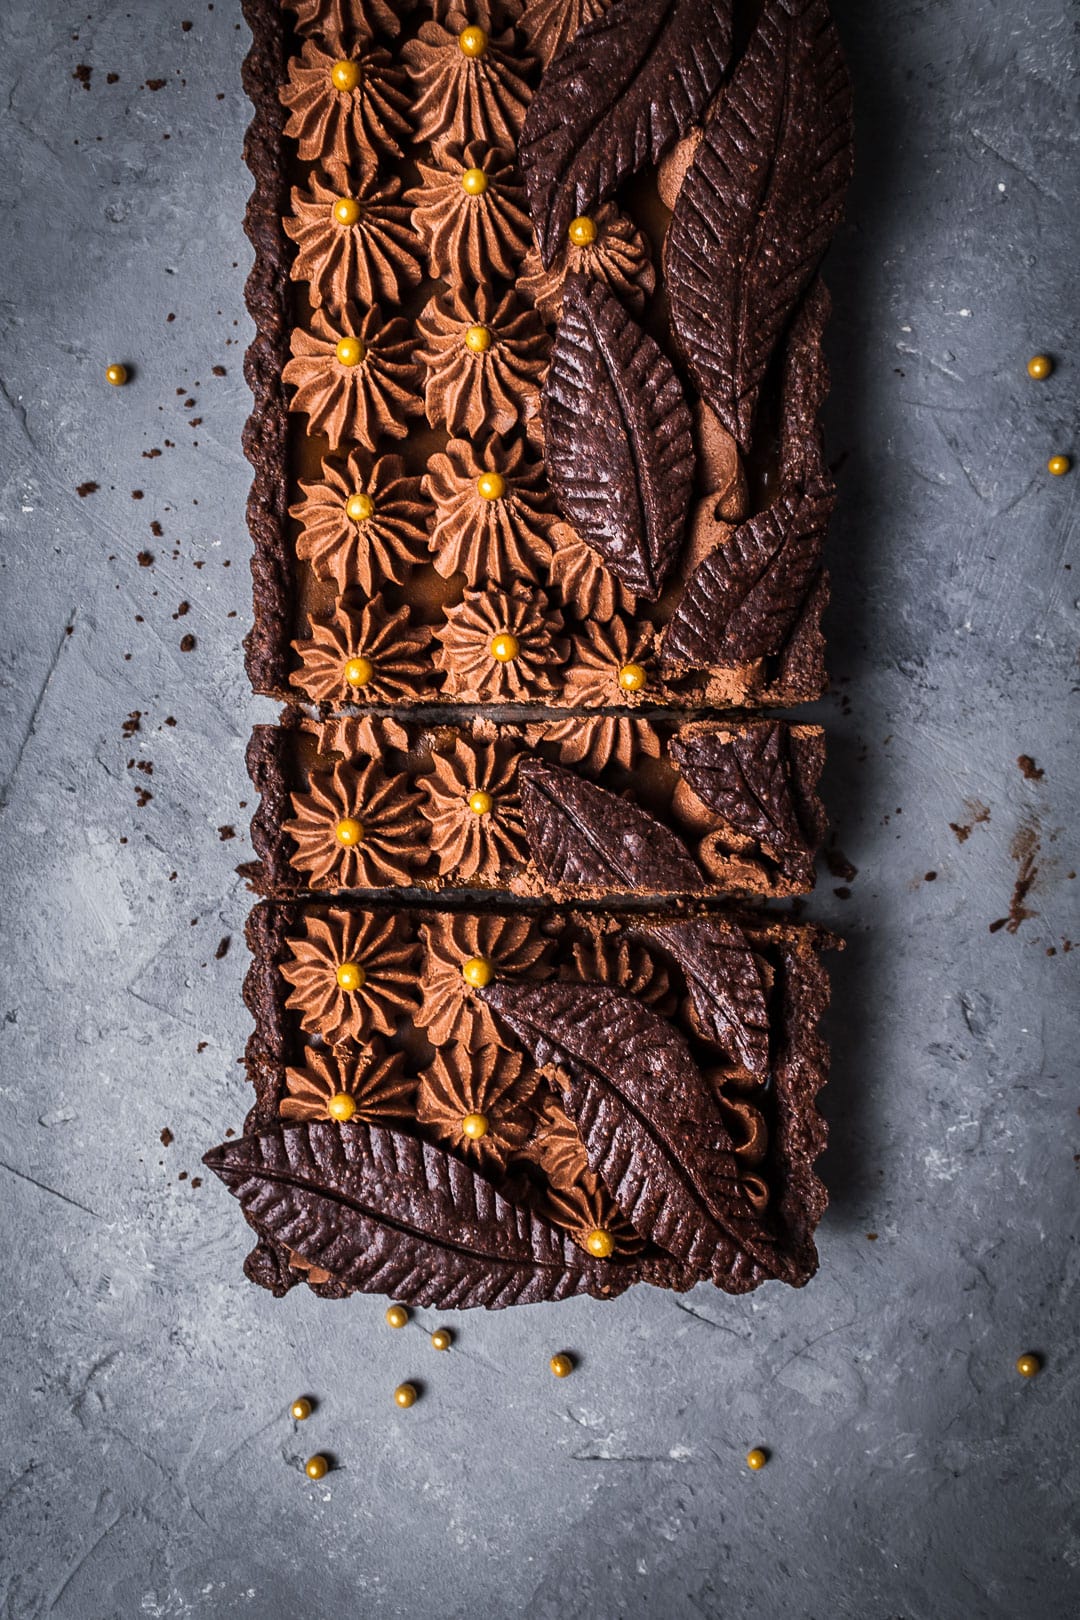
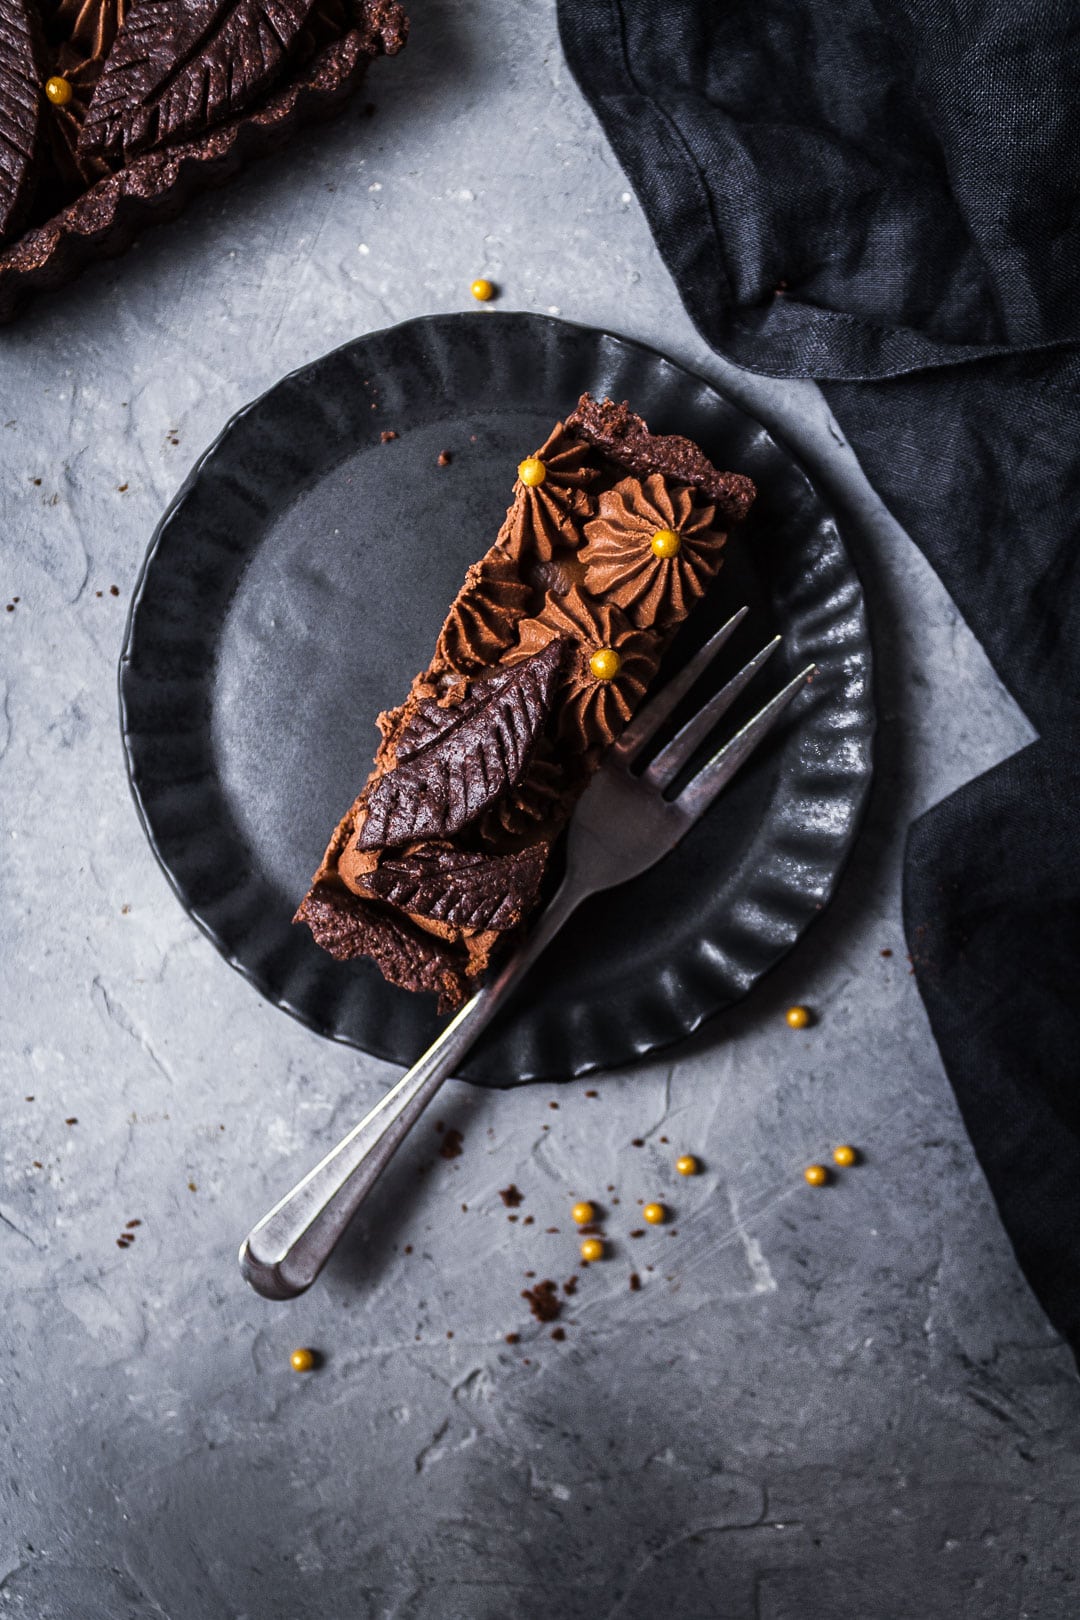
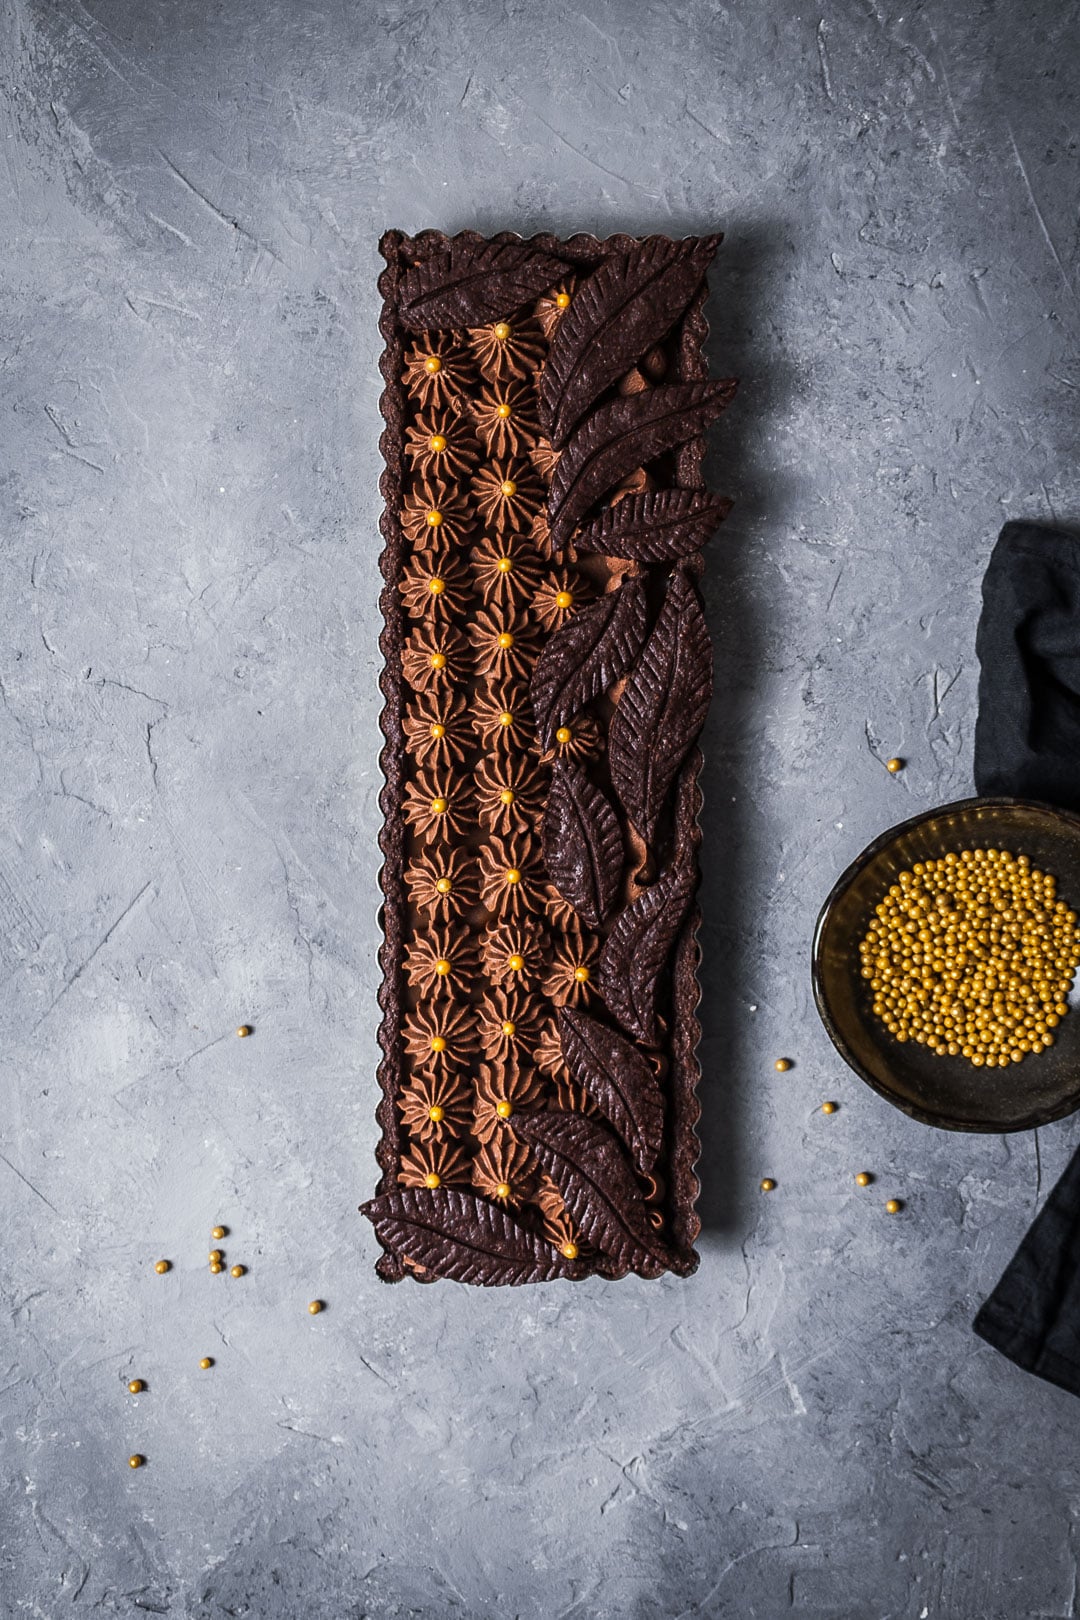
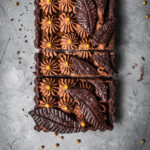
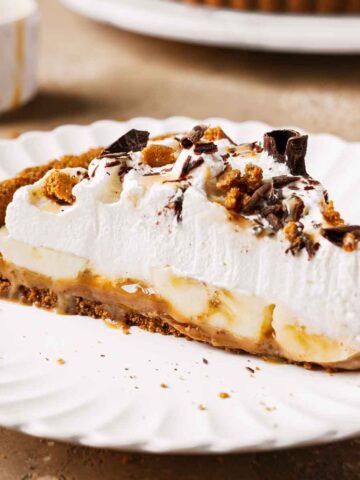
This salted caramel chocolate tart features a smooth salted caramel layer topped with decadent whipped chocolate ganache. It's nestled into a rich chocolate tart crust that's simple to make and adds extra chocolate flavor.
A fluttering of hand-cut chocolate leaves made from leftover tart dough cascade down one side of the tart, adding visual drama.
The beauty of classic base recipes such as chocolate tart dough, salted caramel and whipped chocolate ganache is that you can use them as the foundation for an infinite variety of desserts.
For example, the chocolate dough also forms the base of this sour cherry chocolate tart, and I've used salted caramel in both the filling and buttercream frosting of salted caramel macarons, as well as for a delicate drip over this blackberry poppy seed cake.
Here I've combined them all to create a decadently rich, smooth, caramel chocolate tart with sweet and salty notes and an elegant decorative chocolate leaf border.
Love this recipe? Please leave a comment and star rating. ★★★★★ Your feedback, suggestions, and adaptations are very helpful to other bakers!
📖 Recipe
Salted Caramel Chocolate Tart
INGREDIENTS
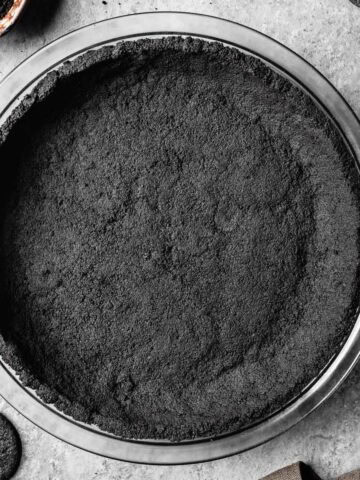
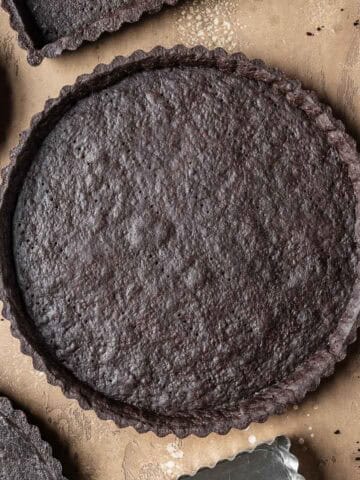
Chocolate Tart Dough
- 1 recipe chocolate tart dough, blind baked in 4 x 14 inch tart pan
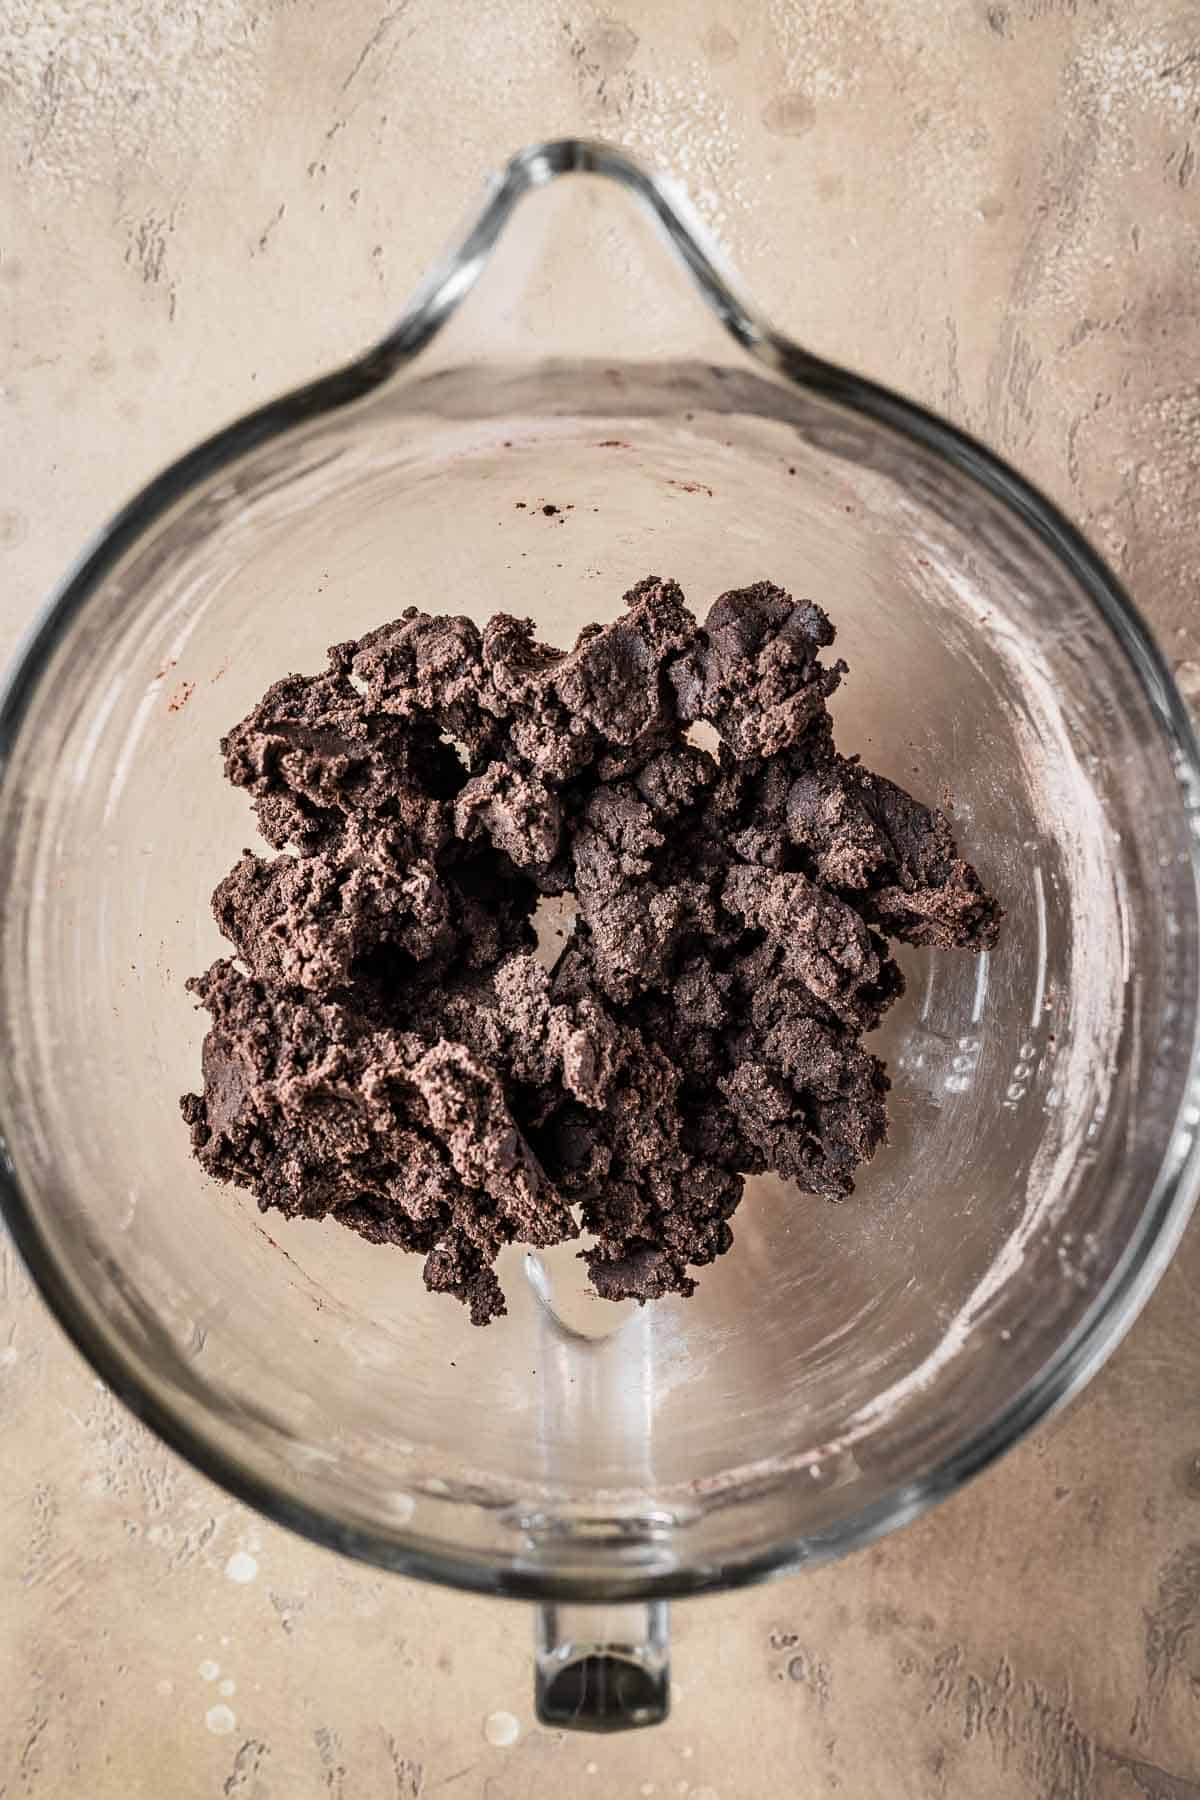
- leftover chocolate tart dough, room temperature, for making decorative leaves
Salted Caramel
- 6 Tablespoons salted butter, cubed
- ¾ cup granulated sugar
- 1 cup heavy cream
- ½ teaspoon vanilla extract
- 1 teaspoon kosher salt
Whipped Chocolate Ganache
- 1 cup heavy cream, warm
- 1⅓ cups (8 ounces) dark chocolate, finely chopped
- chocolate or sugar pearls, for decoration (OPTIONAL)
INSTRUCTIONS
Chocolate Tart Dough Decorations
- Preheat oven to 350 F (177 C, Gas number 4) and place rack in the middle of the oven.
- Roll leftover dough from tart shell between two sheets of parchment to about ⅛ inch thick. Place on baking sheet in freezer to chill for 10-15 minutes, then remove and take off top parchment sheet. Your dough should be at room temperature for ease of rolling.
- Using a sharp paring knife, cut curved leaf shapes from the dough in a variety of sizes approximately 2-4 inches long. Use the back of the knife to score a line down the middle of the leaf from base to tip. Feather the edges of the leaves with ¼ inch cuts to add more texture to the sides.
- Place cutouts back onto parchment covered baking sheet in the freezer to chill for 10 minutes.This will help them retain their shape when baked.
- Bake leaves for 10-12 minutes. Cool on pan.
Salted Caramel
- Have fully cooled tart shell nearby (still in tart pan, or on a baking sheet for support.) You'll need it handy when it's time to pour the finished caramel.
- In a large 3 quart saucepan, melt butter over medium heat.6 Tablespoons salted butter
- Add the sugar and whisk until completely incorporated into the butter. Cook over medium heat, stirring frequently, until the color of the sugar mixture is a deep golden brown. Remove pan from heat.¾ cup granulated sugar
- Whisking constantly, slowly pour the cream into the hot sugar mixture - be careful as it may sizzle and foam at the beginning. Continue to whisk until the cream is completely incorporated and the sauce is smooth. Be patient - this often takes a few minutes.1 cup heavy cream
- Place pan back onto heat. Using a candy thermometer, cook caramel, whisking frequently, until it reaches 245℉, or firm ball stage. This will ensure that your caramel filling sets.
- Add the vanilla and salt and stir well to incorporate them.½ teaspoon vanilla extract, 1 teaspoon kosher salt
- Immediately pour salted caramel into cooled tart shell and place in refrigerator for 30 minutes to set.
Whipped Chocolate Ganache
- In a microwave safe container or small (1 quart) saucepan, heat cream until almost simmering.1 cup heavy cream
- Remove from heat and add finely chopped dark chocolate. Let sit for 2-3 minutes, then whisk until all chocolate has melted and no lumps remain.1⅓ cups (8 ounces) dark chocolate
- Cool the ganache to room temperature. It should be thickened but still soft.You can quicken this process by placing the ganache in the refrigerator for 5 minute intervals, stirring after each.
- Place the cooled ganache into the bowl of a stand mixer. Using the whisk attachment, whisk the ganache for 1 minute on high, scraping down the bowl several times to make sure the chocolate is evenly whipped. Whipped ganache should be much lighter in color and fluffy. Do not overmix or ganache will become grainy.
- Place whipped ganache into a 16 inch pastry bag fitted with a large french star tip (I used the Wilton 4B piping tip). Pipe four long rows of stars on top of the cooled caramel layer.
- Arrange baked chocolate leaves in desired border on long edge of the tart, pressing gently into the whipped ganache so they stick.
- If desired, place a sugar pearl or chocolate pearl on the tip of each piped star.chocolate or sugar pearls
- Serve immediately, or store in refrigerator until serving.
EQUIPMENT
- candy thermometer I have a basic Taylor model
- large French star tip I use a Wilton 4B
NOTES
- Warming the cream slightly will help incorporate it into the hot sugar with less risk of forming lumps and seizing.
- I recommend using a simple candy thermometer to make sure your salted caramel reaches 245℉ (firm ball stage.) This will ensure that your caramel filling sets.
- The salted caramel recipe is minimally adapted (in process, not ingredients) from David Lebovitz.

Kim Claghorn says
I have made this recipe twice now and both times the caramel does not work. The process for it is not correct. I have used Pioneer Woman’s easy caramel sauce instead and it turns out well.
Kathleen Culver says
Hi Kim,
I'm sorry that you've had trouble with the recipe, and I'm glad that you have found one that works well for you!
Thank you very much for your feedback.
Kathleen
Kathleen Culver says
I've updated this salted caramel chocolate tart recipe to include detailed cooking instructions for the caramel filling, (reaching a specific temperature, 245 F, on a candy thermometer.)
Thank you so much for your input!
Kathleen
Mark says
Thanks for your blog, nice to read. Do not stop.
Kathleen Culver says
Thanks, Mark!
Kathleen
Jennifer says
OMG! I made this today and it was insanely delicious! ❤️ However, my caramel didn’t set up properly and was very runny! Any tips? I followed the recipe to the letter, but I must have done something wrong. Thanks! Jennifer
Kathleen Culver says
Hi Jennifer,
Thanks so much for the comment - I'm glad you liked it!
I'm sorry your caramel didn't set up. Did your caramel have a chance to cool down completely?
It does thicken as it cools.
If it happens again, you can put the finished caramel back on the stove over medium-low heat for a few additional minutes (it won't get any more brown) until it reaches the thicker consistency you're looking for.
Please keep me posted if you try again - I'm happy to troubleshoot with you.
Thanks!
Kathleen
Kathleen Culver says
I've updated this salted caramel chocolate tart recipe to include detailed cooking instructions for the caramel filling, (reaching a specific temperature, 245 F, on a candy thermometer.)
Thank you so much for your input!
Kathleen
Deeksha says
This is one insane dessert???
I will sure try it one day!!
The Floured Table says
Thanks so much, Deeksha! I'd love to see a photo if you give it a try.
x
Kathleen