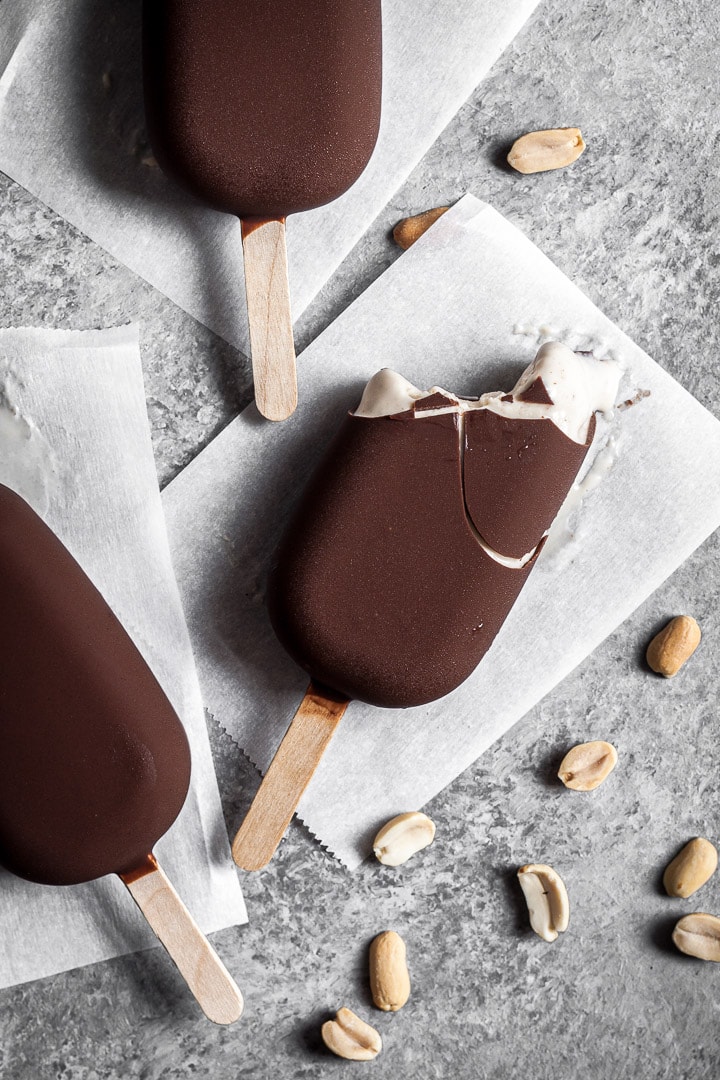
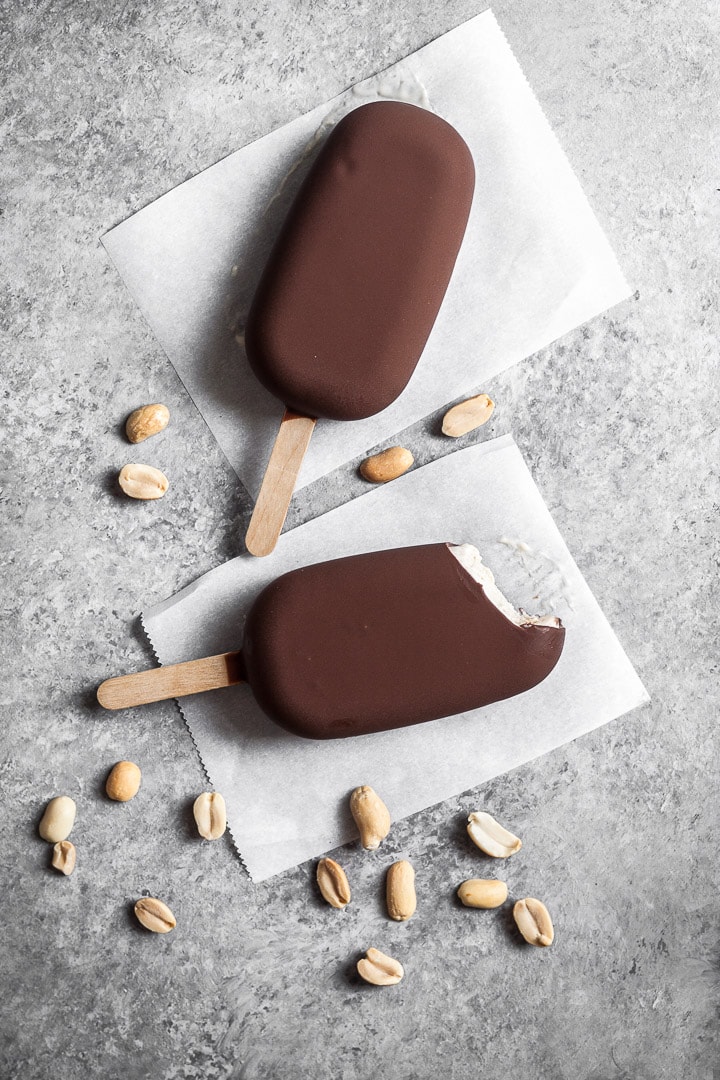
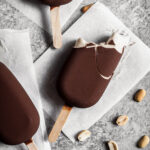
With all the classic taste of a peanut butter cup, these chocolate peanut butter ice cream bars are ideal for a cool and creamy treat. Each bite you take shatters the chocolate shell and reveals the nutty, salty-sweet peanut butter ice cream inside.
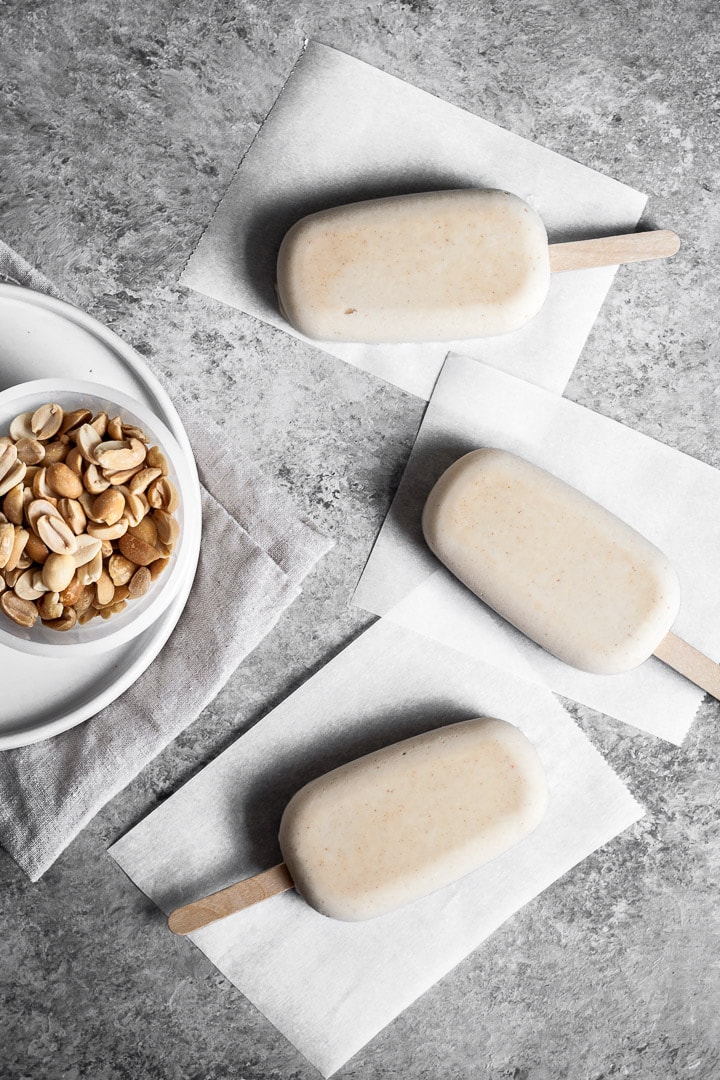
The no egg ice cream base is very easy to make. Once frozen in molds, the bars are dipped into velvety smooth melted chocolate to create a rich, flavorful ice cream bar.
I'm a big fan of Philadelphia style ice cream. Also referred to as American style ice cream, it's a straightforward method using a combination of cream, milk and sugar. There are no eggs, and therefore no additional steps needed to cook the ice cream base into a French style custard.
Phildadelphia style ice cream is a great method for those just getting into ice cream making for the first time, or for those (like me) who find that the extra time and effort a custard base requires doesn't always result in a superior final product.
In this case, when the principal ingredients (peanut butter and cream) already impart significant richness, the eggs aren't necessary.
The classic combination of peanut butter and chocolate ranks high on my list of preferred flavor pairings. Salty and sweet, creamy and crunchy. These ice cream bars hit all those notes. They taste like a frozen Reese's peanut butter cup, but better. Definitely more refreshing, and happily bigger.
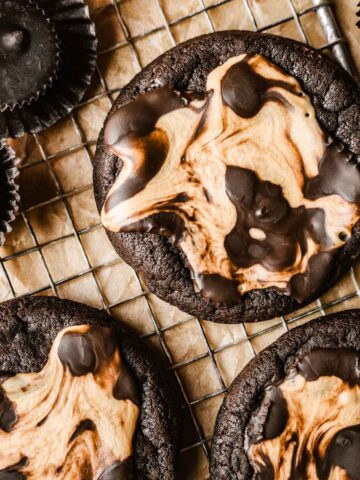
I've also got this chocolate peanut butter cup cookie recipe so you can have your PB and chocolate in all its fabulous forms.
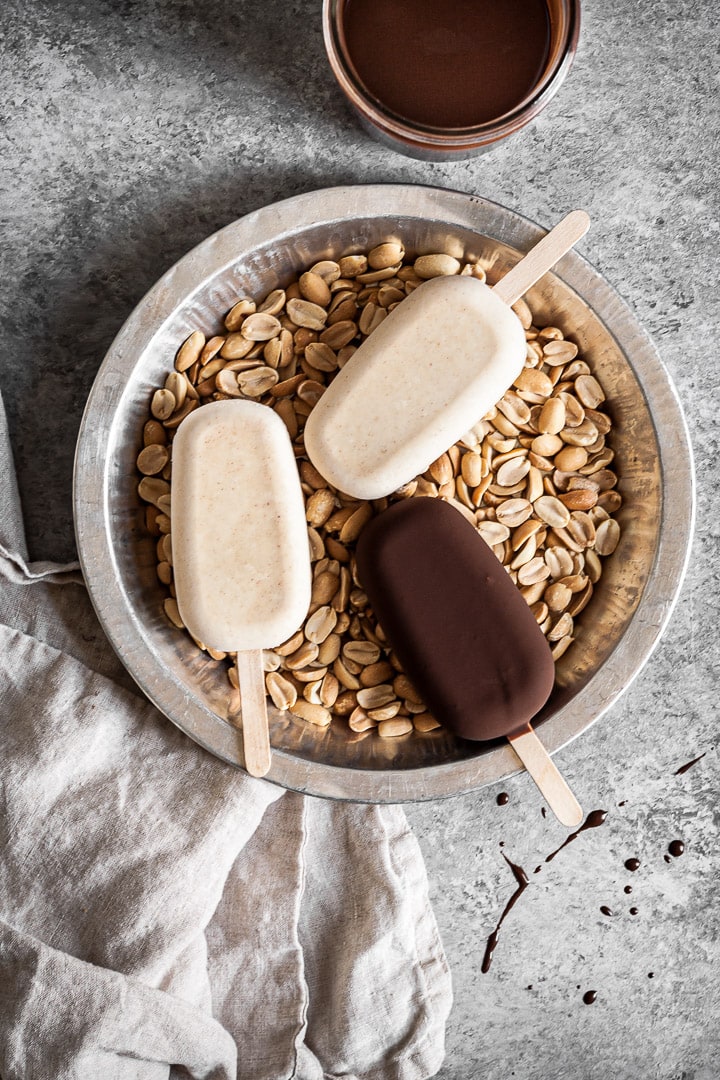
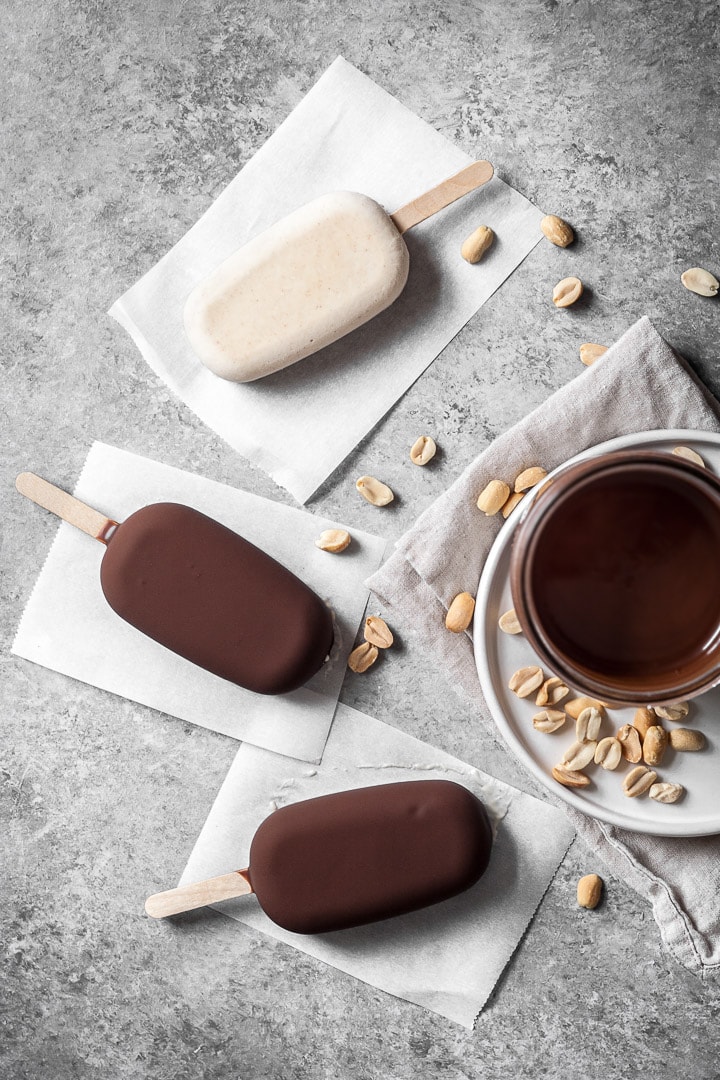
These bars are wonderful on their own, but covering them in a crispy smooth chocolate shell transforms them into something much more special. The secret of the chocolate mixture is to add coconut oil to the melted chocolate. It helps create the ideal consistency for dipping that enrobes the ice cream in one lovely thin layer of chocolate.
The recipe for the chocolate coating is from Stella Parks' version of a homemade Klondike bar. I've increased the amount here in order to ensure that the chocolate remains deep enough to coat all twelve bars. You'll most likely have some left over. It's very good used as a dip for fresh fruit.
You can also use the white chocolate shell from my strawberry rhubarb ice cream bars if you prefer the peanut butter white chocolate combination.
Ingredients
* For a full list of ingredients and quantities, see recipe card.
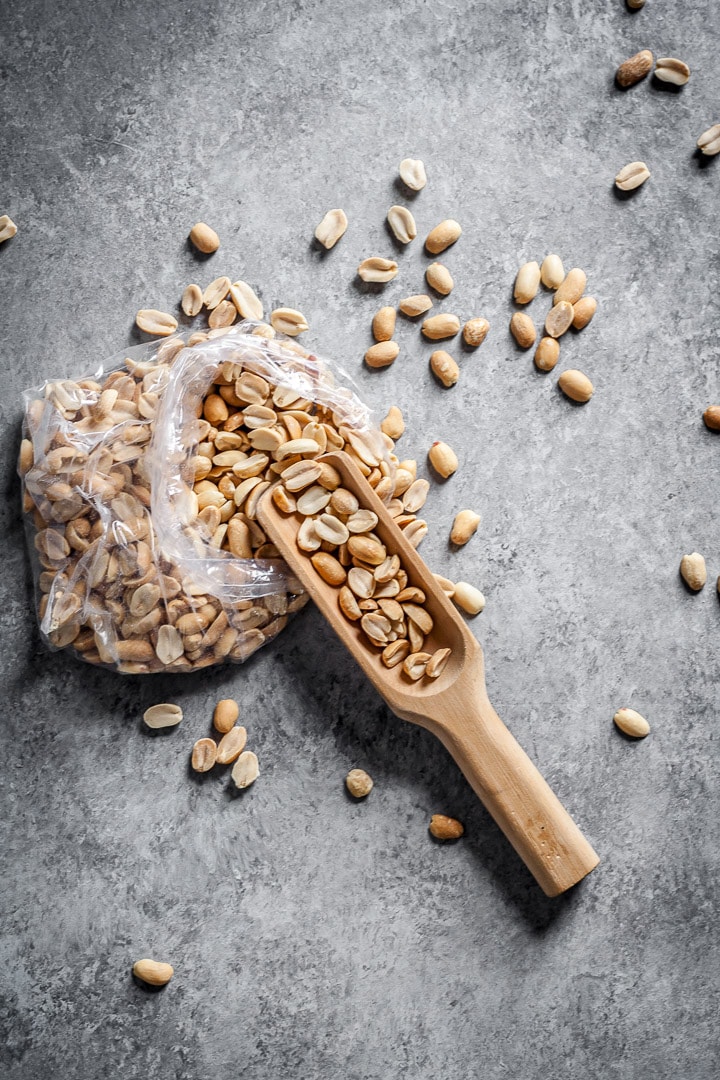
Creamy peanut butter - For the smoothest results, use cream storebought peanut butter that has already been homogenized (such as Jif or Skippy). Natural peanut butter with the oil on top will not incorporate well. The texture will also be too grainy.
Granulated sugar - Since the peanut butter already contains some sugar, I've reduced the amount of sugar needed to keep this recipe balanced.
Heavy cream - Use heavy cream (also called heavy whipping cream) for this recipe. It contains at least 36% butterfat, which helps create a rich and creamy flavor and texture.
Whole milk - Milk helps add extra volume to the ice cream while balancing out the fat content to ensure the end result isn't too heavy.
Kosher salt - Salt might seem like a strange ingredient for ice cream, but it's a great way to highlight the peanut flavor and balance out the sweetness.
Semisweet chocolate - I used a 65% cocoa chocolate, which is the very upper end of the semisweet range. Your chocolate should be finely chopped.
Coconut oil - Melted coconut oil helps thin the chocolate for a perfect dipping consistency. Since it solidifies when cool, it also helps create the brittle snap in the chocolate shell.
If you prefer not to taste the coconut, choose refined coconut oil rather than unrefined.
Equipment
Ice cream maker - I make all of my churned ice cream recipes in a simple Cuisinart ice cream maker with the frozen bowl and basic motor. My parents still have the one we used when I was younger, and I liked it so much I purchased one for myself too.
Ice cream molds - To form the ice cream bars, I use these silicone ice cream molds. Each mold makes 4 bars. I have 3 sets for a total 12 bar capacity. Using the molds makes the entire process more efficient. They're easy to fill, freeze beautifully, and the bars come out of the flexible molds effortlessly.
Frequently asked questions
In this recipe, I use creamy store-bought peanut butter. This is the type that's been homogenized with a bit of oil so that it achieves a silky smooth texture.
You can certainly try this recipe with a more natural style of peanut butter with the oil on top, but I anticipate it will be harder to achieve the creamy base that you see here. I find that natural peanut butter has a coarser grind than I'd like for ice cream.
If you don't want to purchase ice cream molds, you can scoop the ice cream into wax lined paper cups. Cover the tops with plastic wrap and poke a popsicle stick into each one. Freeze and dip according to recipe instructions.
You can also simply churn the ice cream on its own. When scooping a bowl or cone, serve the chocolate shell on the side.
Schedule
This recipe does require a bit of advanced planning due to the various steps that require chilling. Here's how I approach the recipe when I'm aiming to eat the bars the next day after dinner:
- 24 hours before churning: Make sure the container of your ice cream machine is cooling in the freezer. I have an extra freezer where I store mine permanently so that it's always ready to go.
- The evening before: Mix up the ice cream ingredients and chill the mixture overnight in the fridge.
- That morning: Churn the ice cream and place in molds. Once the ice cream is in the molds, the bars need more time in the freezer to firm up - 4 hours to be safe. They should be completely frozen before dipping into chocolate.
- That afternoon: Dip in chocolate. Once dipped, back into the freezer they go for at least 1 hour (more is better). These are best when the ice cream interior is fully frozen. If it's too soft, your first bite will shatter a big part of the chocolate coating and the still-too-soft ice cream will ooze out.
- That evening: Indulge!
You can, of course, make these farther in advance as well. This is the minimum amount of time I'd allot for best results.
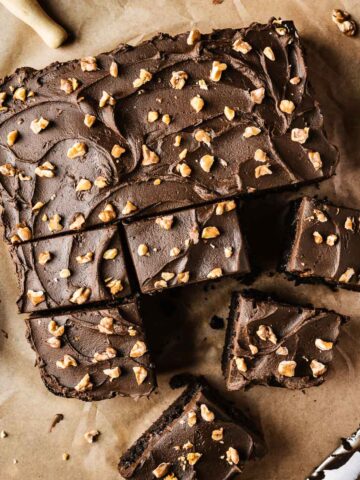
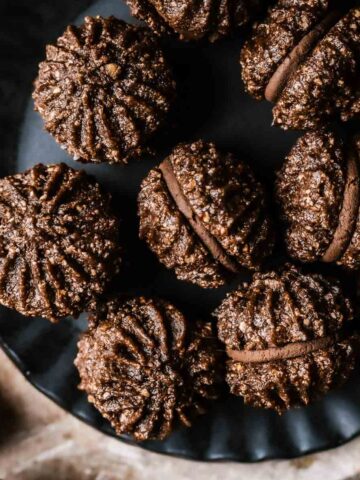
Try these chocolate nut recipes next!
Love this recipe? Please leave a comment and star rating. ★★★★★ Your feedback, suggestions, and adaptations are very helpful to other bakers!
📖 Recipe
Chocolate Peanut Butter Ice Cream Bars
INGREDIENTS
PEANUT BUTTER ICE CREAM
- ¾ cup (190 g) creamy peanut butter
- ½ cup (100 g) granulated sugar
- 1 ½ cups (355 mL, 12 oz) heavy cream
- 1 ½ cups (355 mL, 12 oz) whole milk
- 2 teaspoon vanilla extract
- ¼ teaspoon kosher salt
CHOCOLATE COATING
- 2 cups (400 g, 14 oz) semisweet chocolate, finely chopped (I used chocolate with 65% cocoa)
- 1 cup (200 g, 7 oz) coconut oil
INSTRUCTIONS
PEANUT BUTTER ICE CREAM
- In a large mixing bowl, combine peanut butter and sugar. Stir using a whisk until well blended.
- Gradually add the heavy cream and whisk slowly until the cream is completely blended in.
- Add milk, vanilla and salt and whisk until combined.
- Cover and chill ice cream base in the refrigerator at least 4 hours or overnight.
- Prior to churning ice cream, prepare ice cream molds. Place molds on a rimmed metal baking sheet and insert popsicle sticks. If your molds came with lids, have them ready nearby.
- Churn according to ice cream machine manufacturer's instructions.
- Spoon ice cream into molds. Using the spoon, tamp down the ice cream so that it reaches the underside of the popsicle stick and extends to the corners of the mold. Place lids onto molds (cover with plastic wrap if your molds did not come with lids) and place baking sheet with filled molds into freezer for a minimum of 4 hours to set completely.
CHOCOLATE COATING
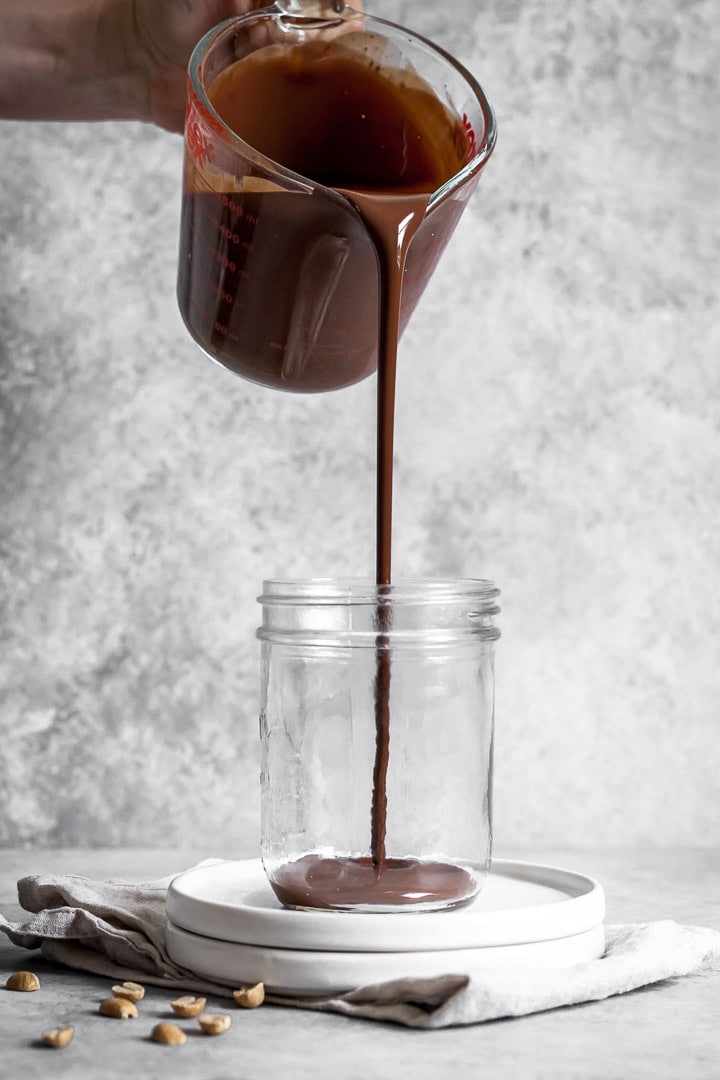
- Place the chocolate and coconut oil into a microwave safe bowl.* Melt in the microwave using 15 second bursts. Stir well between each burst. There should be no lumps of chocolate or coconut oil remaining. Once completely smooth, set aside to cool slightly. *If you do not have a microwave, you can melt the chocolate and coconut oil in the top of a double boiler.
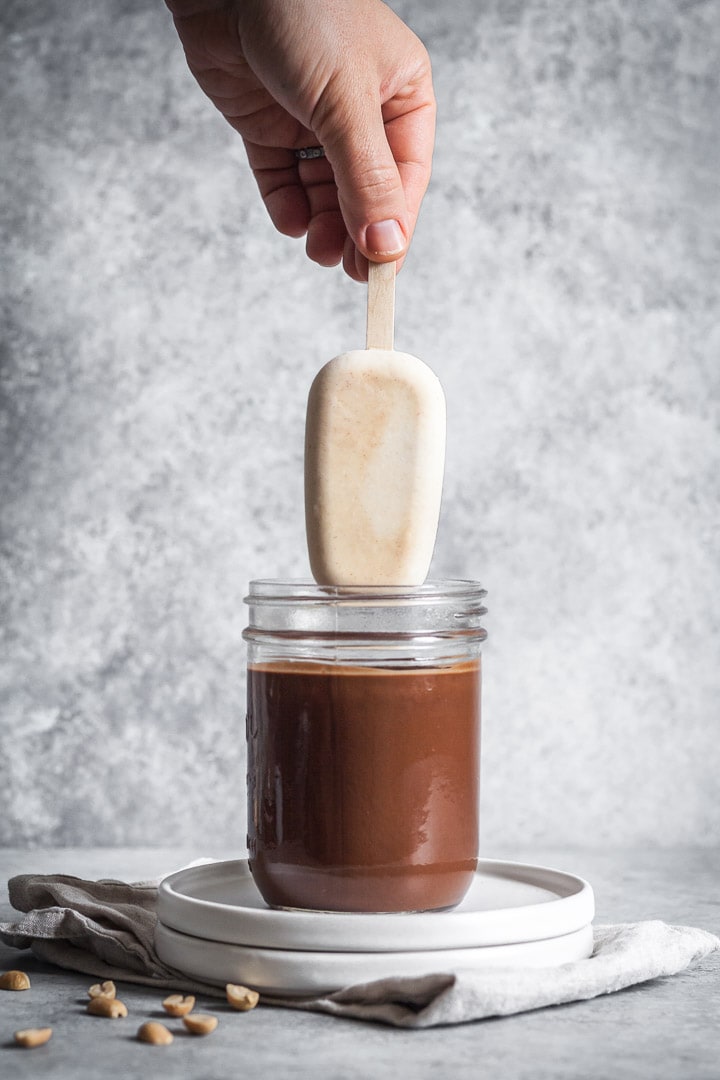
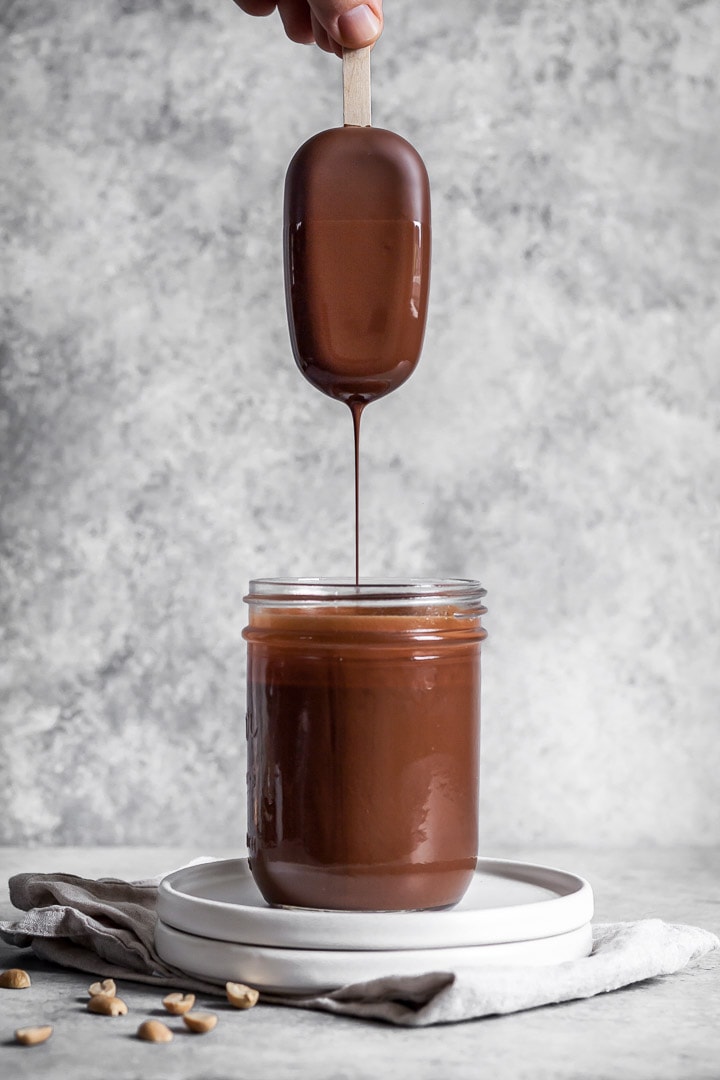
- Pour the chocolate mixture into a wide-mouth pint glass jar (see photos for reference) or a container with similar dimensions. It should be taller than it is wide in order to accommodate the length of the ice cream bar.
- Line a baking sheet with parchment paper and set next to the container of chocolate.
- Remove the ice cream bars from the silicone molds and place back on the frozen baking sheet. One by one, hold the ice cream bar by the stick and dip into the chocolate mixture. Make sure to coat the ice cream all the way up to where the ice cream meets the stick. Lift the bar back up and hold it over the glass jar while the extra chocolate drips off. As you hold the bar, you'll see the chocolate firming up before your eyes. Magic!
- Set the ice cream bar flat side down onto the parchment lined baking sheet. Promptly dip the remaining bars. If the chocolate mixture cools too much and gets thick, heat it for 10-15 seconds in the microwave and stir well before resuming. As you dip the last of the bars, you may need to tip the jar of chocolate on an angle and spin the ice cream bar in order to obtain full chocolate coverage.
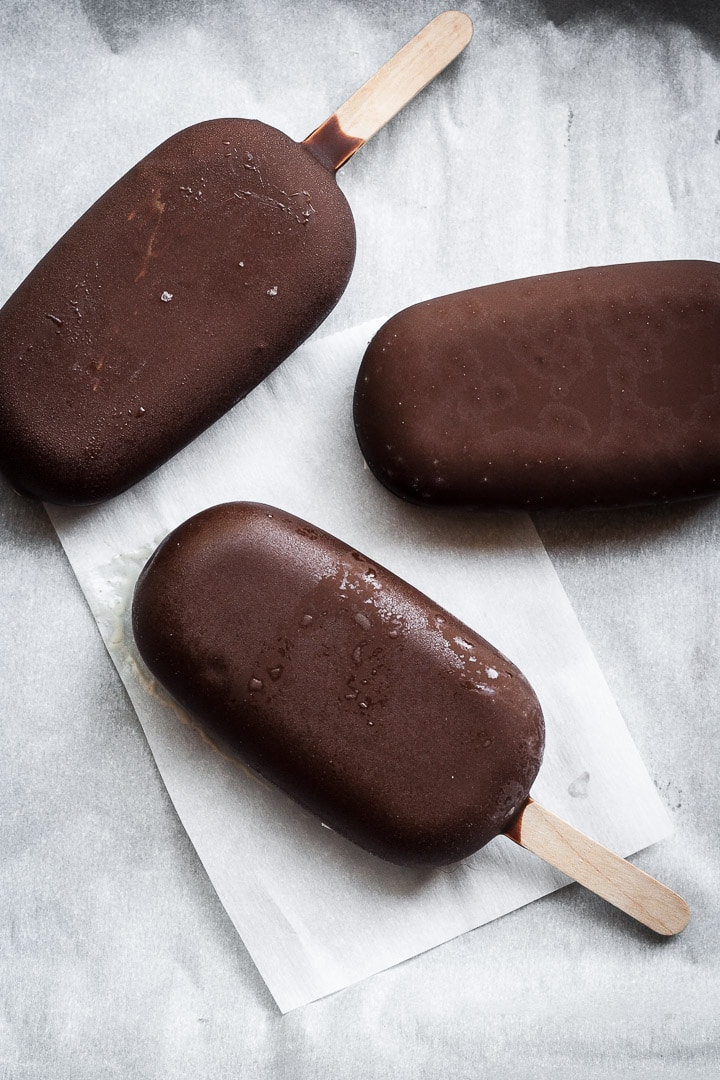
- Place the ice cream bars (on the baking sheet) into the freezer. After they've had a chance to firm back up for 60-90 minutes, serve or wrap them individually in aluminum foil and store in a freezer-safe container.
Toni says
My chocolate coating was delicious but it did not have a snap...it was soft and thin but still stuck to the ice cream. I think I put too much coconut oil so the chocolate had no snap.
Thank you for sharing!
Toni
Kathleen Culver says
Hi Toni,
Yes, adding a bit too much coconut oil could cause the chocolate coating to be softer even when frozen.
Thank you so much for the comment!
Kathleen
Katie says
How do yo make the chocolate stick to the ice-cream, mine won't stick
Kathleen Culver says
Hi Katie,
Make sure that your ice cream bars are very cold.
If the chocolate is still too hot, it will melt the outer layer of ice cream and the chocolate won't stick.
The chocolate dip needs to be cooler - closer to room temperature - and then it will stick with no problem.
I will make sure to update my notes so that's clear.
Thank you!
Kathleen