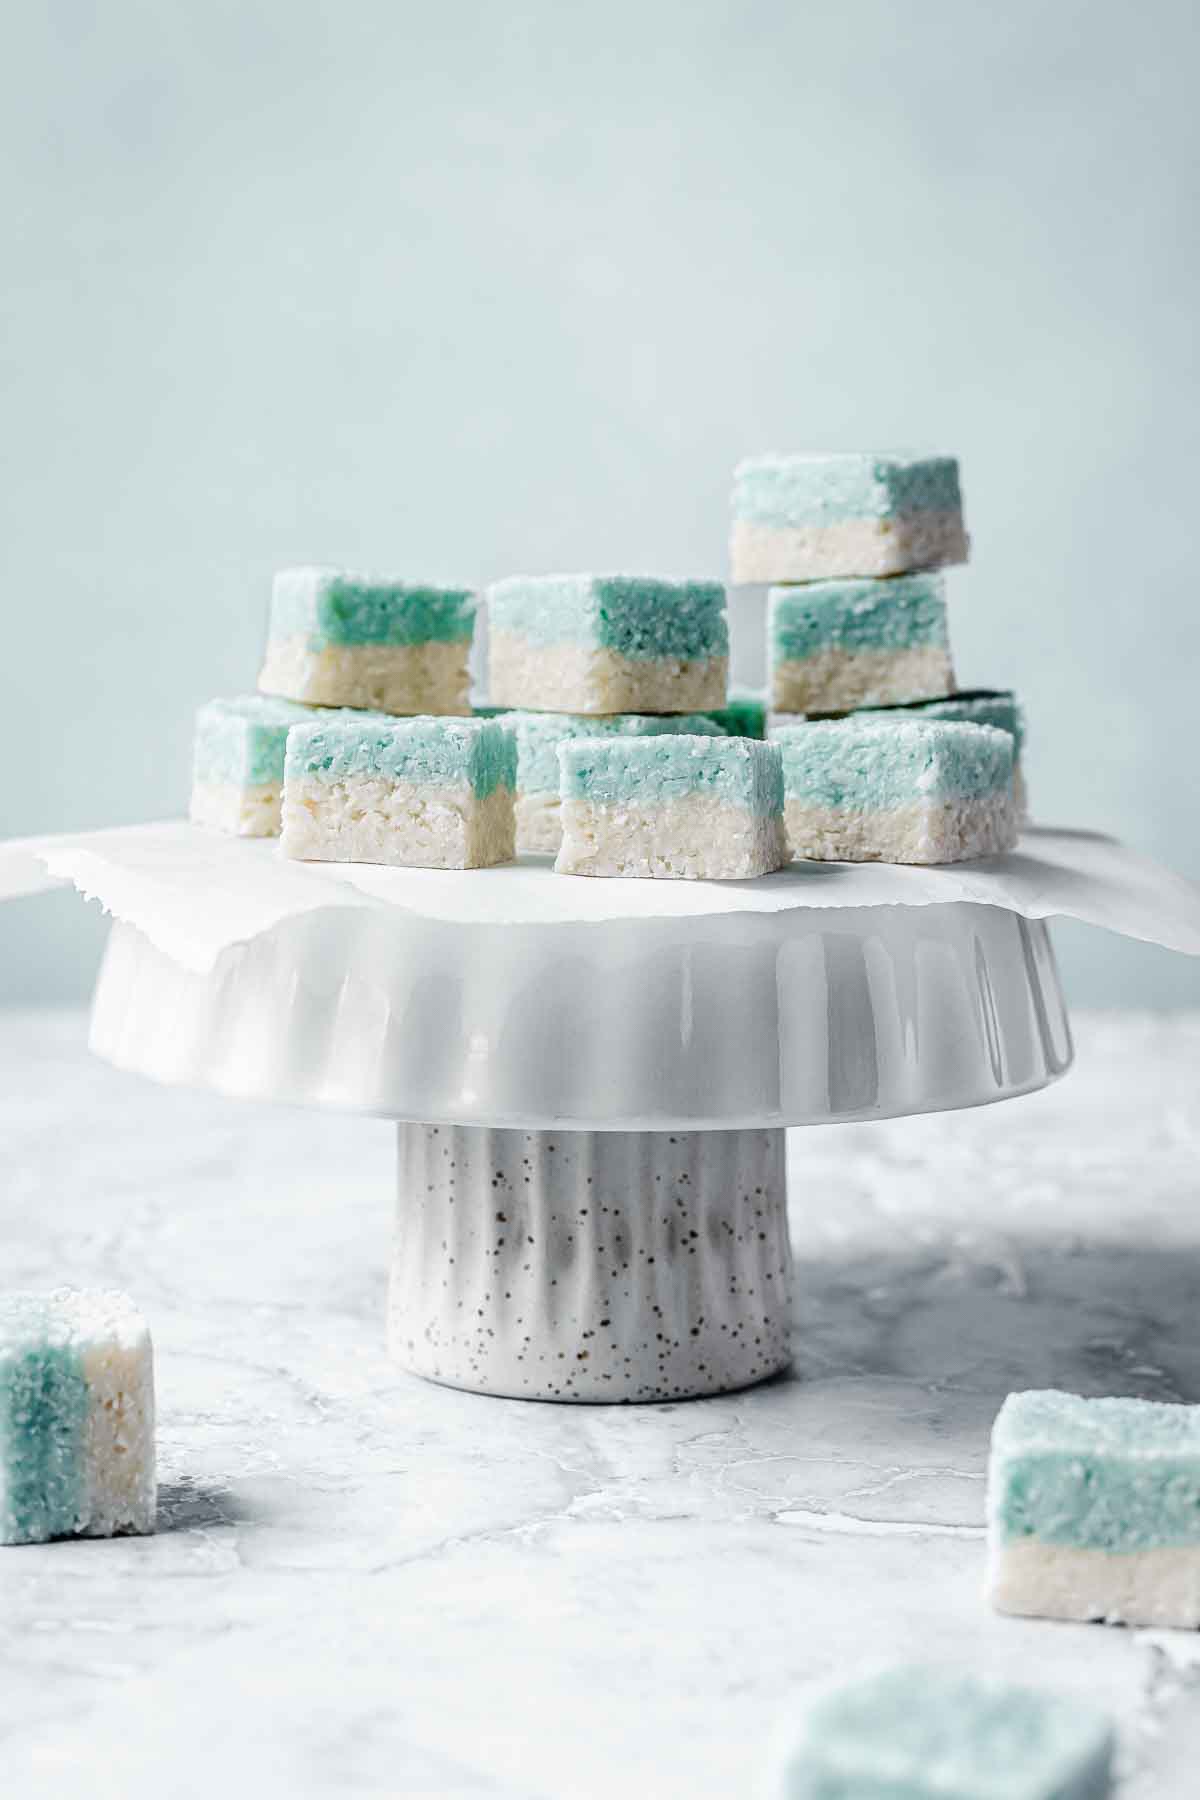
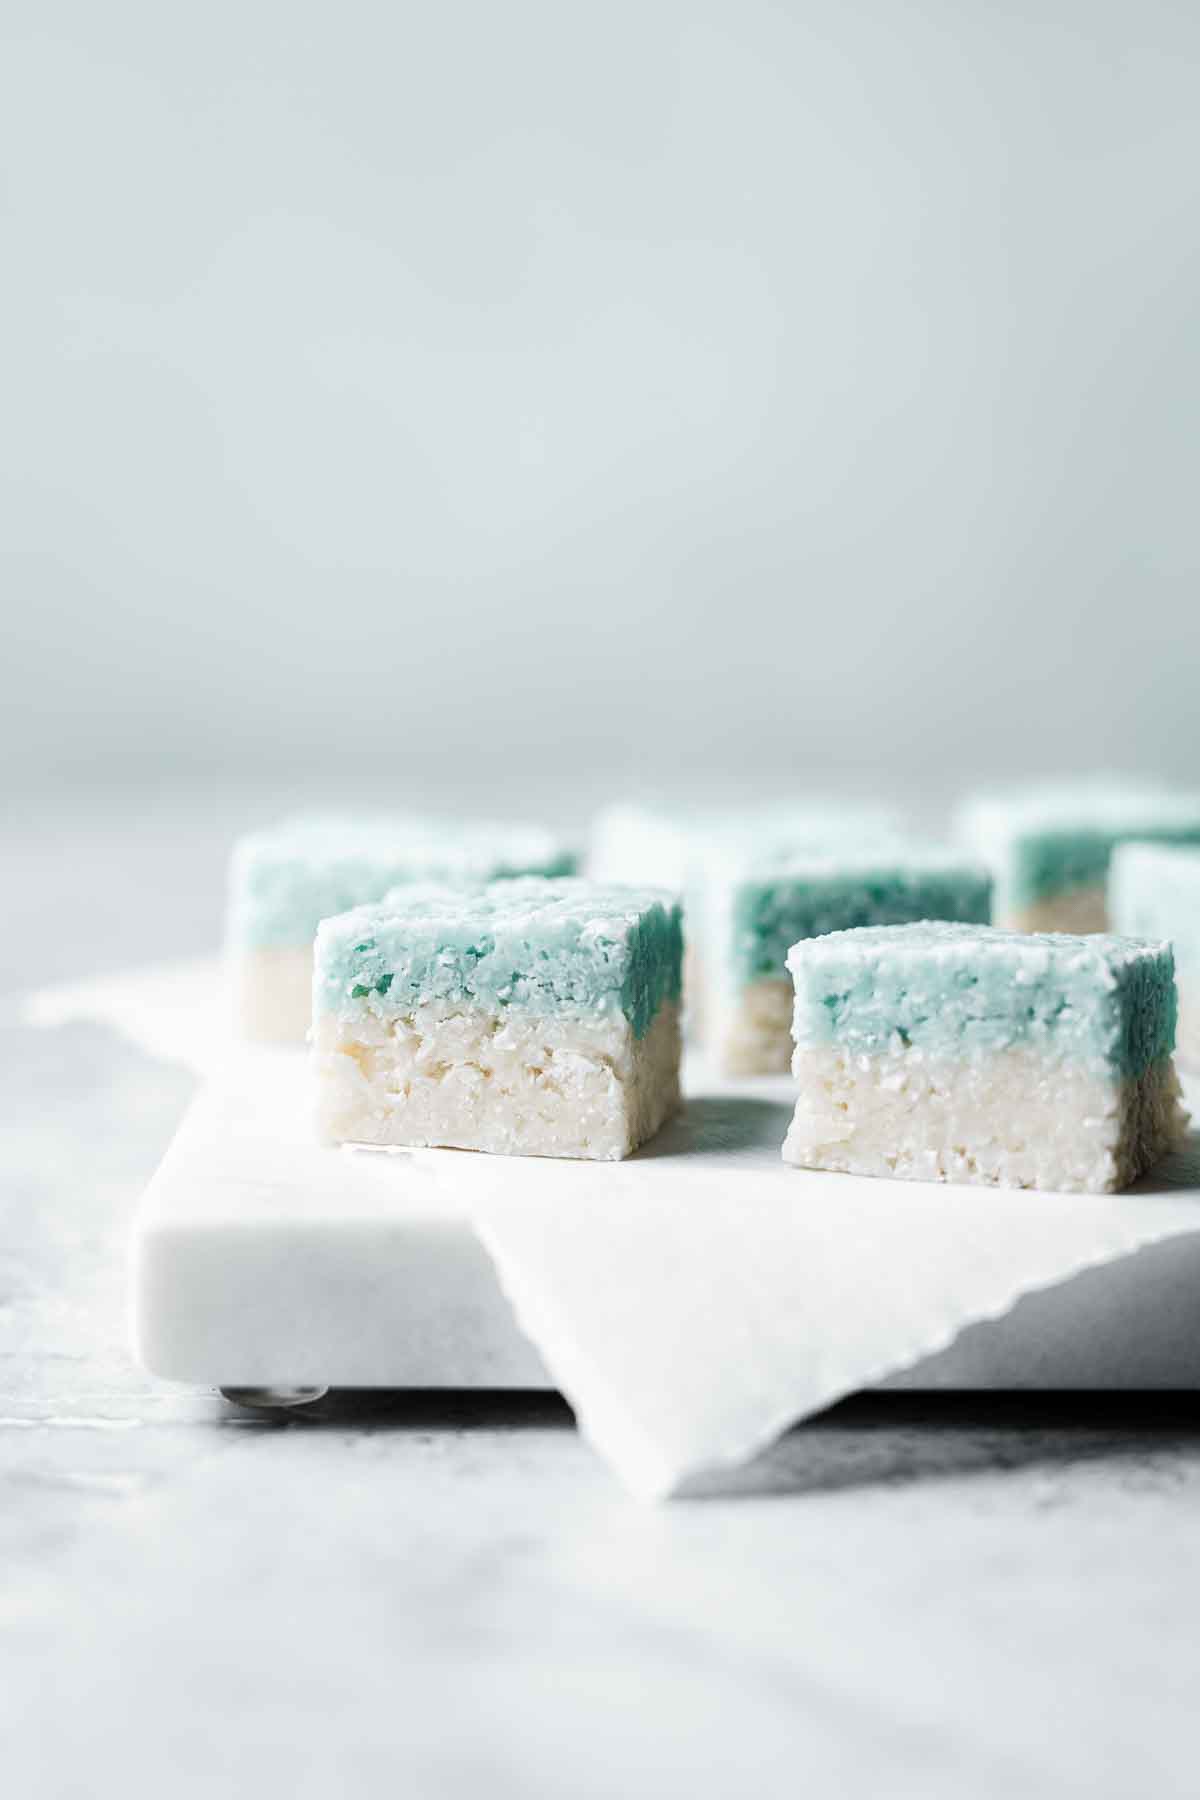
Coconut ice is a quick and easy no bake candy that's chewy, milky, sweet and full of coconut flavor. This is a modern, uncooked version of the old fashioned boiled recipe. It uses condensed milk for a simple, homemade treat with only 5 ingredients.
Coconut ice squares were originally created in Britain. They can also be found in Australia, New Zealand and South Africa. Traditional, old fashioned coconut ice recipes require boiling milk and granulated sugar to a soft ball stage before adding the desiccated coconut.
Swapping in sweetened condensed milk and powdered sugar makes an easier recipe that requires no cooking. This is a great recipe to make with kids since there is no hot syrup or boiling liquid involved!
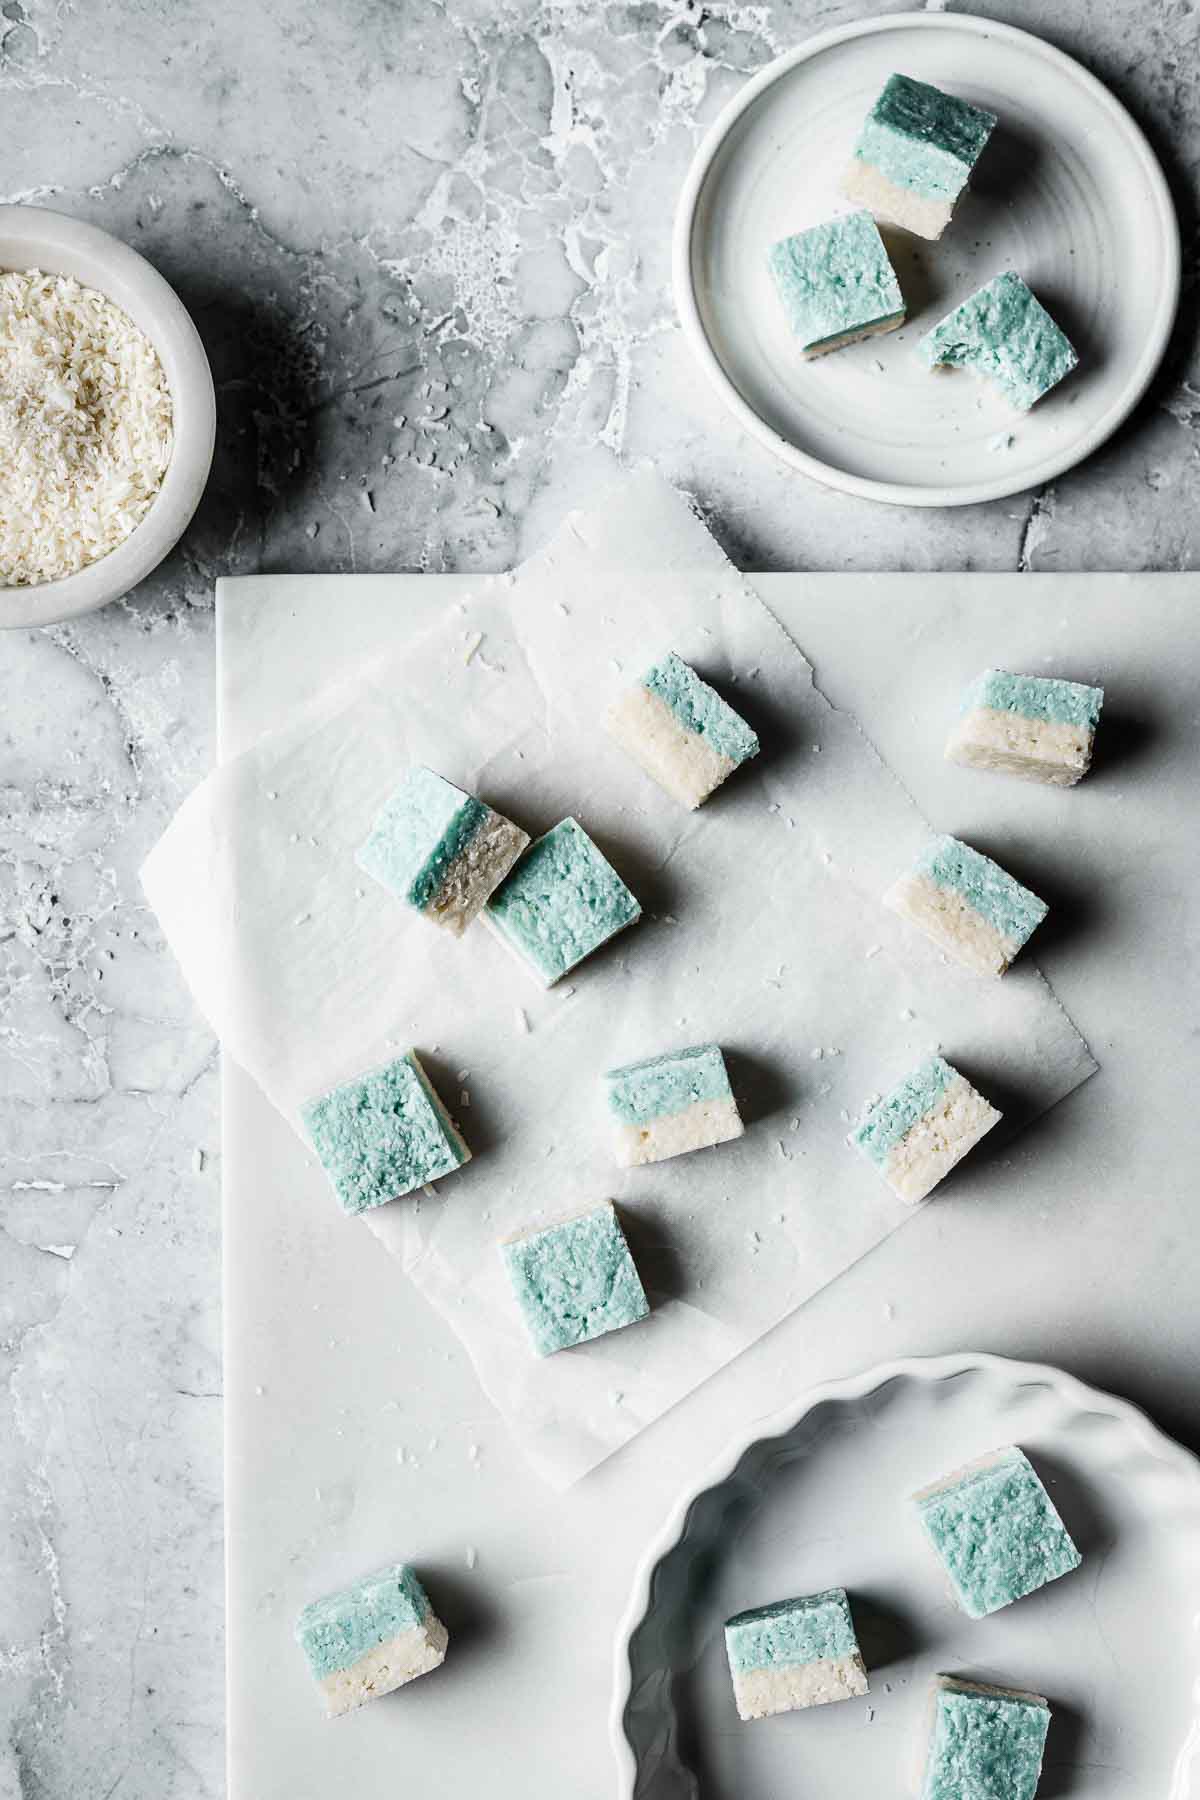
The most common color combination is pink and white coconut ice (pink on the top layer, white on bottom), but I wanted to convey an icy mood to better reflect its name, so I chose blue instead.
These coconut ice squares are perfect for a birthday party or a holiday cookie or candy platter. You can easily change the color of the layers to reflect whatever special occasion you're celebrating!
See the substitution section for an easy swap to make dairy free coconut ice with condensed coconut milk.
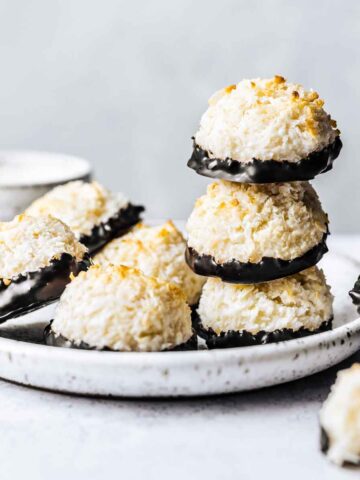
If you love coconut desserts, try these super easy kokosmakronen (German coconut macaroons) or these coconut chocolate chip cookies.
Jump to:
Ingredients
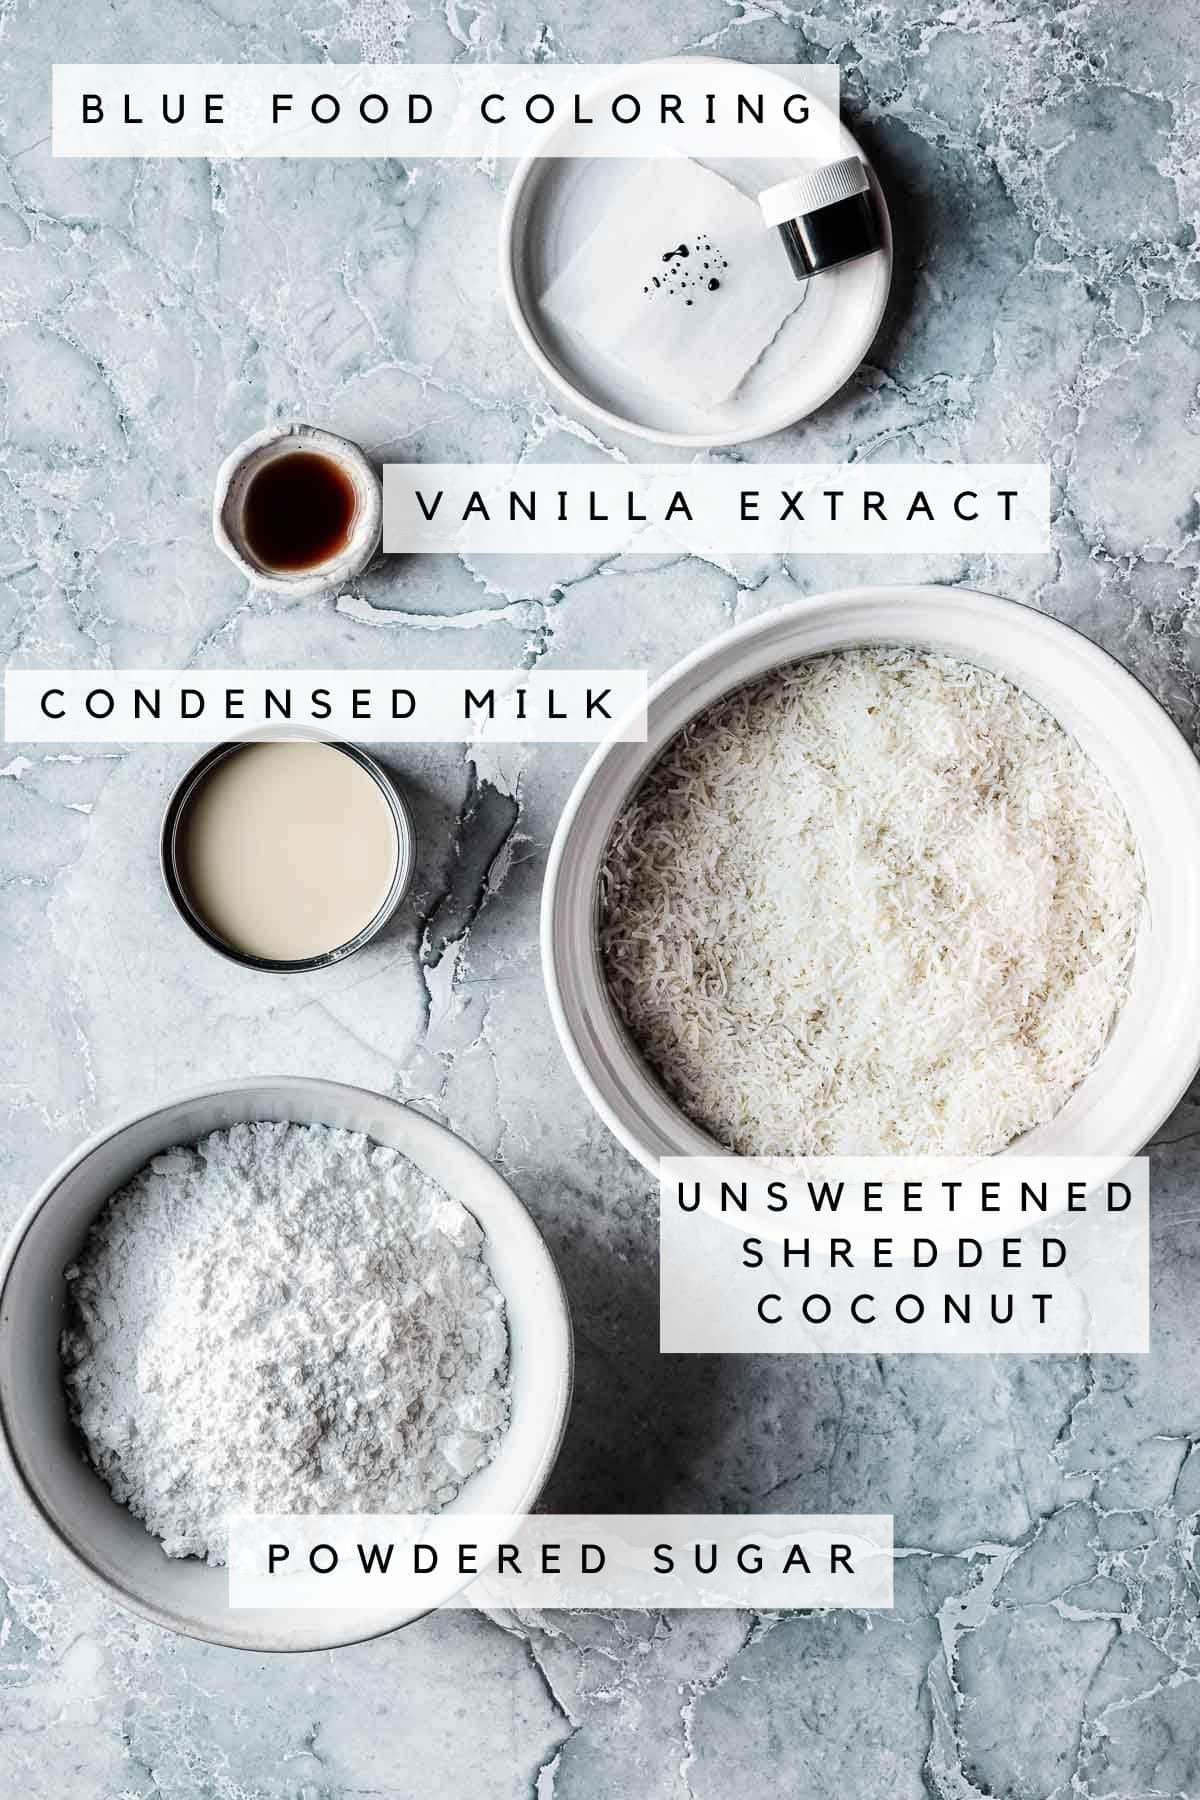
* See recipe card for detailed ingredients and quantities.
Coconut - This recipe uses finely shredded unsweetened coconut, also called desiccated coconut. Don't use sweetened coconut as there is already plenty of sweetness from the condensed milk and powdered sugar.
If you can't find finely shredded coconut, substitute coconut flakes or coarsely shredded coconut and pulse the mixture in a food processor or blender until very fine (see instructions for before and after photos).
Instructions
Learn how to make homemade coconut ice squares - you only need 5 ingredients, and there's no baking required! These photos will walk you through the process. See the recipe card for detailed instructions.
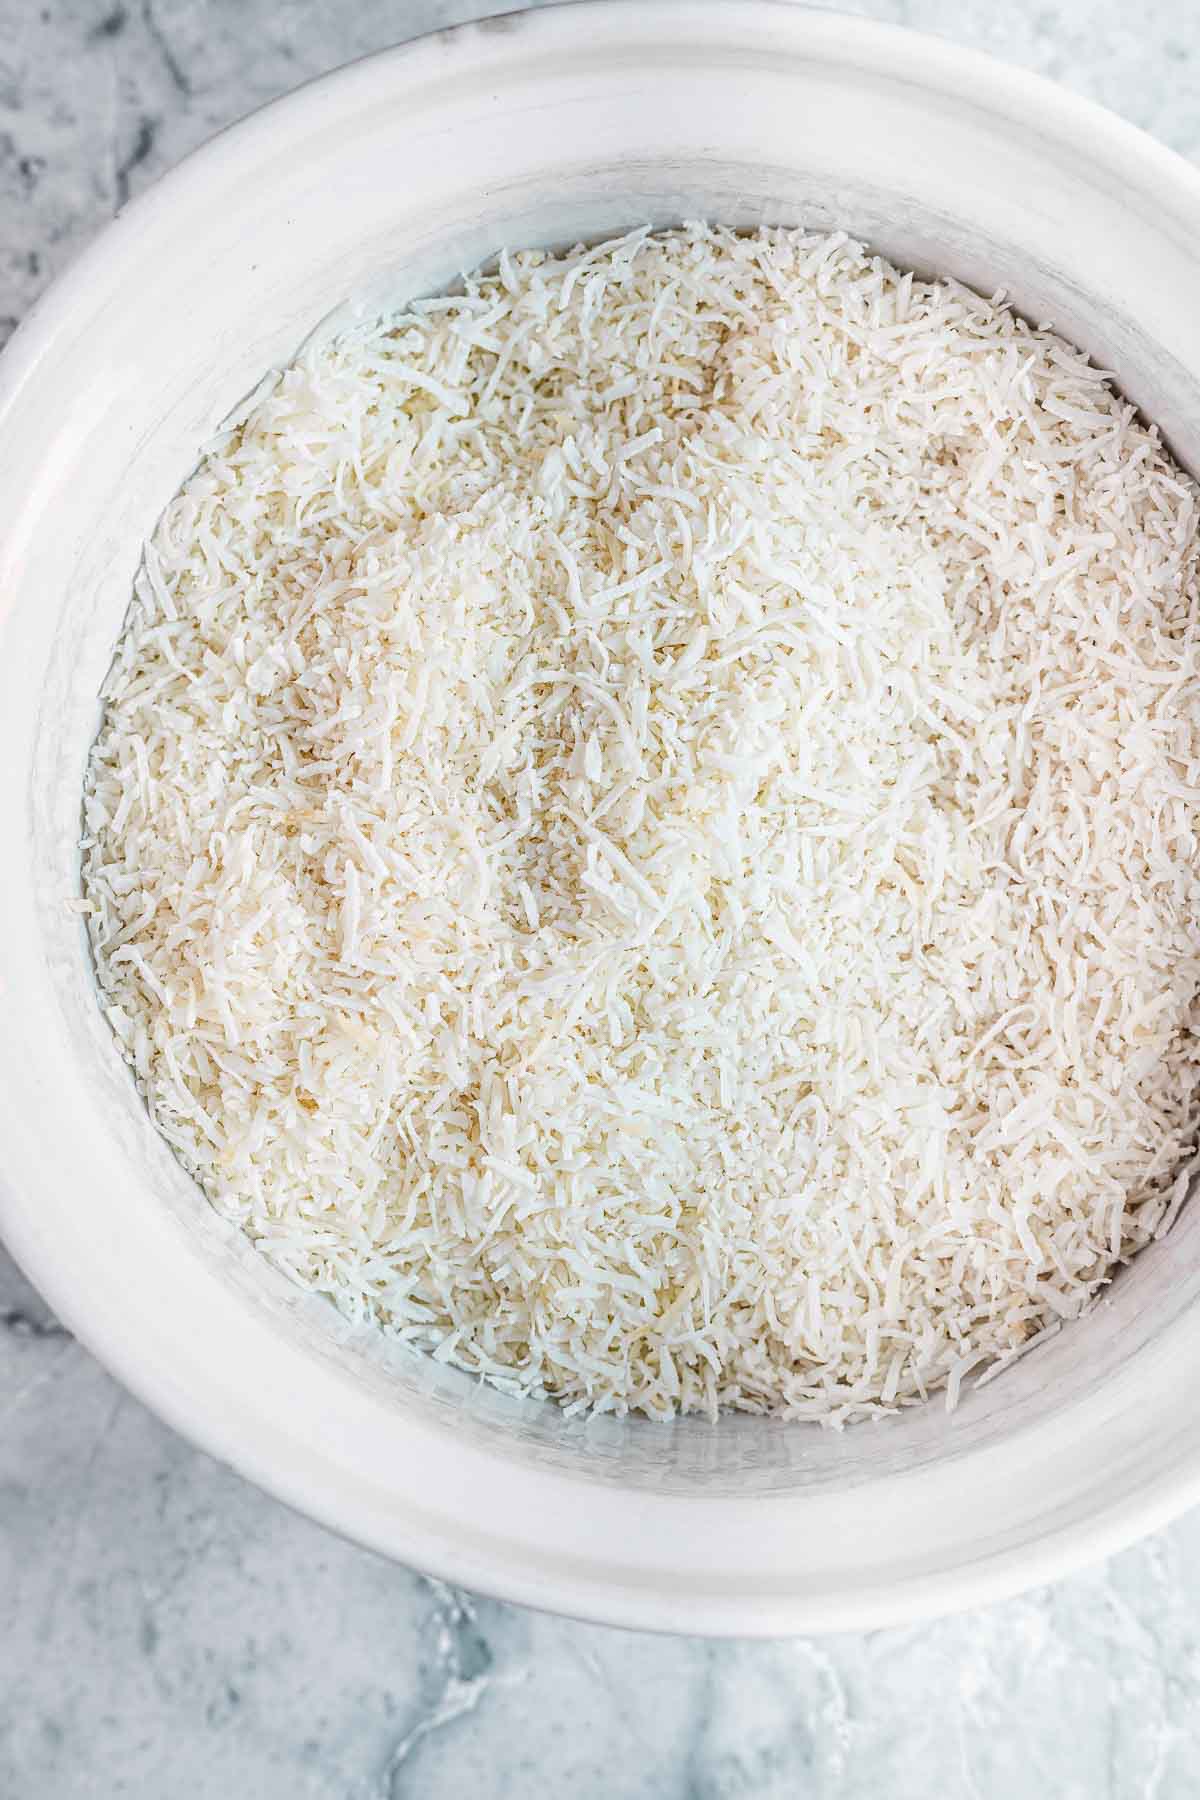
If your shredded unsweetened coconut isn't finely ground, you'll want to process it more finely. This shredded coconut could be in smaller pieces.
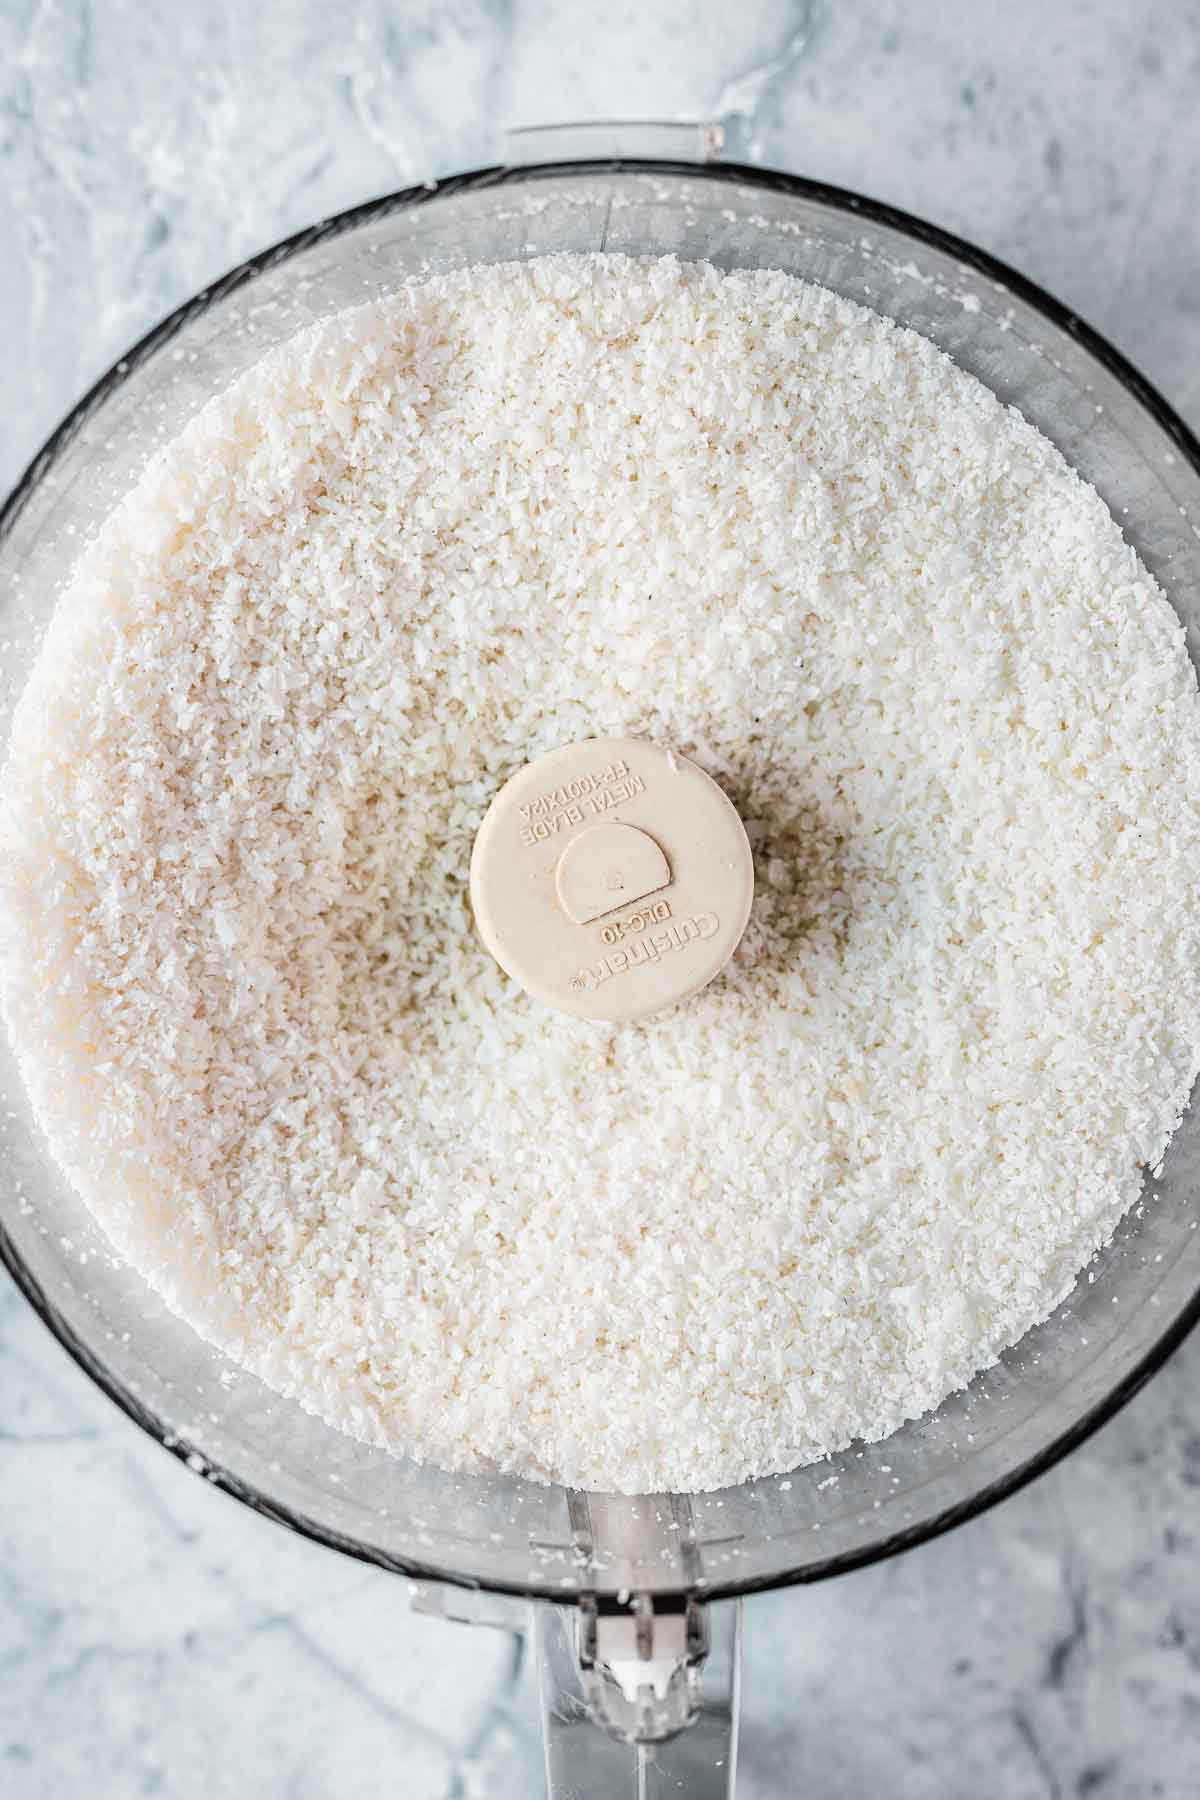
Place coconut in food processor or blender and process just until very finely chopped. Do not run for too long or it will eventually turn to coconut butter!
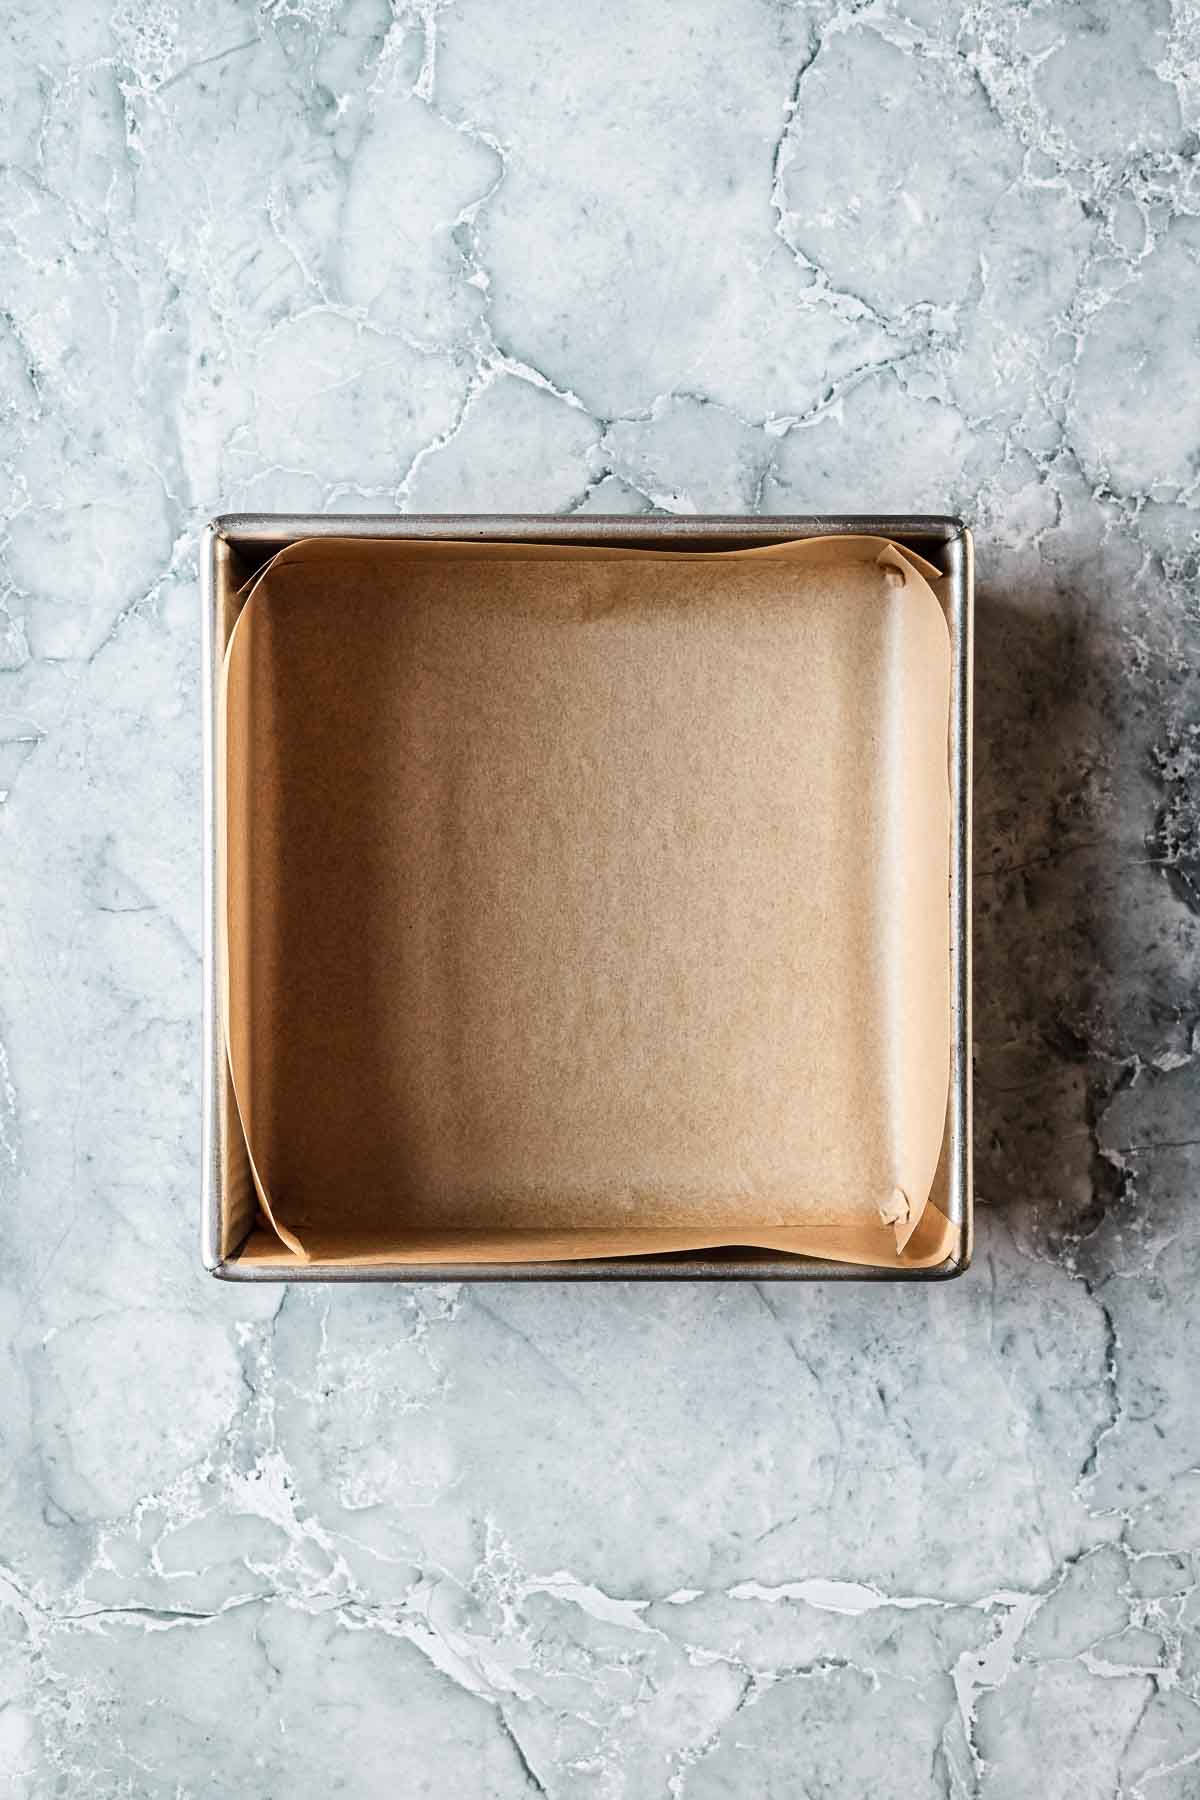
Line an 8 x 8 inch (20 centimeter) square pan with parchment paper. Extend the paper up the sides to avoid sticking and to lift the block out when firm. Set aside.
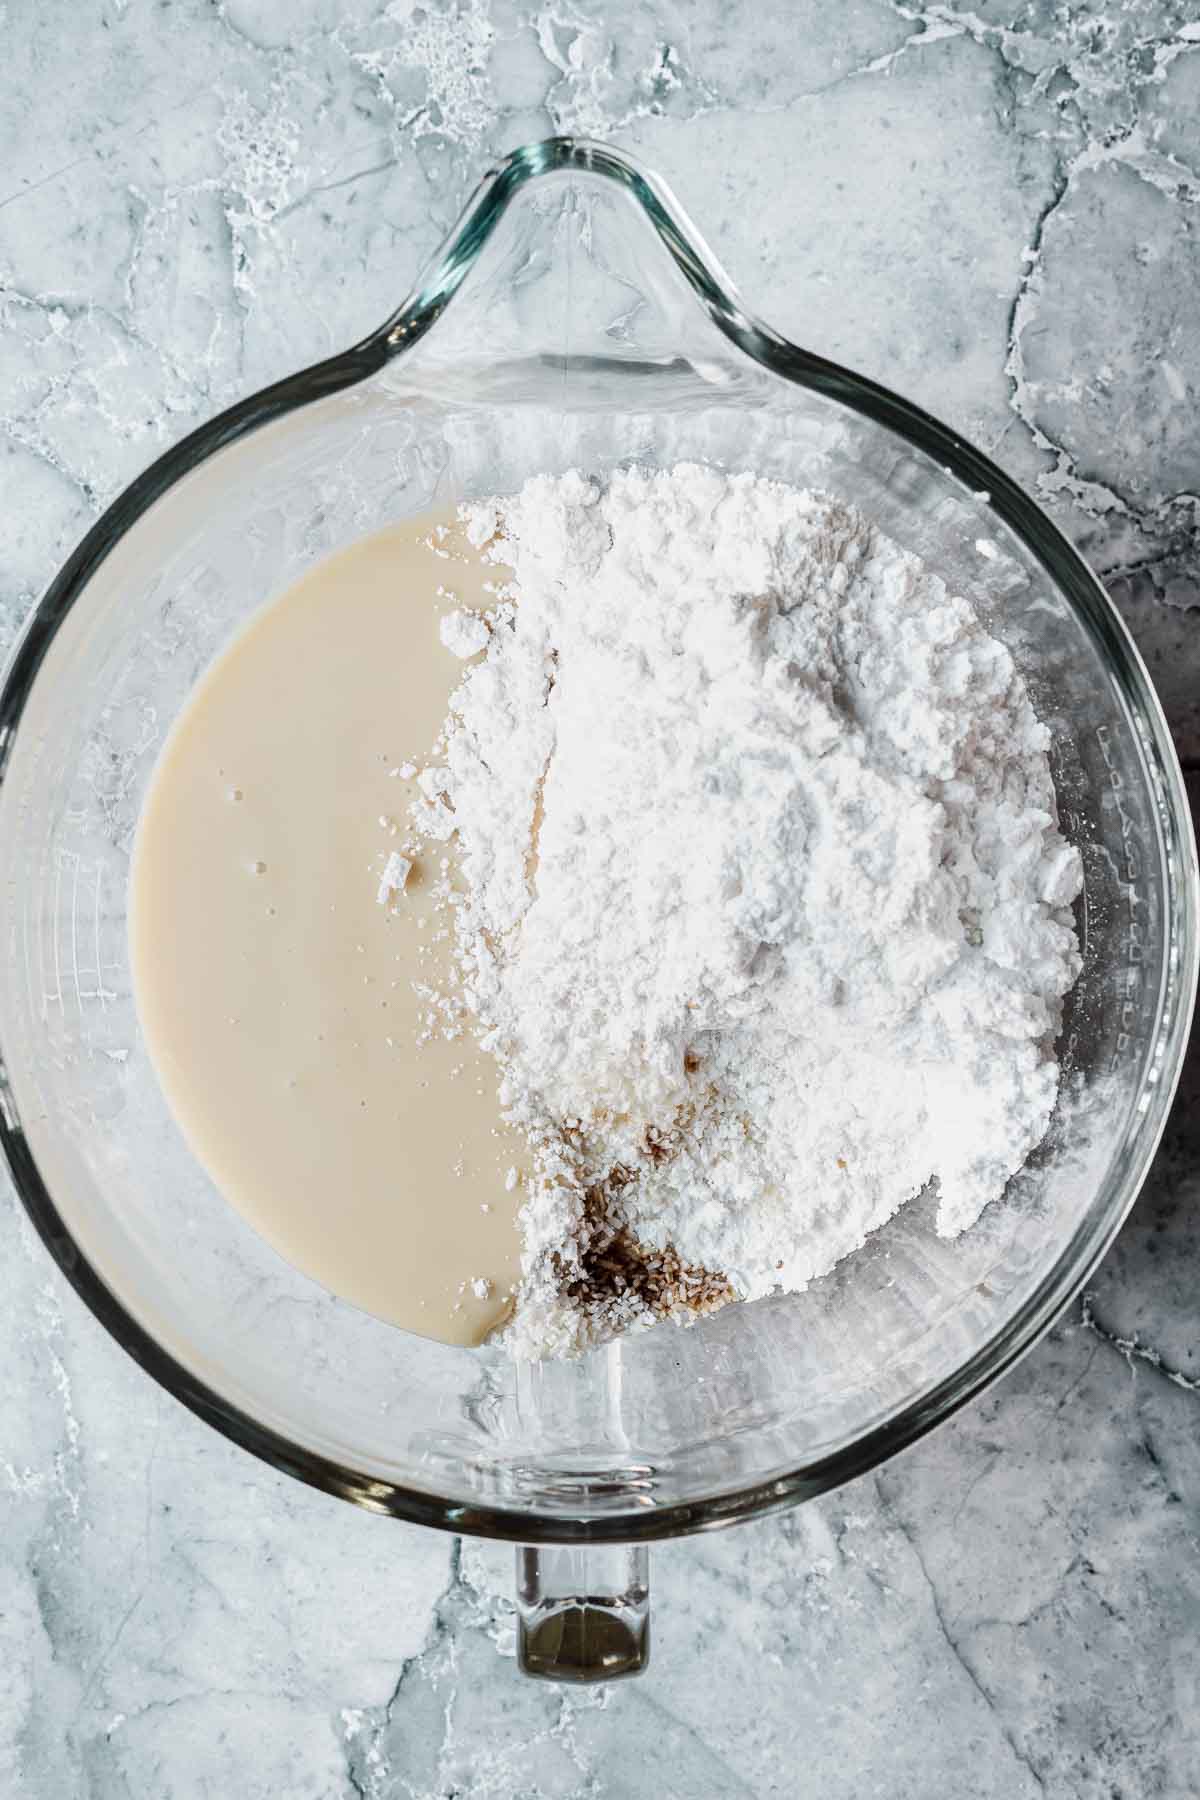
Place powdered sugar, cream of tartar, shredded coconut, vanilla and condensed milk into a large mixing bowl.
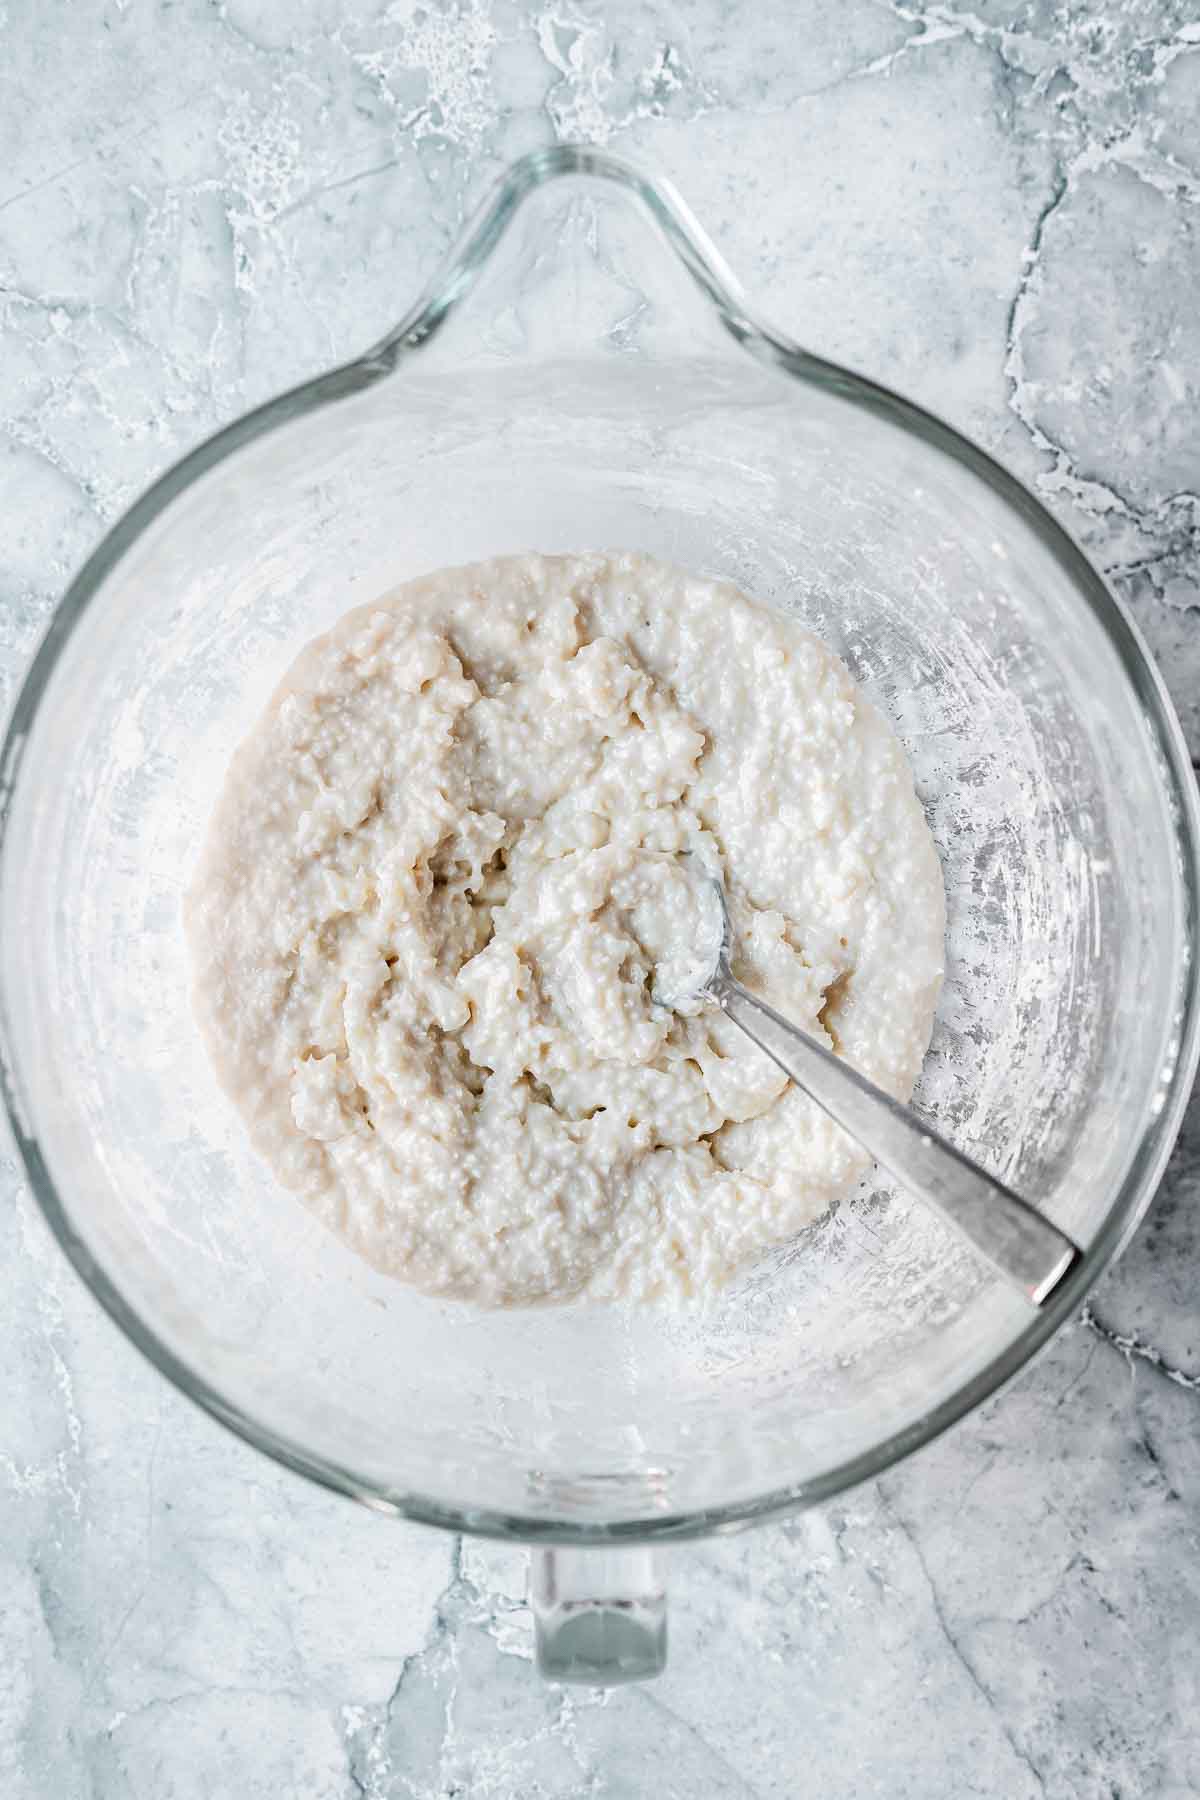
Stir until fully combined. The mixture will get harder to stir as the coconut begins to absorb the condensed milk.
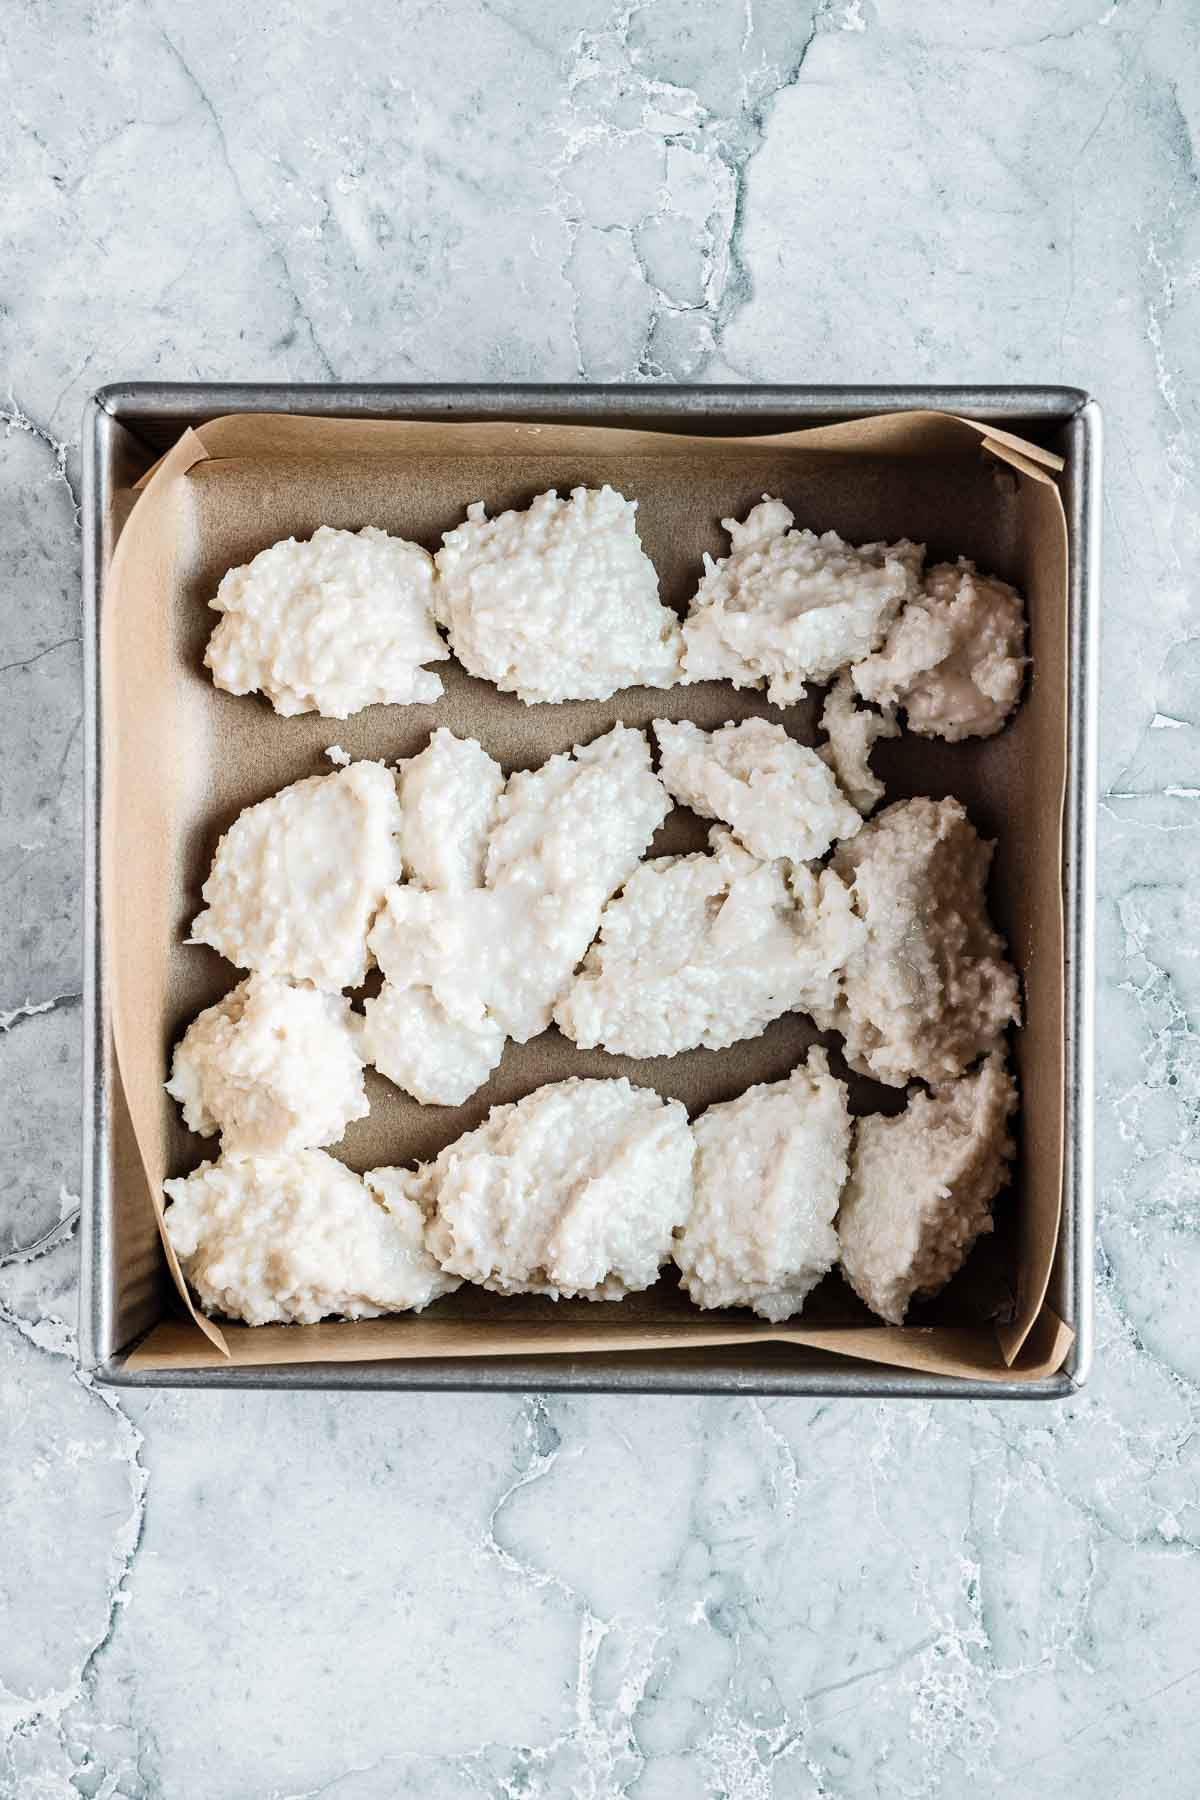
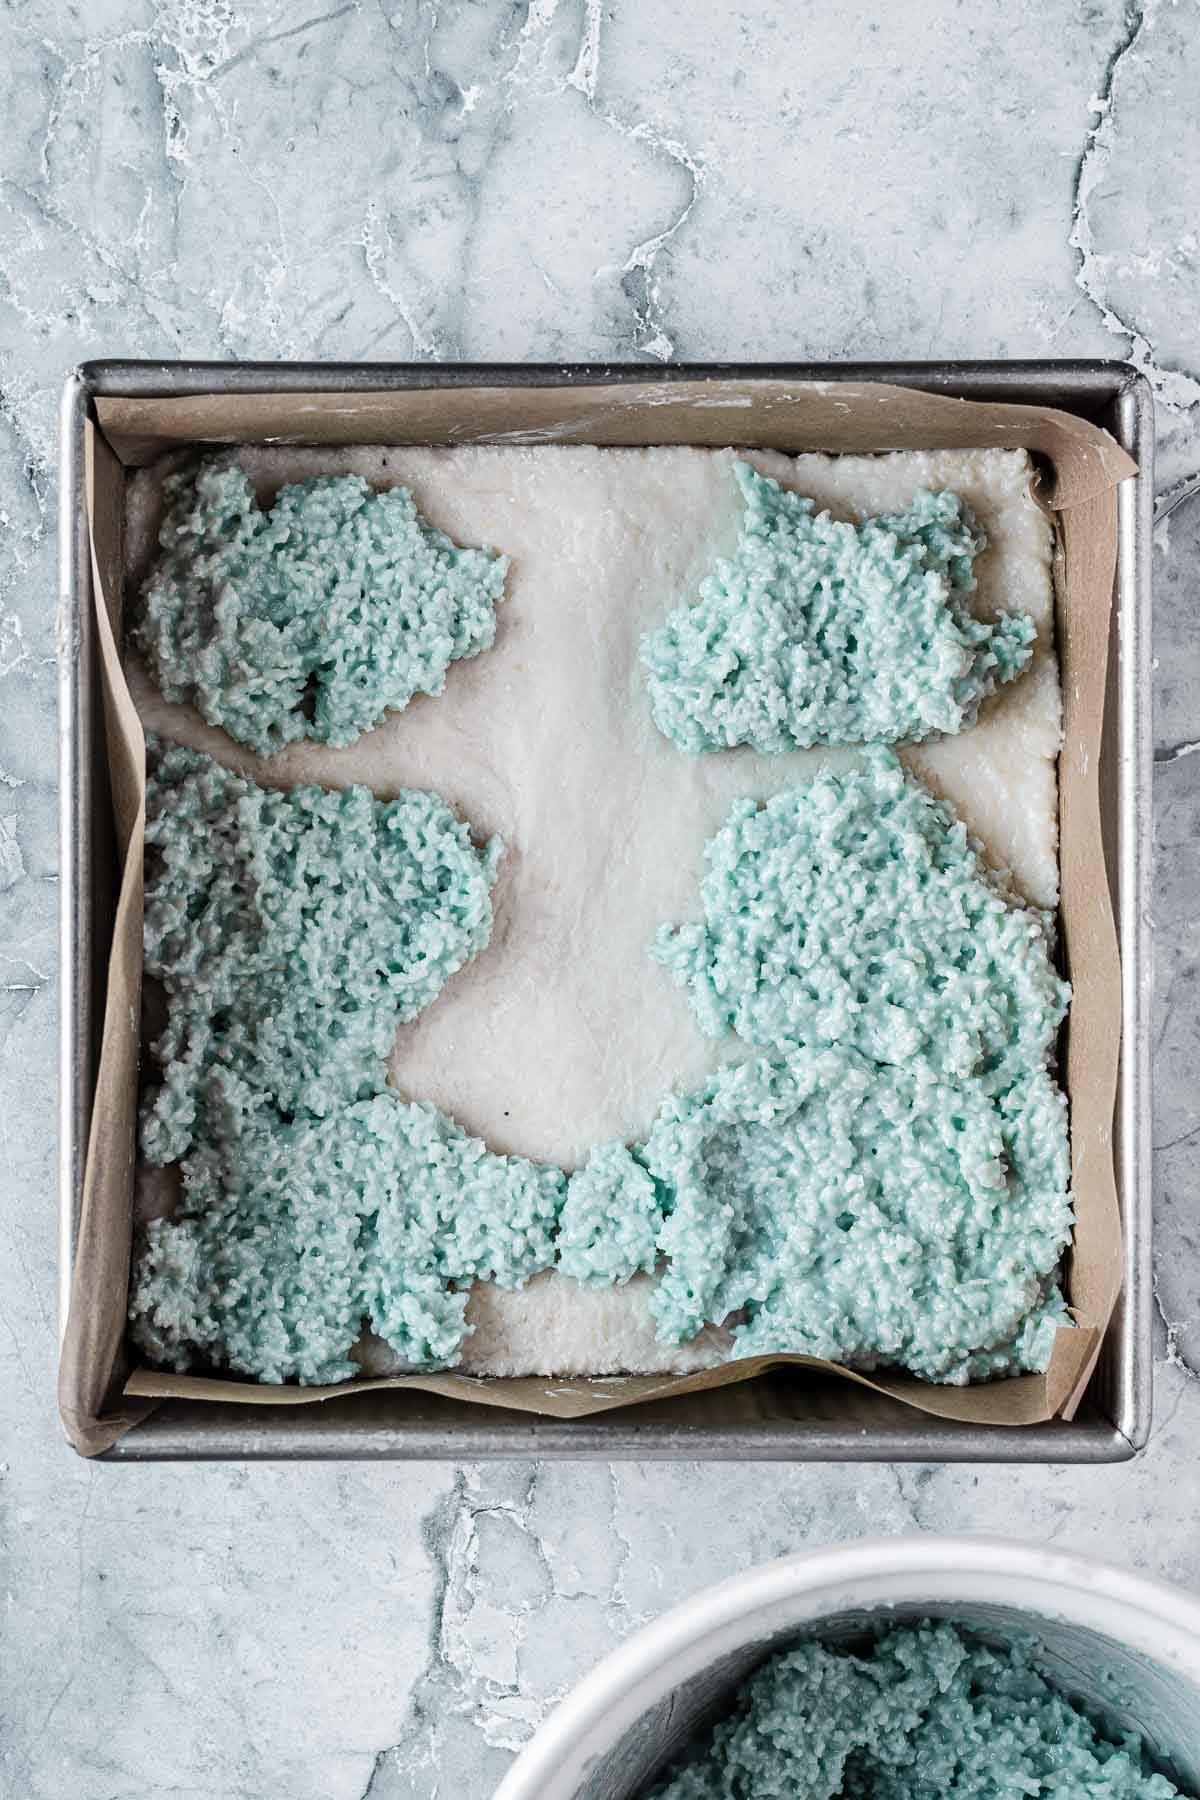
Portion half of the coconut mixture into the prepared pan. I like to distribute it in spoonfuls rather than simply dumping it in. It doesn't spread easily.
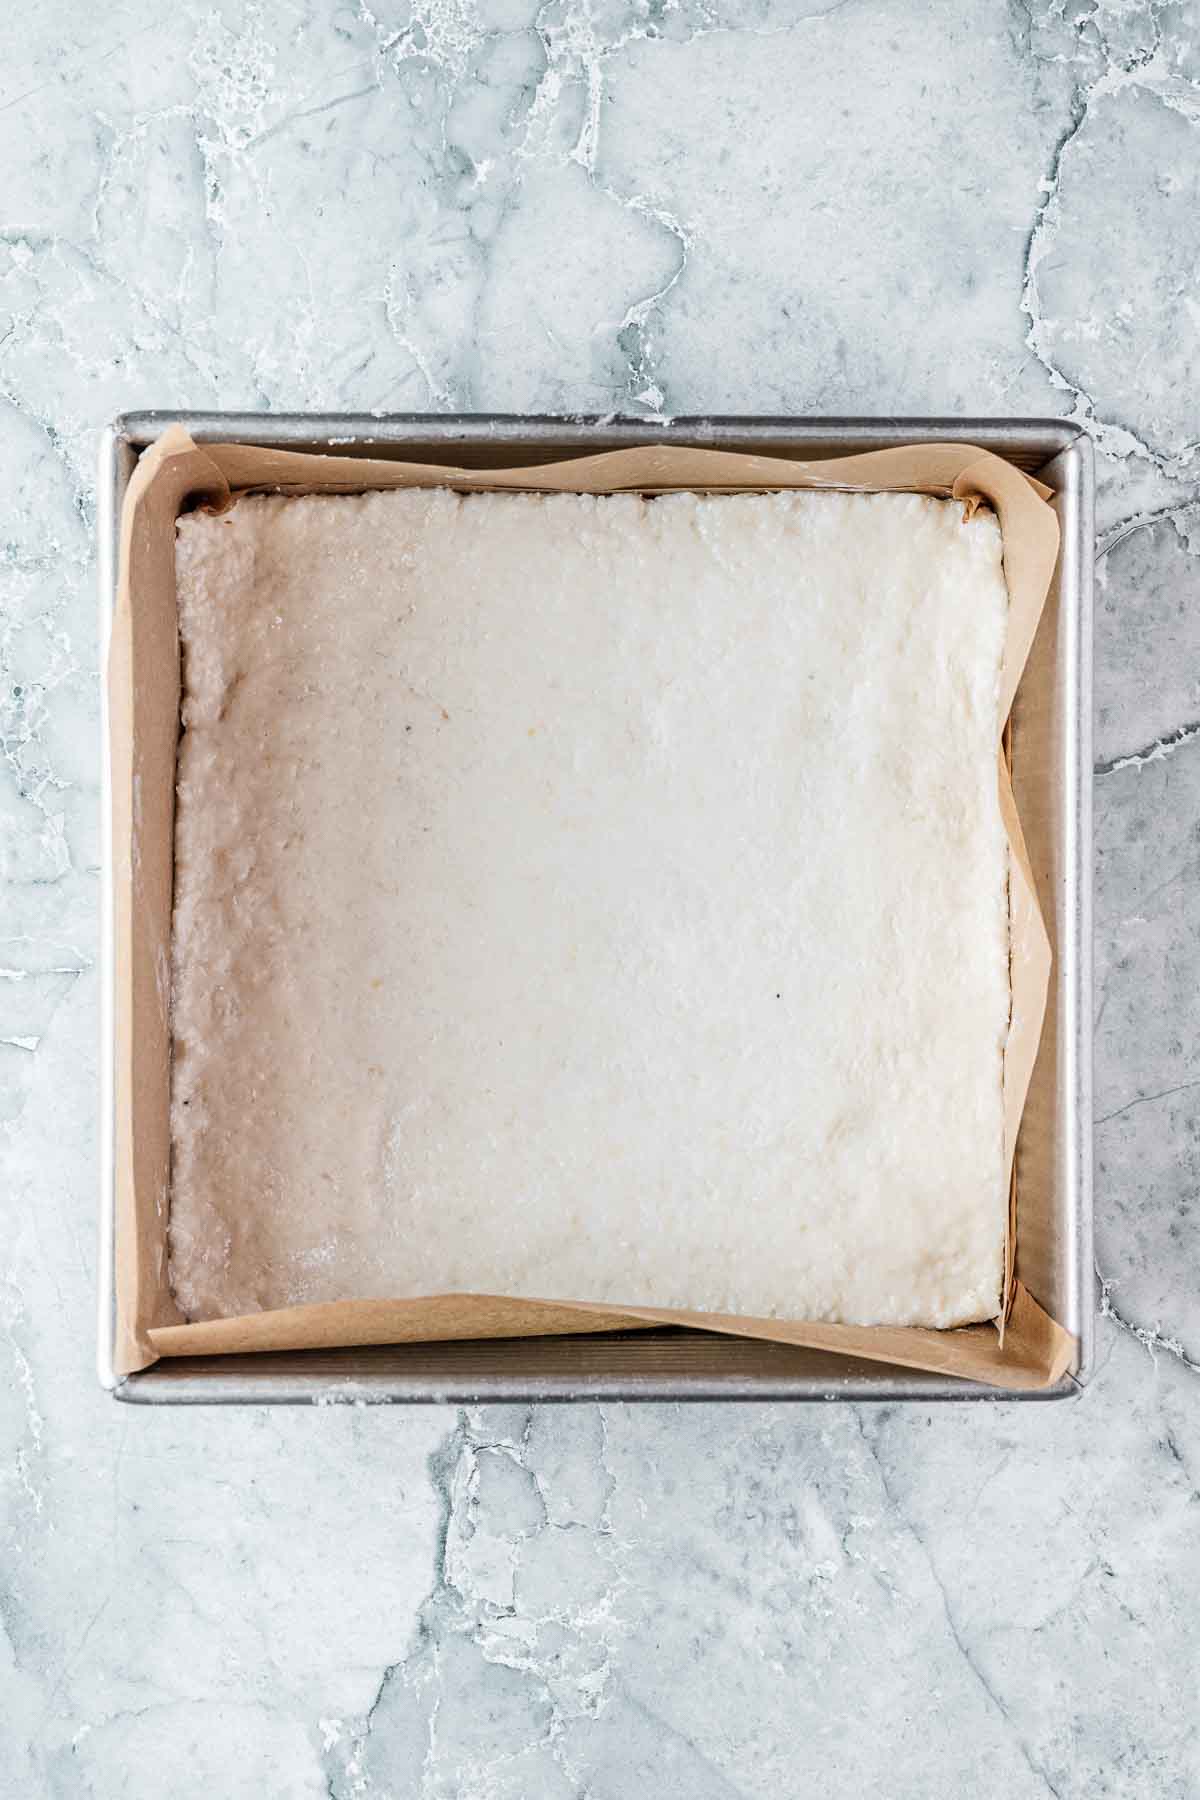
Press the mixture evenly into the pan using your hands. Coat your hands with powdered sugar or a bit of cooking spray to keep the mixture from sticking. Place in refrigerator to chill briefly.
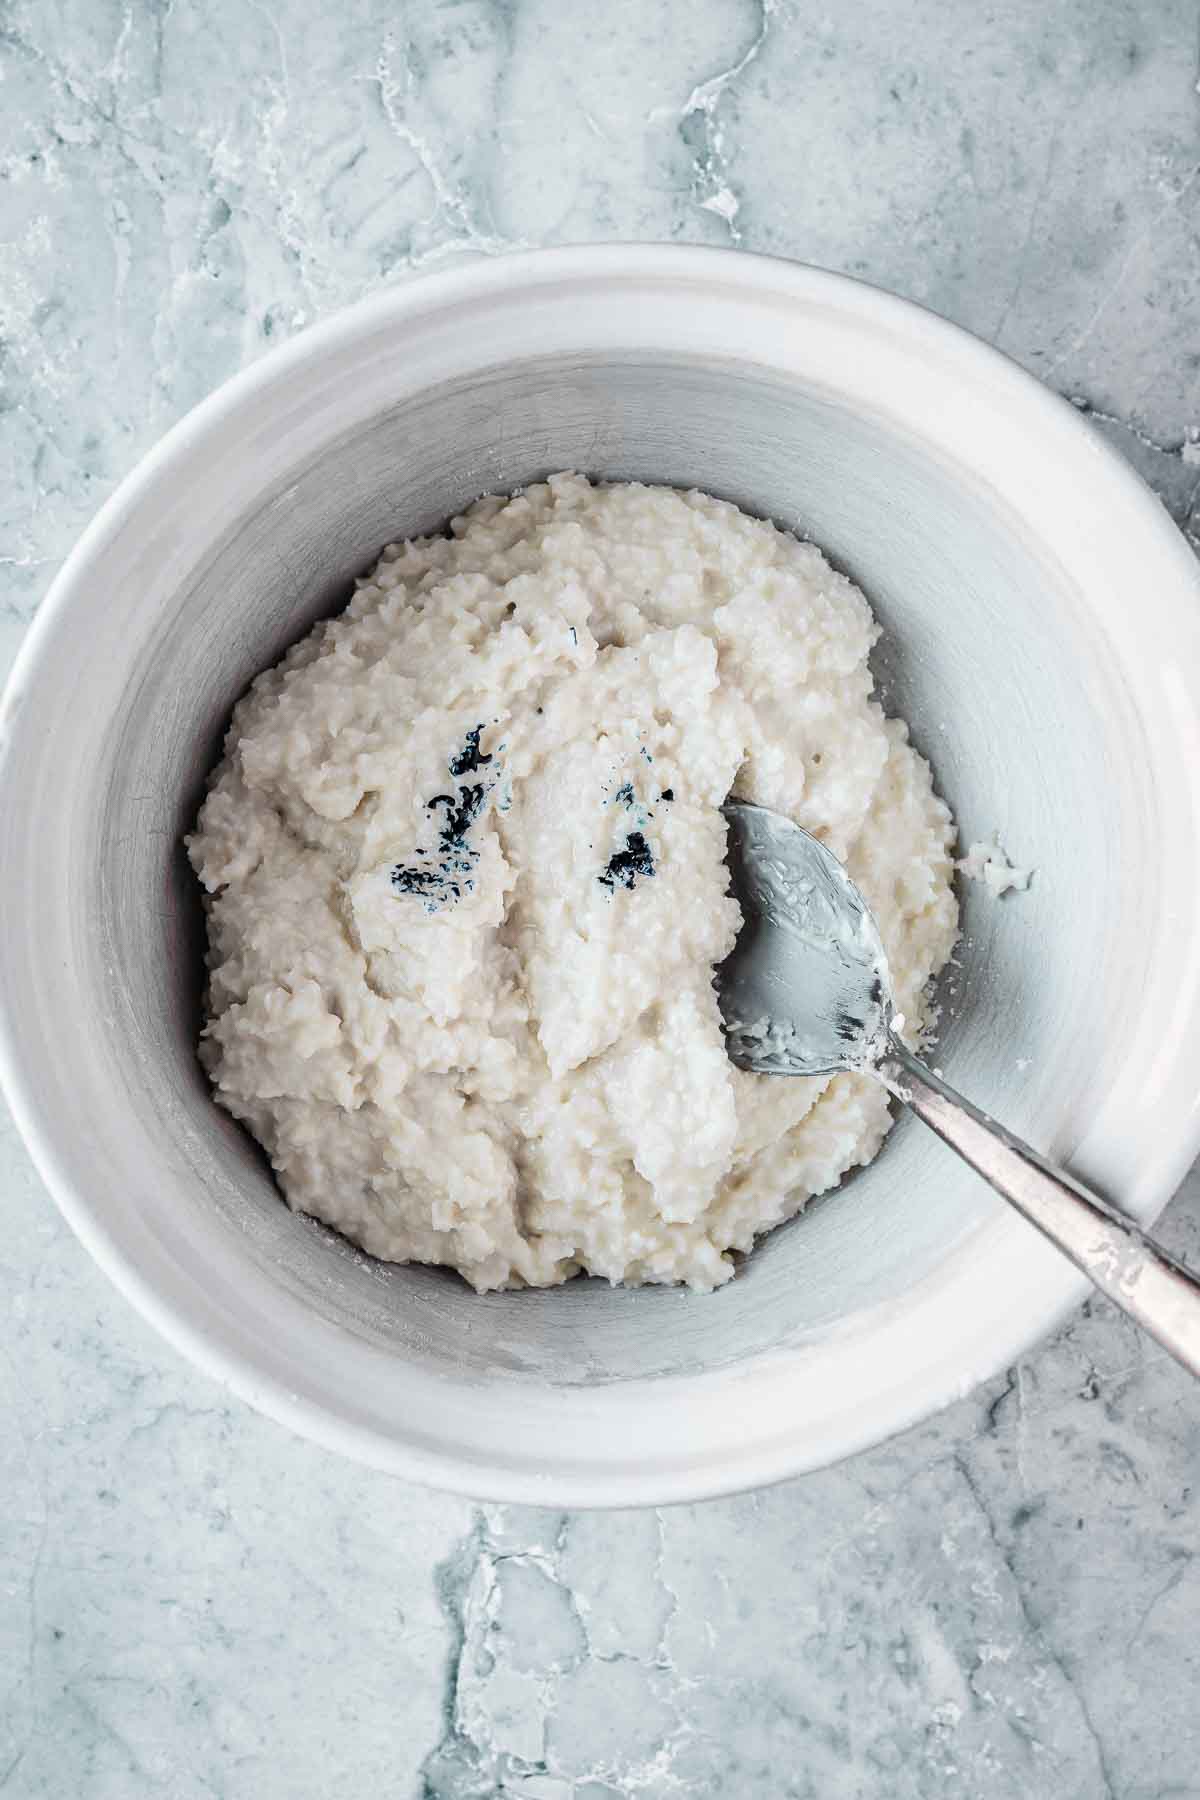
Add desired food coloring to the remaining half of the coconut mixture. Start with just a bit, and add more as needed.
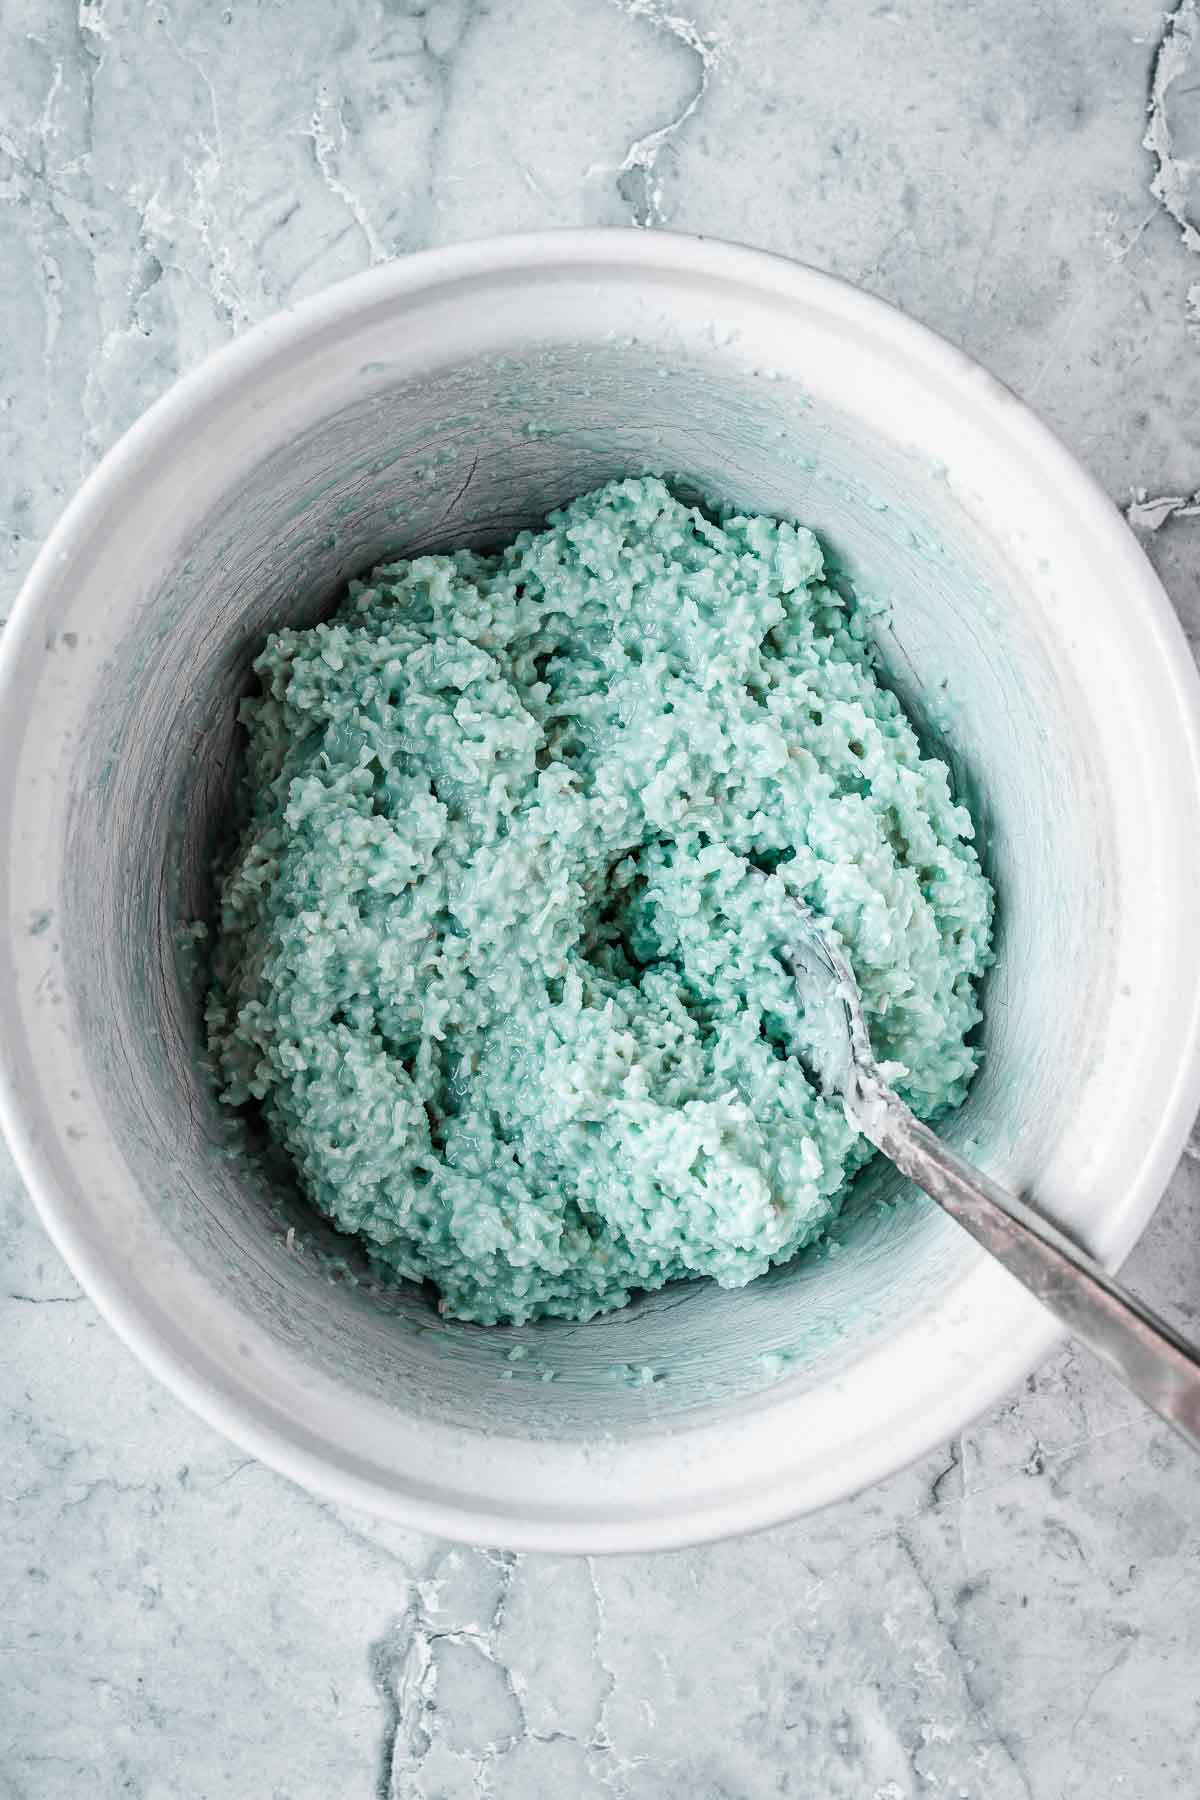
Mix the coconut thoroughly to incorporate the food coloring evenly.
Scoop the colored portion onto the somewhat chilled first layer and press in evenly.
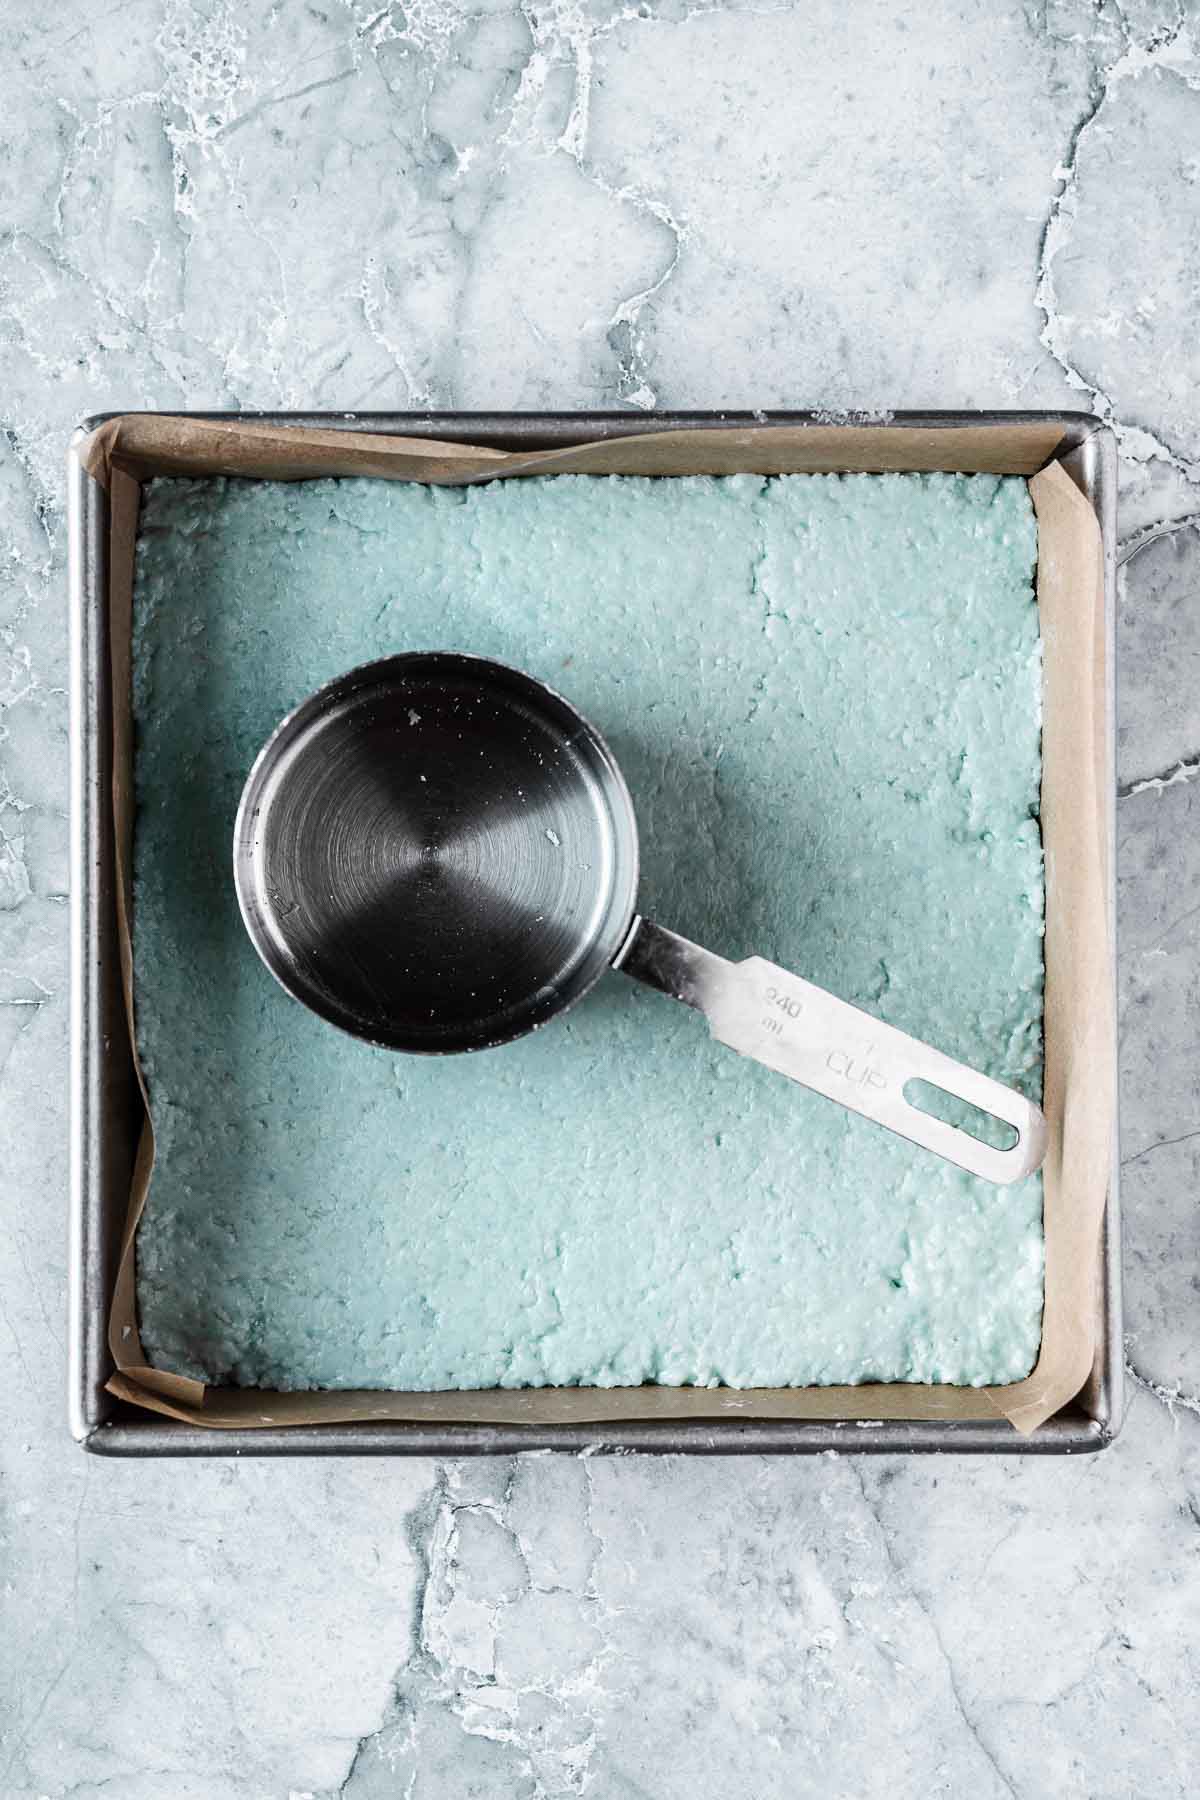
Pack down well using a measuring cup. Cover with plastic wrap and chill for at least 1 hour.
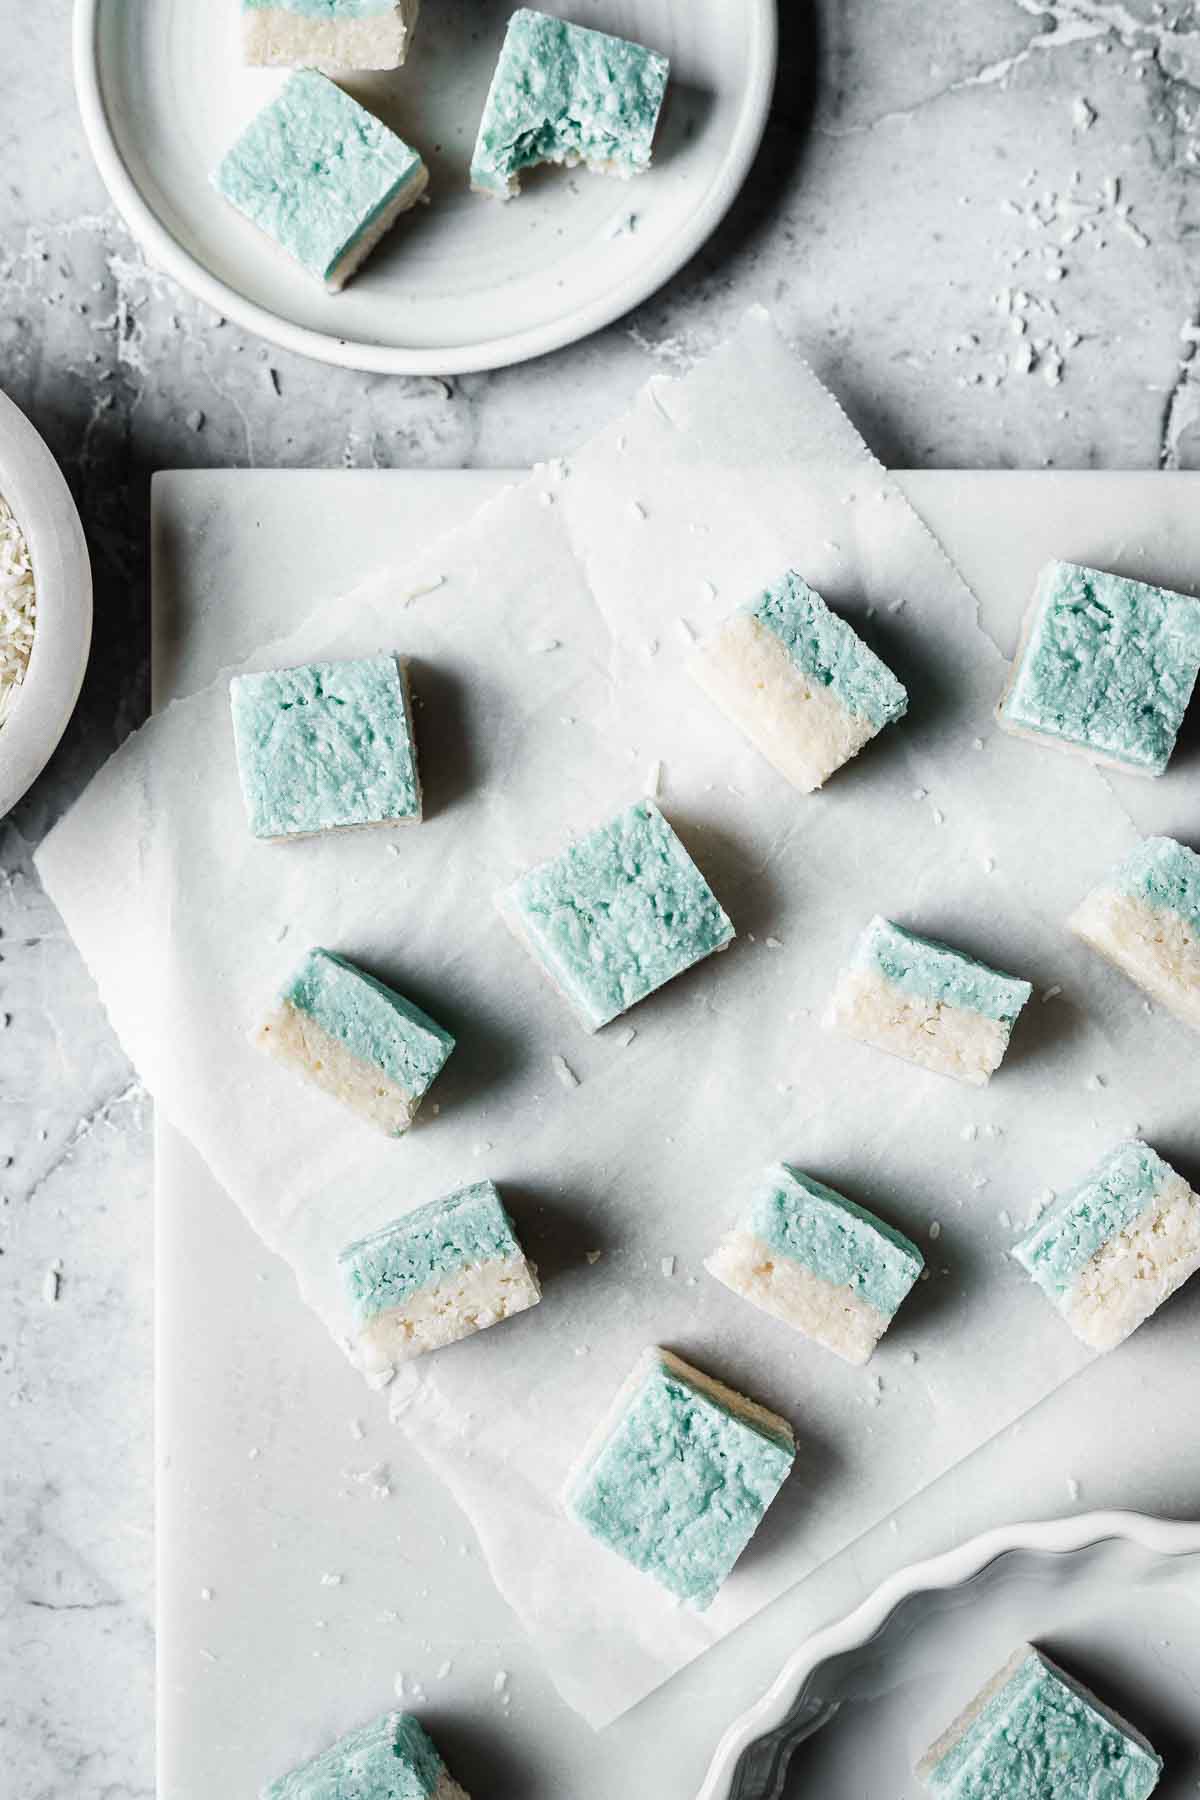
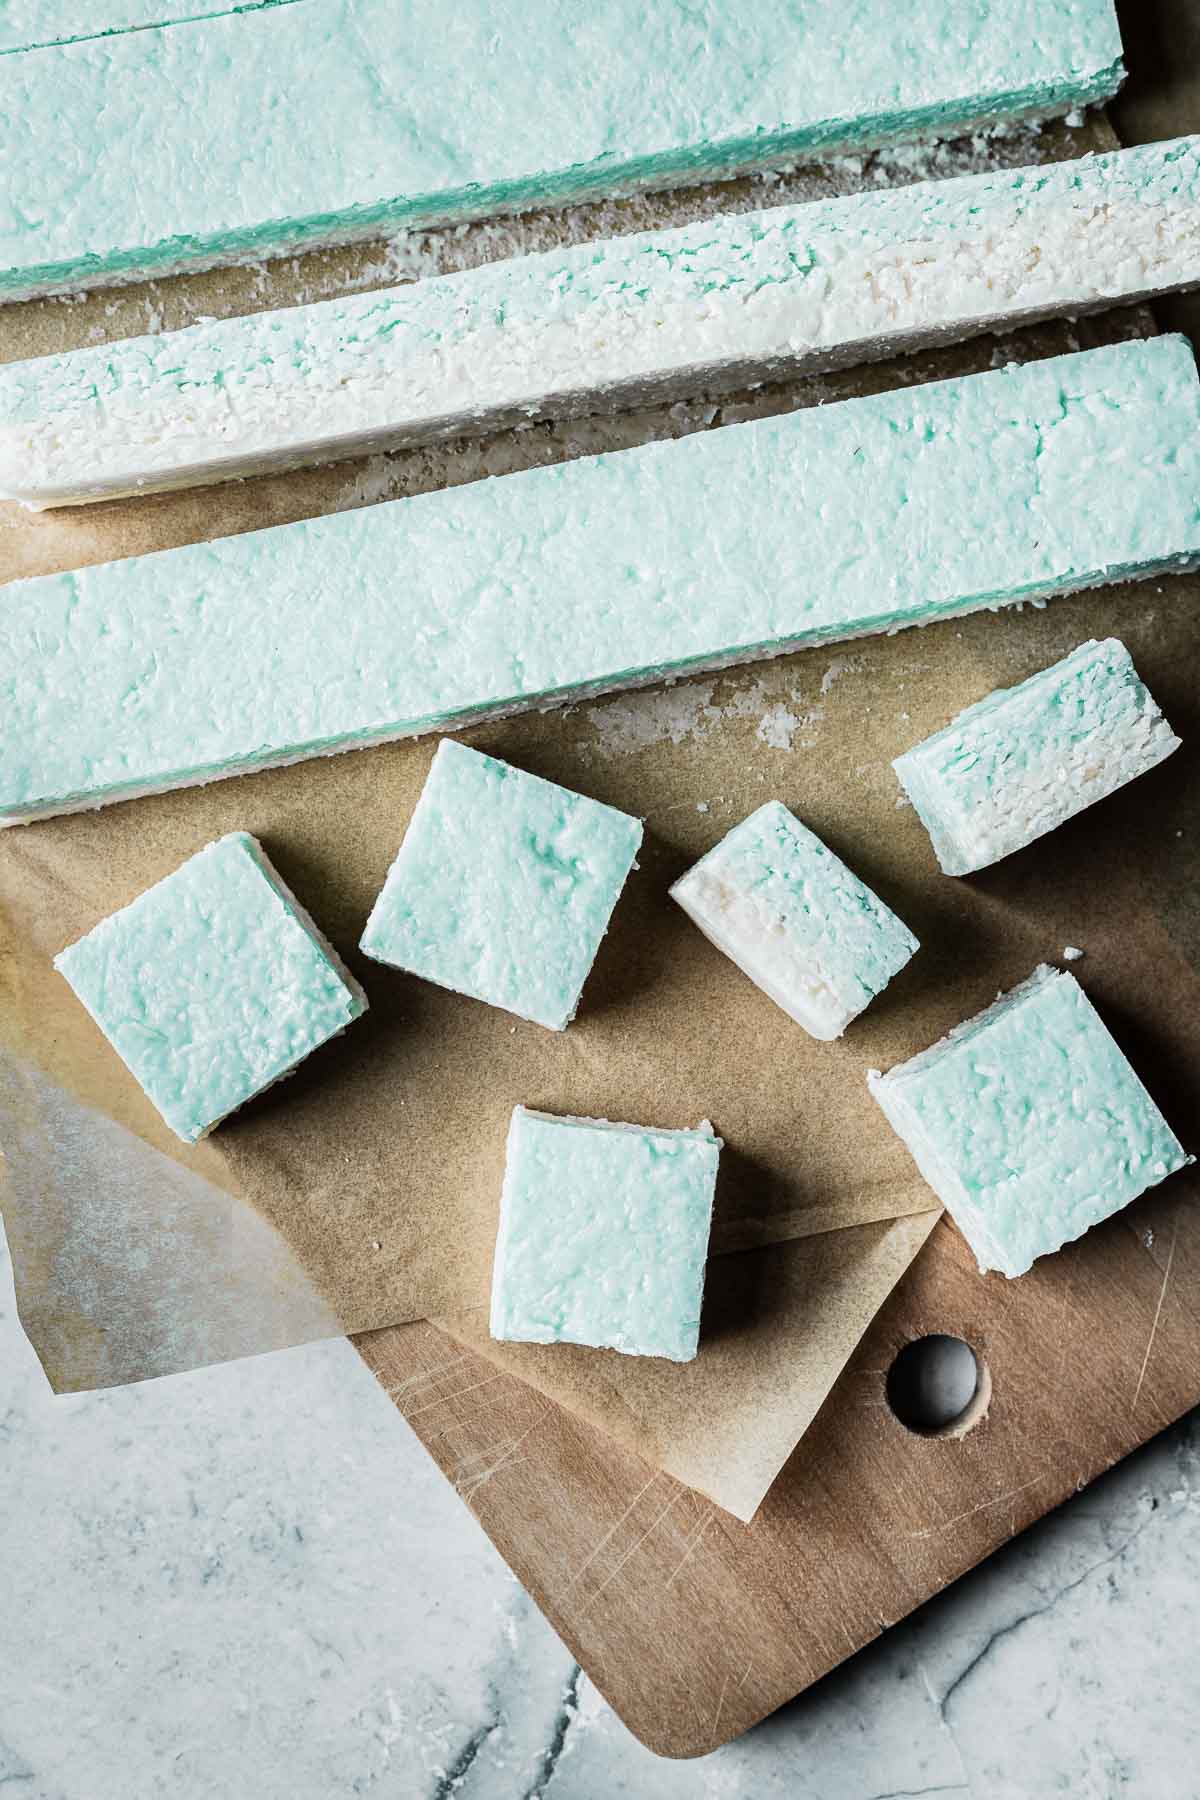
For neatest results, trim the rough edges off using a long, sharp knife. Cut coconut ice into small squares.
Hint: Give the coconut ice time to set (at least 1 hour in the refrigerator) before slicing into squares. It's much easier to cut when it's cold and firm. A long, sharp knife works best for lightly scoring the cut lines on top of the bars as well as for making the cuts.
Variations
Give these variations a try.
- Rose coconut ice - Use pink coloring for the top layer, and add ¼ to ½ teaspoon of food grade rose water to the pink portion.
- Citrus zest - Grate some lime, lemon or orange zest into a portion of the coconut mixture for added citrus flavor. For extra punch, add ½ teaspoon of lime, lemon or orange extract as well.
- Unicorn coconut ice - For a playful, colorful recipe, add a unicorn themed twist to the recipe.
- Rather than adding only one color to half of the mixture, divide the soon-to-be-colored coconut into three bowls and color one blue, one pink, and one purple. Scoop the colored coconut onto the white layer in small portions, distributing the colors throughout the pan for a colorful tie-dye effect.
- Add unicorn sprinkles (generally a mix of pastel blue, pink, purple, white, and gold) to the top of the squares. Do this while the mixture is still tacky, before the squares set, so that the sprinkles will stick.
Substitutions
- Dairy free - To make a dairy free, vegan coconut ice recipe, substitute an equal amount of sweetened condensed coconut milk for the regular sweetened condensed milk.
- Sometimes cans of condensed coconut milk contain a smaller volume, so be sure to purchase the appropriate amount for the recipe.
- Condensed coconut milk is often more tan in color, so your white coconut ice layer will likely be an off-white color.
Equipment
Items below contain affiliate links.
I use a USA Pan 8 x 8 inch square pan for this recipe - and for most of my bar cookies.
Parchment paper is great for lining the baking pan. The bars won't stick at all if you use parchment underneath.
Storage
Coconut ice is easiest to slice when chilled. Cover with wax paper or plastic wrap and chill in the refrigerator until serving.
Store these coconut candies in an airtight container at room temperature for 2 to 3 weeks.
To freeze leftovers, place in an airtight container in the freezer for up to 2 months. Defrost prior to serving.
FAQ
Old fashioned coconut ice recipes contain milk, granulated sugar, and shredded unsweetened coconut and must be heated on the stove.
More modern no bake recipes (such as this one) use condensed milk, powdered sugar and shredded unsweetened coconut. Vanilla extract and food coloring are frequent additions. Some recipes also call for cream of tartar to help prevent sugar crystallization.
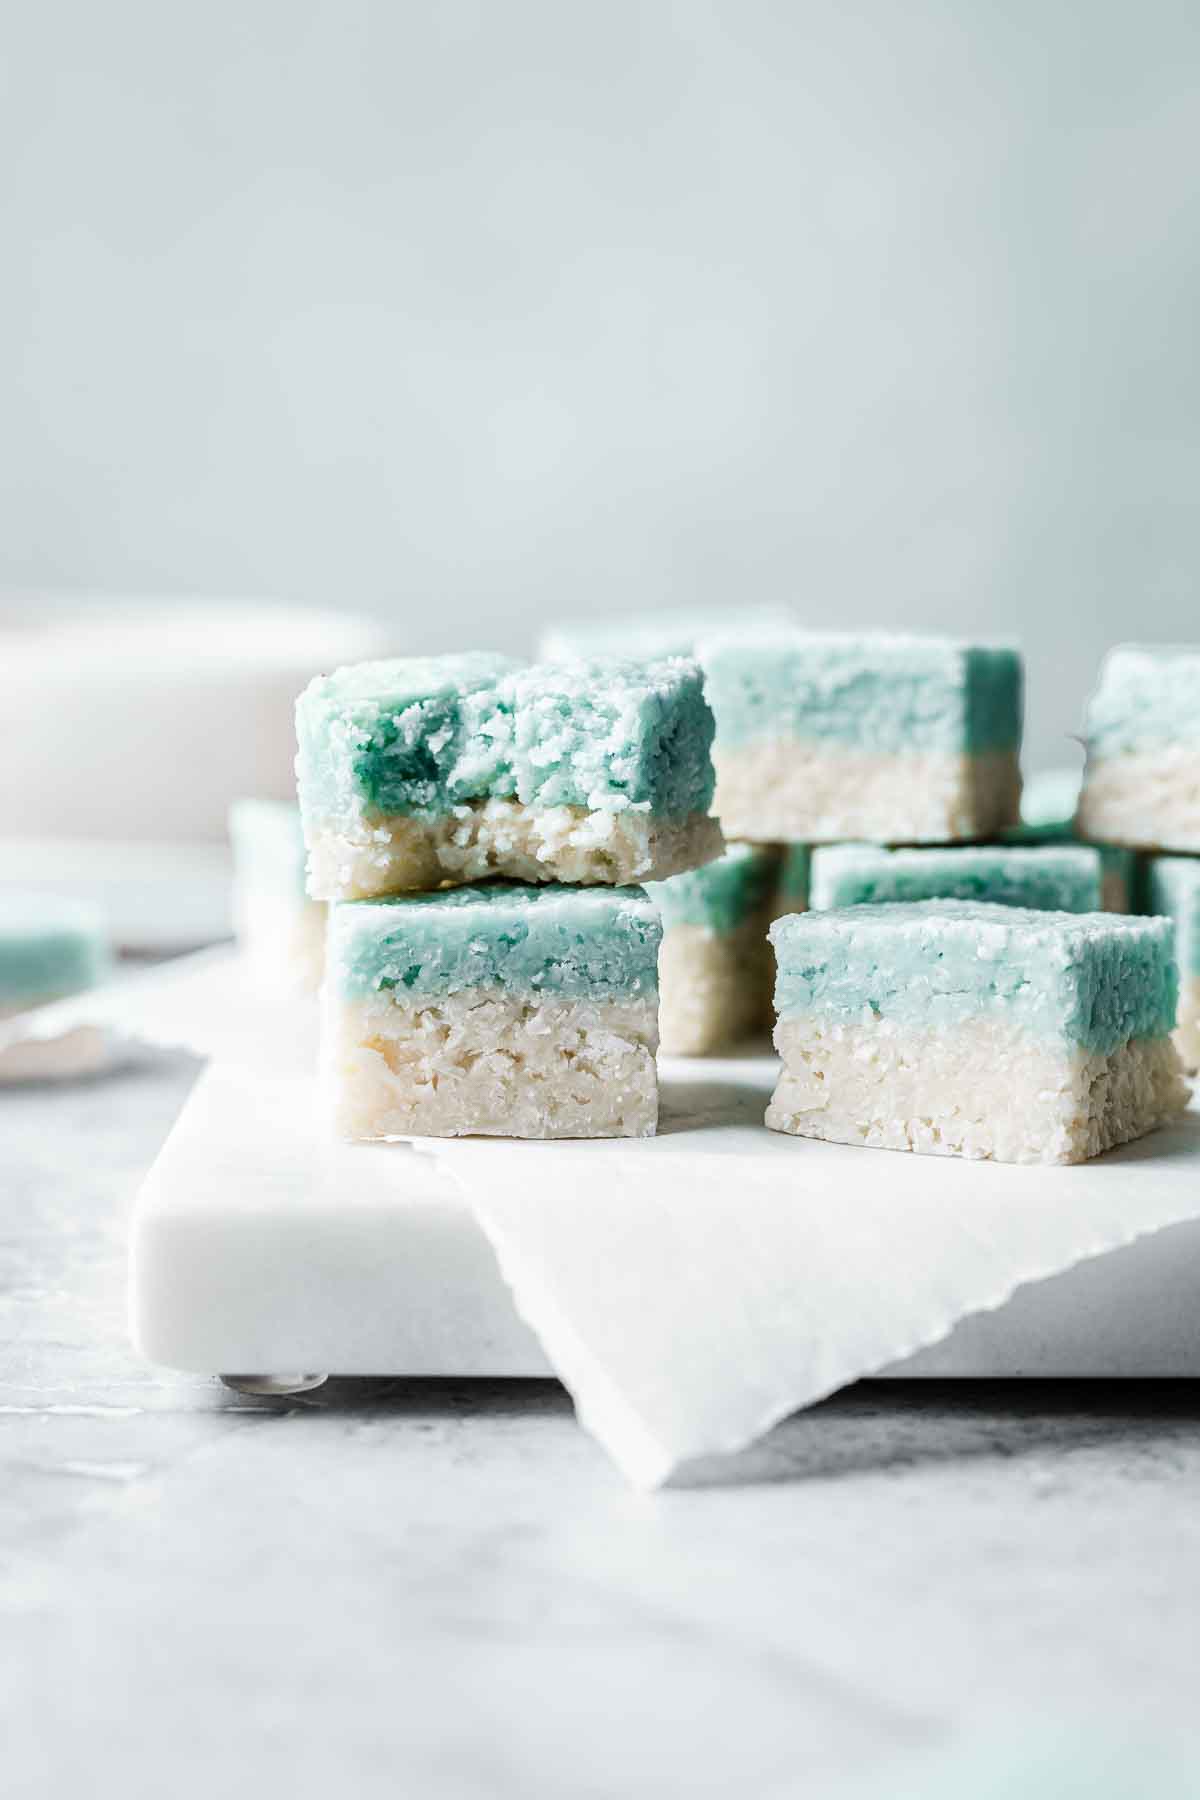
No one really knows how coconut ice got its name. The most common assumption is that the white portion of the candy resembles ice.
I purposefully created blue and white coconut ice squares (rather than the traditional pink and white) to better reflect the icy name.
More Sweets
Love this recipe? Please leave a comment and star rating. ★★★★★ Your feedback, suggestions, and adaptations are very helpful to other bakers!
📖 Recipe

Coconut Ice
INGREDIENTS
- 300 grams (3½ cups) coconut, unsweetened, shredded
- 396 grams (14 ounces; 1 can) sweetened condensed milk
- 300 grams (2½ cups) powdered sugar, sifted
- ¼ teaspoon cream of tartar, (optional; helps prevent crystallization of sugar)
- 1 teaspoon vanilla extract
- blue food coloring, quantity varies according to brand and type; start small and add until you reach desired color
INSTRUCTIONS
- Line an 8 x 8 inch square pan with parchment paper. Extend the paper up the sides to avoid sticking and to lift the block out when firm. Set aside.
- If your shredded unsweetened coconut is not finely ground (refer to photos in instructions), place coconut in food processor or blender and process just until very finely chopped. Do not run for too long or it will eventually turn to coconut butter!300 grams (3½ cups) coconut
- Place powdered sugar in a large bowl. Sift in cream of tartar, if using. Stir with a whisk to make sure these two ingredients are well combined. Add coconut, vanilla and condensed milk. Stir until fully combined. The mixture will get harder to stir as the coconut begins to absorb the condensed milk.300 grams (2½ cups) powdered sugar, ¼ teaspoon cream of tartar, 1 teaspoon vanilla extract, 396 grams (14 ounces; 1 can) sweetened condensed milk
- Portion half of the coconut mixture into the prepared pan. Press the mixture evenly into the pan using your fingers. Coat them with powdered sugar or a bit of cooking spray to keep the mixture from sticking. Once pressed in, use the bottom of a measuring cup to pack down a bit further. Place in refrigerator.
- Add desired food coloring to the remaining half of the coconut mixture. Start with just a bit, and add more as needed. Mix the coconut thoroughly to incorporate the food coloring evenly. Scoop the colored portion onto the somewhat chilled first layer and press in evenly. Pack down with a measuring cup again.
- Cover with plastic wrap or wax paper and chill in the fridge for at least 1 hour.
- Lift the block out of the pan using the parchment paper handles. Place on a cutting board. For neatest results, trim the rough edges using a long, sharp knife. You can press the knife gently into the top of the candy to score a straight line before you cut.
- Cut the block into squares. I recommend a minimum of 6 rows of 6 (36 total pieces) as these are quite sweet and are best in small portions.
EQUIPMENT
NOTES
- Coat your fingers with powdered sugar (or a bit of cooking spray) to keep the mixture from sticking as you press it into the pan.
- Give the coconut ice time to set (at least 1 hour in the refrigerator) before slicing into squares or bars. It's much easier to cut them when they're cold and firm. A long, sharp knife works best for lightly scoring the cut lines on the top of the bars as well as for making the cuts.
- For a non dairy version of this recipe, replace the sweetened condensed milk with an equal amount of sweetened condensed coconut milk.
Tony says
We tried both recipes- the one with sweetened condensed milk and the one with milk. They were VERY different; so much so they weren't even the same thing. The one with condensed milk was more of a truffle, dense and soft. The one with the milk was crisp and tasted like sugar. Are they supposed to be more similar?
Kathleen Culver says
Hi Tony,
Thanks so much for trying the recipe!
I'm a bit confused - I only have one version (with sweetened condensed milk).
What was the other recipe you tried?
Kathleen