An easy, one pot, no stir recipe for creamy and indulgent whiskey salted caramels. The perfect recipe for experienced and first time candy makers alike: rich, chewy, and flavorful. Bourbon whiskey provides an additional complexity to these candies with notes of vanilla, oak and caramel. These caramels make a wonderful gift to share with friends and family. Make enough to keep some, too! You'll find yourself reaching for the candy jar over and over.
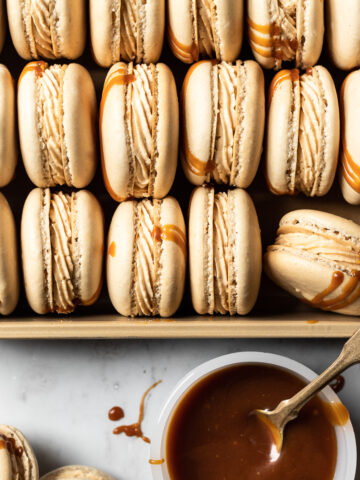
I've made plenty of recipes, like these salted caramel macarons, or this salted caramel chocolate tart, that feature salted caramel sauce, but hadn't yet tried making caramels. They're a great candy to share at the holidays - easy to package up, not at all fragile, and so festive looking with their waxed paper wrappers. I made a few batches to bring when we gather with family this year. The bourbon whiskey is an addition that gives these whiskey salted caramels a unique twist and more layered flavor profile.
If you've never made candy before, these are a great way to start. Why?
- There are only 6 ingredients.
- This flavored caramel recipe is so easy - the majority of the ingredients are cooked at one time in one pot.
- The active time is so low - you'll prep the pan, throw together a few ingredients and then simply be present to make sure the candy hits the precise temperature needed.
- There's no need to wash down the sides of the pot with water to prevent crystallization.
- The whiskey and vanilla are added once the caramel reaches temperature and is removed from the heat. This ensures that maximum flavor is retained - none is boiled off when heating the caramel.
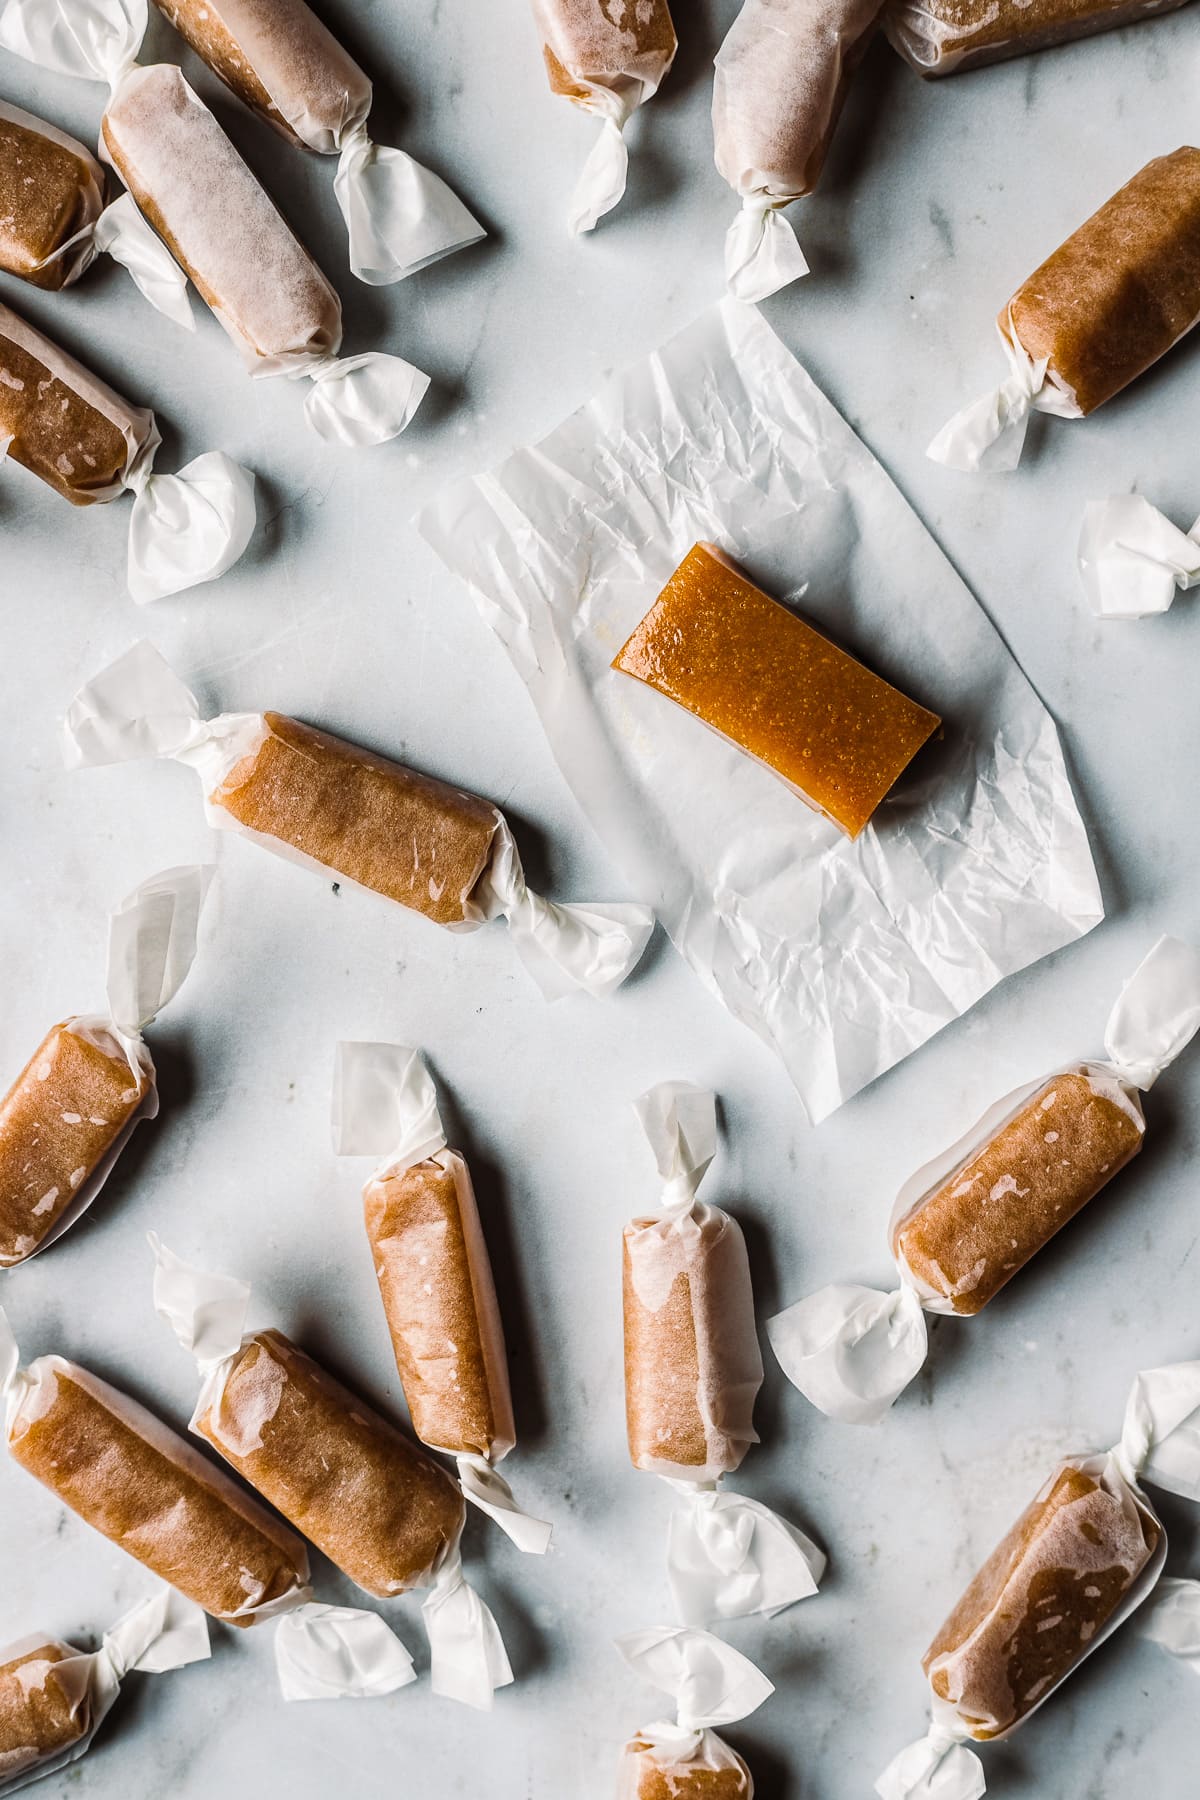
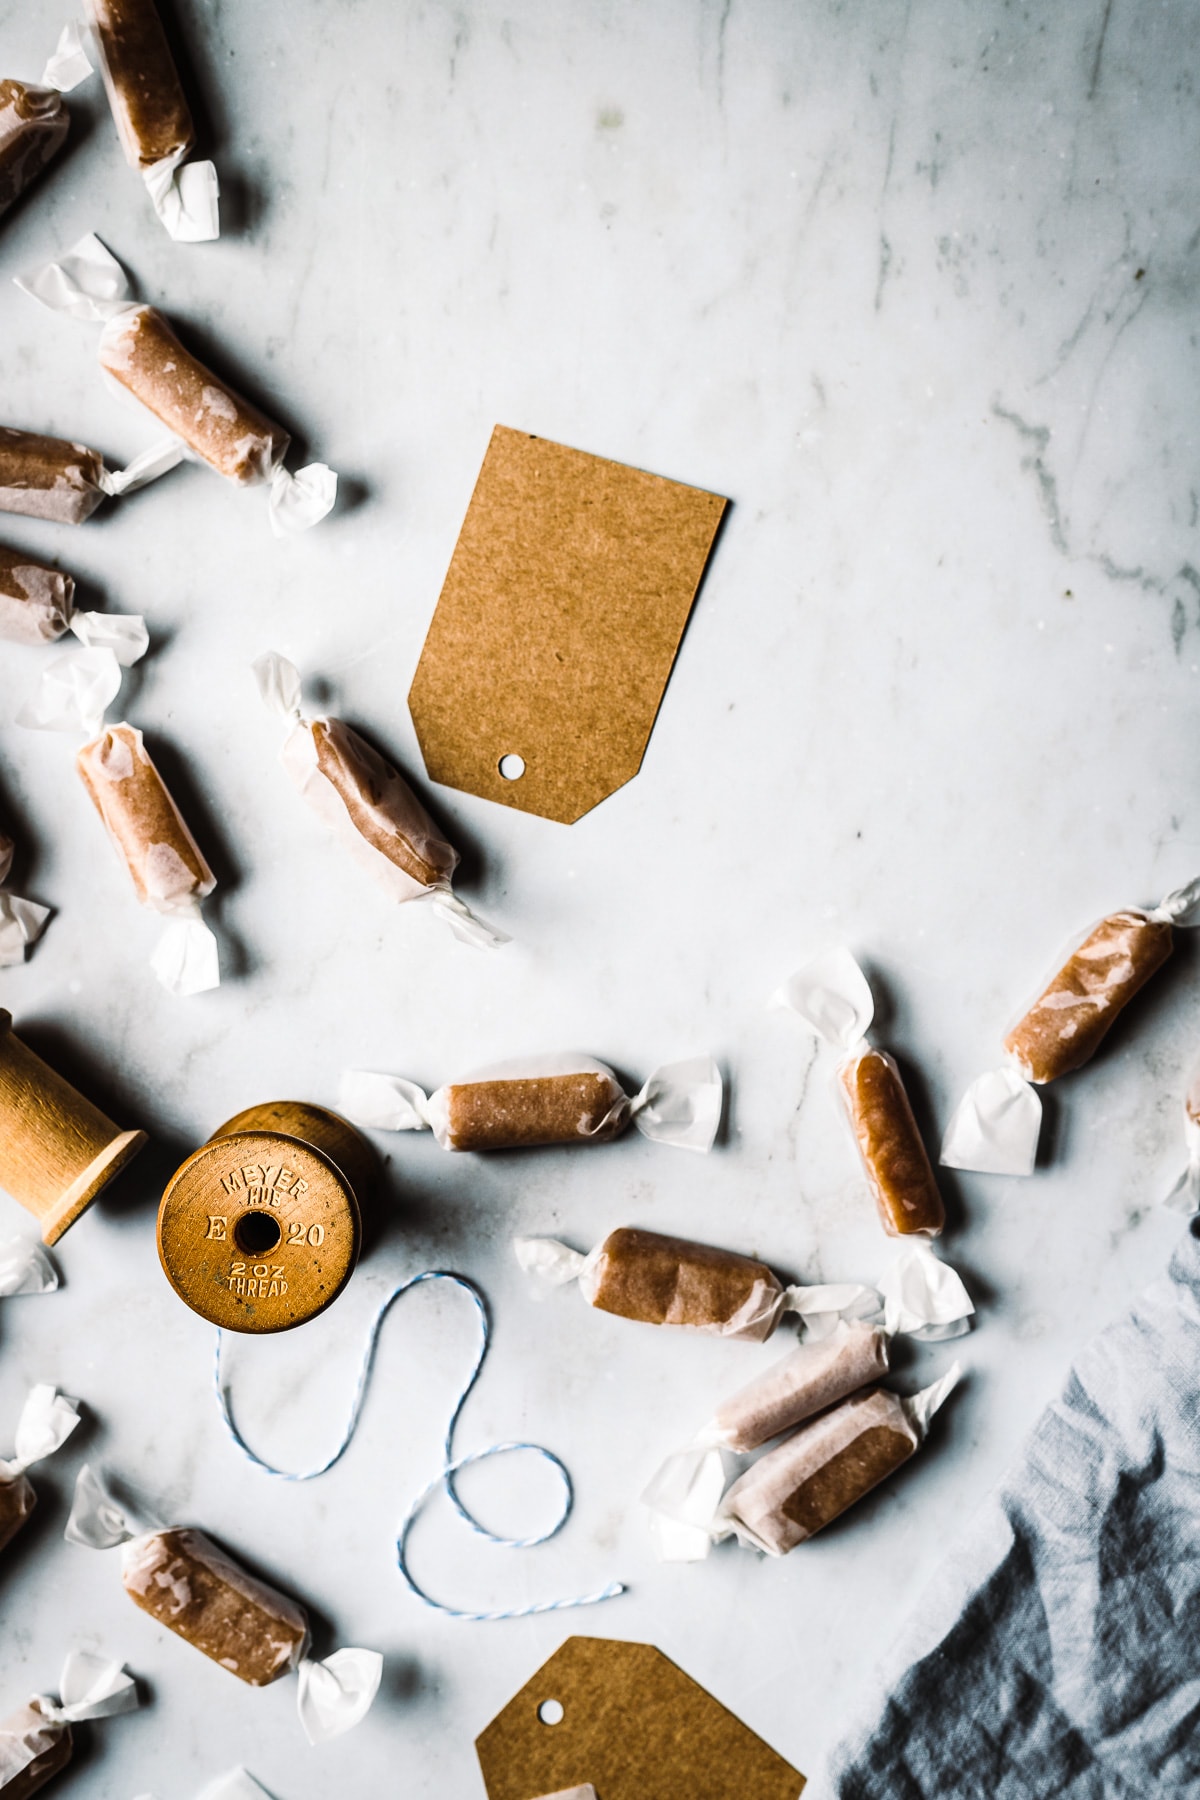
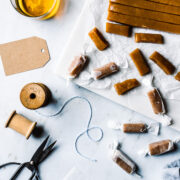
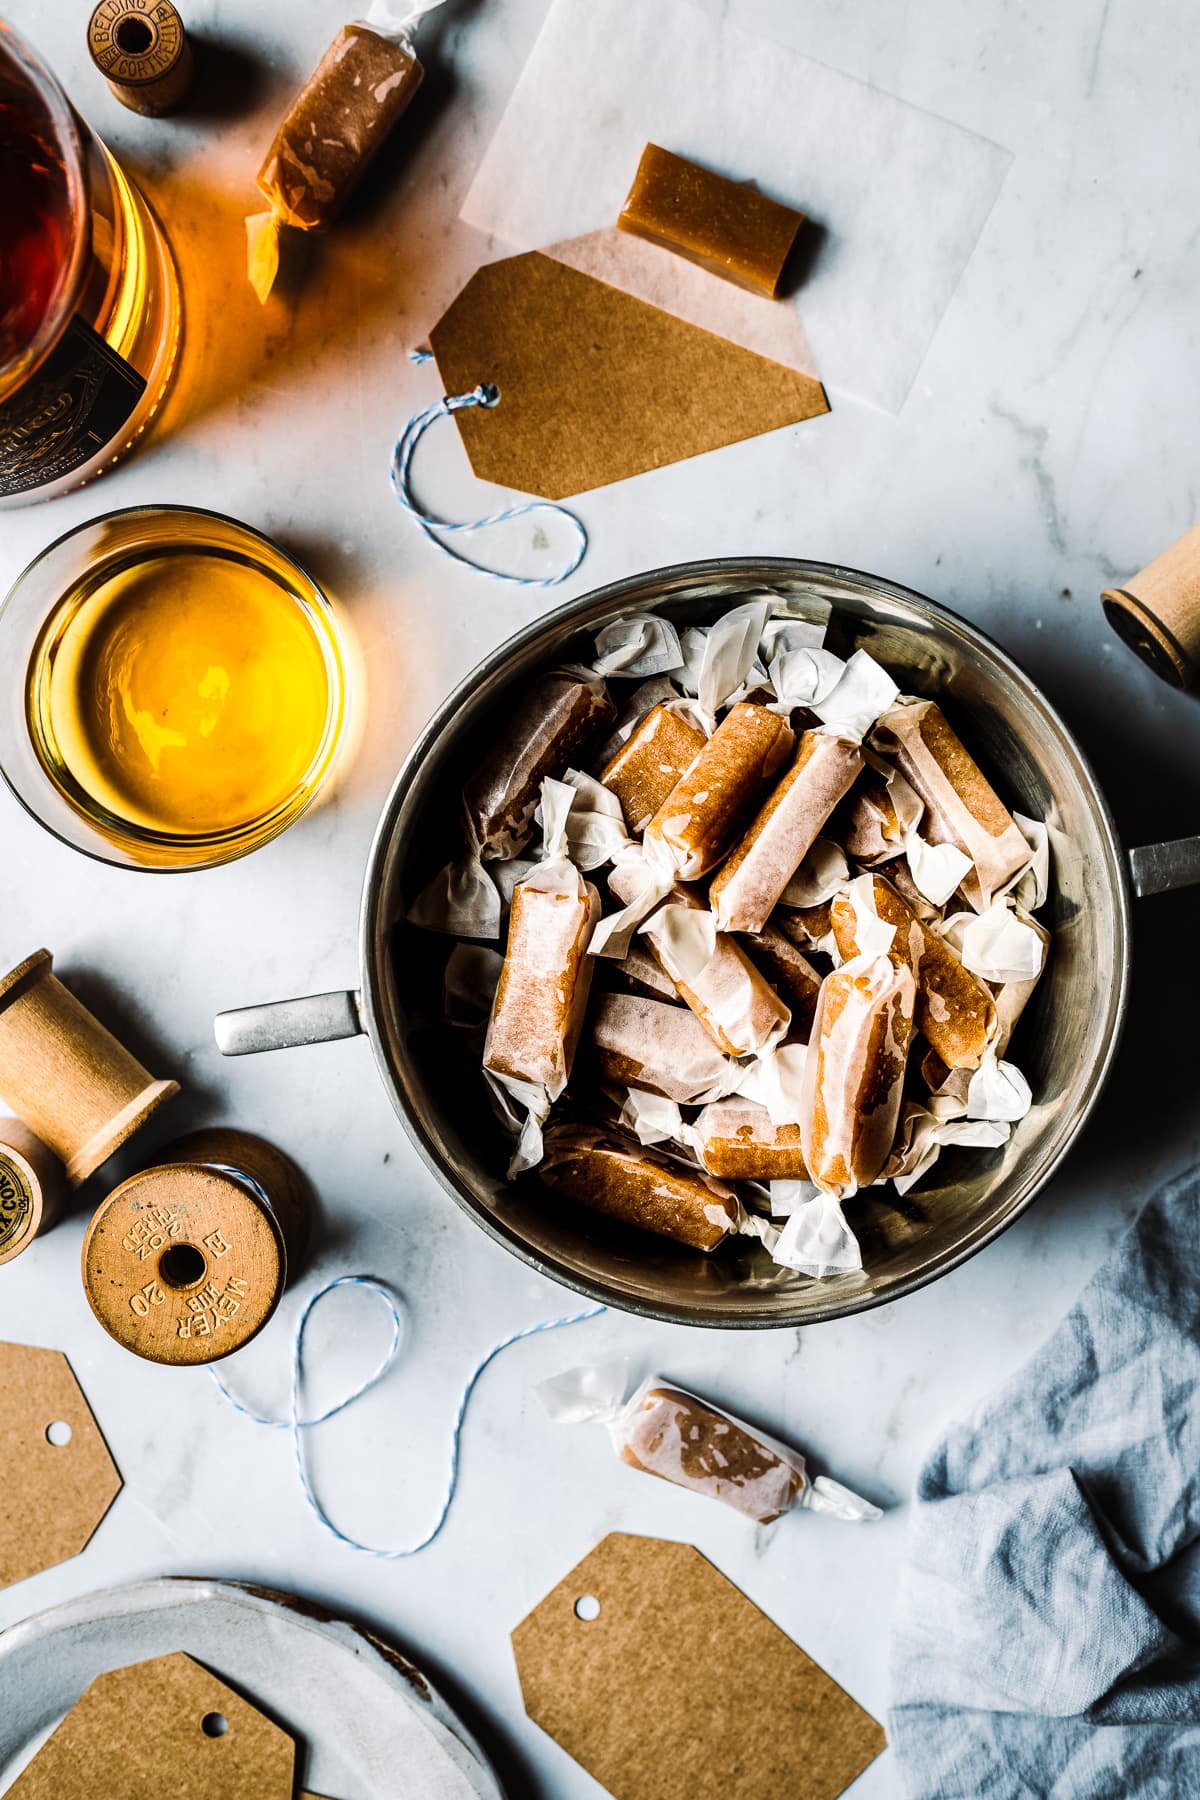
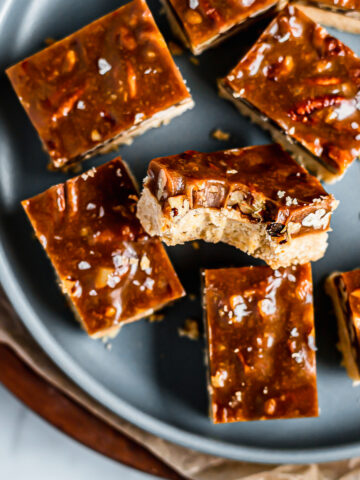
- This recipe makes a generous 60-ish caramels, depending on the shape you choose to cut them. Wrapping them in confectionery wax paper transforms them into tiny gift packages that are wonderful to share with friends and family.
The trifecta of rich butterfat, salt, and sweetness simply can't be beat. Packed with dark caramel flavor and a wonderful chewy texture, these creamy, whiskey spiked caramels are a candy dream.
Jump to:
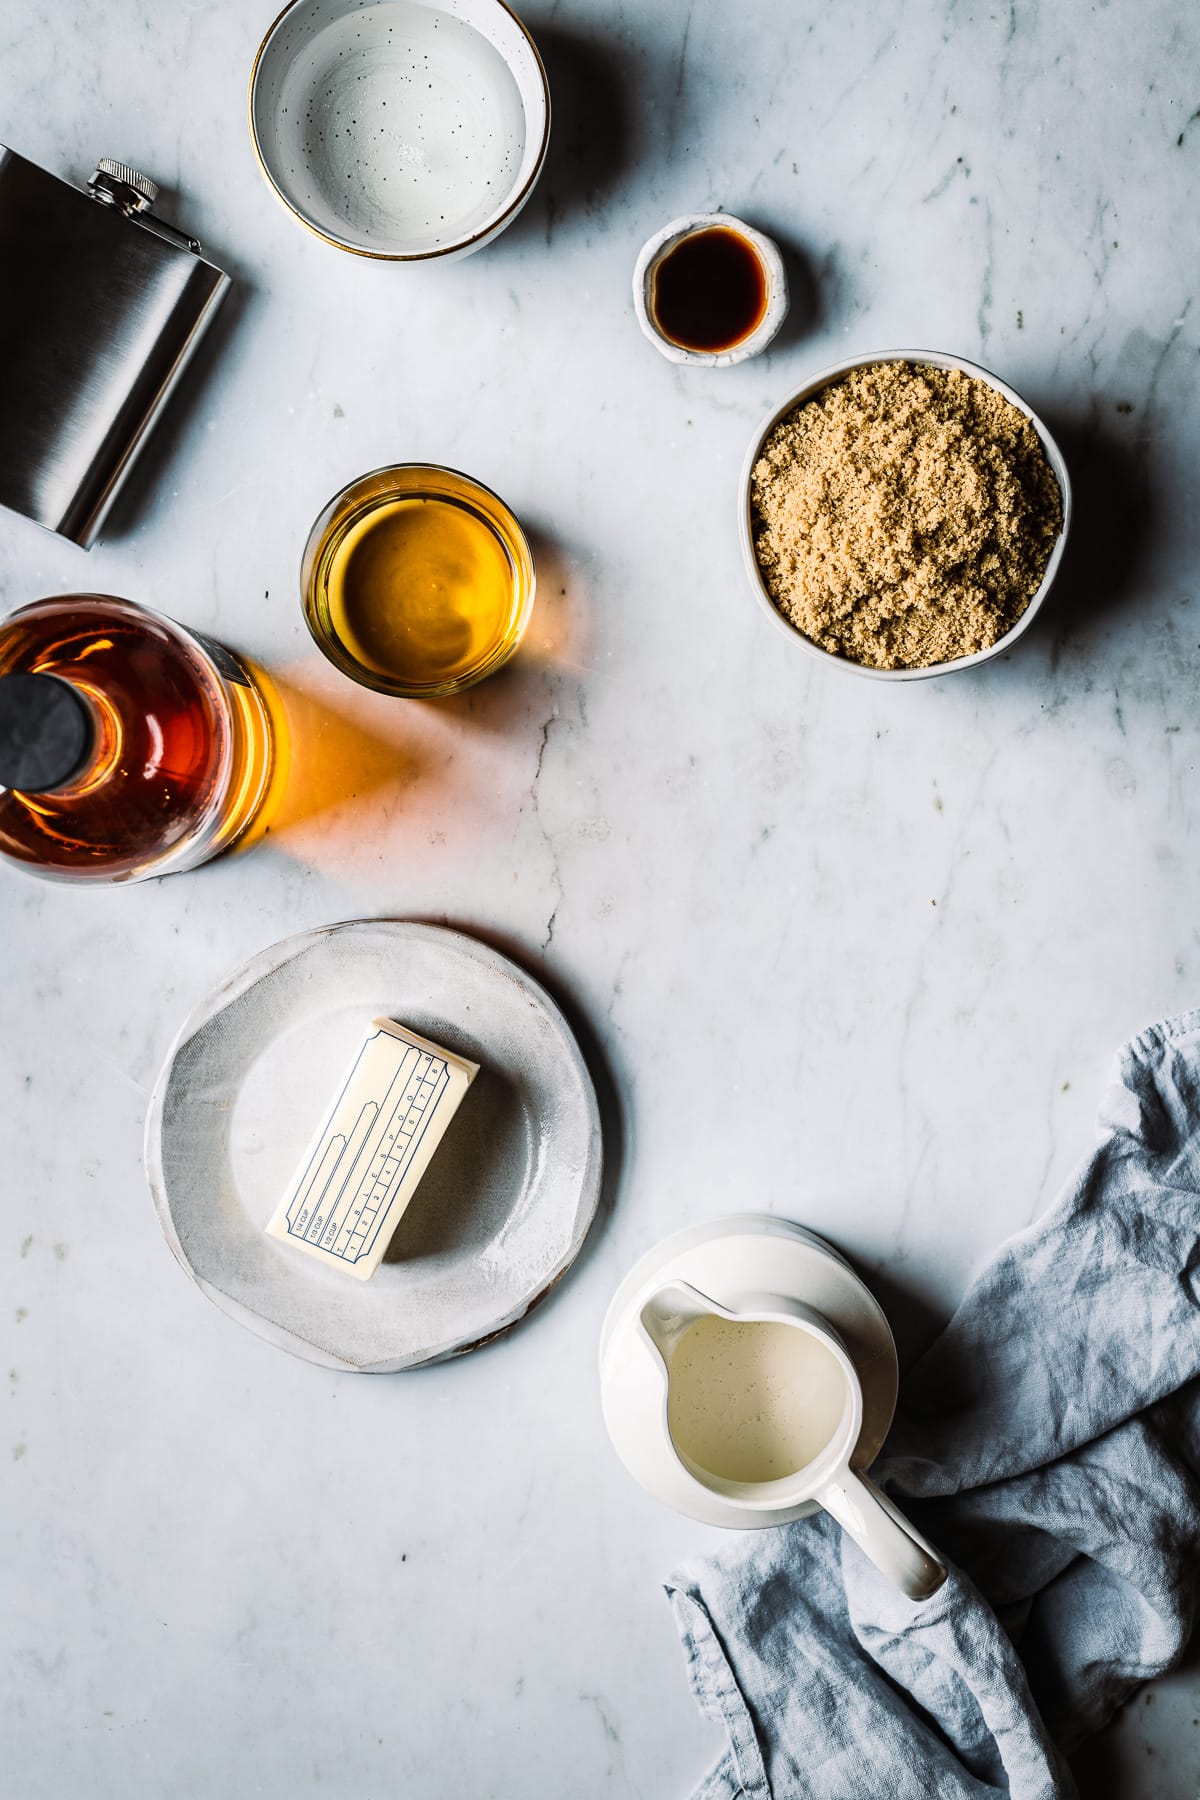
Ingredients
- Heavy whipping cream - Ensure that your heavy cream has at least 36% butterfat to ensure the proper consistency.
- Salted butter - My recipes often call for unsalted butter in order to best control the total amount of salt present in the recipe. For this specific recipe, I've found that I prefer the flavor that salted butter provides.
- Brown sugar - Brown sugar caramels have a nice, rich flavor. Using brown sugar rather than granulated sugar adds extra depth. Feel free to use either light brown (also called golden sugar) or dark brown sugar. Dark brown sugar has almost twice as much molasses as light brown sugar and will impart a slightly darker, more complex flavor.
- Light corn syrup - Corn syrup is an invert sugar. It is a key ingredient in this recipe, as invert sugar helps slow down or keep sugar crystals from forming when making candy. This helps prevent graininess. Look for notes on the label that state "no high fructose corn syrup." If you can't source light corn syrup replace 1:1 with golden syrup (light treacle). You can also use dark corn syrup; it will give the caramels a darker color.
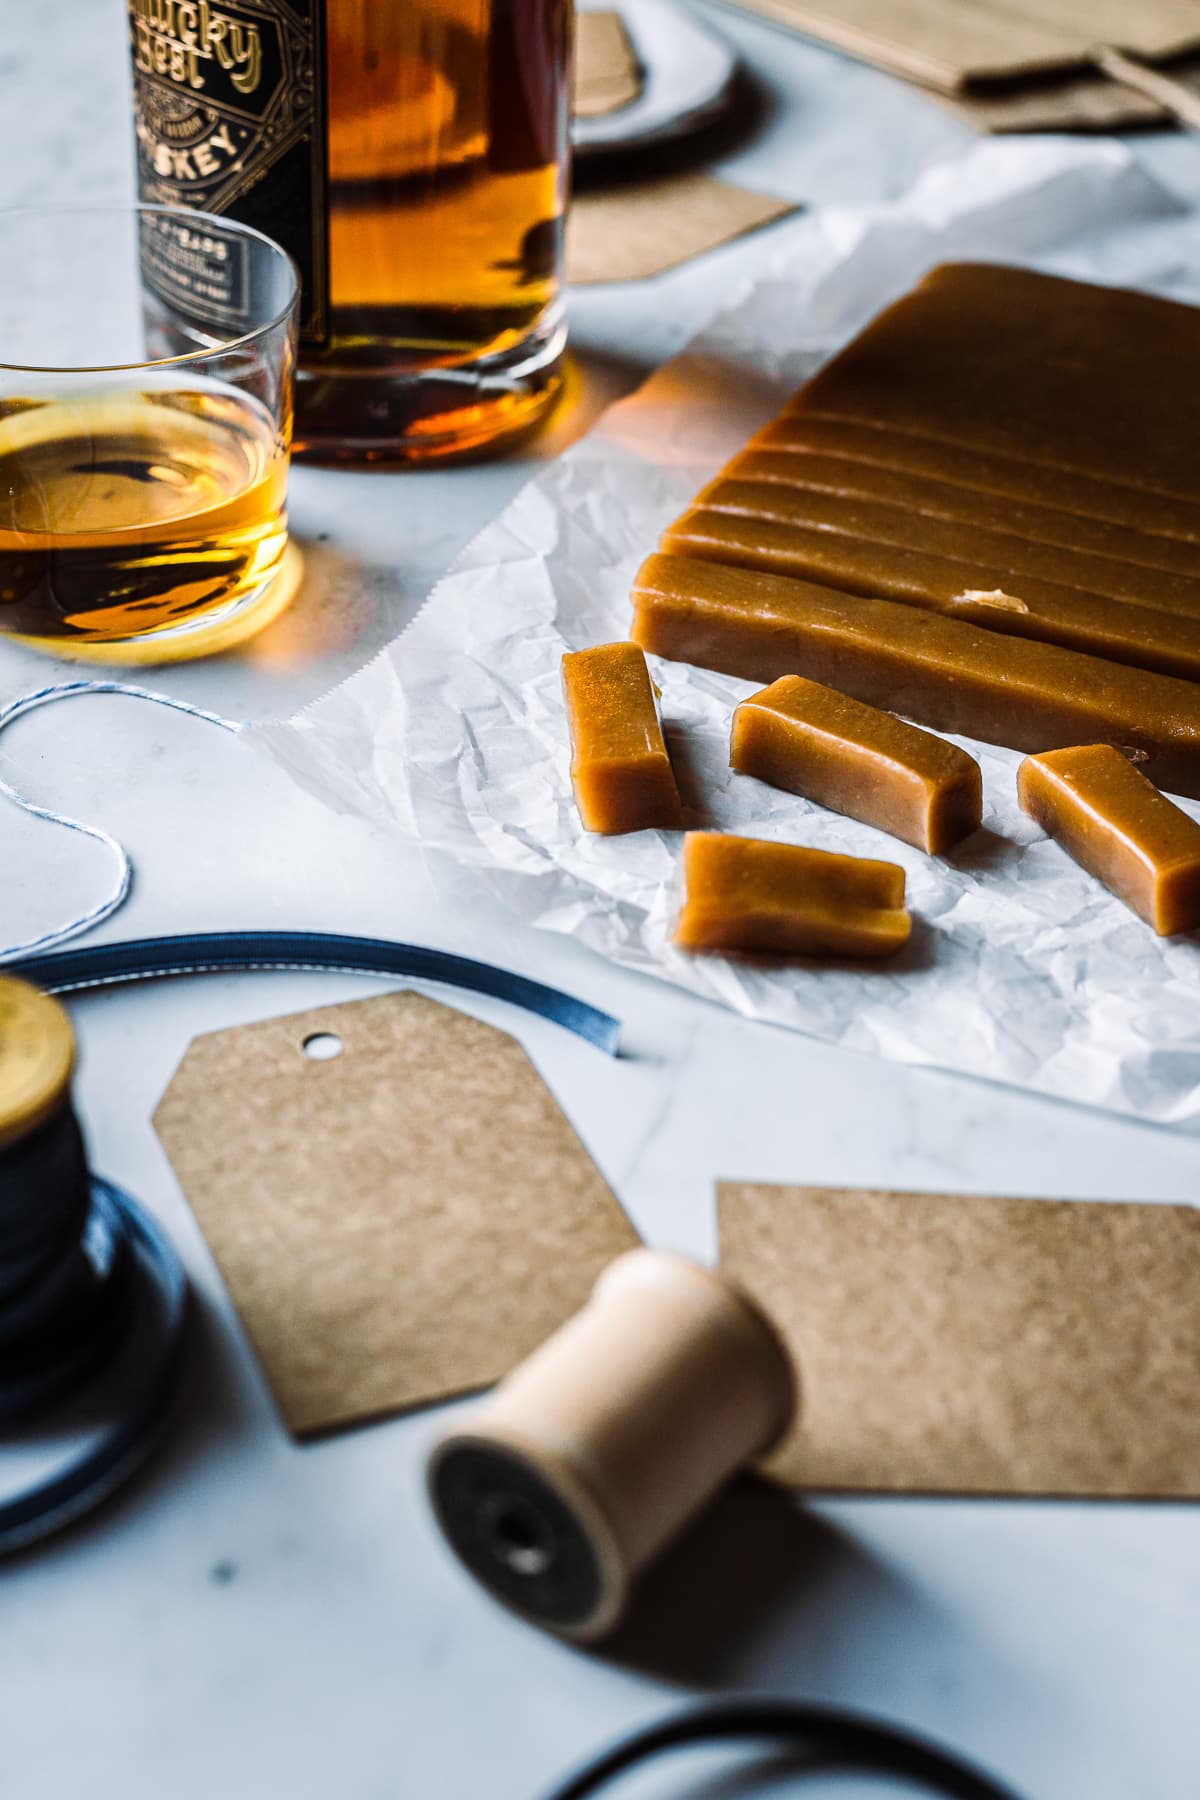
- Whiskey (or whisky) - Whiskey is a fermented spirit made from distilled grains. If more than one grain is used, it is called a mash. In order for Whiskey to be classified as Bourbon, the spirit must be produced in the United States, and the mash must be made from at least 51% corn. I chose to use bourbon whiskey in this recipe. Bourbon is often described as a smooth spirit with notes of vanilla, oak and caramel. These flavors pair wonderfully with the salted caramels and add a layer of complexity that enhances the caramel taste. For these salted whisky caramels, the whiskey is added after the caramel is removed from the heat in order to retain as much flavor as possible.
- Vanilla extract - for additional flavor.
See recipe card for quantities.
Instructions
How to make homemade salted caramels:
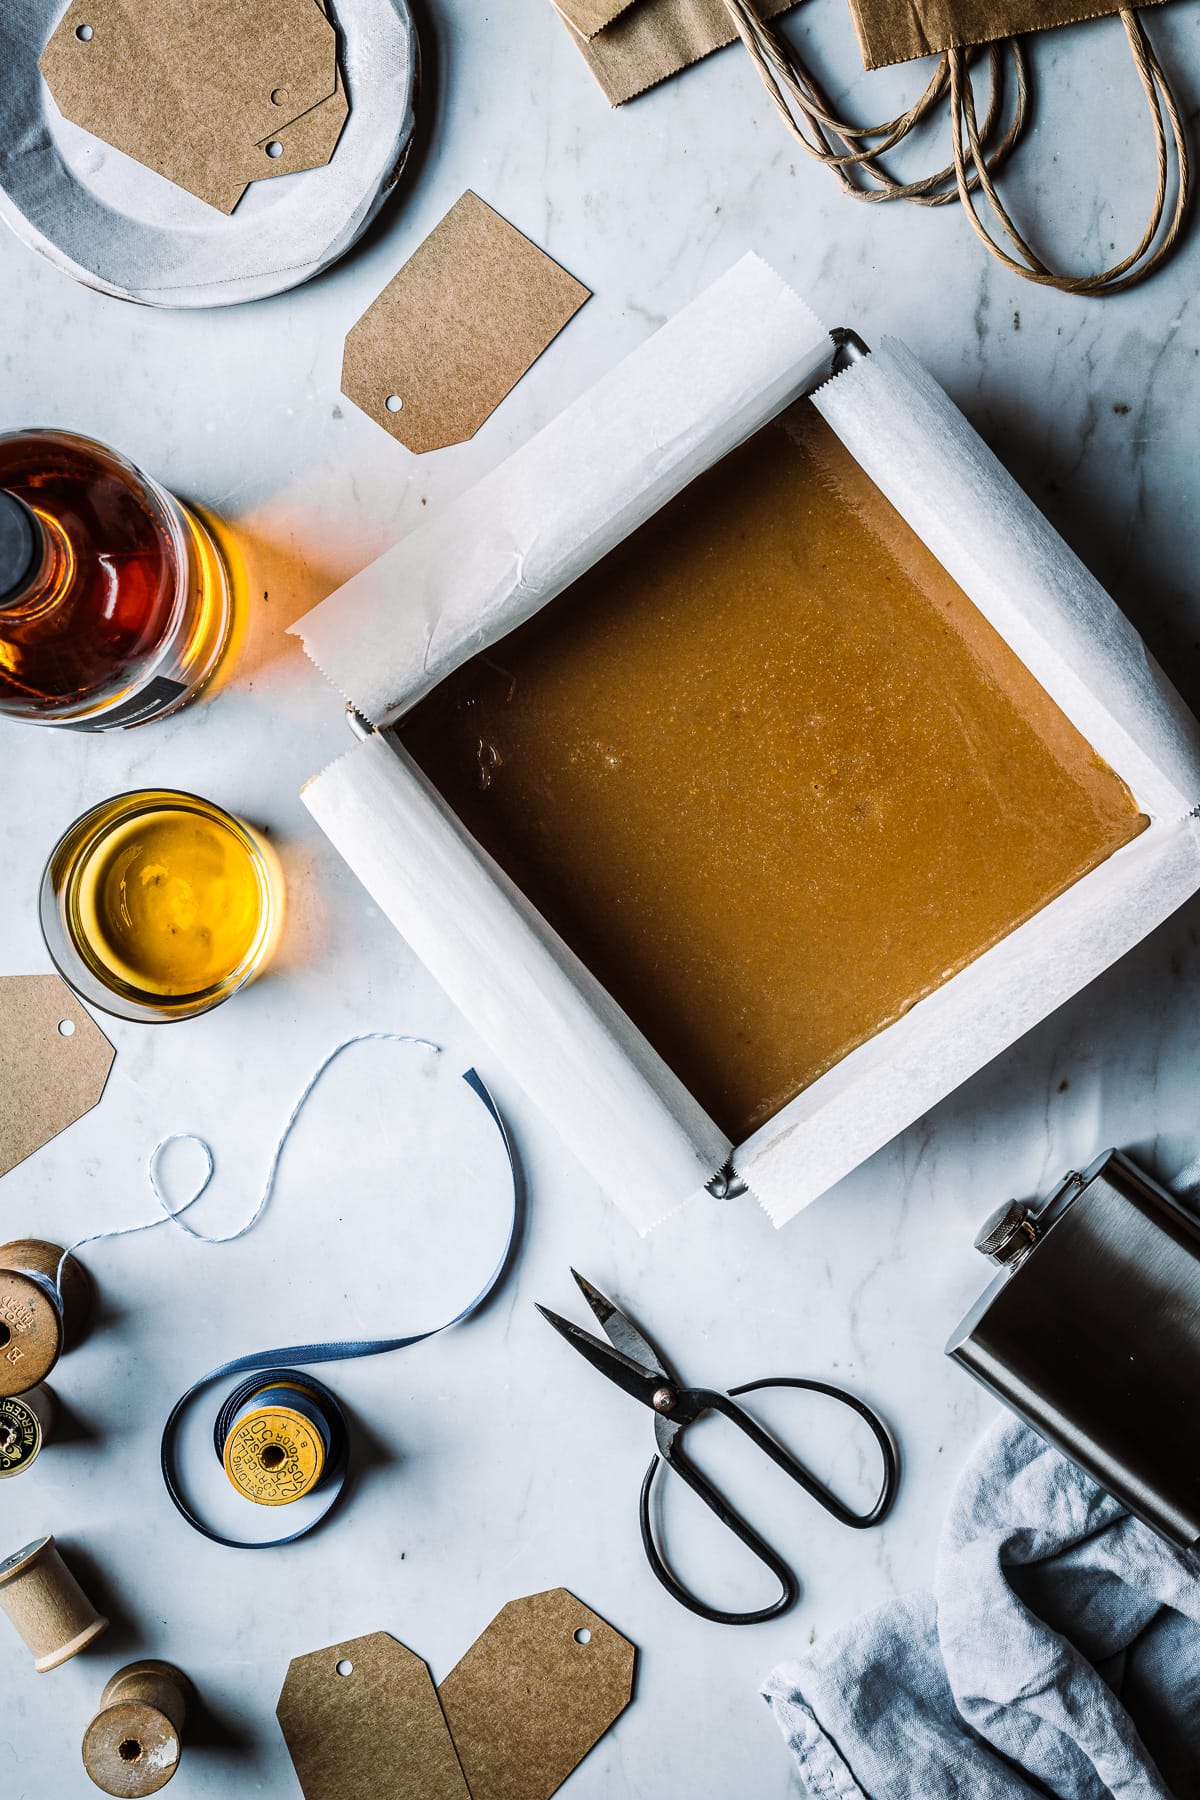
Step 1: Line an 8 x 8 inch pan (20 x 20 cm) with parchment paper, letting it overhang slightly on both sides. If you have binder clips or clothespins, clip the overhanging parchment to the edges of the pan to prevent it from falling into the hot caramel. Set aside.
Step 2: In a heavy bottomed 3 quart saucepan, heat the cream, salted butter, brown sugar and corn syrup over low heat until butter is fully melted. Increase the temperature to medium heat (I have a gas stove; medium is between 3 and 4 on my burner).
Step 3: Clip a candy thermometer to the inside of the saucepan, making sure that the bottom of the thermometer does not touch the pan bottom. As it heats up, the mixture will bubble up within an inch of the top of the pan. It will settle back down as it continues to cook. Cook at medium heat until caramel reaches the firm ball stage, 250 degrees Fahrenheit (121 degrees Celsius).
Step 4: Immediately remove the mixture from the heat and add in the whiskey and vanilla. It will bubble up - be careful as you add the liquids. Stir briefly with a silicone spatula to incorporate the whiskey and vanilla. Working on a heat safe surface, pour the mixture into the prepared pan. Be very careful of the hot caramel. Gently scrape the remaining caramel out of the pan with a silicone spatula.
Note: The scraped bits may have a firmer texture than the liquid caramel and may not melt back into the pan of caramel - use your judgement about whether to scrape the pan or simply let as much pour out as possible. I split the difference and gently scrape the most liquid bits, but I don't try to get it all.
Step 5. Place pan on a cooling rack at room temperature to cool and set for 3 hours or overnight.
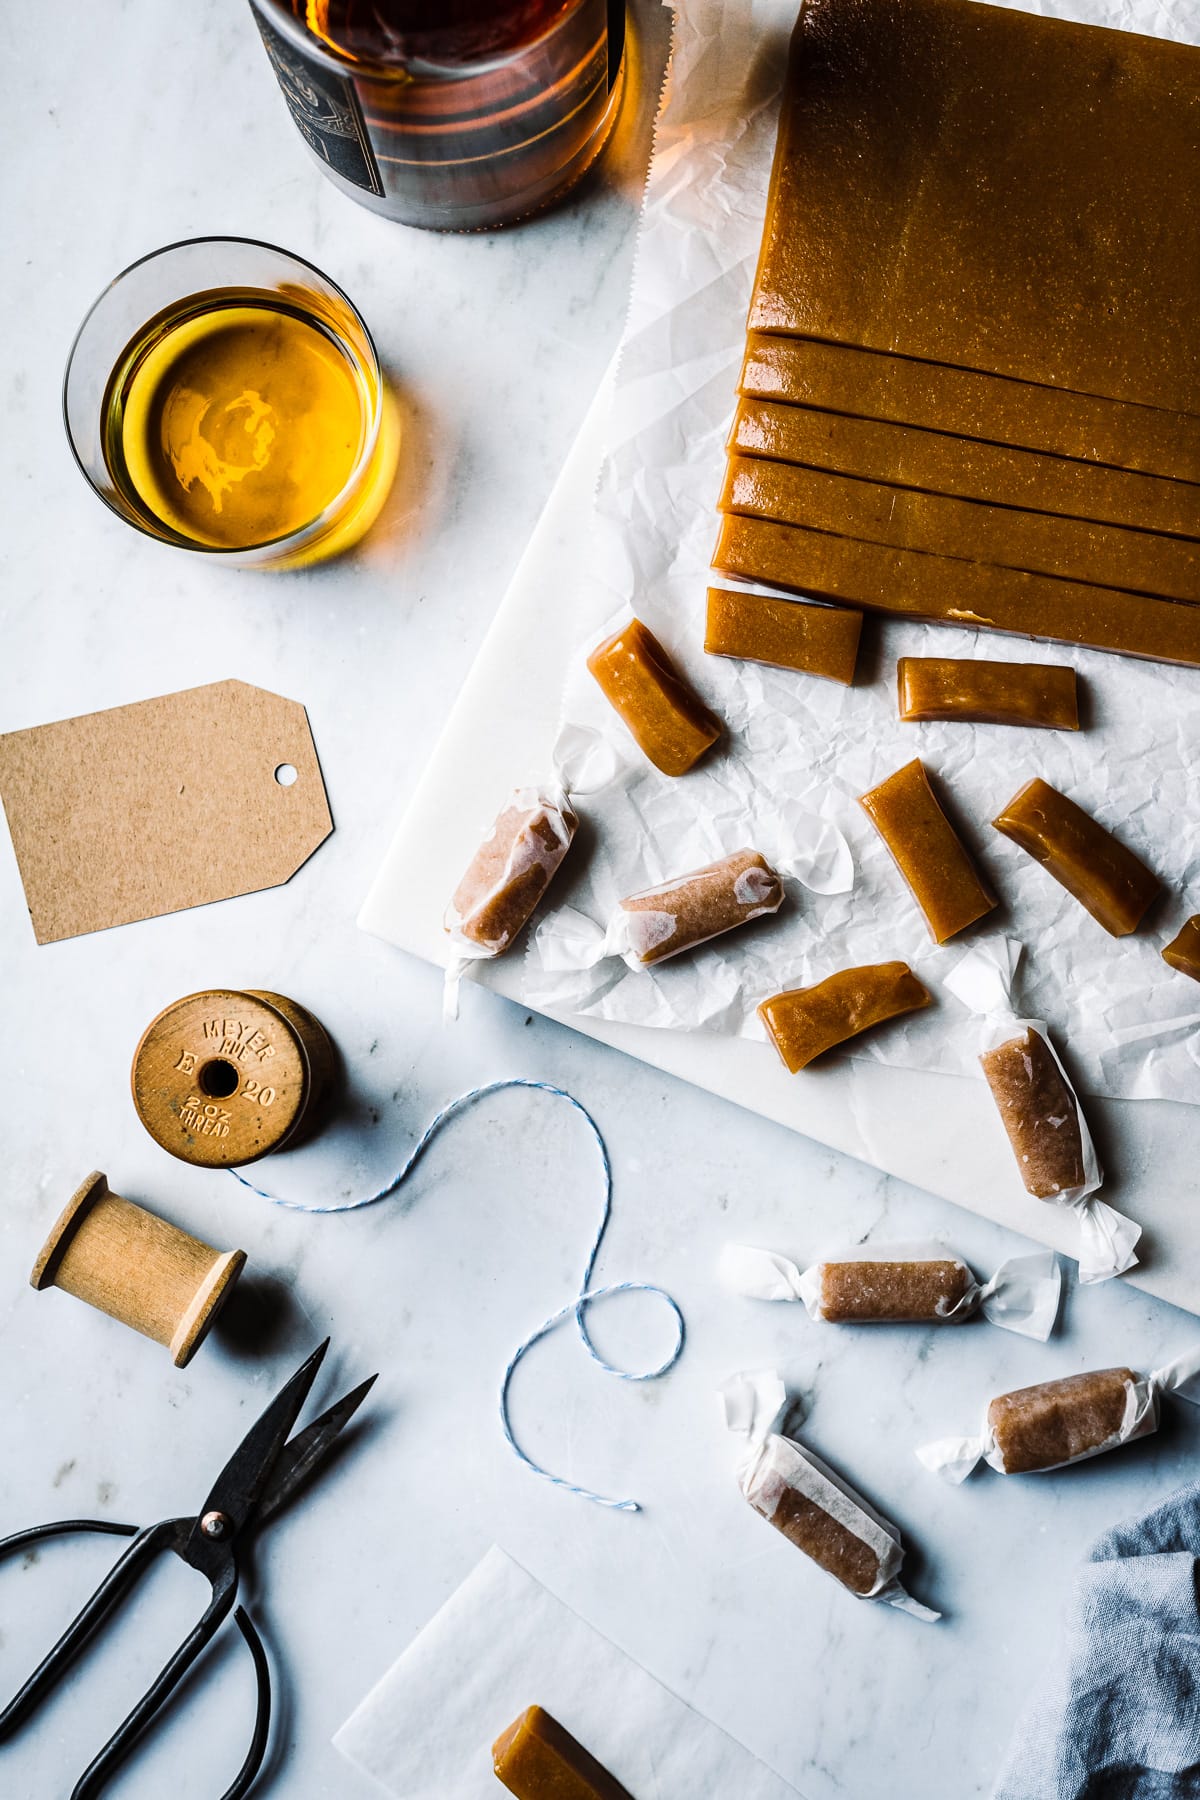
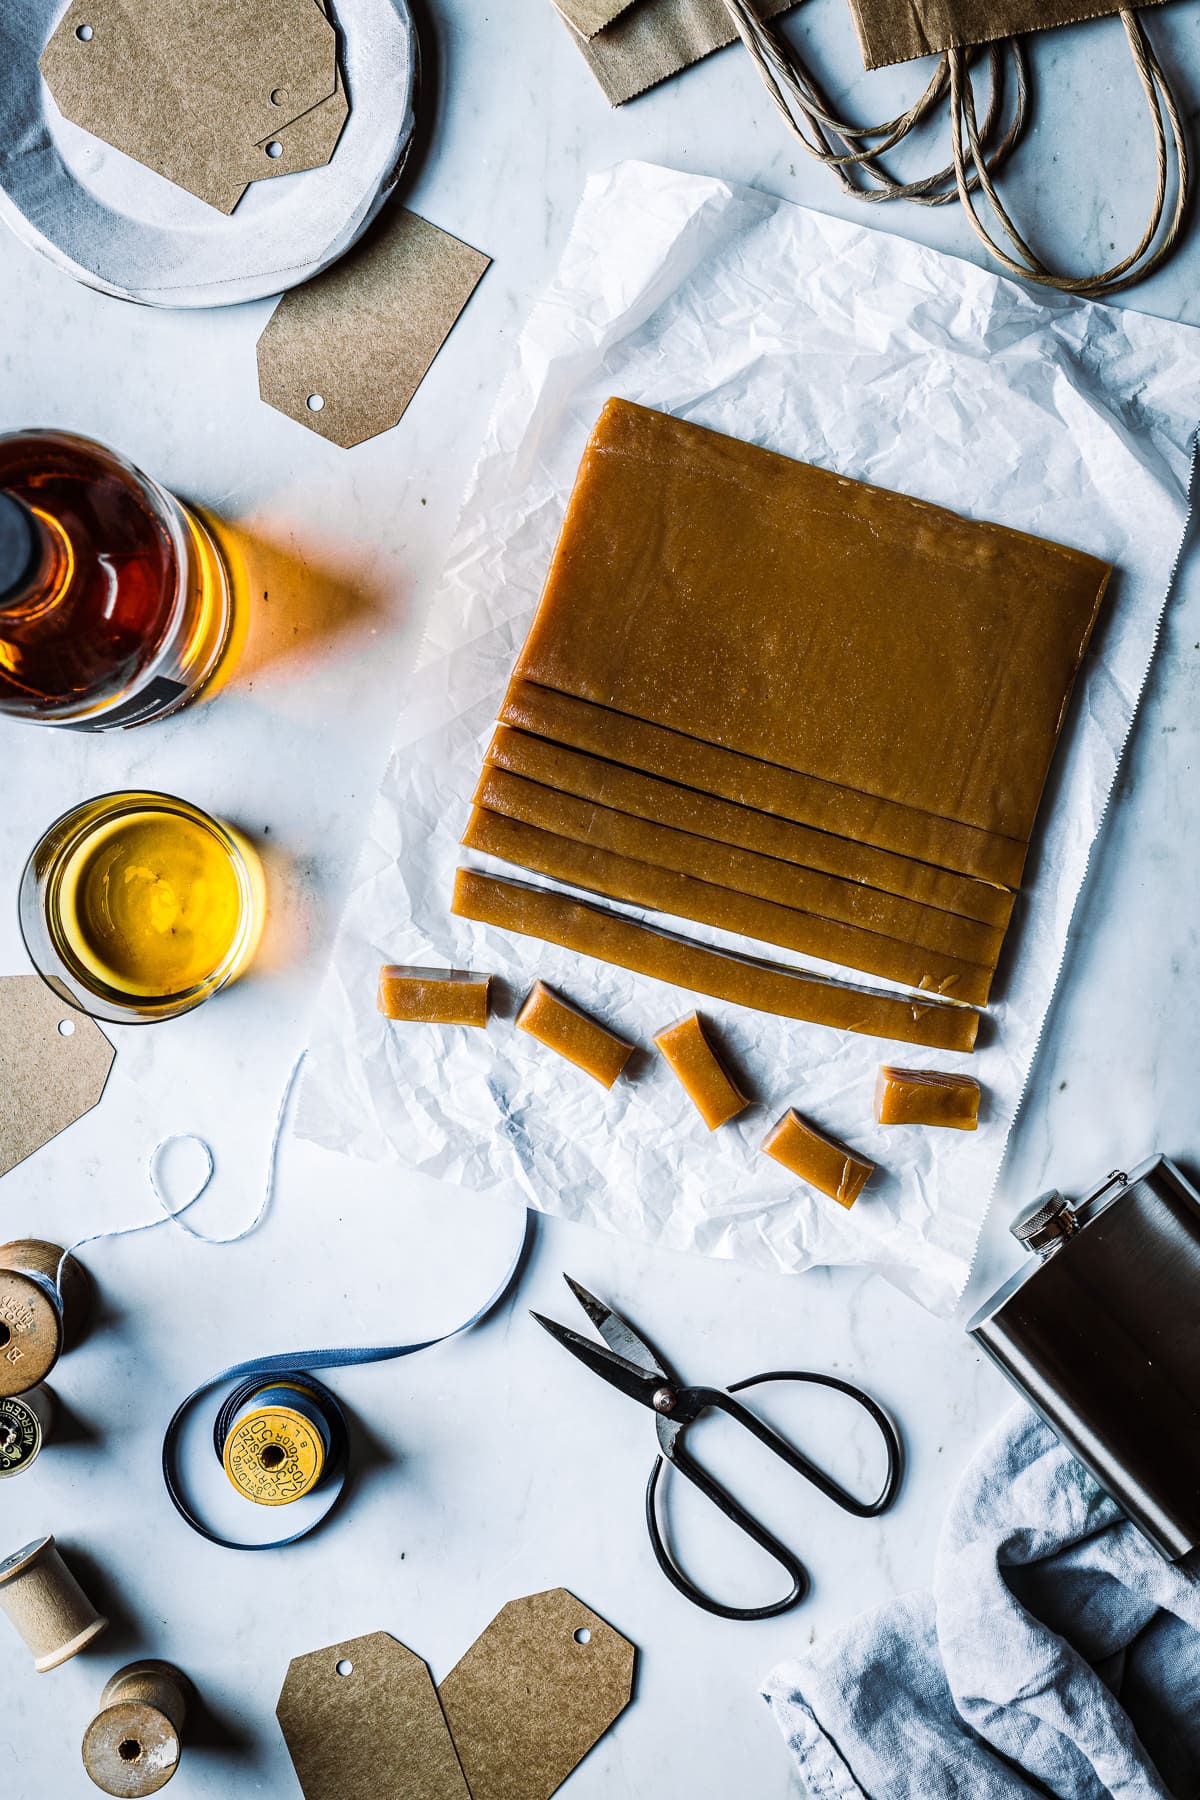
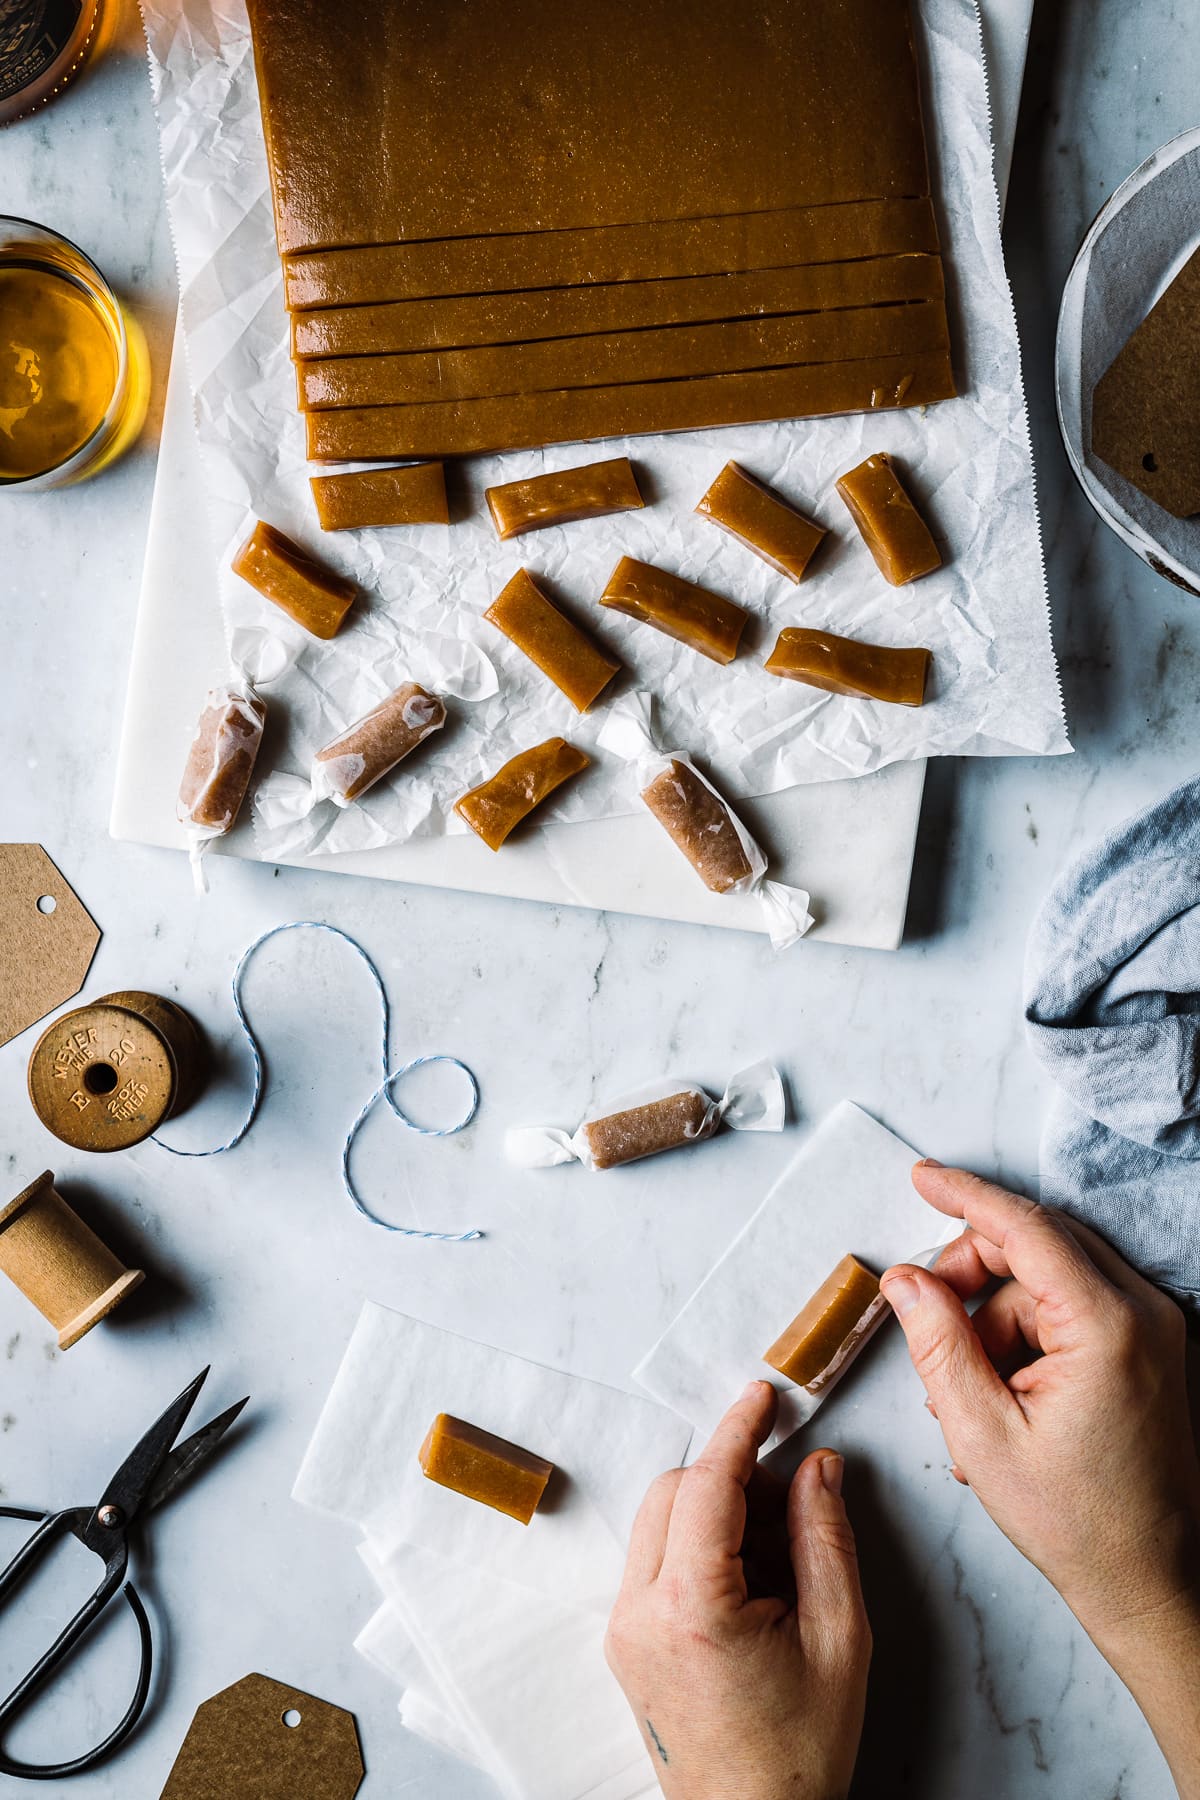
Step 6: Use a large chef's knife to cut the caramel into strips. If the knife sticks, rub a thin layer of butter on both sides of the blade. Reapply butter as needed to keep the knife from sticking. Cut each strip into manageable pieces. I slice the caramels into 12 rows, and then divide each row into 5 pieces, for a total of 60 caramels.
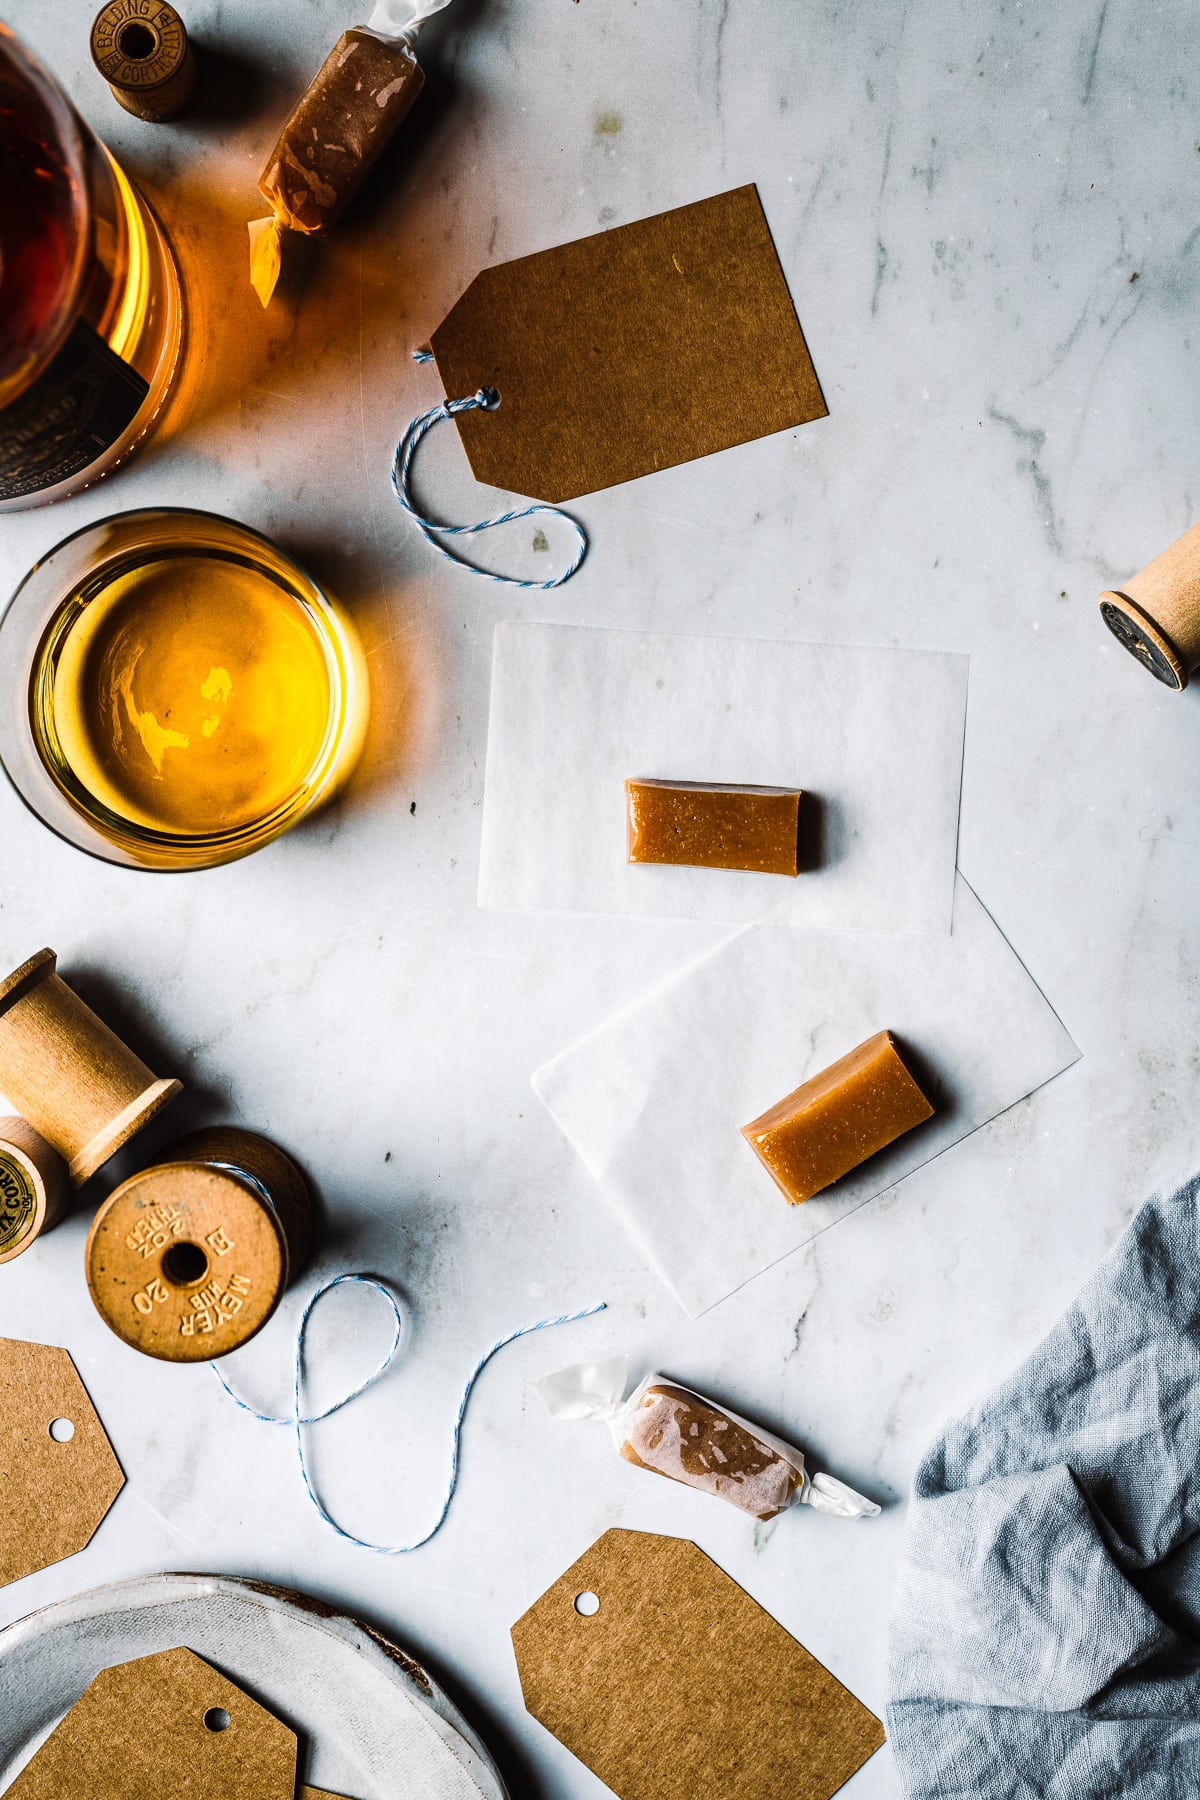
Step 7. Wrap each caramel using pre-cut confectionery wrapping papers from a craft or restaurant supply store (or online). Other wrapping options include wax paper or parchment paper. If making your own papers, be sure to cut a large enough rectangle to allow extra space at the ends for twisting the paper closed. Store wrapped caramels in an airtight container at room temperature.
Hint: I use a candy thermometer to ensure precision with the candy temperature. However, there are many people who make candy successfully without one using the cold water method to test. I do recommend using a thermometer for this recipe since it cooks to a temperature immediately between two stages - firm ball and hard ball. Hitting that specific temperature with only visual cues might be challenging. If you do want to give it a try, review this handy visual guide to candy stages from The Spruce.
Equipment
Here is some equipment that can help ensure your caramel making experience is a success.
- 3 quart saucepan - Do not use a smaller saucepan! You might think that the pan looks oversized for the quantity of ingredients. This is true at the beginning of the process. However, as the caramel warms and begins to boil, it will expand significantly and come to within an inch of the top of the pot. It will settle back down as the temperature climbs. A three quart saucepan with a heavy bottom is key.
- Parchment paper - You will line your 8 x 8 inch pan with parchment paper so that the caramel does not stick to the pan and you can easily remove it in one large slab once it cools. Do not use wax paper, which will melt from the heat of the hot caramel. Aluminum foil, even if greased, will also stick terribly. It's important to use parchment paper for this process. If you're extra concerned about the caramel sticking, feel free to very lightly grease the parchment paper. I've never greased it and have never encountered a challenge peeling it off the candy once its set. Do use binder clips or clothespins to hold the parchment flaps flush with the sides of the pan so they don't fall down into the hot caramel and cause a sticky mess.
- Candy thermometer - I use a candy thermometer (affiliate link) to ensure precision with the candy temperature. I recommend using a thermometer for this recipe since it cooks to a temperature (250 degrees Fahrenheit) immediately between two stages - firm ball and hard ball. Hitting that specific temperature with only visual cues might be challenging. I use a clip on stainless steel candy thermometer with a mercury gauge. The clip holds it to the side of the pot for hands-free temperature readings. There's a guard around the base of the thermometer to keep it from touching the bottom of the pan.
- Confectionery wrappers - If you can purchase confectionery candy wrappers (also called twisting wax paper), I recommend you do so! They are rectangles of pre-cut wax paper that are ideal for wrapping caramels and other candies. The wrappers I bought (affiliate link) came in a pack of 100 and measured 4 ½ x 5 ½ inches. I ended up cutting each paper in half to achieve the perfect size for wrapping these salted caramel whiskey candies. The beauty of these little papers is that once you twist the ends closed, they stay twisted and do not open back up. If you can't access them, regular waxed paper or parchment paper are also options.
Storage
Store these wrapped homemade caramels at room temperature in an airtight container in a cool, dry location. Store at room temperature for 2-3 weeks, or in the refrigerator for up to 2 months. Individually wrapped whisky salted caramels can be frozen together in an airtight container in the freezer for up to 4 months. Spread onto a cookie sheet and defrost for several hours at room temperature prior to serving.
Recipe Tips
Measure out your whiskey and vanilla in advance and have them ready. Once your caramel recipe is heating on the stove, make sure you have uninterrupted time to keep track of the temperature. Don't use this time to multitask or check your phone! Candy can progress slowly and then rapidly increase in temperature. Once your caramel passes the soft ball stage (235 degrees Fahrenheit, 112 degrees Celsius), make sure you stay right by the stove and keep your eye on the thermometer. You want to remove the pan from the stove as soon as it hits 250 degrees Fahrenheit.
📖 Recipe
Whiskey Salted Caramels
INGREDIENTS
- 250 mL (1 cup) heavy whipping cream
- 113 grams (½ cup, 4 ounces) salted butter, cubed
- 330 grams (1½ cups) brown sugar
- 188 mL (¾ cup) light corn syrup
- 30 mL (2 Tablespoons) whiskey (I used bourbon)
- 7 mL (1½ teaspoons) vanilla extract
INSTRUCTIONS
- Line an 8 x 8 inch pan (20 x 20 cm) with parchment paper, letting it overhang slightly on both sides. If you have binder clips or clothespins, clip the overhanging parchment to the edges of the pan to prevent it from falling into the hot caramel. Set aside.
- In a heavy bottomed 3 quart saucepan, heat the cream, salted butter, brown sugar and corn syrup over low heat until butter is fully melted. Increase the temperature to medium heat.
- Clip a candy thermometer to the inside of the saucepan, making sure that the bottom of the thermometer does not directly touch the pan bottom. As it heats up, the mixture will bubble up within an inch of the top of the pan. It will settle back down as it continues to cook. Cook at medium heat until caramel reaches the firm ball stage, 250 degrees Fahrenheit (121 degrees Celsius).
- Immediately remove the mixture from the heat and add in the whiskey and vanilla. It will bubble up - be careful as you add the liquids. Stir briefly to incorporate. Pour the mixture into the prepared pan, being thoughtful of the hot caramel. Gently push the extra caramel out of the pan with a silicone spatula. Do not firmly scrape the edges of the pan; this helps avoid adding any undissolved sugar crystals to the caramel mixture.
- Set aside to cool at room temperature for 3 hours or overnight.
- Use a large chef's knife to cut the caramel into strips. If the knife sticks, rub a thin layer of butter on both sides of the blade. Reapply butter as needed to keep the knife from sticking. Cut each strip into manageable pieces. I slice the caramels into 12 rows, and then divide each row into 5 pieces, for a total of 60 caramels.
- If possible, use pre-cut confectionery wrapping papers from a craft or restaurant supply store (or online) to wrap each caramel. Other wrapping options include wax paper or parchment paper. Be sure to cut a large enough rectangle to allow extra space at the ends for twisting the paper closed. Store in an airtight container at room temperature for 3-4 weeks, or in the refrigerator for up to 3 months.
Made this recipe? Please leave a comment and a star review! ★★★★★
Troubleshooting
IF YOUR CARAMEL SETS TOO SOFT
If your caramel sets and is simply too soft for your liking, it's possible the temperature of your caramel mixture did not reach 250 degrees Fahrenheit. Signs of caramels being too soft include the slab quickly losing its shape after being removed from the pan, or the caramels beginning to puddle once cut.
If this happens, it's possible to return the entire batch of under-cooked caramel to the pot and reheat it. To reheat, wet the inside of the 3 quart saucepan with water and dump out any extra. Do not dry the saucepan. Place the under-cooked caramel back into the saucepan. Gently and slowly reheat it on the stove on the very lowest heat setting. Once the caramel is fully melted and no thick spots remain, increase the heat to medium (between 3 and 4 on my gas stove), clip on the candy thermometer, and proceed with the instructions as written. (Do not add additional whiskey or vanilla after removing from heat).
IF YOUR CARAMEL SETS TOO HARD
Candy making does require accuracy and quick action when aiming for specific temperatures. A few degrees can mean the difference between a soft, pliable candy consistency and an extremely chewy caramel that puts your dental work at risk. If your caramel overshoots the appropriate temperature and end up being too hard, you can simply cut it into smaller pieces and eat them like hard candy (just ensure people know to suck on them rather than biting into them).
Alternatively, you can also cut them into fine chunks and fold them into churned ice cream, or chop them into small pieces and press them into brownie batter before it's baked to create a chewy caramel brownie situation.
TESTING YOUR CANDY THERMOMETER
If you encounter problems with your candy and are sure you've followed the instructions carefully, consider testing your candy thermometer to make sure that it's accurate. To test your candy thermometer, place it in a pot of water and put it on the stove to boil. Read the thermometer once the water reaches a vigorous, rolling boil.
Assuming you are at sea level, your candy thermometer should read exactly 212 degrees - the temperature of boiling water. Continue boiling the water for a full 5 minutes. Check the temperature again. If it reads higher or lower, make a note of the difference and factor that difference in when cooking your next batch of caramels. Alternatively, purchase yourself a new thermometer. Having a working candy thermometer will save you time and expense in the long run.
More Salted Caramel Recipes
If you liked these salted whiskey caramels, you might also enjoy these caramel recipes!
Comments
No Comments