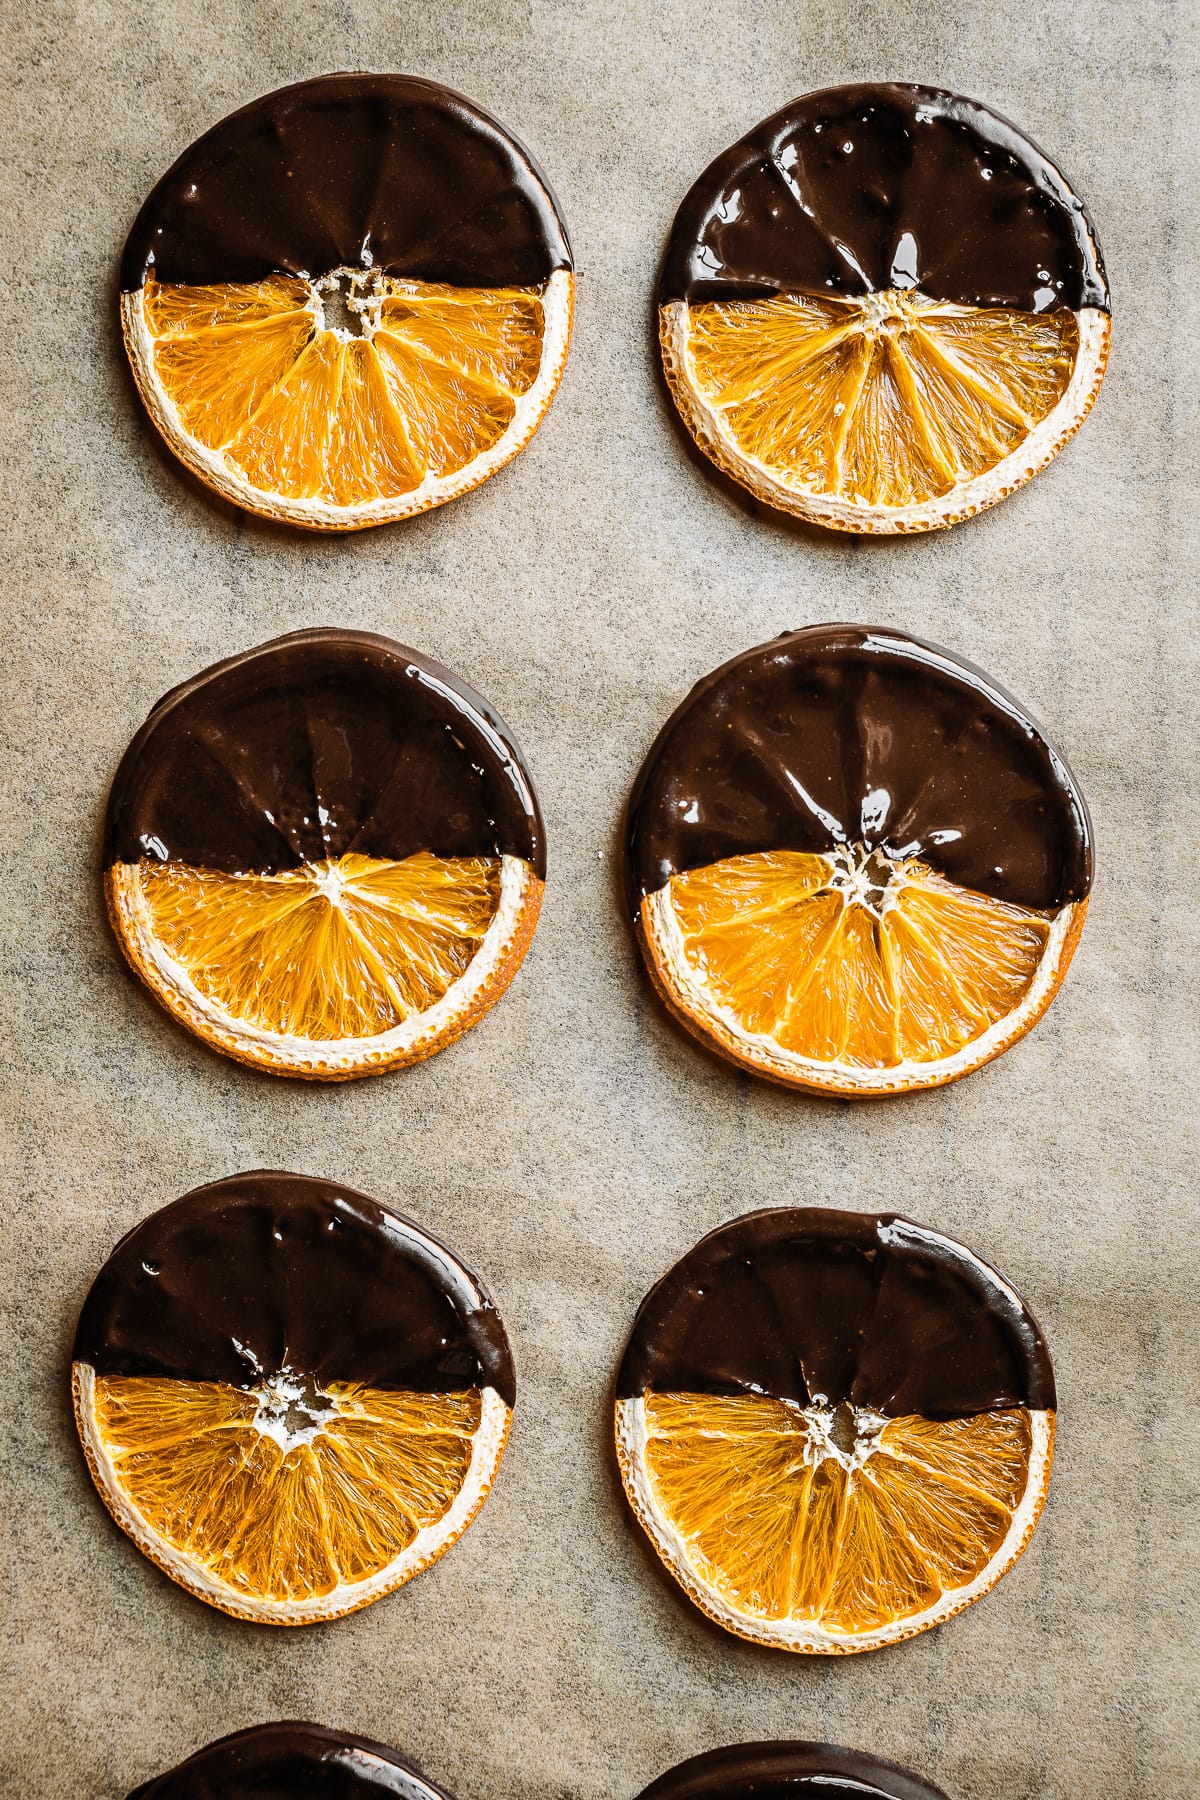
This easy recipe will show you how to make homemade dried orange slices with your oven or dehydrator. Dried oranges are great for cocktails, as cake decorations, and to snack on (try them dipped in chocolate!) They're also perfect for festive decorations as garlands, to wrap gifts, and add color to wreaths.

I like to use dried orange slices as cake decorations , such as to top this chocolate orange cheesecake. They're often not available in stores outside of the holiday season, however, so when I made this chocolate orange cake, I went the DIY dried orange method and made them at home.
Drying orange slices is a simple and easy way to create a unique and beautiful decoration, whether to top a cake, add to a cocktail, or to make into a homemade dried orange garland. There are so many ways to use these fun and festive dried citrus wheels. Check out the list further below for additional ideas!
This recipe provides you with two different methods for dried oranges - using either your oven or a dehydrator. The steps are almost identical; it's really just the drying device that changes. Drying times are also different between methods because dehydrators often have the ability to run at a lower temperature than the average oven.
Jump to:

How to Use Dried Orange Slices
There are so many different ways to use dried orange slices! Here are some ideas to get you started:
EDIBLE IDEAS
- Citrus garland - String orange slices onto twine with a large needle. Thread the needle through the upper portion of the orange from underneath, and then push the needle down through the top. This way your orange slices will hang flat when you put up the garland. (See photos for details.)
- Cocktail garnish or addition to punch - Dried orange wheels are great served with a gin cocktail such as a negroni, gin and tonic or gin sour. They can also be added to a holiday punch or a summer drink such as sangria. They'd be a perfect addition to spiced apple cider as well!
- Dried orange chips - Eat dehydrated orange slices plain for a simple, crunchy treat. Sprinkle with a bit of sugar and a pinch of salt for added flavor.
- Granola or muesli - Finely chop and add a burst of citrus flavor to your favorite granola recipe.
- Tea - Add a pretty garnish and infuse your tea with orange.
- Cake and dessert decorations - Use dried orange slices to decorate cakes (such as this chocolate orange cake), bars, cookies or other desserts.
DECORATIONS
- Table centerpiece - Add dried oranges to a festive table centerpiece.
- Napkin rings - Thread onto pretty twine or ribbon and tie around a napkin.
- Ornaments - Thread with twine or ribbon and hang on your tree
- Holiday wreath or swag - Add oranges to a holiday wreath or swag using green florist's wire or green pipe cleaners.
- Gift wrap - String an orange or two onto twine or ribbon and use to wrap gifts.

Ingredients
- Oranges - You can use any type of oranges for this recipe. Consider using a mix of smaller oranges (such as mandarin or tangerine) and larger oranges (Navel or Valencia would work well). If blood oranges and Cara Cara oranges are in season, they would add a nice variety of color.
- Dark chocolate (Optional, if dipping) - If you choose to dip the dried oranges in melted chocolate, select a chocolate bar with the percentage of cocoa that you prefer. I used 72% dark chocolate for the chocolate dipped oranges that decorate my chocolate orange cake.
- Vegetable oil (Optional, if dipping) - A small amount of vegetable oil helps create a good consistency for dipping and adds a bit of shine.
See recipe card for quantities.
Instructions
How to dry orange slices? There are two different methods that you can use to make dried orange slices: in the oven, or using a dehydrator. Both are easy to prepare and require very little hands on time.
Drying orange slices in the oven and the dehydrator both work equally well. If your dehydrator has a lower heat setting and allows you to set the temperature at 135 degrees Fahrenheit, your oranges might retain a bit more of their bright color and round shape when dry. They will likely take longer to dry than in the oven, however.
OVEN METHOD
Step 1: Preheat oven to 170 degrees Fahrenheit (75 degrees Celsius).
Step 2: Line two half sheet baking pans with rustproof baking/cooling racks.
Step 3: Wash and dry the oranges. Using a long sharp knife, slice the oranges perpendicularly into ⅛ inch slices. Place the orange slices onto the racks. leaving a bit of room between slices for air circulation.
Step 4: Cook in the oven for 4-8 hours. Time varies greatly depending on your oven, the thickness of the slices and the amount of juice in the citrus. Flip oranges every few hours to help ensure they dry evenly. Slices are done when dry to the touch and no longer moist or tacky. If some slices are dry before others are finished, remove them and let the remaining slices continue to dehydrate. They will still be flexible when warm, but will firm up as they cool.
DEHYDRATOR METHOD
Step 1: Wash and dry the oranges. Using a long sharp knife or a mandoline (affiliate link), slice the oranges perpendicularly into ⅛ inch slices. Place the orange slices onto the dehydrator racks, leaving a bit of room between slices for air circulation.
Step 2: Set temperature to manufacturer's setting for dried fruit (on my Excalibur dehydrator (affiliate link), the dried fruit setting is at 135 degrees Fahrenheit (57 degrees Celsius).
Step 3: Place racks in dehydrator and turn on for 8 - 12 hours. If your dehydrator's fan is at the top or bottom of the machine, rotate the trays partway through to ensure even drying. The Excalibur dryer has a fan that is located in the middle of the dehydrator so this isn't as important.
Step 4: Slices are done when dry to the touch and no longer moist or tacky. They will still be flexible when warm, but will firm up as they cool. If some slices are dry before others are finished, remove them and let the remaining slices continue to dehydrate.
Hints:
- The thinner you slice the oranges, the quicker they will dry. Aim for ⅛ inch slices (.3 centimeters), but don't worry if they end up a bit thicker. They'll just need more time in the oven or dehydrator.
- Use a mandoline (affiliate link) or a sharp knife with a long blade. A long blade will help ensure the cuts are straight.
- Make sure to cut perpendicular to the ends of the orange so that you end up with a neat cross section or orange "wheel".
- Be patient! Don't turn the temperature up in the hopes of finishing the drying process sooner. Higher temperatures are likely to brown or burn the oranges.
Substitutions
Other citrus fruits - This drying process would work equally well with other citrus fruit, such as limes, lemons, grapefruits or even kumquats.
White chocolate - If desired, you can substitute an equal amount of good quality white chocolate for the dark chocolate. White chocolate would pair really nicely with dried lemons and make a great cake decoration for my meyer lemon almond cake!

Equipment
Items below contain affiliate links.
- Two half sheet baking pans (18 x 13 inches)
- Two stainless steel cooling racks that fit inside the above pans
- A mandoline or a long sharp knife (I use a meat slicing knife)
- Food dehydrator - I've owned this Excalibur dehydrator for almost 10 years. It's excellent quality and has 9 roomy slide-out shelves for drying. This is great because you can check on or remove one shelf at a time without having to unstack the whole contraption! It has an adjustable temperature control, a 26 hour timer and automatic shutoff. It makes drying fruit and other foods SO much easier.
Recipe Tips
If you're making dried oranges for the top of a cake, you might want to dry them a bit less so that a bit of the moisture is still present. The interior will be mostly dry, but still slightly tacky when touched. This makes them easier to eat as the peel is not fully dried and is easier to chew.
If you plan to use the orange slices as decorations (such as stringing the oranges and making an orange slice garland), I recommend drying them fully, or else they could mold.
Storage
How long do dried orange slices last?
Store fully dried oranges in an airtight container in a cool, dark location for up to 2 years. If you have extra silica packets (such as from a package of jerky or freeze dried fruit), add them to the bag to help absorb any moisture. You can also purchase silica packets (affiliate link).
Note that dried oranges will continue to darken and brown in color the longer they are stored. If you want bright, vibrant slices for home decorations, consider making a fresh batch every year.
If only partially dried (such as for topping a cake), store in an airtight container in the refrigerator for up to a month.
If dipped in chocolate, store at room temperature for up to 3 days in a cool, dark location - any further time and the chocolate may begin to bloom since we're not using tempered chocolate. If it does bloom, it's fine to eat, but won't have the clean look.
📖 Recipe
Dried Orange Slices
INGREDIENTS
- 4 oranges
- 100 grams (3.5 ounces) dark chocolate, finely chopped - I used a 72% chocolate bar (optional for chocolate dip)
- 1 teaspoon vegetable oil (optional for chocolate dip)
INSTRUCTIONS
DRIED ORANGE SLICES IN THE OVEN
- Preheat oven to 170 degrees Fahrenheit (75 degrees Celsius). Note: You can try the lowest Gas Mark setting, ¼, but it may be too hot for this recipe and cause the oranges to brown too much. Consider a dehydrator instead!
- Line two half sheet baking pans with rustproof oven safe baking/cooling racks.
- Wash and dry the oranges. Using a long sharp knife, slice the oranges perpendicularly into ⅛ inch slices. Place the orange slices onto the racks.
- Cook in the oven for 4-8 hours. Time varies greatly depending on the thickness of the slices and the amount of juice in the citrus. Flip oranges every few hours to help ensure they dry evenly. Slices are done when dry to the touch and no longer moist or tacky. They will still be flexible when warm, but will firm up as they cool. If some slices are dry before others are finished, remove them and let the remaining slices continue to dehydrate.
DRIED ORANGE SLICES IN THE DEHYDRATOR
- Wash and dry the oranges. Using a long sharp knife or a mandoline, slice the oranges perpendicularly into ⅛ inch slices. Place the orange slices onto the dehydrator racks, leaving a bit of room between slices for air circulation.
- Set temperature to manufacturer's setting for dried fruit (on my Excalibur dehydrator, the dried fruit setting is at 135 degrees Fahrenheit (57 degrees Celsius).
- Place racks in dehydrator and turn on for 8 - 12 hours. Time varies greatly depending on the thickness of the slices and the amount of juice in the citrus. If your dehydrator's fan is at the top or bottom of the machine, rotate the trays partway through to ensure even drying. The Excalibur dryer has a fan that is located in the middle of the dehydrator so this isn't as important.
- Slices are done when dry to the touch and no longer moist or tacky. They will still be flexible when warm, but will firm up as they cool. If some slices are dry before others are finished, remove them and let the remaining slices continue to dehydrate.
CHOCOLATE FOR DIPPING
- Line a baking sheet with parchment paper. Set aside.
- In the top of a double boiler, fully melt chocolate, stirring frequently. Remove from heat. Stir in vegetable oil gently to avoid incorporating extra bubbles.
- Partially dip dried orange slices into melted chocolate, shaking extra chocolate back into bowl. Carefully place dipped orange slices onto parchment paper to set. Place in a cool, dry location for an hour to set (you can speed the process in the fridge for 5-10 minutes if desired).
Made this recipe? Please leave a comment and a star review! ★★★★★


More Citrus Recipes
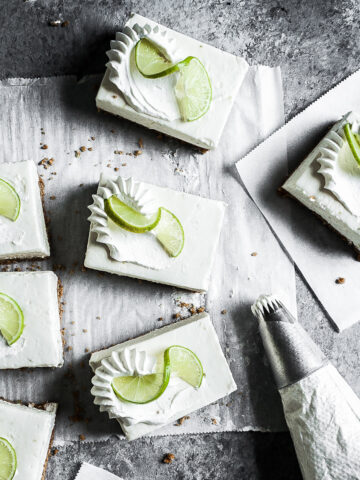
If you like this recipe for dried oranges, you might also enjoy these citrus desserts! As you can see in the photos, they are each dressed up with a citrus decoration on top.





Tamera says
I'd never used my oven to dehydrate before. I simply don't want another kitchen tool that I seldom use. They were perfect.
Kathleen Culver says
Thanks, Tamera!
I'm with you on single-use kitchen appliances.
It's great to use what you've already got when possible.
Kathleen