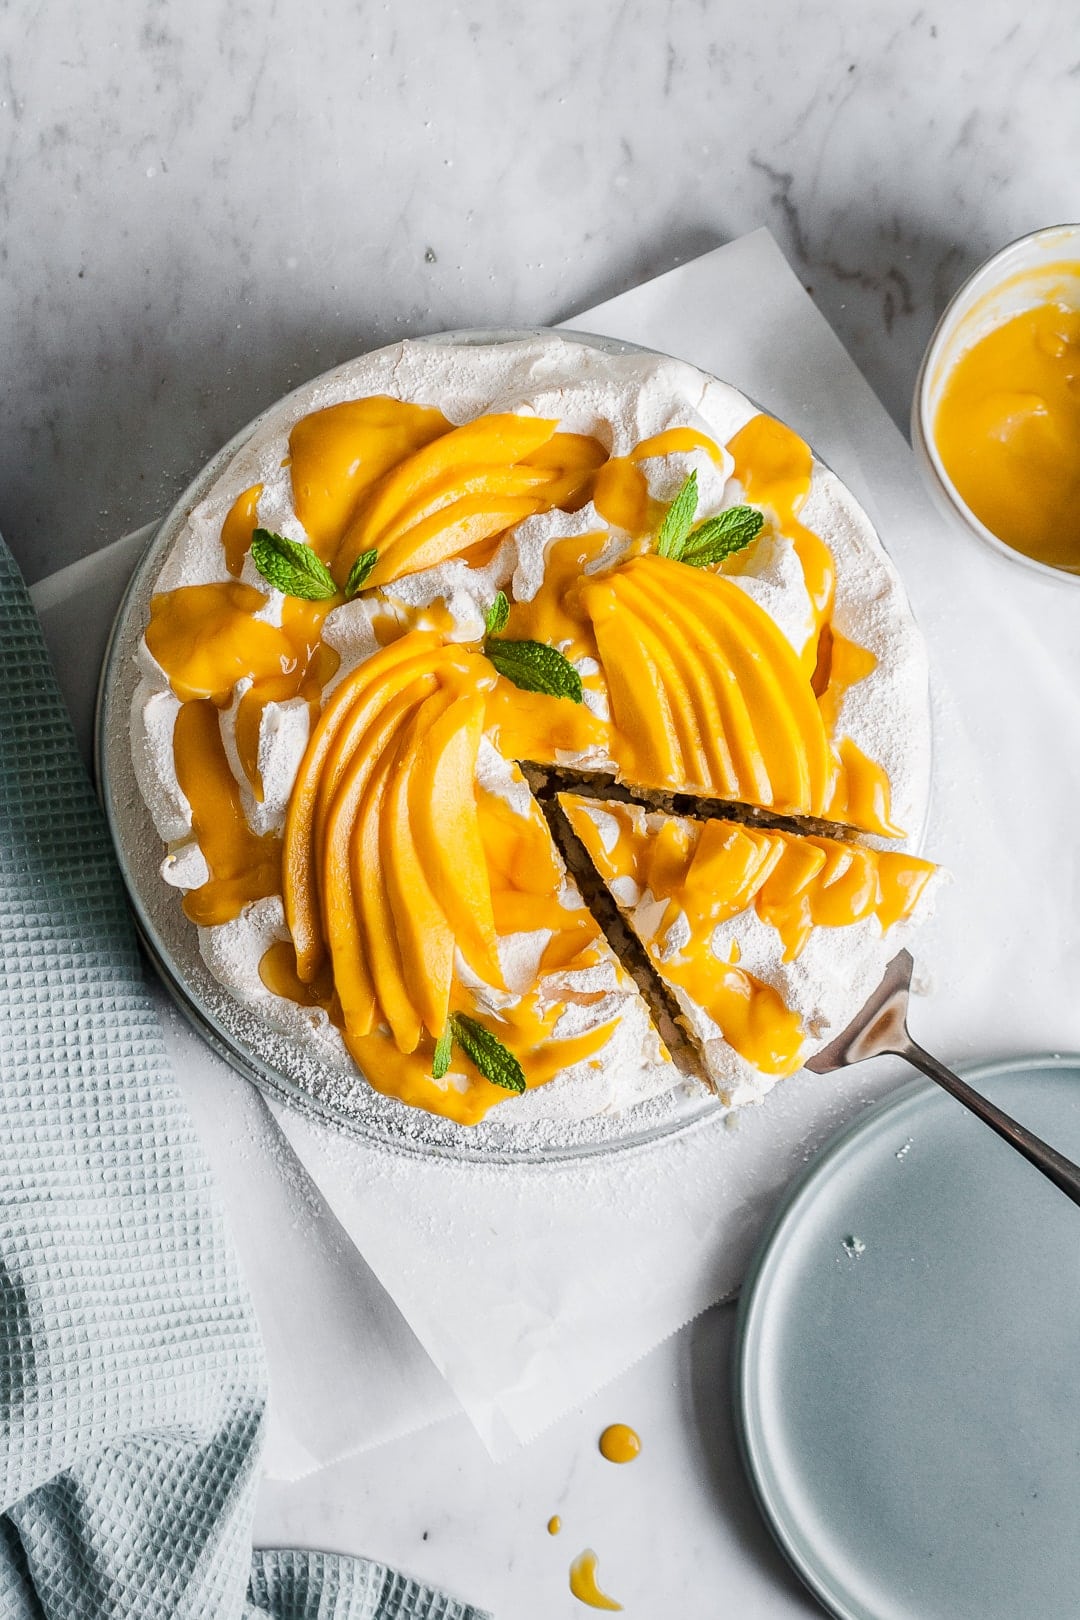
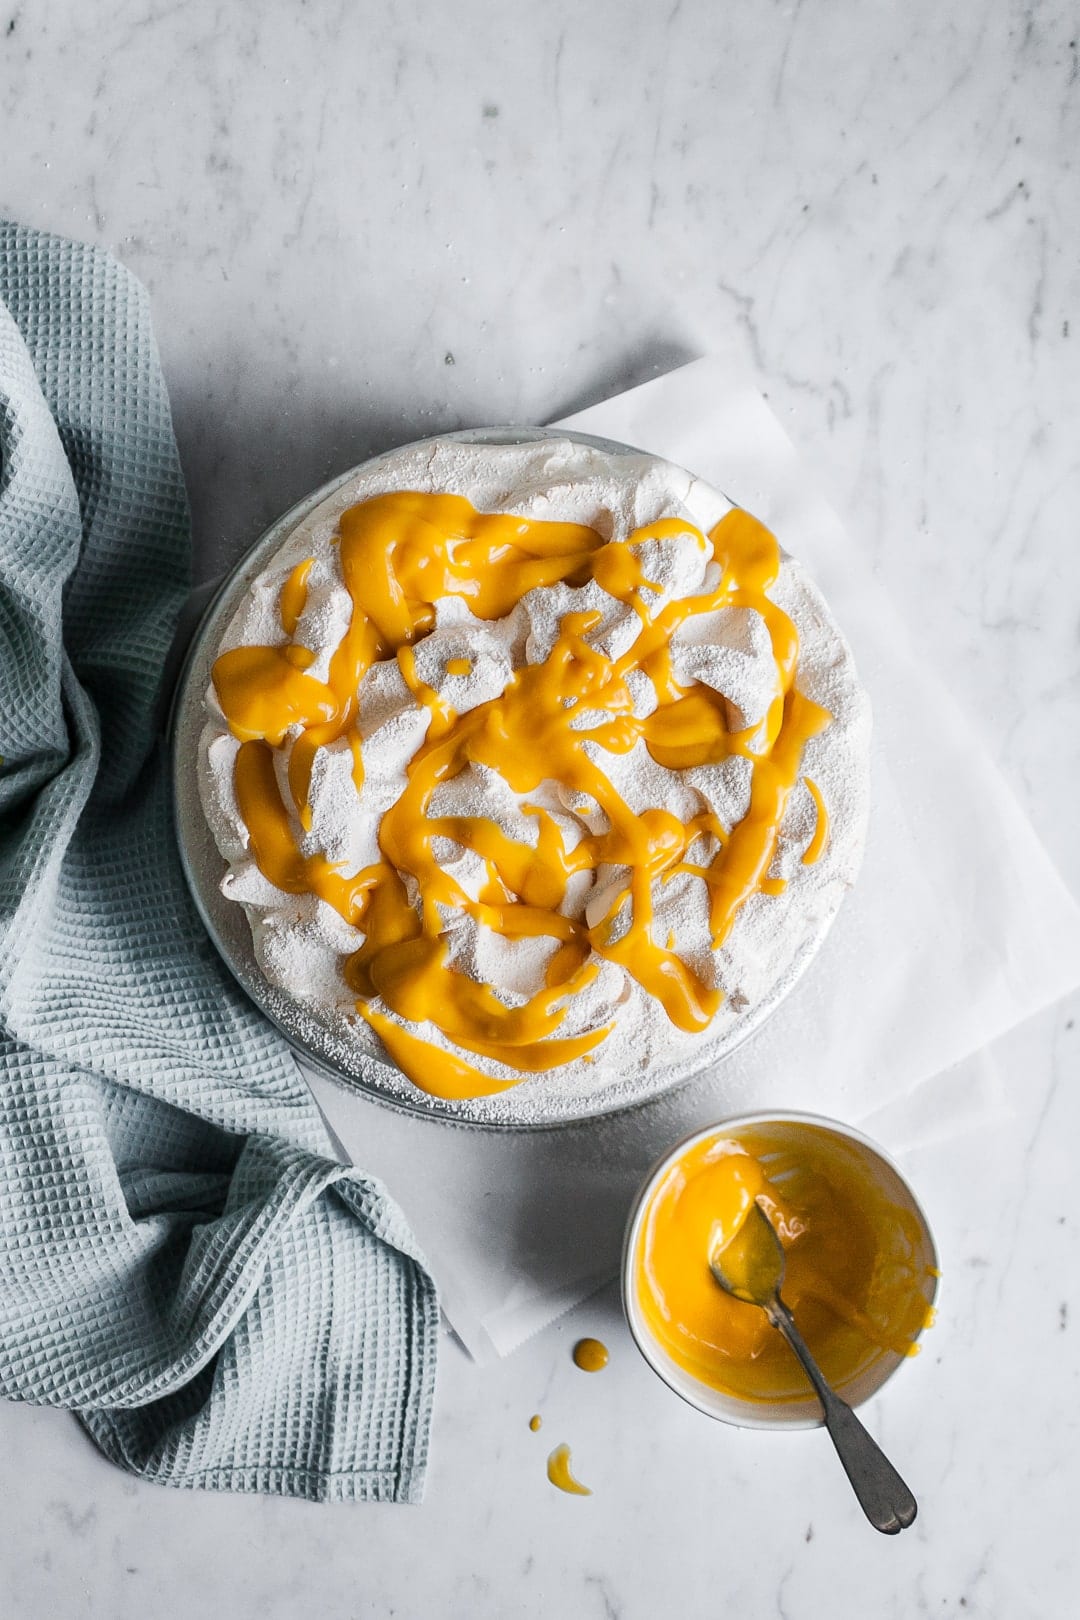
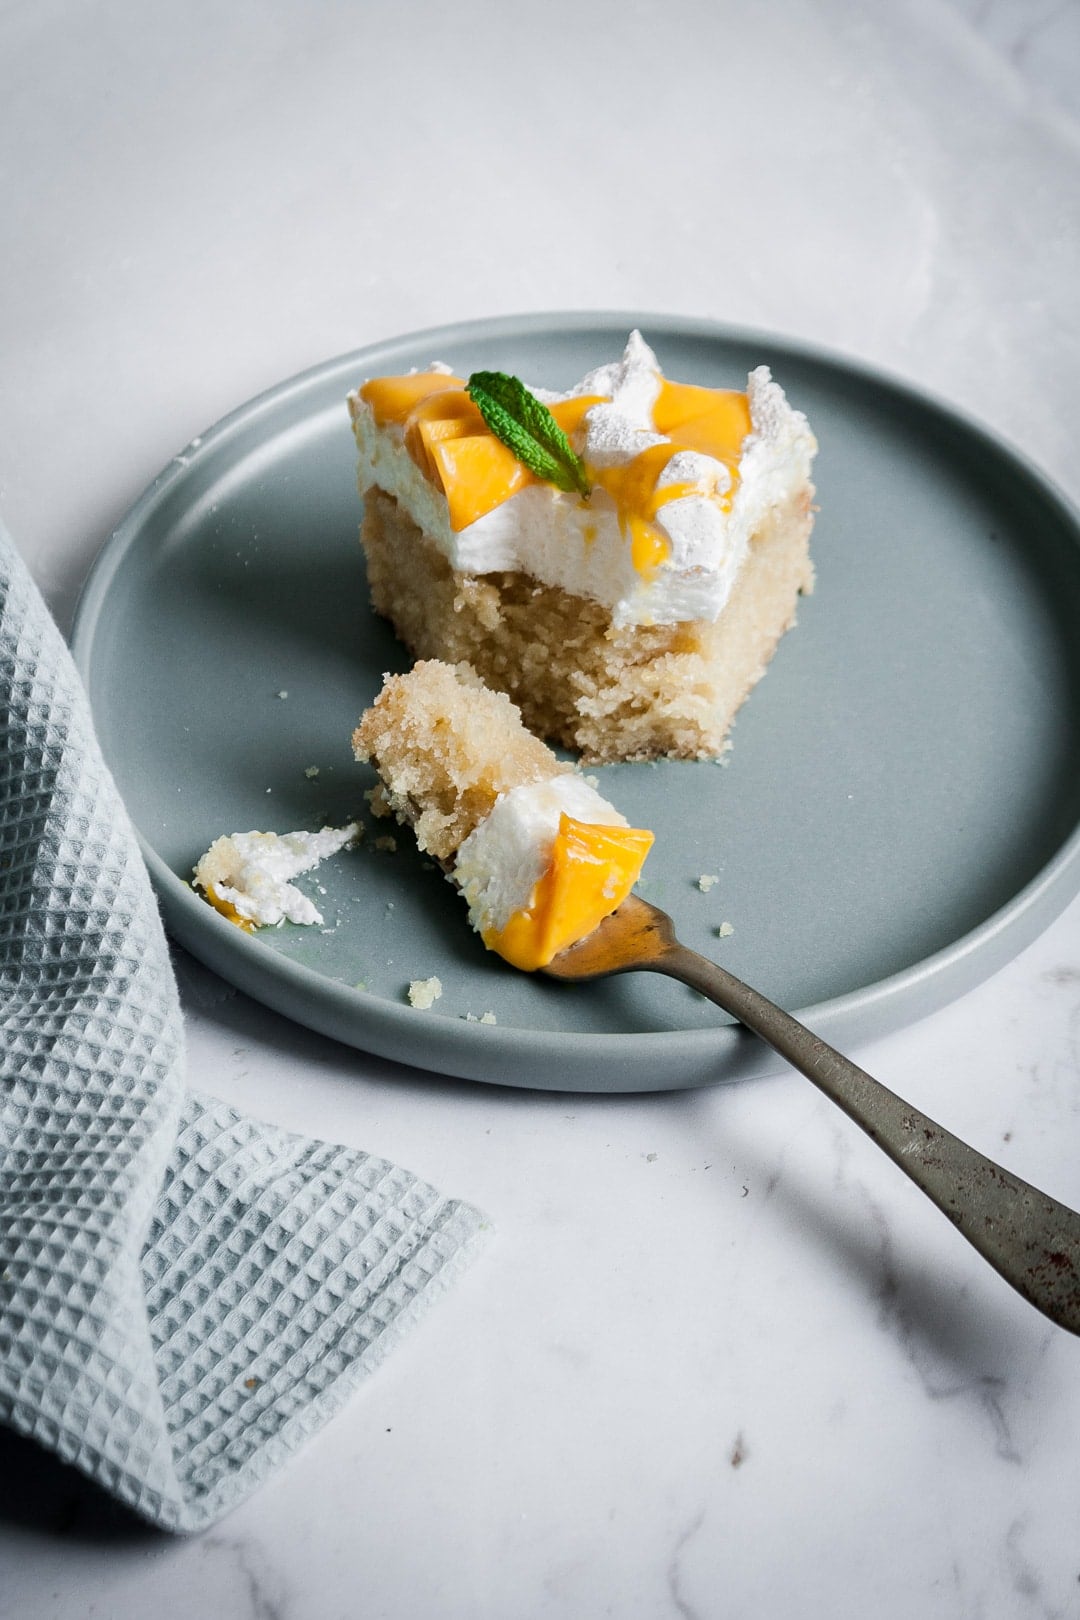
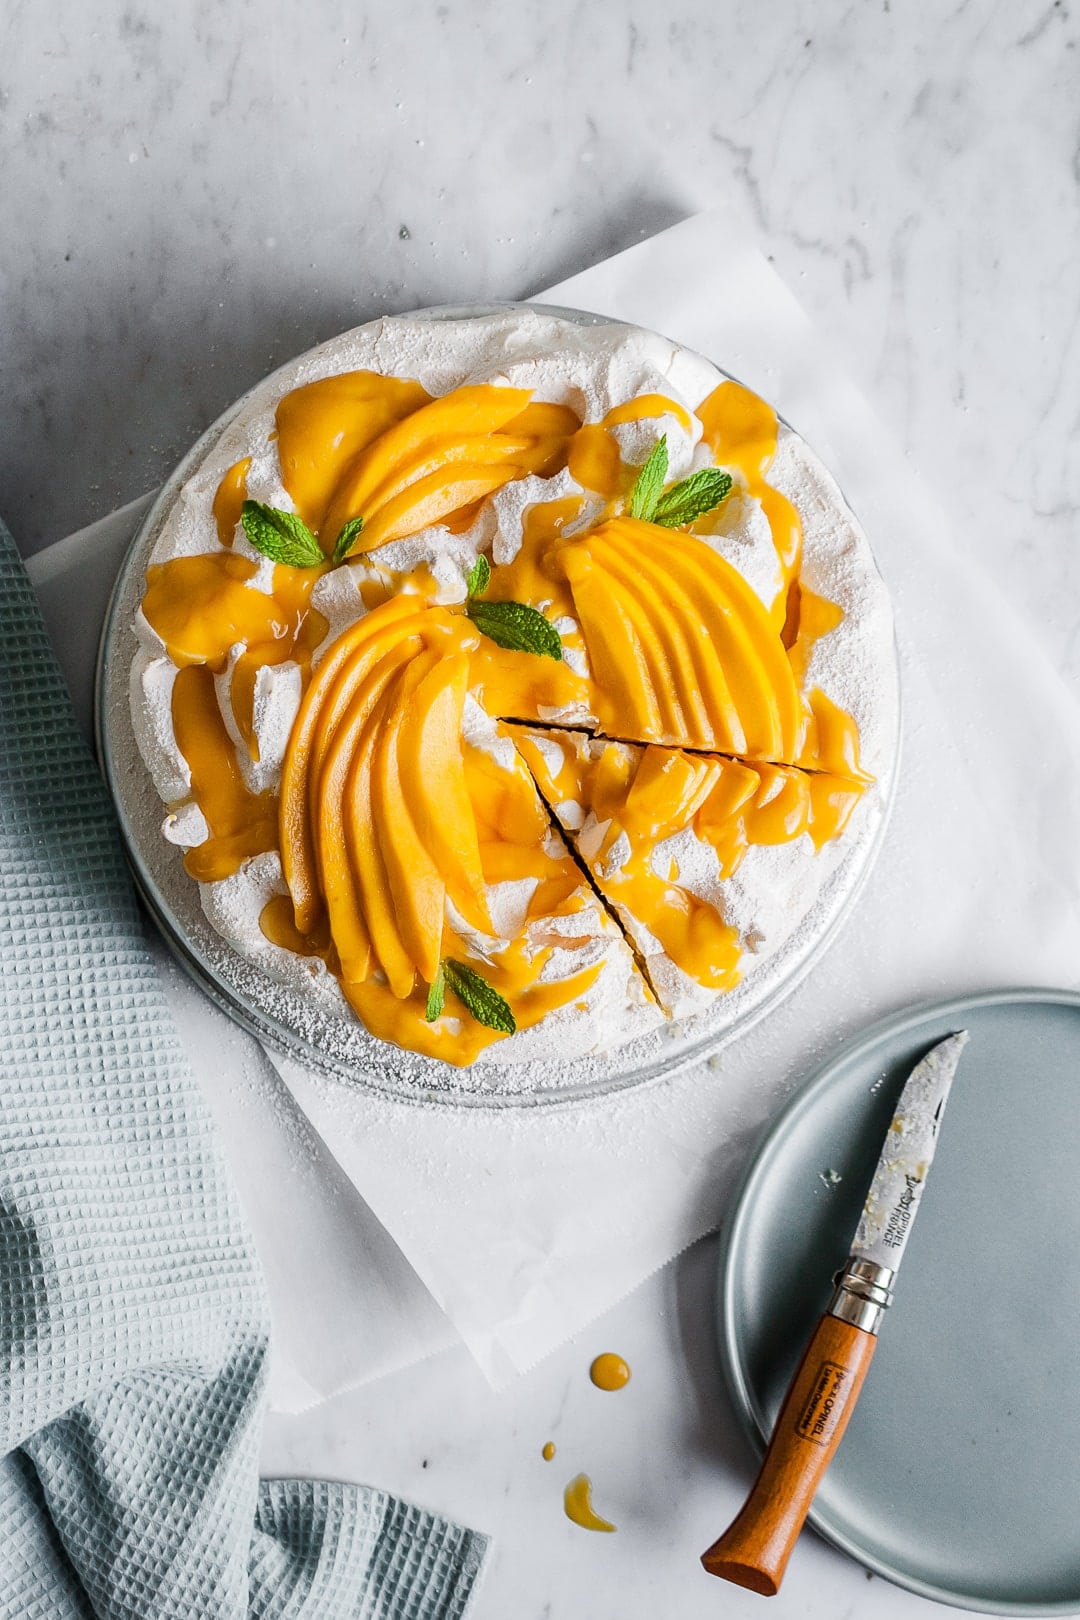
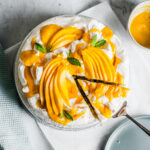
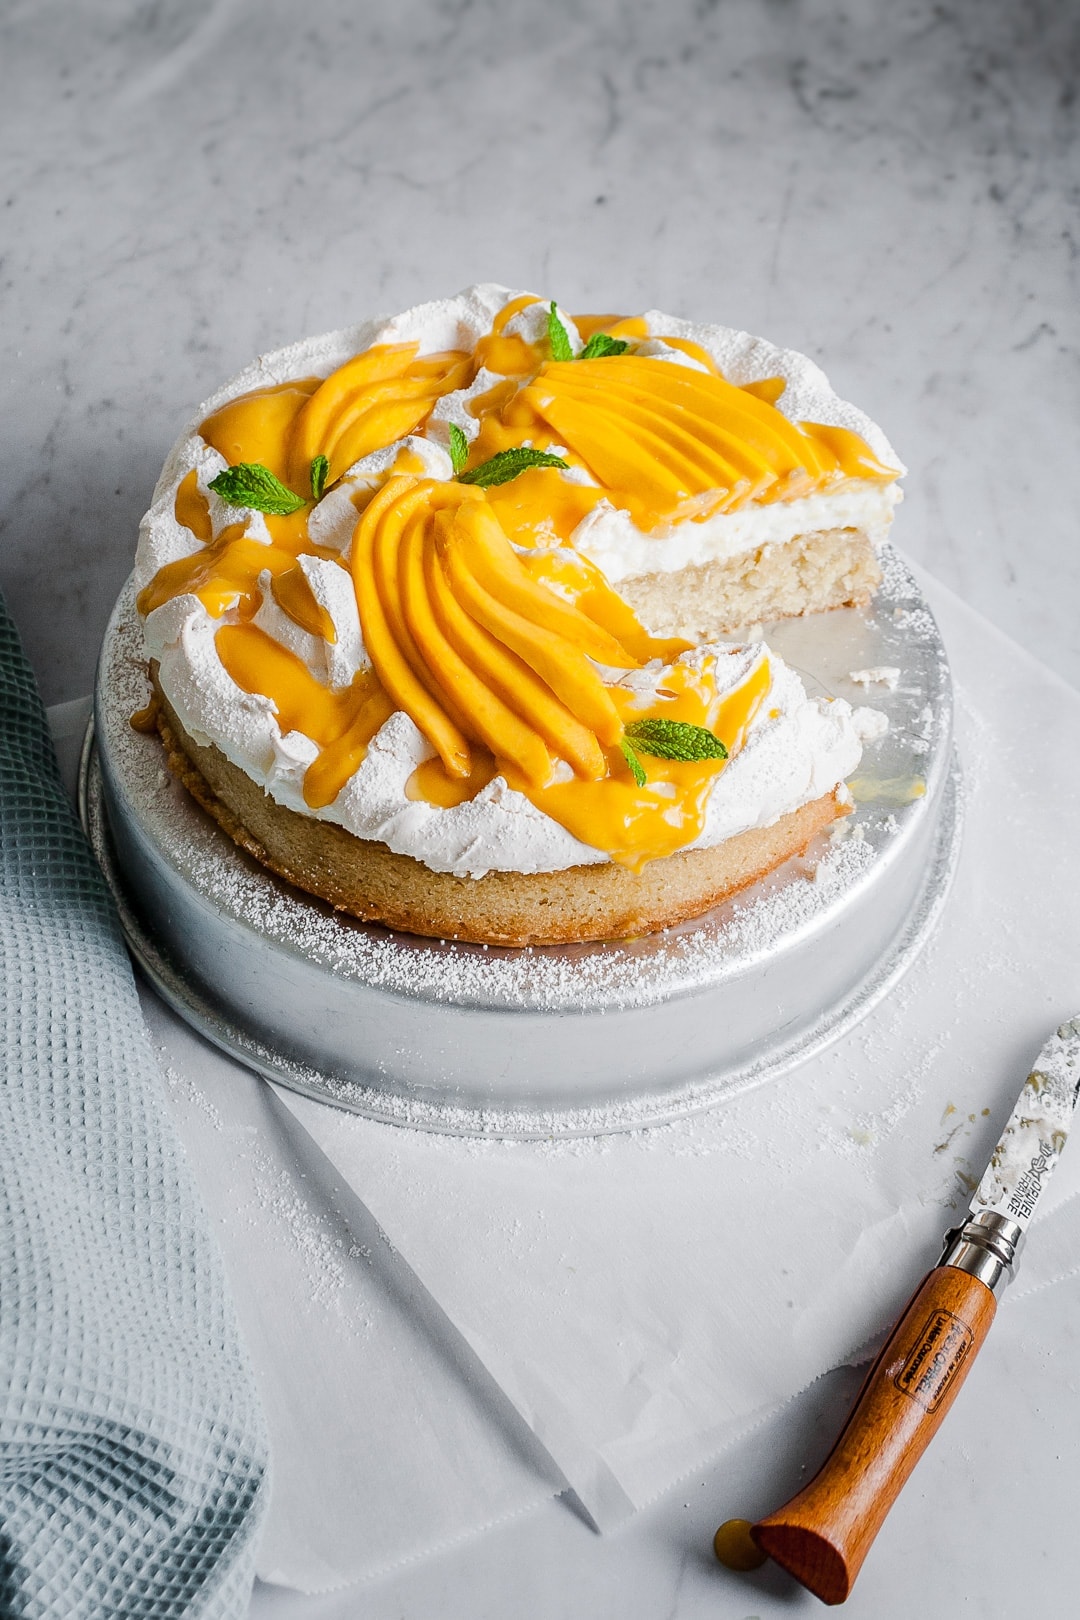
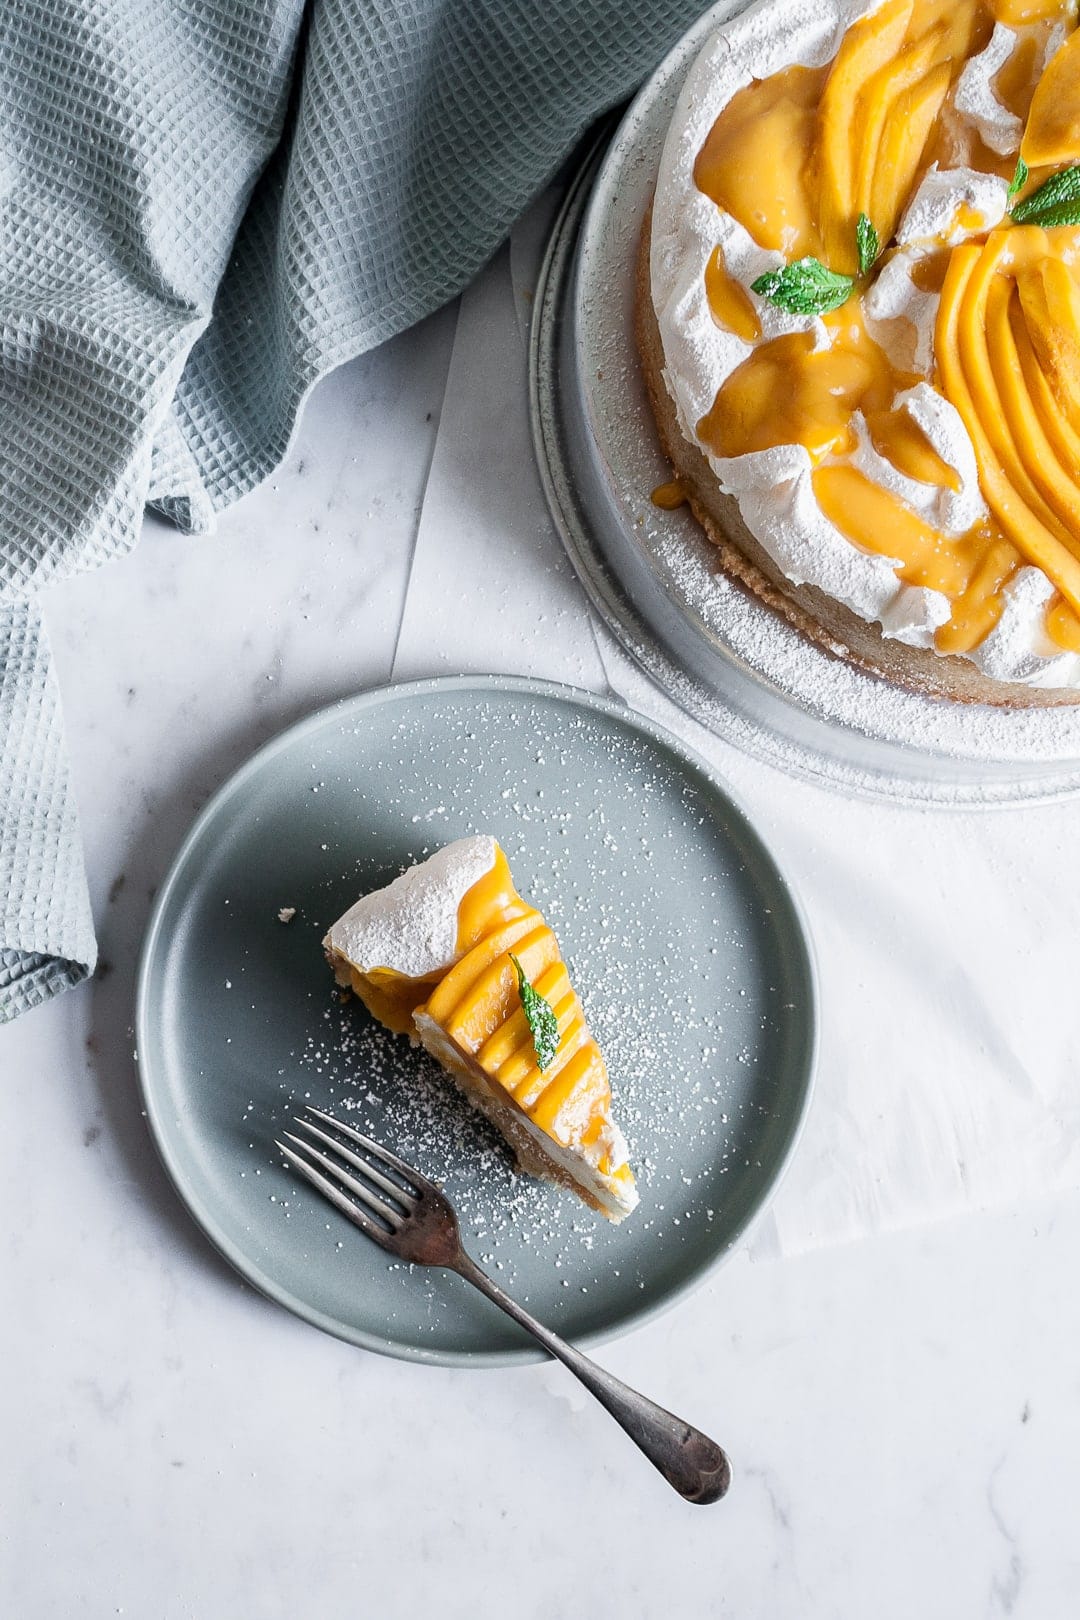
In this coconut meringue cake, fluffy, pillow-light billows of meringue rest atop a single layer of moist, flavorful coconut cake. A bright yellow mango puree and thinly sliced mangoes fanned over the meringue add decoration, a pop of color, and provide a fresh, fruity vibrancy.
I was inspired to create this recipe after discovering all the meringue cake combinations in the incredible Modern Baking cookbook by Donna Hay. Here in the United States, desserts with meringue just aren't as common as they are in Australia, the UK and New Zealand, among other places. I was eager to give one a try, so I put together this coconut meringue cake with mango puree and sliced mango.
I adapted this coconut cake from Stella Parks on Serious Eats in order to create a single 9" layer that I could top with a cloud of meringue. Her recipe calls for coconut in three varieties: coconut oil, coconut milk, and coconut flour. The result is nothing short of delicious and provides an authentic coconut taste without the cloying sunscreen flavor that accompanies so many desserts made with coconut extract (this cake doesn't use any).
Baking method
Upon investigating meringue cakes and baking methods, I discovered that some recipes call for placing meringue onto the unbaked batter and putting the whole thing into the oven to cook simultaneously. Others instruct you to bake the cake first, and then add meringue and return to the oven to finish the top. I was wary of the first method, worried that it would leave me with a cooked meringue hiding raw batter underneath. I was also hesitant about the second method, wondering if I'd end up with a terribly dry cake under the meringue. Both methods seemed suspect.
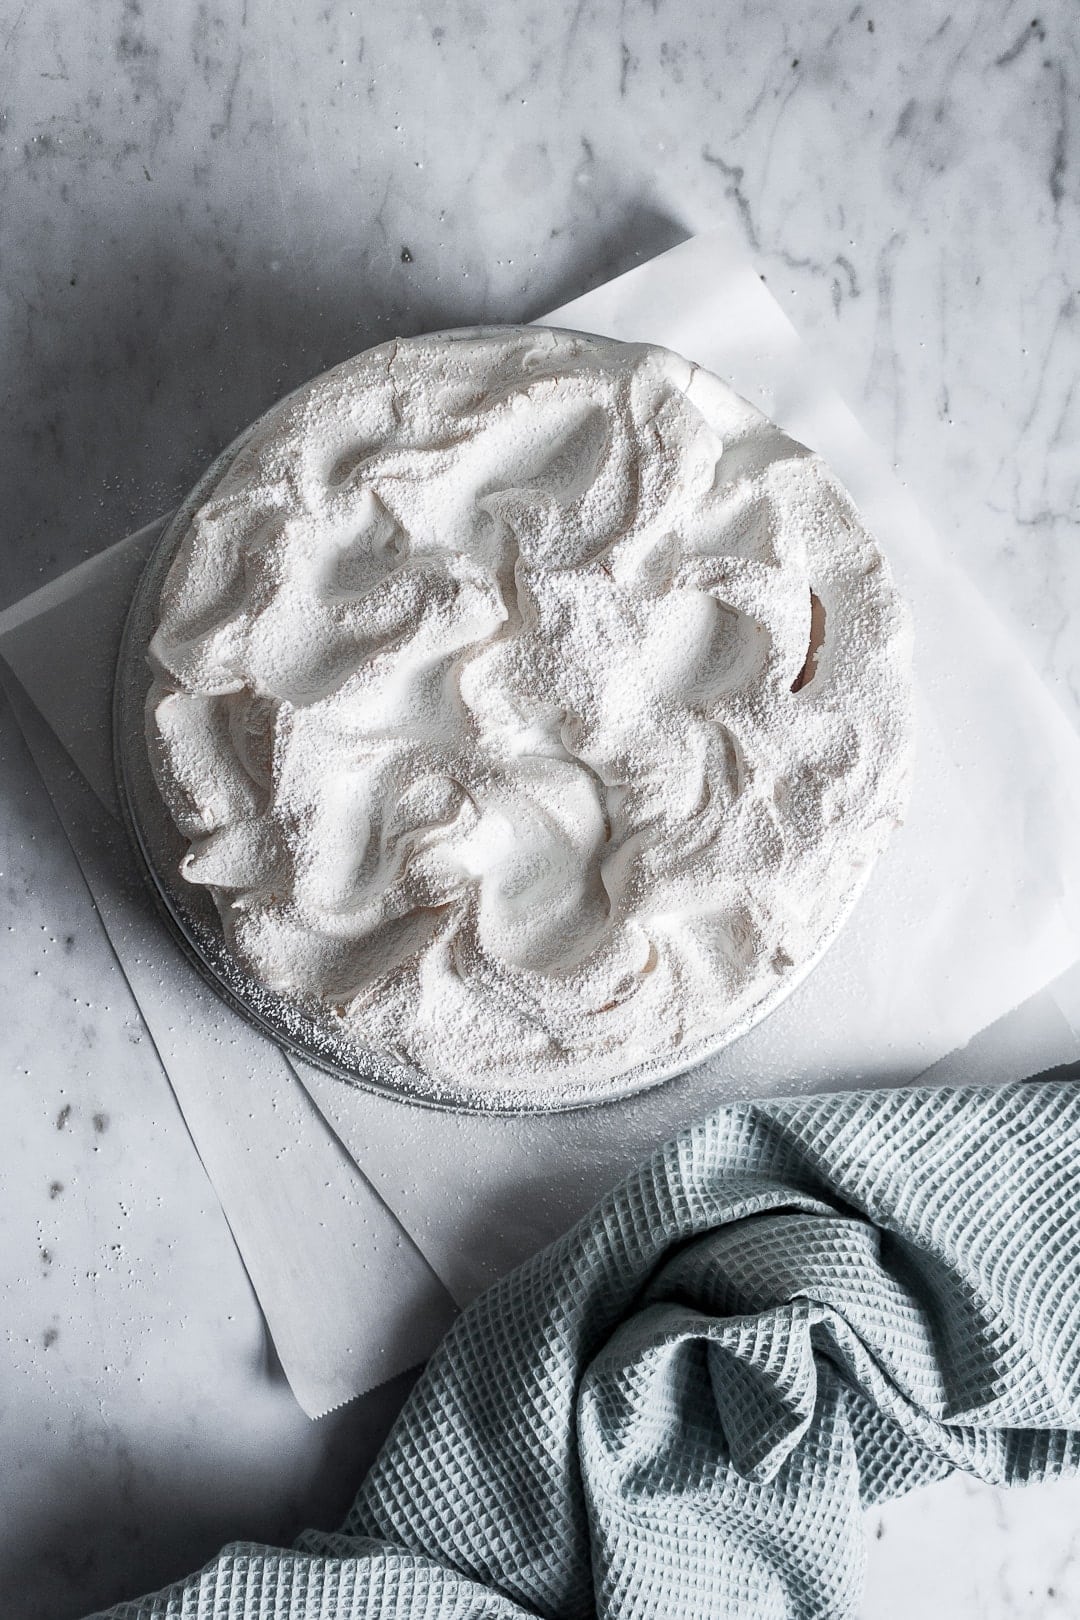
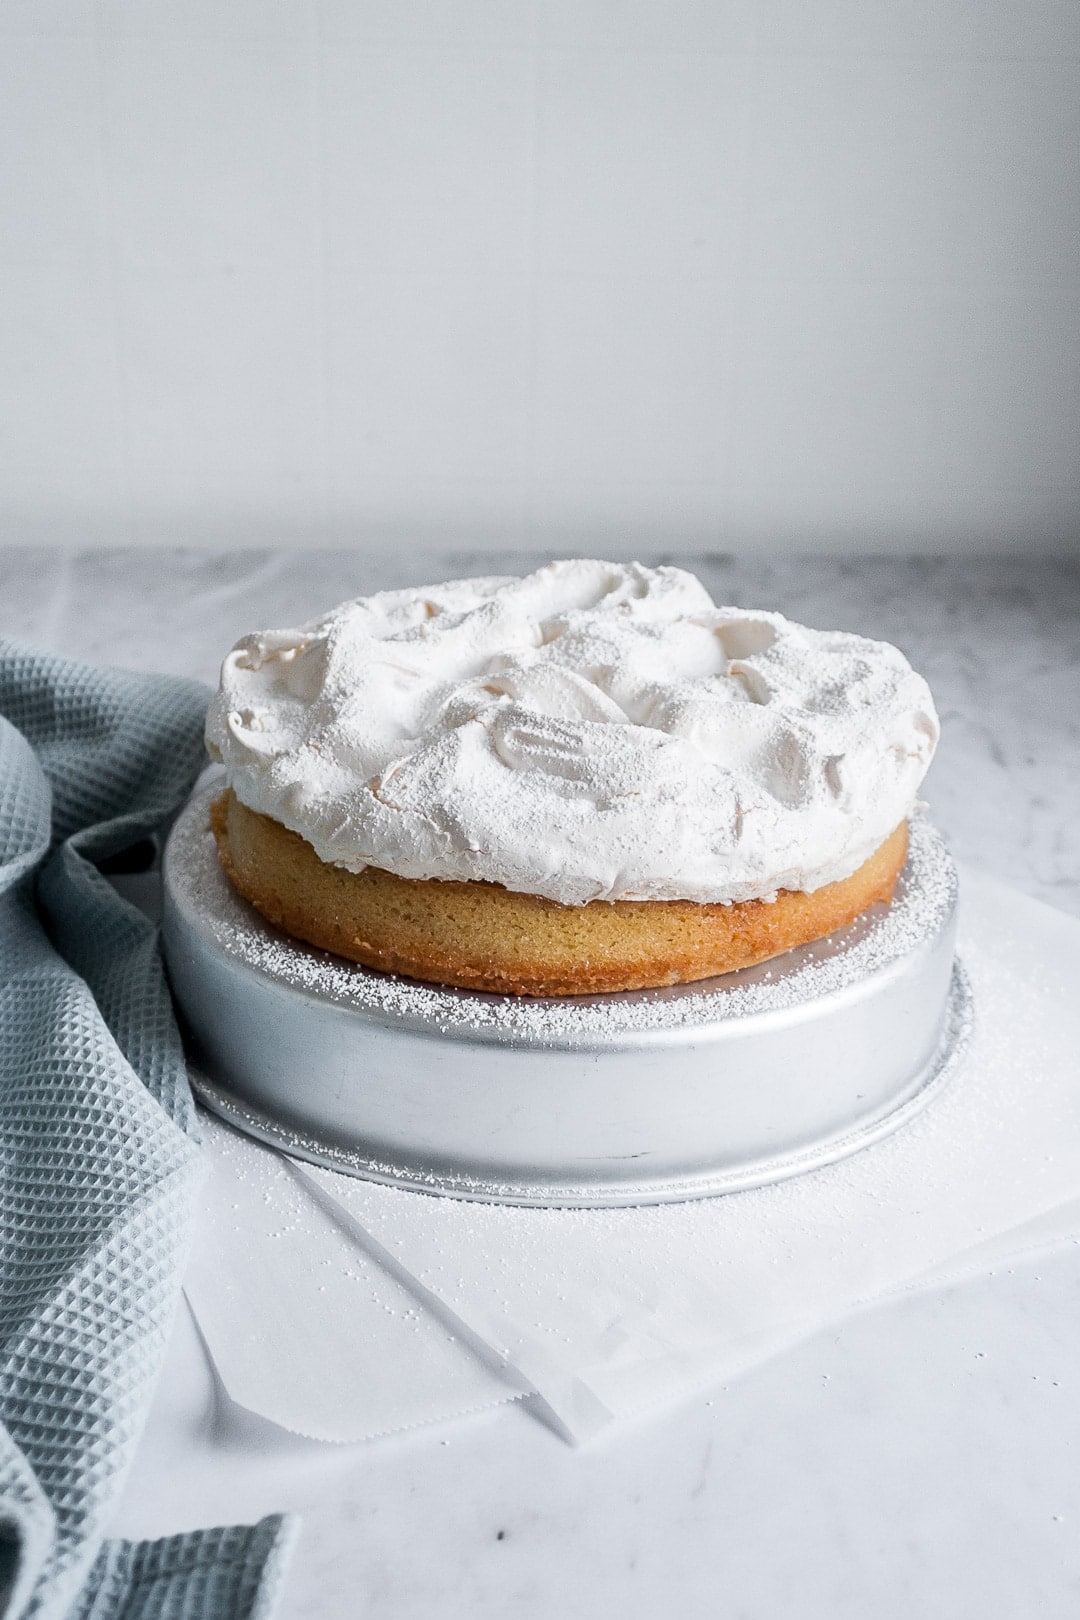
A meringue blanket
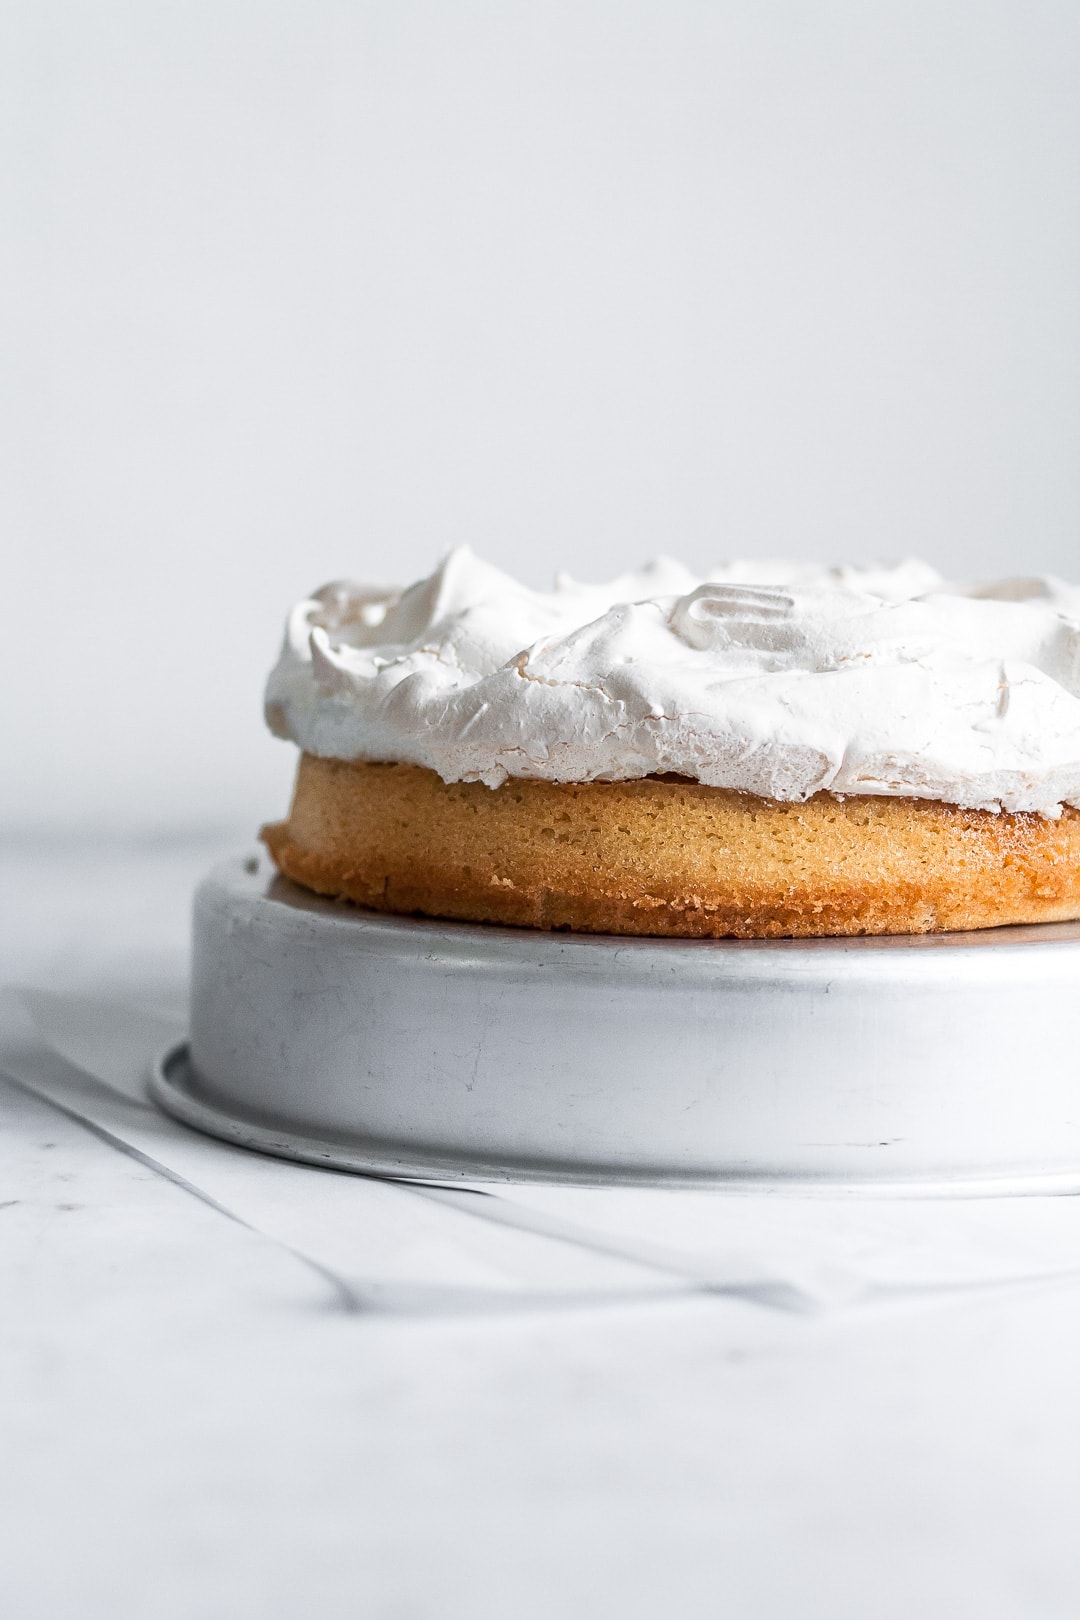
I went with the -bake cake first, add meringue second- method, figuring that the risk of an over-baked cake was preferable to ending up with a gooey center. I share my internal debate because I'm sure you might be wondering about the method as well. It turns out that baking the cake fully, placing the uncooked meringue on top, then returning it to the oven again results in an amazingly moist cake. The meringue layer is firm on the outside and soft and marshmallow-like in the center. The meringue blanket helps the cake retain moisture during the second baking, keeping it from drying out at all. So fear not - it'll be fine!
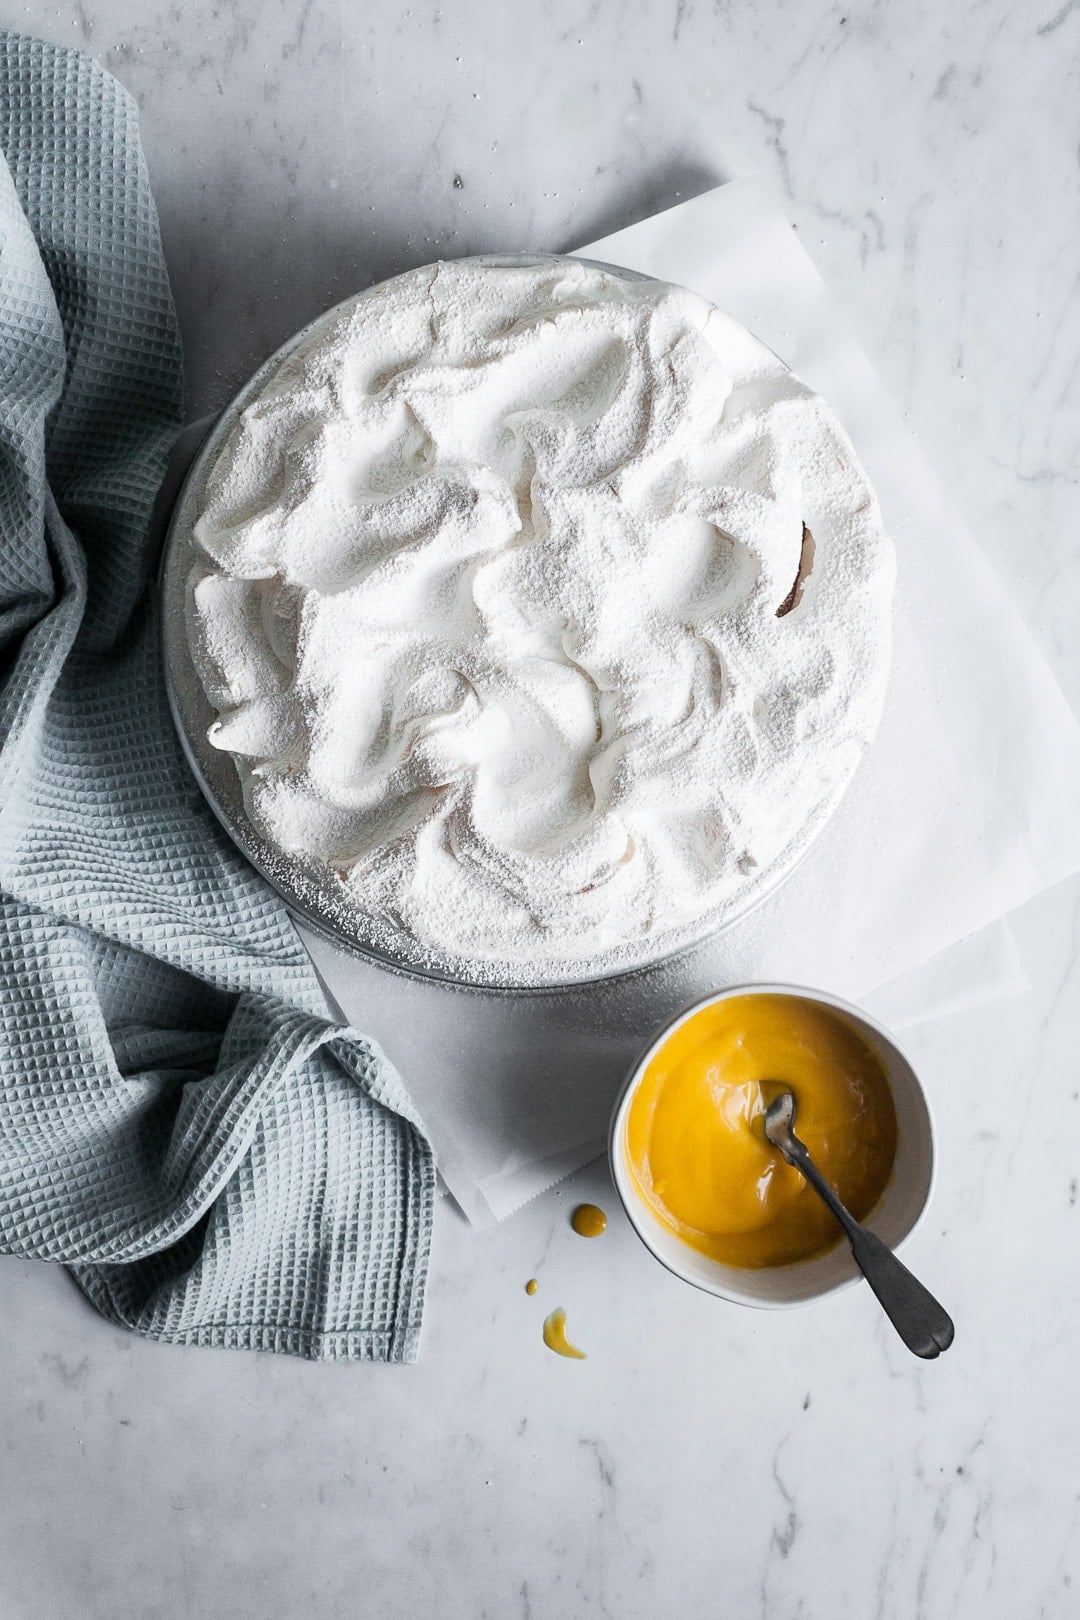
The coconut cake and meringue layers are then topped with swirls of fresh mango puree and fanned out slices of mango. The combination of mango with coconut and meringue is truly delightful. The tropical flavors and varying textures play off of each other to create a really unique - and beautiful - dessert.
Recipe notes
- Springform pan - I use a 9 inch springform pan so that I can easily remove the cake from the pan without damaging the baked meringue. If you don't have a springform pan, you can try a regular 9" cake pan with parchment strips in the base that extend several inches beyond the pan on each side. Use the strips to lift the cake out after baking. This has to be done carefully to avoid cracking the meringue and cake. I'd use the springform if at all possible.
- Parchment lining - I cut a circle of parchment to line the base of the springform pan, and then a long strip of parchment to wrap around the inside walls of the pan. I use medium binder clips to hold the parchment up and remove it just before baking. They also work wonderfully as bag clips to keep other pantry items fresh.
- Mangoes - My current favorite variety of mango is the Ataúlfo, which is sometimes called a honey, yellow or champagne mango. These mangoes are native to Mexico and are ripe February through August. I find that they ripen more quickly and consistently than other varieties I've tried. I buy them in six packs from Costco and have to hide them at home or my husband and kids will eat most of them the first day. They're that good! For another great mango recipe, try these mango cookies.
- Mango puree - I used a stick blender to make the mango puree. If you don't have one, you can make it in a food processor or a blender.
📖 Recipe
Coconut Meringue Cake with Mango Puree and Sliced Mango
INGREDIENTS
COCONUT CAKE
- 1 cup + 2 tablespoon (225g) granulated sugar
- 2 ¼ teaspoon baking powder
- 1 ⅛ tsp kosher salt
- ¼ cup (56g, 2 oz) unsalted butter
- ¼ cup (56g, 2 oz) coconut oil
- 2 large eggs, room temperature
- 1 ½ teaspoon vanilla extract
- 1 ⅓ cups (160g) all purpose flour
- ¼ cup (30g) coconut flour
- 1 cup + 2 tablespoon (255g, 9 oz) coconut milk (I used full fat canned coconut milk)
MERINGUE TOPPING
- 4 (approx. 120g) egg whites
- 1 cup (200g) granulated sugar
- 1 teaspoon white vinegar
- 1 teaspoon cornstarch
MANGO PUREE AND SLICED MANGO
- 2 mangoes (I used the yellow Ataulfo variety)
- 2 Tbsp (42g) honey
- 3-4 Tbsp (45g) coconut milk
- mint leaves for decoration
INSTRUCTIONS
COCONUT CAKE
- Preheat oven to 325 degrees F (165 C). Prepare a 9 inch springform pan by cutting out a parchment circle for the base and a strip of parchment to go around the interior wall of the pan. The strip will be approximately 28 inches long and tall enough to reach from the base of the pan to the top - approximately 3 inches tall.
- In a small bowl, combine the flours and mix well with a whisk. Set aside.
- In the bowl of a stand mixer using the paddle attachment, mix the sugar, baking powder, salt, butter and coconut oil together until well blended. Turn mixer to medium high and beat for approximately 5 minutes, until the mixture is light and fluffy. Scrape down the sides of the bowl as needed.
- Add the eggs one at a time, making sure each is fully incorporated before adding the next. Add the vanilla.
- Add ⅓ of the flour mixture to the batter and mix well to blend. Add ½ of the coconut milk and mix until incorporated.
- Add another ⅓ of the flour mixture, and the remainder of the coconut milk. Mix to blend. Add the remainder of the flour and mix well, scraping down the bowl as needed. Use your spatula to reach to the bottom of the bowl to ensure no flour remains unmixed.
- Pour batter into prepared springform pan and bake for 45-50 minutes, or until center is set and a toothpick comes out cleanly with no crumbs. It will be gently golden and starting to pull away from the edges of the pan slightly. Remove from oven to cool slightly. While cake is cooling, prepare meringue topping. Keep oven temperature at 325 degrees F.
MERINGUE TOPPING
- In the bowl of a stand mixer fitted with the whisk attachment, add egg whites. Whisk on medium speed until foamy, then add sugar and increase to medium high speed.
- Beat until soft peaks form, and then add vinegar and corn starch. Mix to incorporate and pause to scrape down sides of bowl. Continue beating on medium high speed until stiff peaks form.
- Gently scoop meringue onto top of slightly cooled cake. Using an offset spatula or spoon, carefully spread meringue to the edges of the cake, creating swirls and swoops on the entire surface. Place cake back into 325 degree F oven for approximately 20-25 minutes, or until meringue is firm to the touch and barely starting to color.
- Remove cake from oven and place on a rack to cool. After 15 minutes, carefully run a knife around the edge of the springform pan and release. Gently remove springform and allow cake to cool completely.
MANGO PUREE AND SLICED MANGO
- In a two cup glass measuring cup or a wide mouth pint mason jar, combine the flesh of one mango, honey and 3 tablespoon of the coconut milk. Using a stick blender, blend until mango is a smooth puree and sauce can be drizzled from a spoon. If needed, add an additional 1 tablespoon of coconut milk to thin the sauce.
- Just before serving, drizzle the sauce over the top of the meringue, and arrange fanned out mango slices from the remaining mango on the top of the meringue. Add mint leaves to garnish. Slice and serve immediately.
Made this recipe? Please leave a comment and a star review! ★★★★★

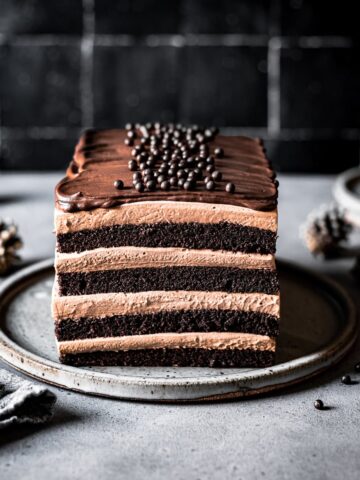
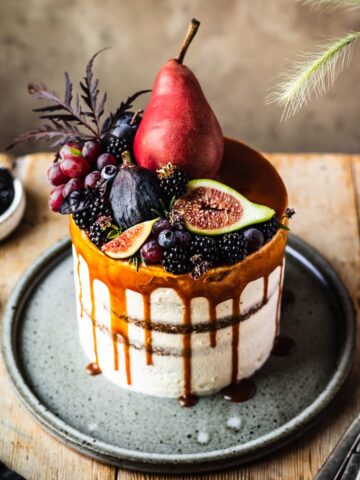
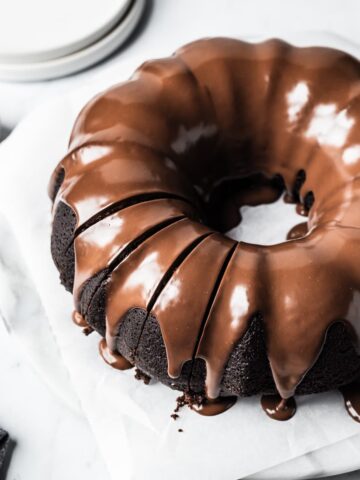
More cake recipes
If you liked this coconut meringue cake recipe, you might also like these!
Felicia says
Can't wait to make this! How much salt do I need? It isn't listed in the ingredients, but is listed in the instructions for the cake. Maybe I'm too distractedy the pictures and didn't see it? Thank you!
The Floured Table says
Hi Felicia,
Thank you so much! I've updated the recipe - you'll want 1 1/8 tsp of Kosher salt.
I'd love to see a photo if you make it. You can always tag me on Instagram at @theflouredtable and #theflouredtable.
Kathleen