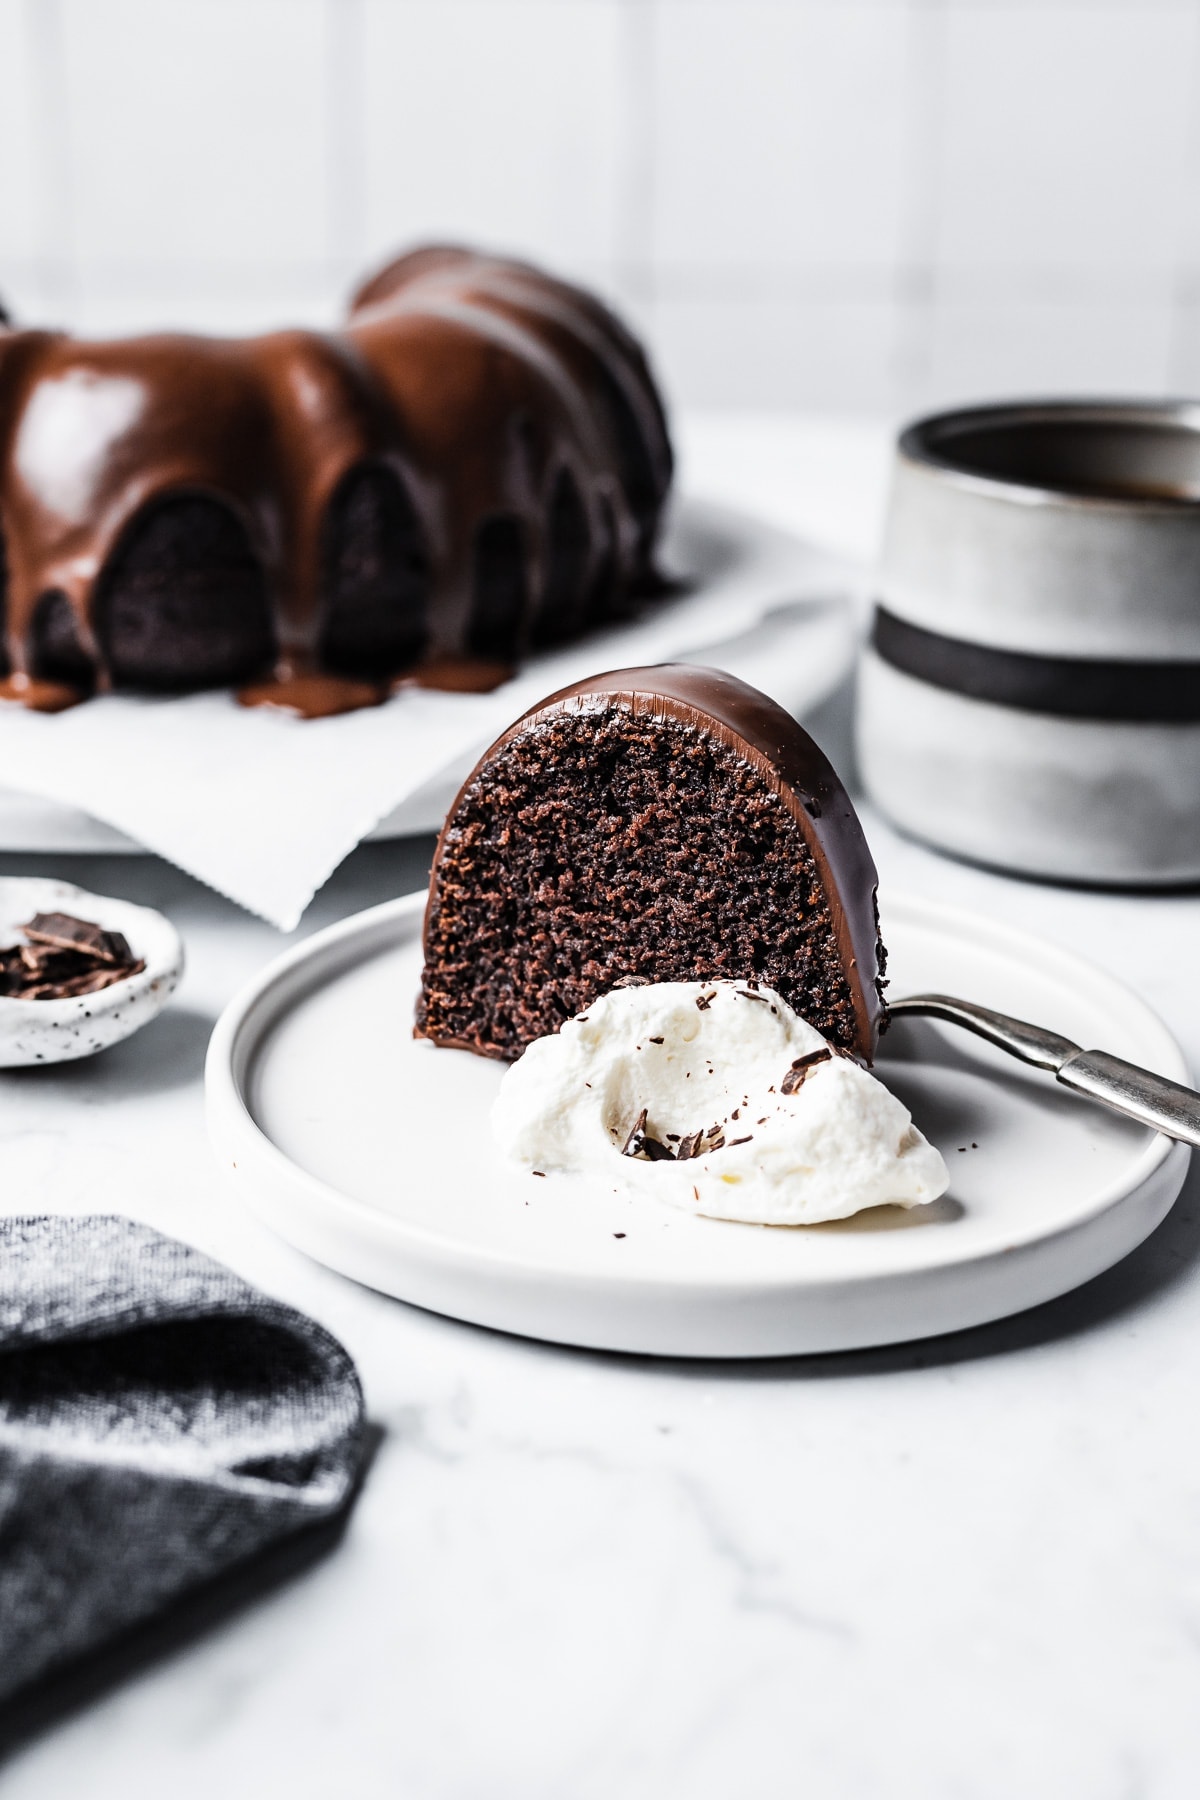
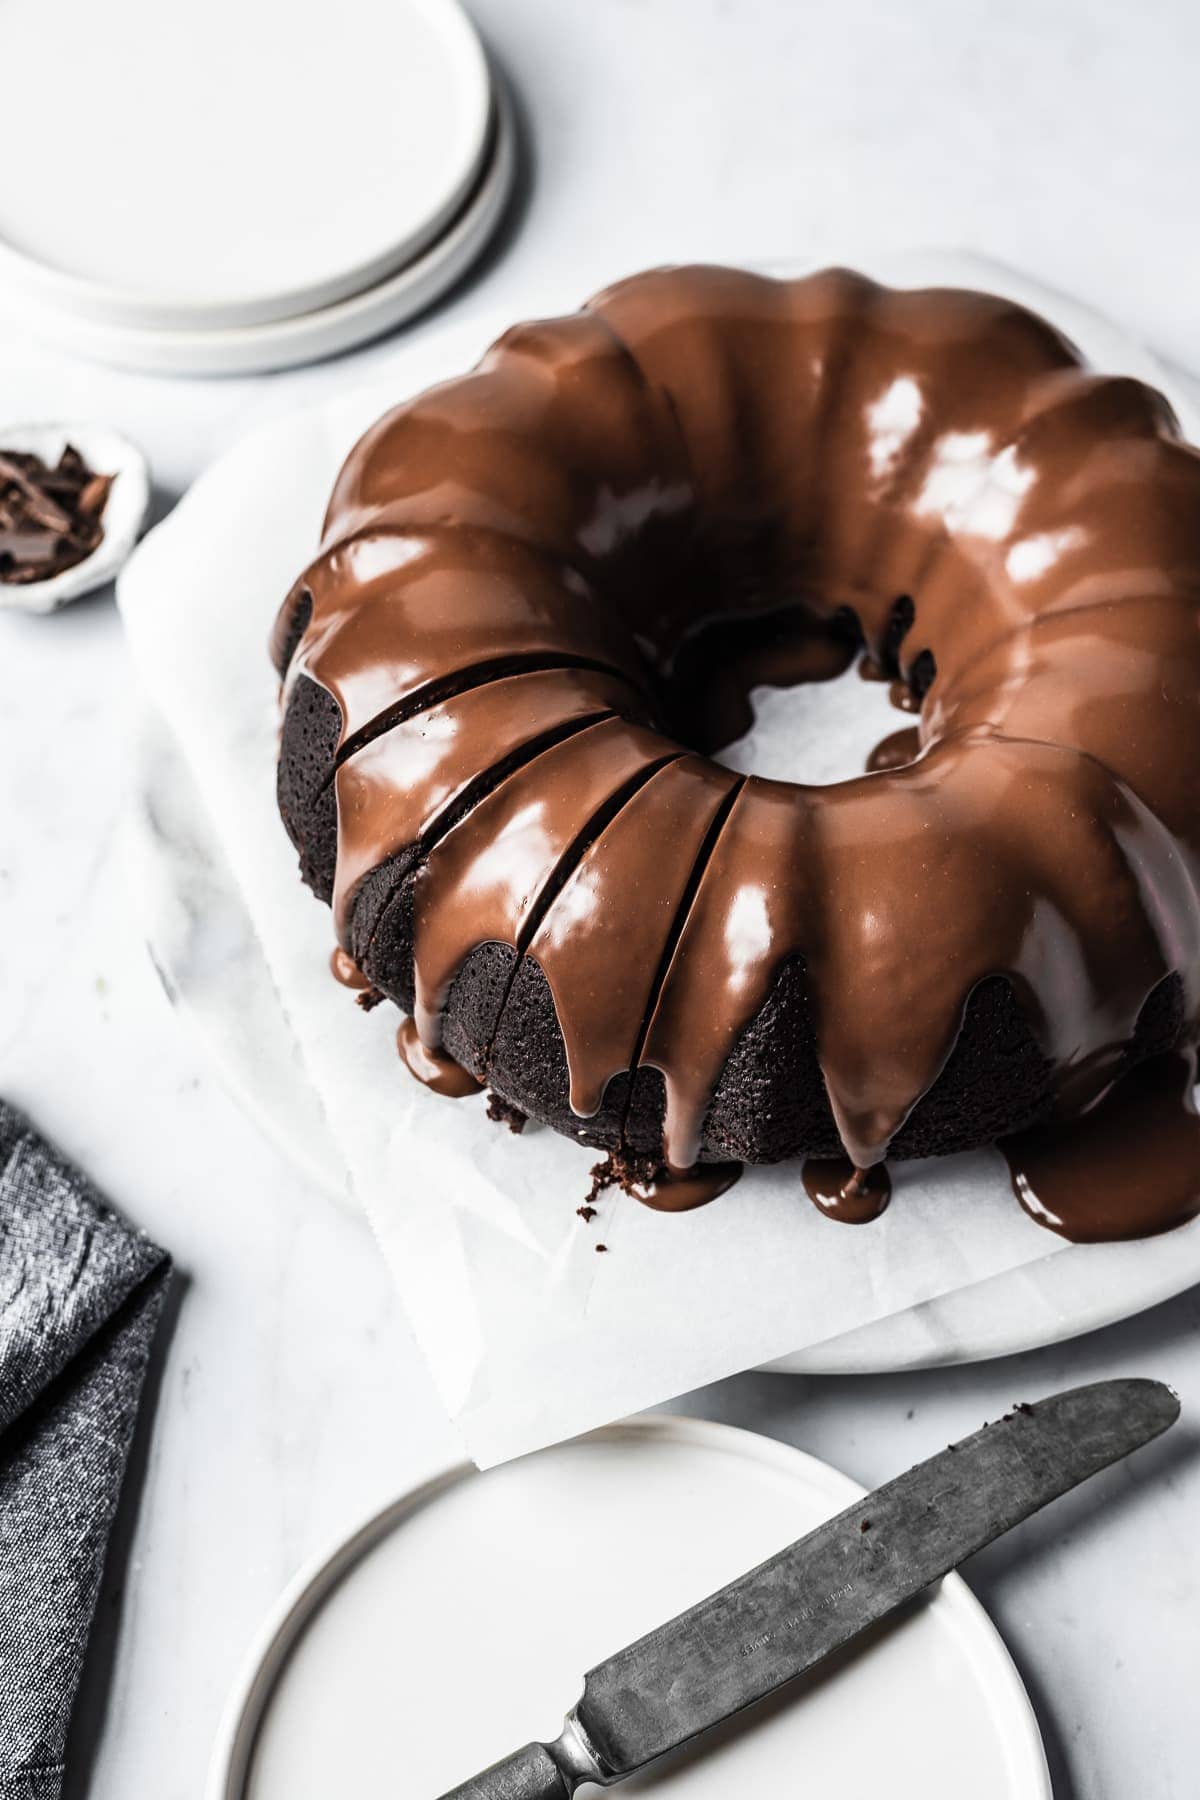
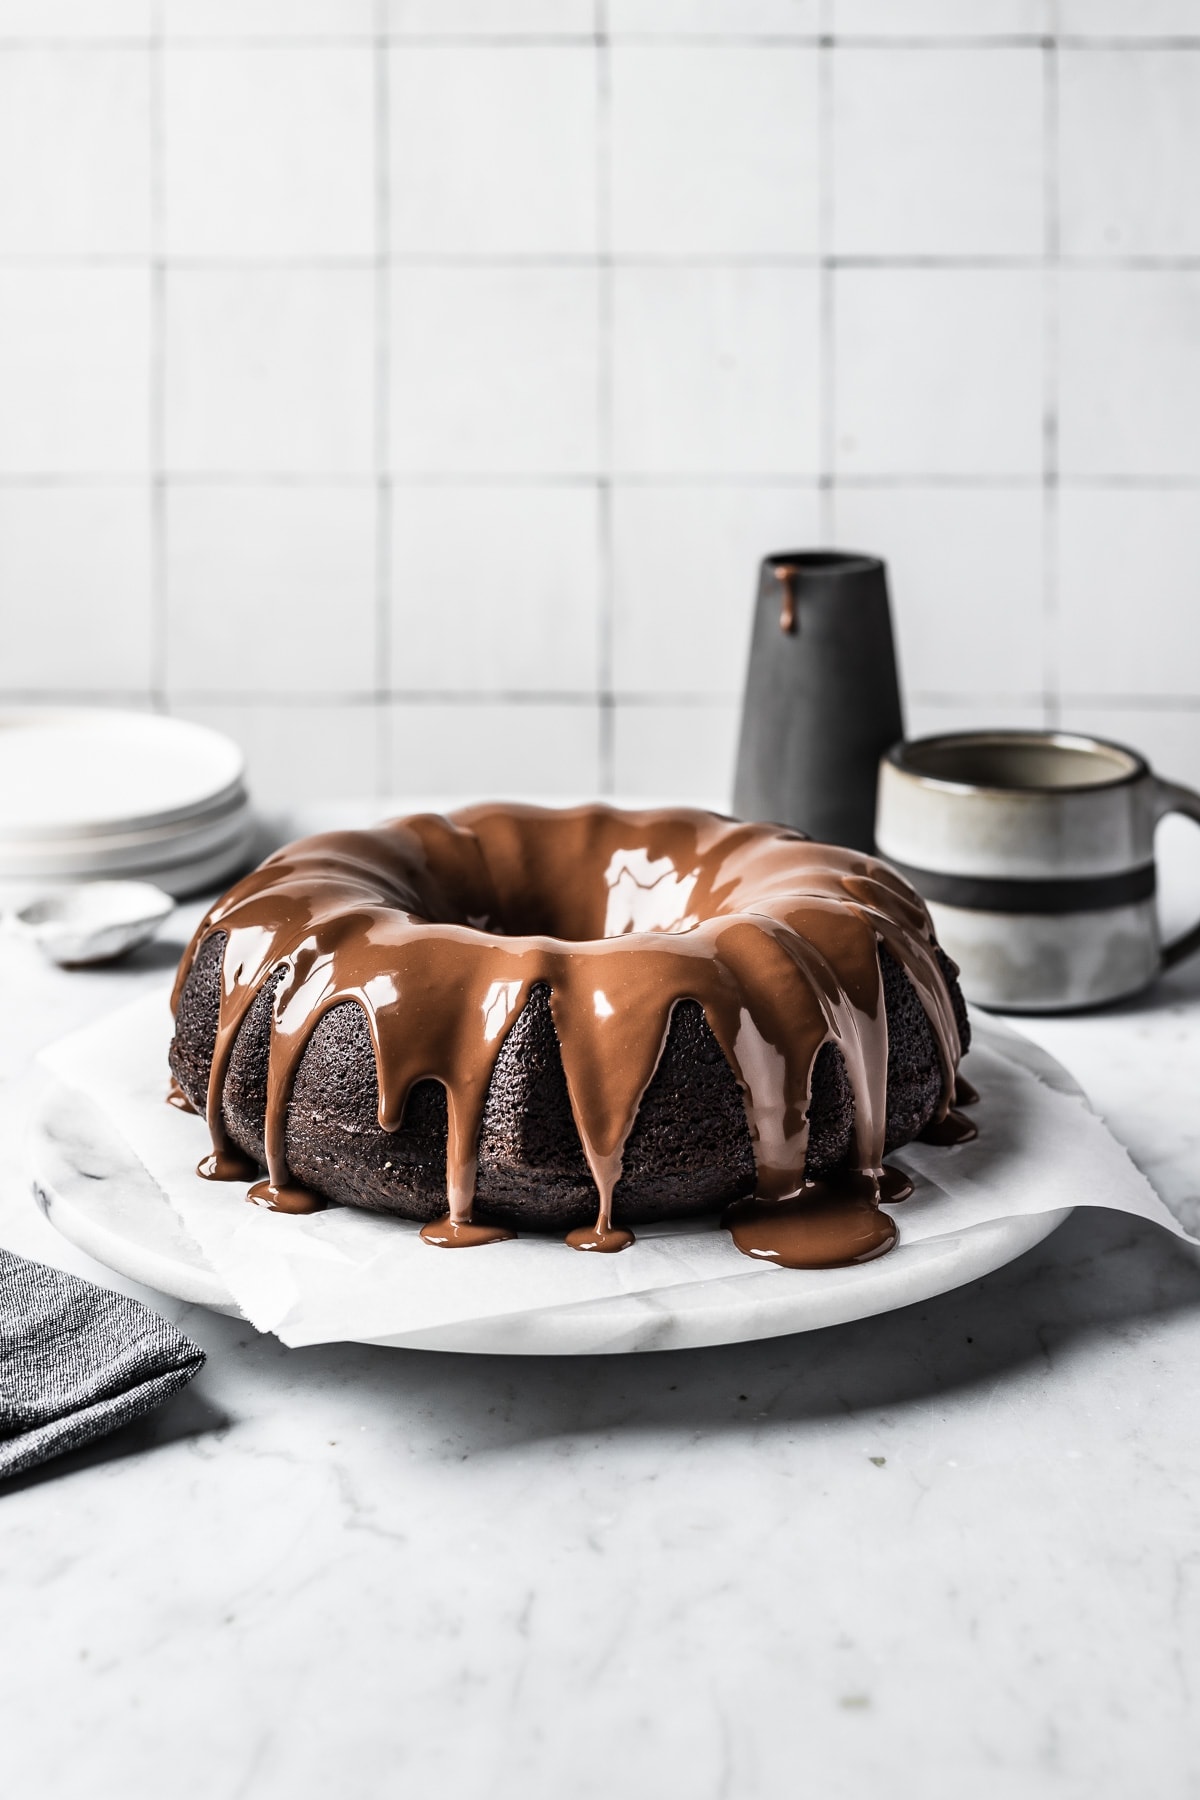
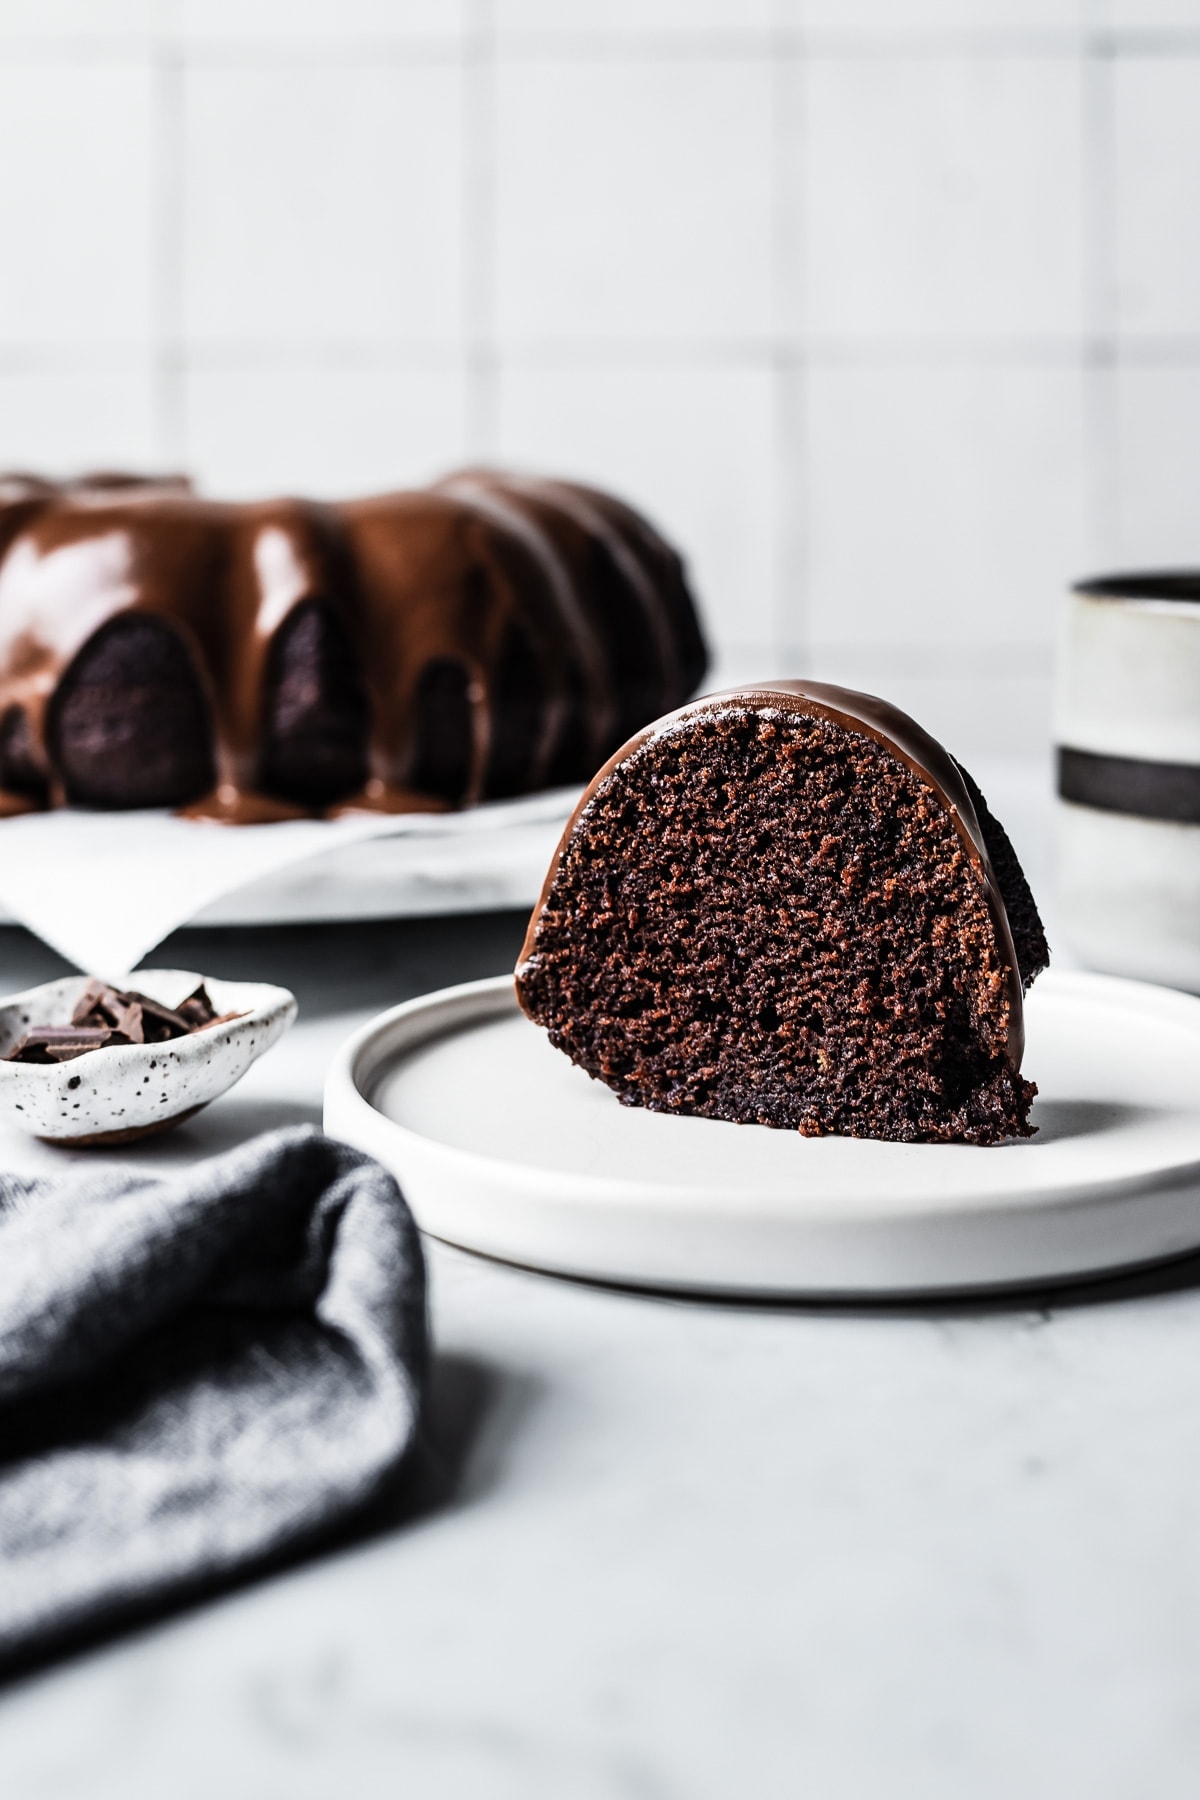
A dark, deliciously moist chocolate olive oil bundt cake drizzled with a silky, rich chocolate ganache. The cake batter is easy to make by hand, and includes olive oil, sour cream, freshly brewed coffee and nutty rye flour. It's not too sweet and packed full of chocolate flavor.
This cake first came about when I was testing recipes for a bundt cake with oil for an olive oil brand. I wanted to explore completely replacing the butter in a cake with olive oil.
While I'm happy to eat most any homemade cake, I find that cakes made with oil are often my favorites, at least in terms of their texture. My apple bundt cake with vanilla glaze is made with olive oil in the batter, as are these apple ginger mini cakes with salted caramel. The oil lends a certain moisture and lightness of crumb to the cake that butter does not.
Cakes made with oil also tend to stay tender longer, which is an added benefit when making a larger cake like this bundt. The stronger taste of olive oil partners well with the robust flavors of chocolate and rye.
Thanks to the olive oil, this is a moist and super easy chocolate cake recipe! It can easily be made by hand, no mixer required.
Ingredients
Dutch Process Cocoa Powder vs. Natural Cocoa Powder
This dark chocolate olive oil cake recipe specifically calls for dutch process cocoa powder. Don't have any? You can most likely substitute with natural cocoa powder here. There's enough baking soda in this recipe that it should neutralize the added acidity from natural cocoa powder and also provide the needed leavening.
However, since natural cocoa powder is lighter in color and flavor, you'll find that the cake is not as dark in color or deeply chocolate in flavor. My preference is to stick with the Dutch process variety for this recipe.
Different types of cocoa powder react to other ingredients in different ways. Natural cocoa powder is acidic. Dutch process cocoa powder has gone through a process that neutralizes the acidity. It is sometimes called Dutched or Alkalized cocoa powder.
When an acid combines with an alkaline base, it creates carbon dioxide gas. (Think back on the classic childhood science project that has you make a model volcano erupt by combining vinegar with baking soda - and orange/red food coloring, if you were extra cool.) This gas translates into bubbles in baking, which help provide leavening to your baked goods.
In order to make this dark chocolate bundt cake, this recipe calls for neutral Dutch process cocoa powder for the darker color and more intense chocolate flavor. Thus, the acid needs to come from somewhere else. In this case, it's the sour cream. Sour cream (acid) + baking soda (alkaline) = carbon dioxide gas, and baking lift!
Olive Oil
For this moist chocolate cake recipe with oil, I used a high quality extra virgin olive oil with a bold fruity flavor, as it pairs well with chocolate. You can certainly substitute a mild flavored olive oil, or even a more neutral oil such as grapeseed or canola oil.
Coffee
I used freshly brewed, hot coffee as the liquid in the bundt cake batter. If you prefer not to use coffee, hot water or a hot black tea with a smoky profile, such as lapsang souchong will work just fine as a substitute. Using a hot liquid is a great trick to help the cocoa powder "bloom". Adding hot liquid to the cocoa mixture helps to dissolve the cocoa powder and release additional flavor.
Rye Flour
Replacing part of the all purpose flour with rye flour imparts a more complex, nutty flavor to this rich chocolate bundt cake. I usually purchase medium rye flour, which has all the delicious taste of rye, without the coarse texture of a darker rye flour.
If you don't have rye flour, you can replace it with the same amount (½ cup; 60g) of all purpose flour, so that the recipe uses a total of 2 cups (240g) all purpose flour and no rye flour.
I find this guide on rye flour from King Arthur to be a helpful reference.
Dark Chocolate
The ganache glaze is made with good quality dark chocolate, the kind you'd like to eat plain out of the wrapper while standing in the pantry.
I used a 72% chocolate bar, which is on the darker end. Aim for something in the 60-72% range. Choose a bar with the cocoa percentage that you'd most enjoy eating. A good quality chocolate bar, baking chocolate, or chocolate feves would work.
If possible, avoid using chocolate chips. They often contain fillers intended to prevent them from melting and losing shape.
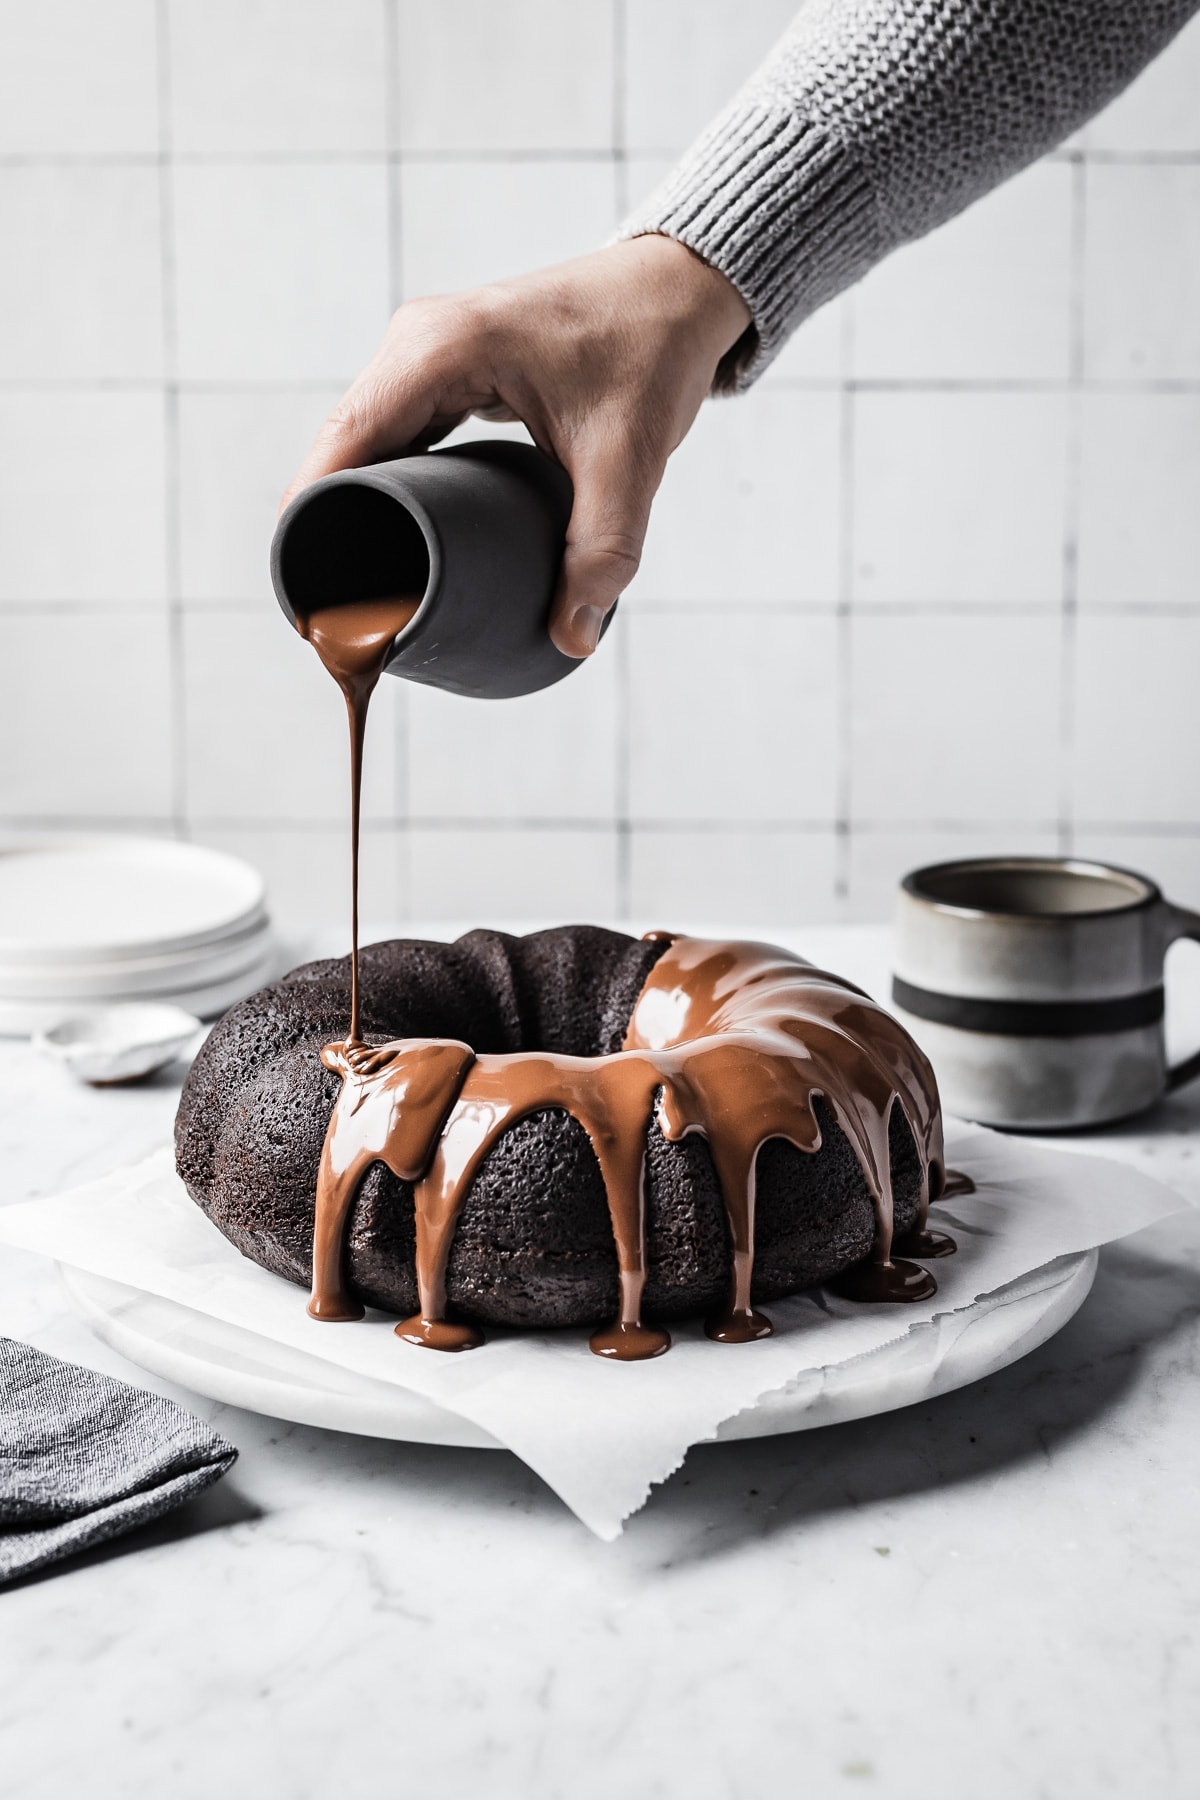
How to glaze the chocolate bundt cake
Top tip: when adding the ganache glaze, ensure that the cake is fully cooled. If the cake is still warm, the glaze will melt and run off the sides of the cake. You don't want that to happen!
Since this is a fairly thick glaze, it needs to be applied while the ganache is warm. It will set as it cools.
I like to test the consistency of my glaze by pouring a test drip down the side of an inverted mug. This helps give me a sense of its thickness. Does the drip run down quickly and puddle at the bottom immediately? Is it too thick to drip down the side at all? I can adjust the warmth of the glaze (and thus, the consistency) as appropriate to help make sure the ganache glaze will look great the first time I apply it.
Another tip: once you start pouring, try to glaze the whole cake in one go. If you stop and start, it's likely that the second application will not "sink" smoothly into the first and will end up looking like a raised second layer of glaze on top of the first. It only matters if you're concerned about the final look. The taste will be glorious no matter what.
If you are making this cake a day in advance, wait until the day you serve it to add the glaze. Drizzle it on a few hours before presenting/serving to give it time to set.
If you glaze it more than a day in advance, the cake will begin to absorb moisture from the glaze, and the glaze will start to crack. If this does happen, all is not lost - it will still taste wonderful.
Frequently Asked Questions
Bundt pans are notorious for giving people all kinds of baking grief. A cake that sticks to the pan or comes out in pieces ranks high on the scale of baking disaster.
There are all kinds of tips on how to keep a bundt cake from sticking to the pan, from using certain baking sprays to purchasing specific brands of bundt pans. I've had excellent luck thus far using the following method on a variety of pans, both new and vintage.
The biggest secret I've found is to simply be very meticulous about the preparation process. You'll be glad you put in the time when your bundt cake comes out in one piece!
Grease the bundt pan. Use a pastry brush to coat the interior of the pan thoroughly with a thin layer of softened butter. The butter should be soft enough to spread easily with the brush, but should not be melted.
Use a natural bristled pastry brush to apply the butter. The fine bristles are much better at evenly applying the butter than the silicone variety. I've tried them both!
Carefully double-check to make sure you've coated every curve and crevice in the pan with butter, including the center tube / chimney of the bundt pan.
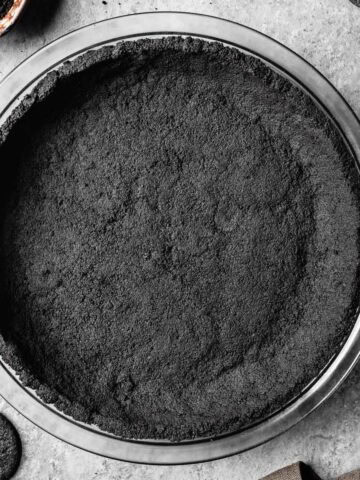
Coat the interior of the pan with cocoa powder. Since this is a chocolate cake batter, cocoa powder will better match the color and flavor. Use a sifter to help distribute the cocoa powder more easily around the bundt interior.
Hold the bundt pan at an angle while carefully turning and tapping it. This helps the cocoa fall into all the crevices of the pan. You may need to do several full turns to ensure all areas are completely coated.
I like to do this portion of prep with the bundt pan over the sink. I can easily rinse away any extra cocoa powder that spills outside of the pan, which makes kitchen clean-up faster. You can also do this over a piece of parchment paper if you'd like to save the excess.
Once all buttered areas are coated with cocoa, turn the pan upside down and give it one good whack over the sink to remove any extra cocoa powder.
Give the bundt cake 10-15 minutes to cool in the pan before flipping it over. This helps give the cake a chance to become more firm.
Before you unmold the cake, use your fingers to gently pull the edges of the cake just slightly away from the pan to loosen it.
Wearing an oven mitt, hold the pan in your hand and center a cooling rack on top.
Holding them both together, carefully flip the two so that the bundt pan is now upside down on top of the cooling rack.
Set the rack onto the countertop. Use two hands to gently lift the bundt pan off the cake.
Yes! I haven't tried it myself, but one of my readers adjusted it by making a half recipe and using a pan that has 12 mini bundt cavities (approximately 5 cup total capacity).
They filled each mini bundt ¾ full and baked at 375 degrees for 22-25 minutes. Please leave a comment if you try this so that we have more input for others who would like to try something similar!
Mini bundt pans do differ in shape and size, so I recommend you watch the cakes carefully and test as the bake nears the end of its time.
Equipment
Bundt pan: this bundt cake is made in a Nordic Ware original bundt pan. Nordic Ware makes excellent pans that bake and release well.
Pastry brush: A natural bristle pastry brush is the best tool for greasing the bundt pan with butter before baking. The fine natural bristles do a much better job than their silicone counterparts.
Try these chocolate recipes next!

Love this recipe? Please leave a comment and star rating. ★★★★★ Your feedback, suggestions, and adaptations are very helpful to other bakers!
📖 Recipe

Chocolate Olive Oil Bundt Cake
INGREDIENTS
CHOCOLATE OLIVE OIL CAKE
- 1½ cups (180g) all purpose flour
- ½ cup (60g) medium rye flour, finely milled
- 1 teaspoon baking soda
- 1 teaspoon kosher salt
- ¾ cup (177mL) extra virgin olive oil
- 1½ cups (300g) granulated sugar
- ⅓ cup (35g) Dutch process cocoa powder
- 1 cup (250mL) hot coffee (or hot water/black tea)
- 2 eggs large
- ½ cup (120g) sour cream, full fat
- 1½ teaspoon vanilla extract
DARK CHOCOLATE GANACHE GLAZE
- ¼ cup + 2 tablespoon (90mL) heavy whipping cream
- 4 oz (120g) dark chocolate, finely chopped (I used a 72% chocolate bar)
- ¼ cup (60g) sour cream, full fat
- 1 Tbsp port wine (or coffee or more cream)
- ⅛ teaspoon kosher salt
- ½ teaspoon vanilla extract
INSTRUCTIONS
CHOCOLATE OLIVE OIL CAKE
- Preheat oven to 350° F (177° C, Gas Mark 4).
- Grease a 10 cup bundt pan meticulously with softened butter (I use a small pastry brush) and coat interior (also meticulously - this is a theme with bundt pan preparation) with cocoa powder. It's easiest just to sprinkle in some cocoa powder with a sieve, and then hold the bundt pan at an angle while carefully turning it. This helps the cocoa fall into all the crevices of the pan. I do this over the sink so that I can easily rinse spills away.
- In a medium bowl, whisk together flours, baking soda and salt. Set aside.
- In a large mixing bowl, whisk together olive oil, sugar and cocoa powder. Mix well and add coffee (or water) and whisk to combine. Add eggs one at a time, whisking well between additions to ensure they are fully incorporated.
- Add dry ingredients and whisk again. Scrape the bowl with a spatula to ensure no flour pockets remain. Add sour cream and vanilla, and whisk until completely blended and batter is smooth.
- Pour batter into prepared bundt pan. Rap pan firmly on countertop several times to remove air bubbles that may have formed in batter. Place bundt pan on a baking sheet and bake in oven for 40 minutes, until a toothpick inserted in the middle comes out clean.
- Cool bundt on a baking rack for 10-15 minutes, then place a cake platter on top of bundt pan and flip over. Let it sit for a minute or two, if you can stand it. Gently, carefully remove the pan. Cake must cool completely before adding glaze.
DARK CHOCOLATE GANACHE GLAZE
- In a one quart pot, heat cream until almost simmering. Remove from heat and add finely chopped dark chocolate. Let sit for 1 minute, and then gently whisk until all chocolate has melted and no lumps remain.
- Add sour cream, port, salt and vanilla, and whisk again. Mixture should be warm enough to ensure a smooth pour (See recipe notes in post for details and tips). Reheat very minimally over double boiler if needed, stirring frequently.
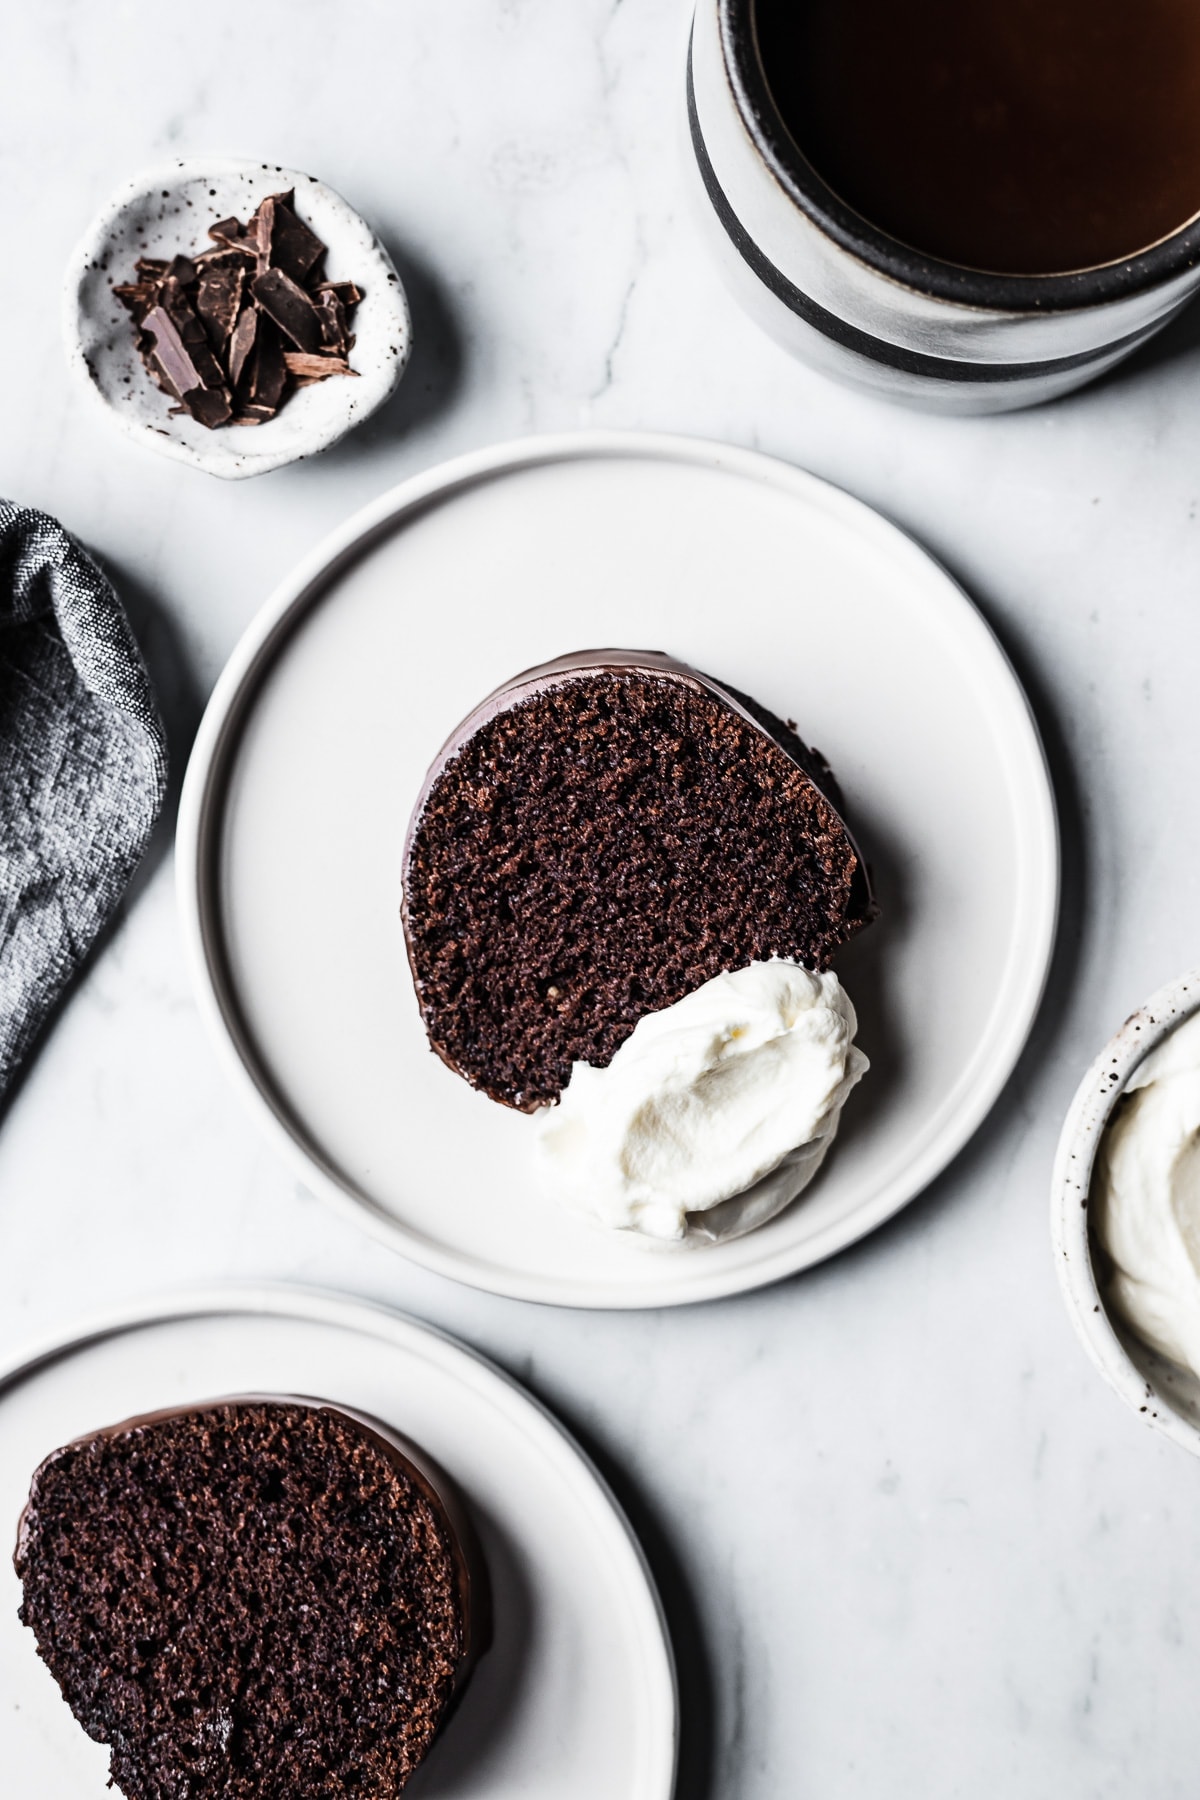
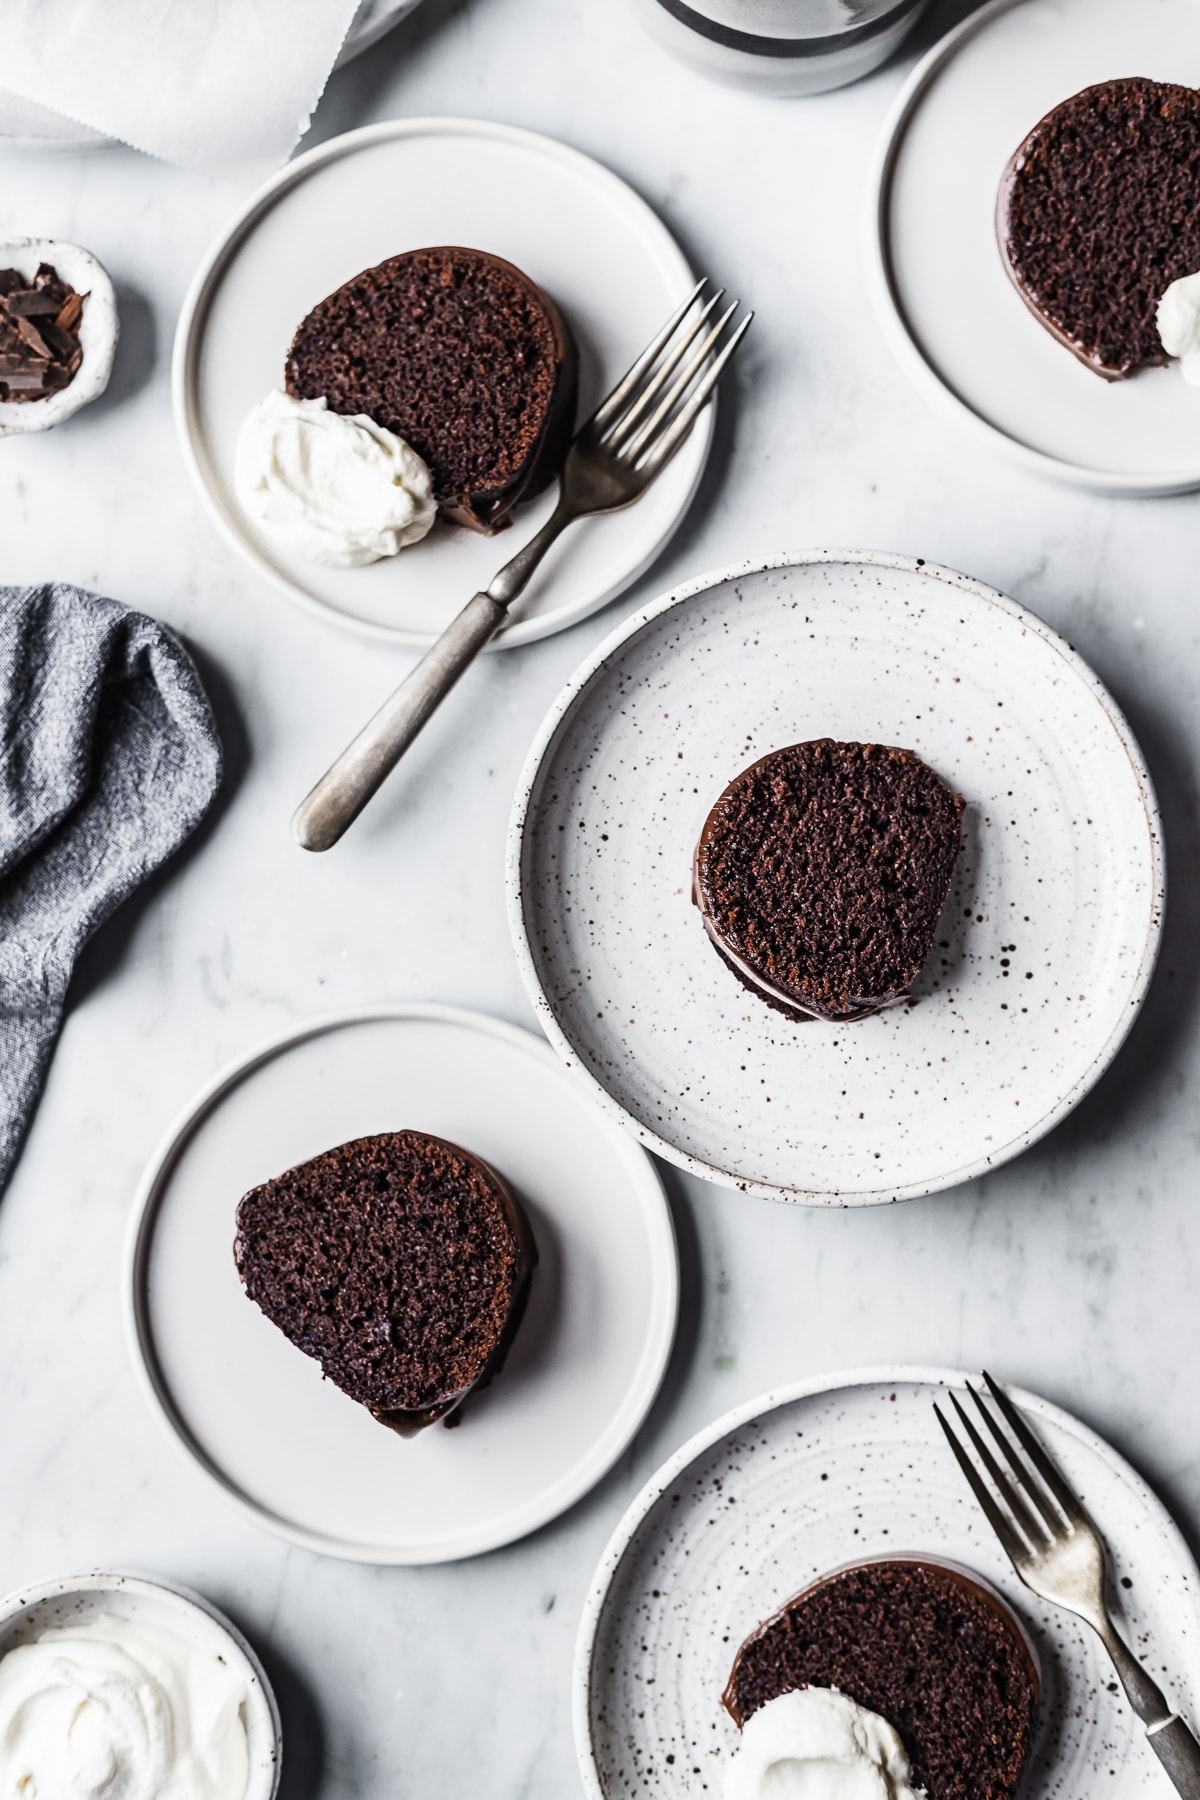
- Once bundt cake has cooled completely on cake platter, drizzle the dark chocolate ganache glaze over the top of the cake. Use a slow side to side motion as you pour to help guide the glaze around the cake evenly. Let glaze set for an hour or two. Serve with whipped cream and chocolate shavings.
EQUIPMENT
NOTES
More Cake Recipes
- Marzipan Cake with Dark Chocolate Buttercream
- Meyer Lemon Almond Cake
- Apple Olive Oil Bundt Cake with Vanilla Glaze
Terri Soulen says
What a fabulous cake. Terrific texture. Earthy flavor. The ganache has a nice tang from the sour cream. Thanks for another terrific recipe. I brought it to work and it disappeared in an instant to rave reviews.
Kathleen Culver says
Thank you so much, Terri!
I'm so glad that you liked it - and your colleagues as well.
I'm always thrilled to get feedback.
Much appreciated!
Kathleen
Stephanie says
Beautiful cake!
Huge thanks to Kathleen for spot-on instructions about prepping the bundt pan....I was so nervous but the cake came out perfectly!
Kathleen Culver says
I'm happy to hear that!
It's always so satisfying to have a bundt release well.
Great job!
Brian says
Any thoughts on making this recipe but using a mini bundt cake pan? I have one like this: https://www.amazon.com/Nordic-Ware-12-Cavity-Cupcake-Colors/dp/B003UV31G6/ref=sr_1_5?dchild=1&keywords=Mini+Bundt+Pans&qid=1621445451&refinements=p_89%3ANordic+Ware&rnid=2528832011&s=home-garden&sr=1-5
The Floured Table says
Hi Brian!
Well, my answer is...maybe! The recipe can definitely be adapted into mini-bundt cakes.
The bundt pan I used was one from Nordic Ware, which has a 10 cup capacity.
It looks like the pan you linked is more of a cupcake pan with 12 small cavities.
Nordic lists the total capacity on your pan as 3 3/8 cups, so the recipe as written would be far too much batter.
I know there are other mini bundt pans (with the hollow chimney in the middle of each cavity) that have a 5 cup total capacity.
Using one of those with a half recipe would probably be an easier route to go.
Thanks for asking!
Kathleen
Brian says
Kathleen,
I went ahead and scaled the recipe in half, making it exactly as published. It filled the 12 mini bundt 3/4 of the way full perfectly. Baked at 375 degrees for about 20-25 minutes. They came out great. Will glaze tomorrow.
The reason I wanted to do individual ones is because I am employed as a private chef for a family and whenever possible I like to make items that can be plated in a bit more elegant way. I'll be serving this with a bit a whipped cream and some raspberries.
Recipe is awesome. I appreciate your work.
The Floured Table says
Hi Brian,
Thanks so much for the detailed feedback - it's so helpful to others who might be interested in trying mini bundts as well!
Now I'm extra curious to find out if your pan indeed has a 5 cup capacity...
I hope they enjoy it as much as we do.
I really appreciate your input and kind review!
Kathleen