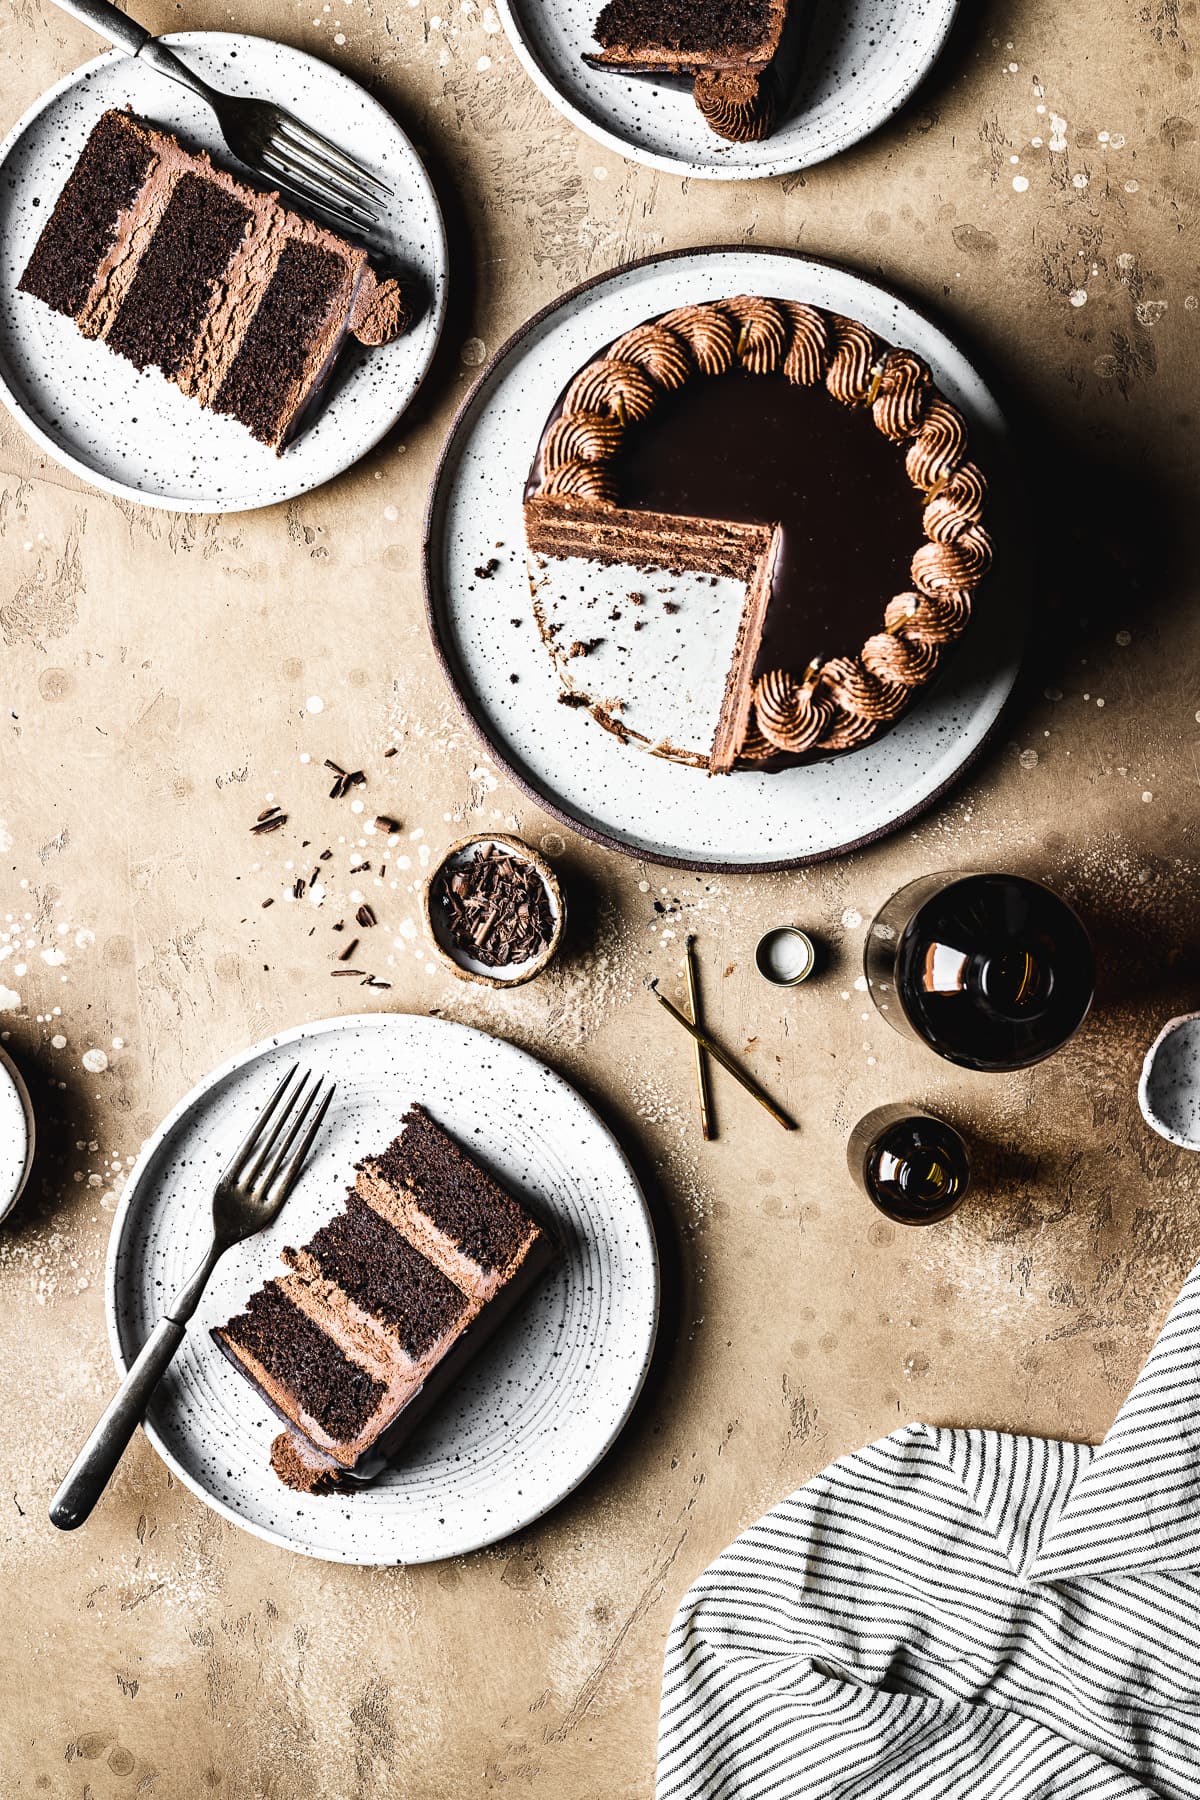
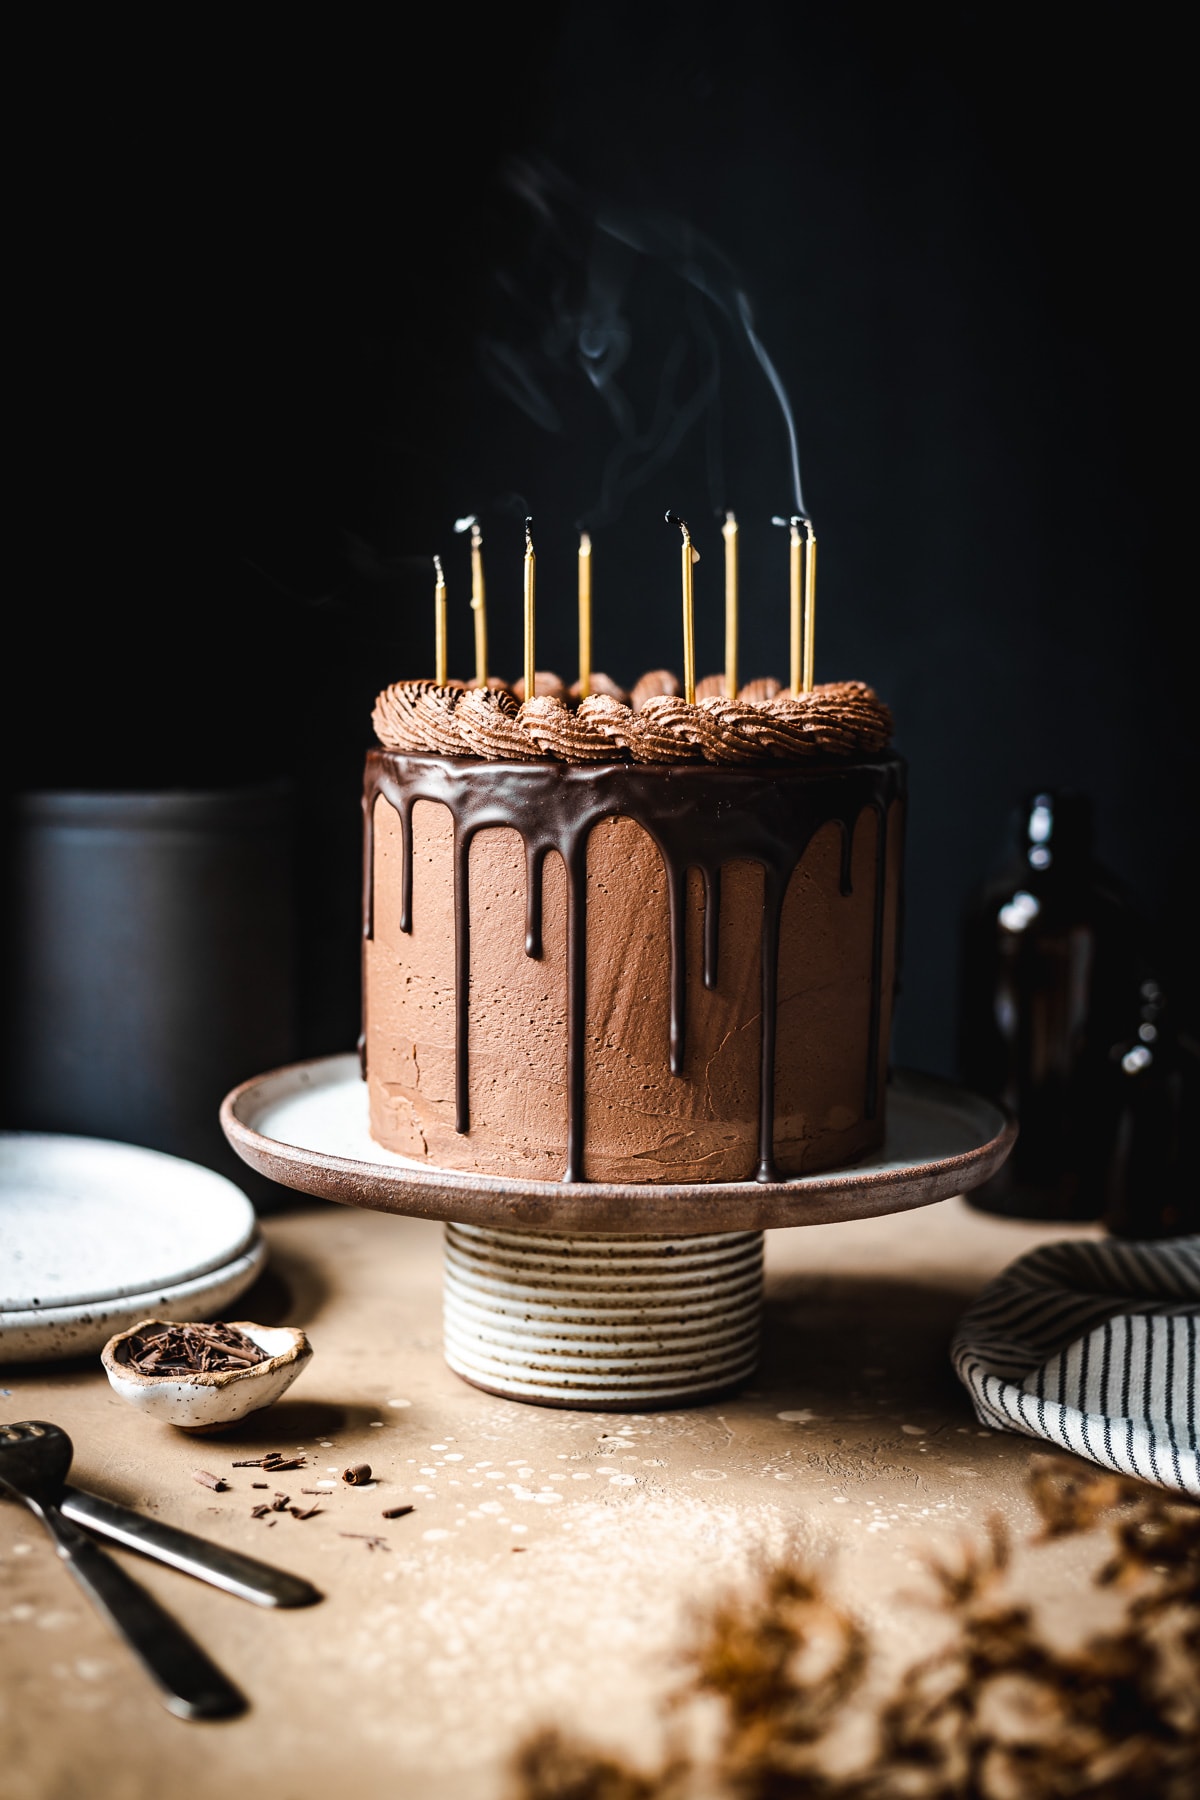
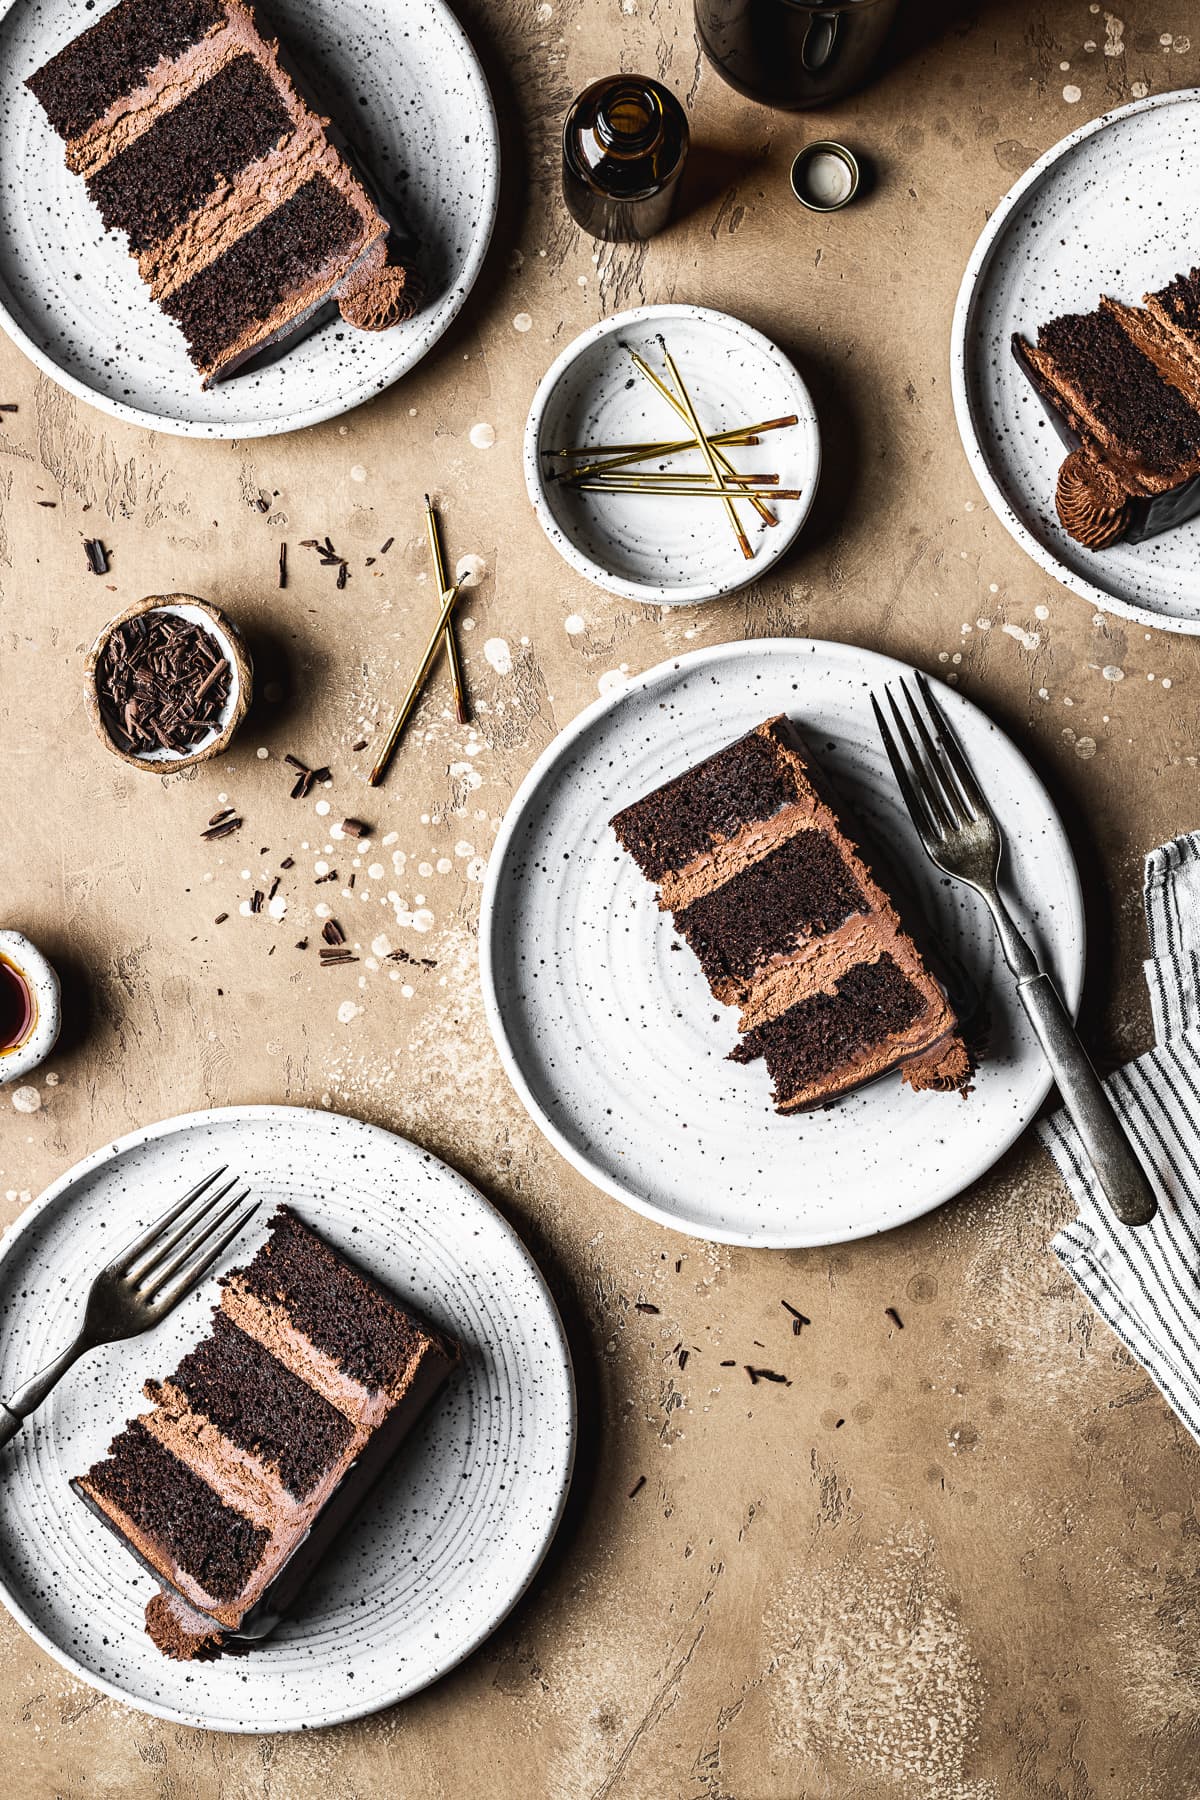
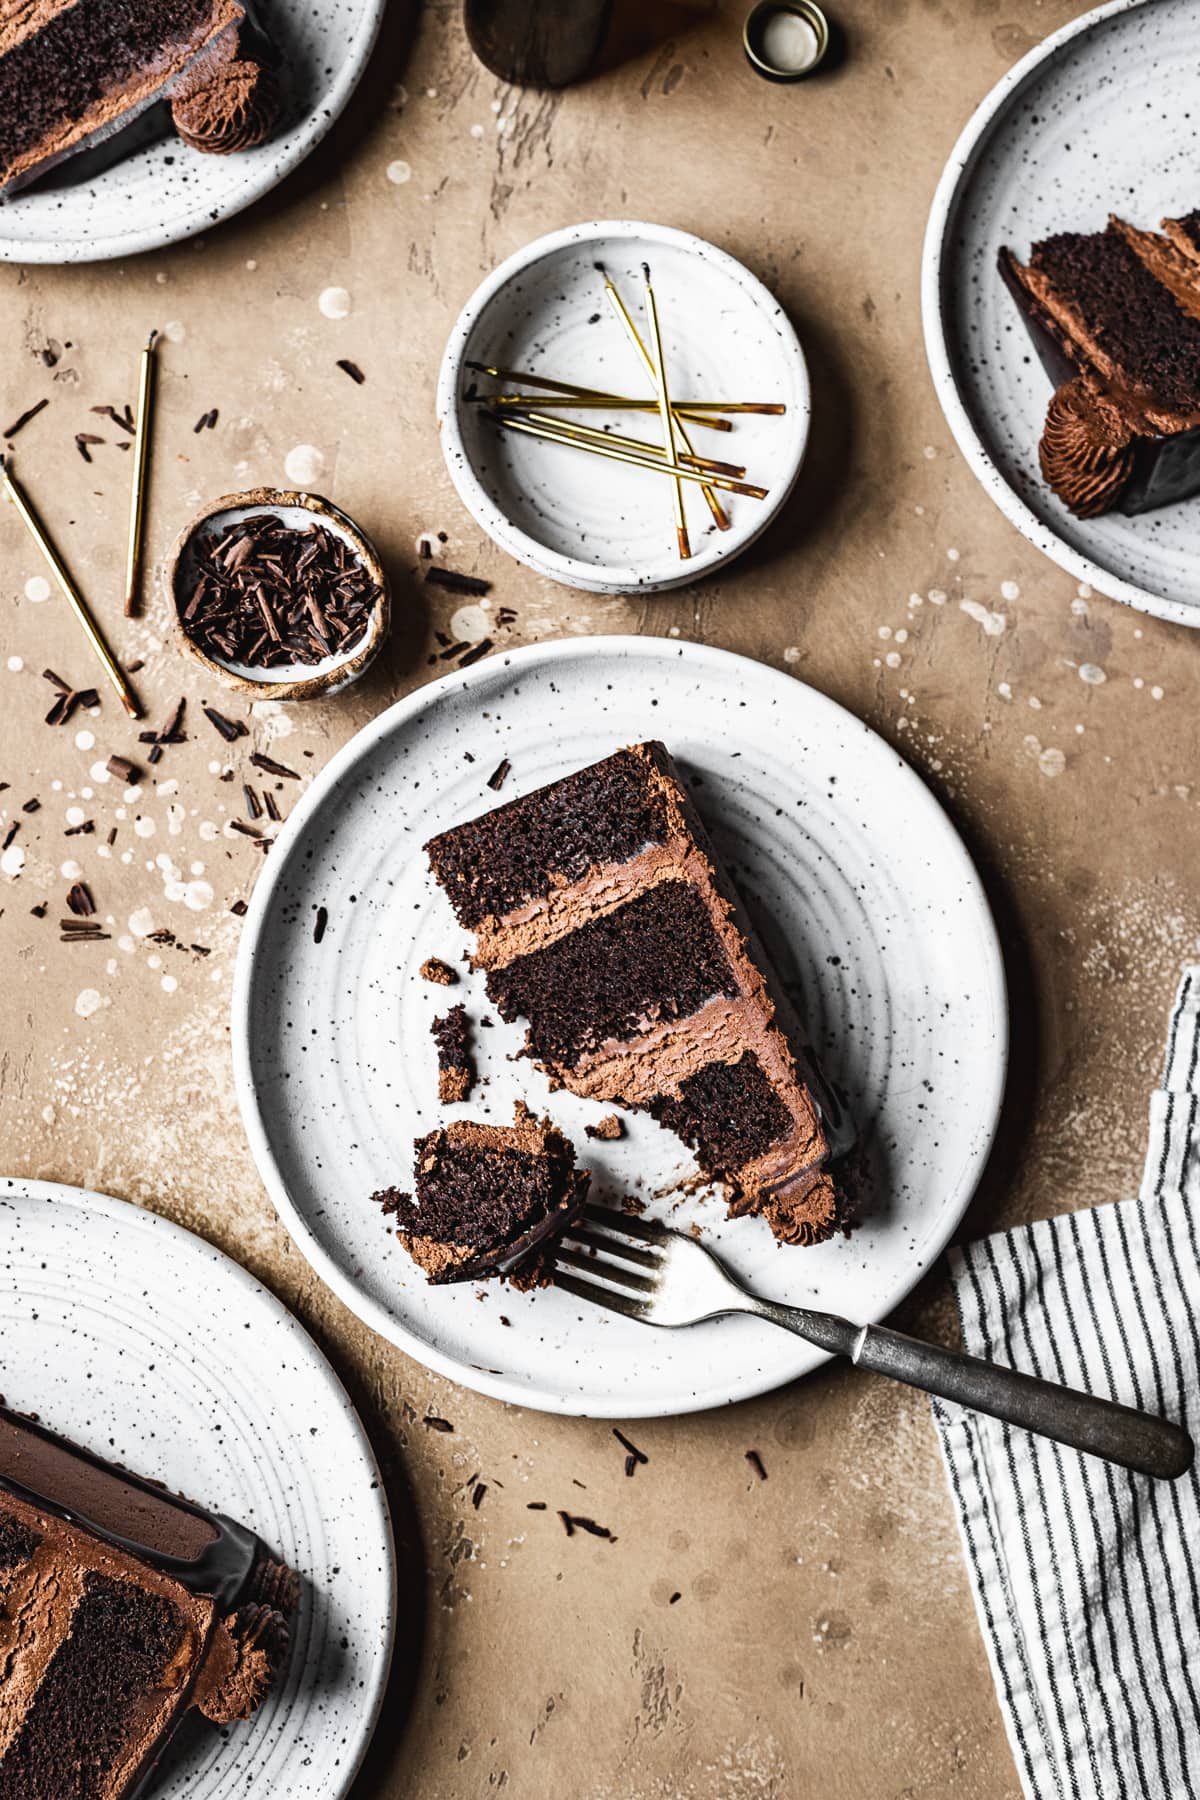
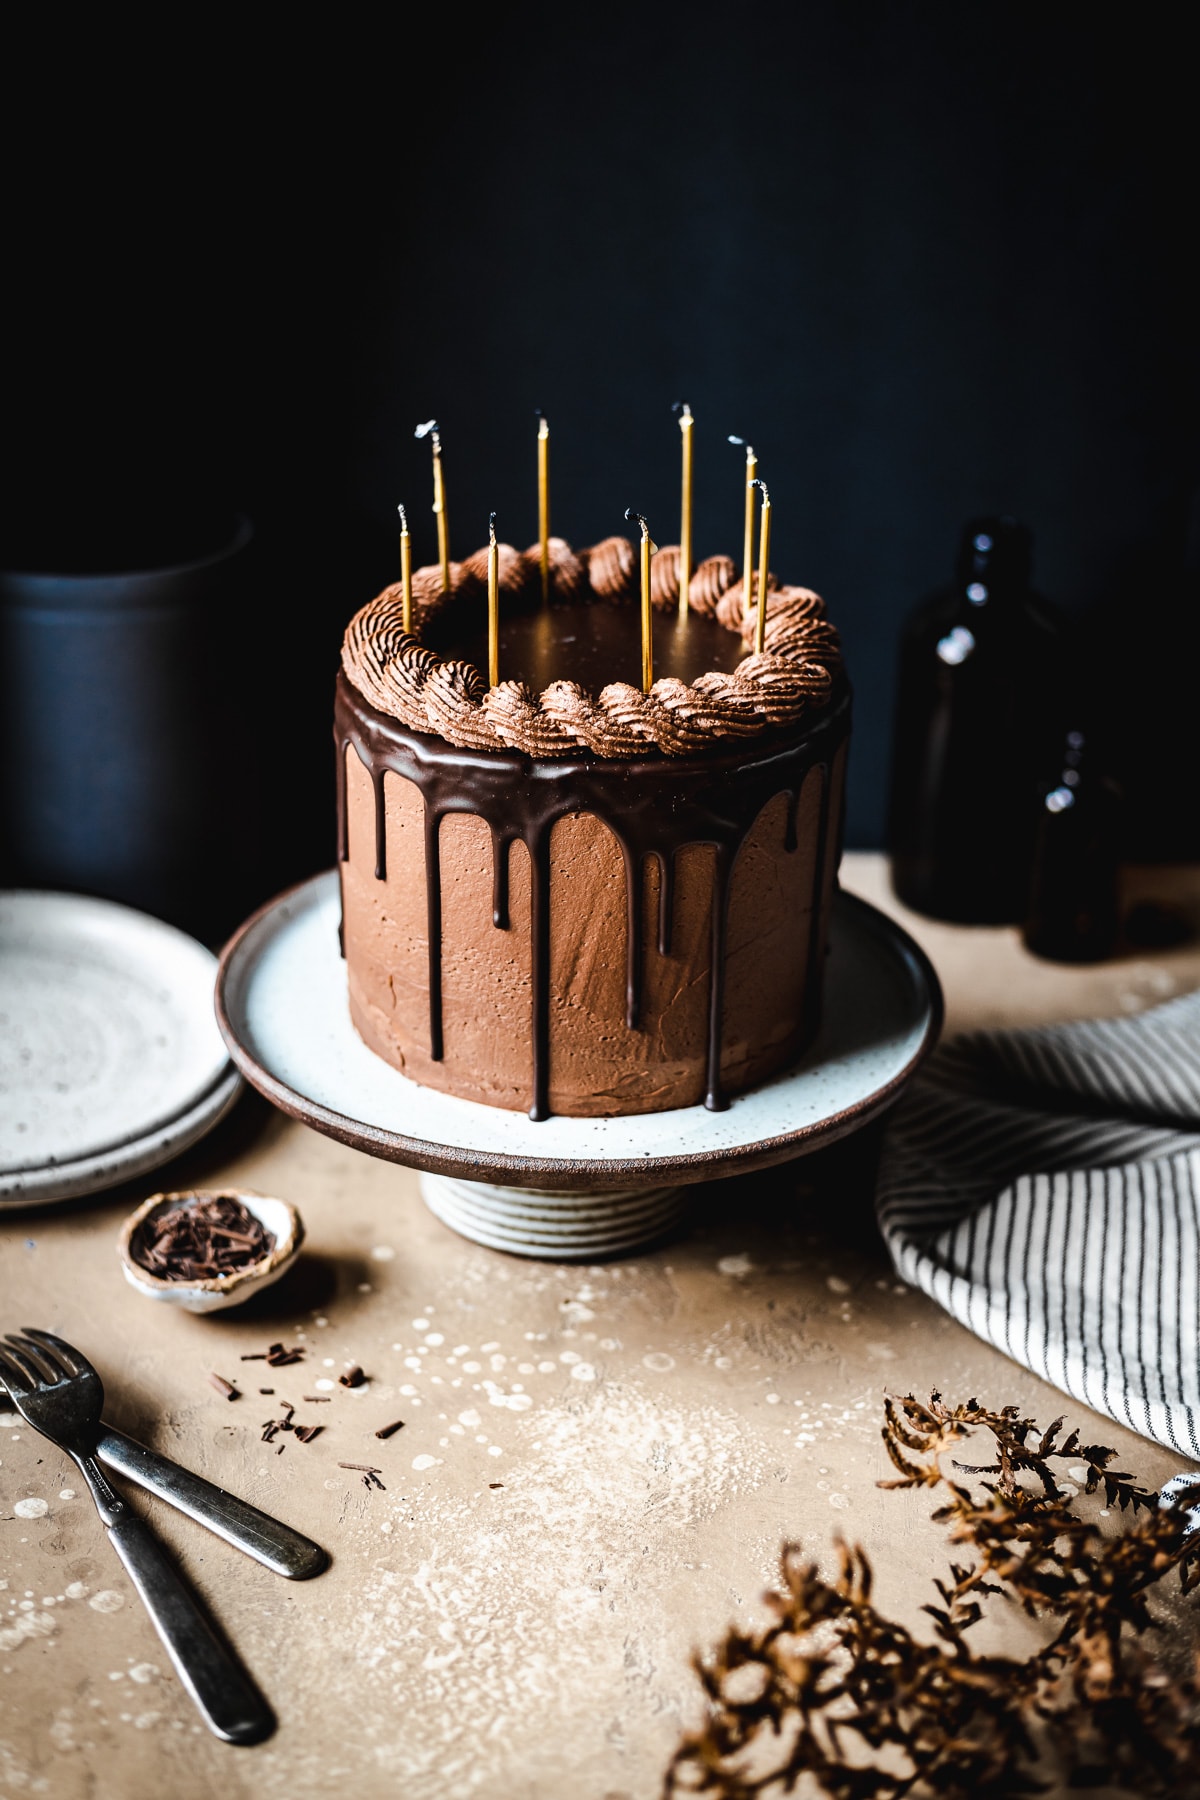
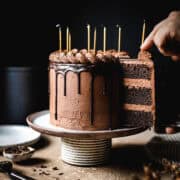
This rich and fudgy triple chocolate cake features three layers of moist chocolate cake covered in a silky dark chocolate buttercream. The cake has a dramatic chocolate drip of dark chocolate ganache.
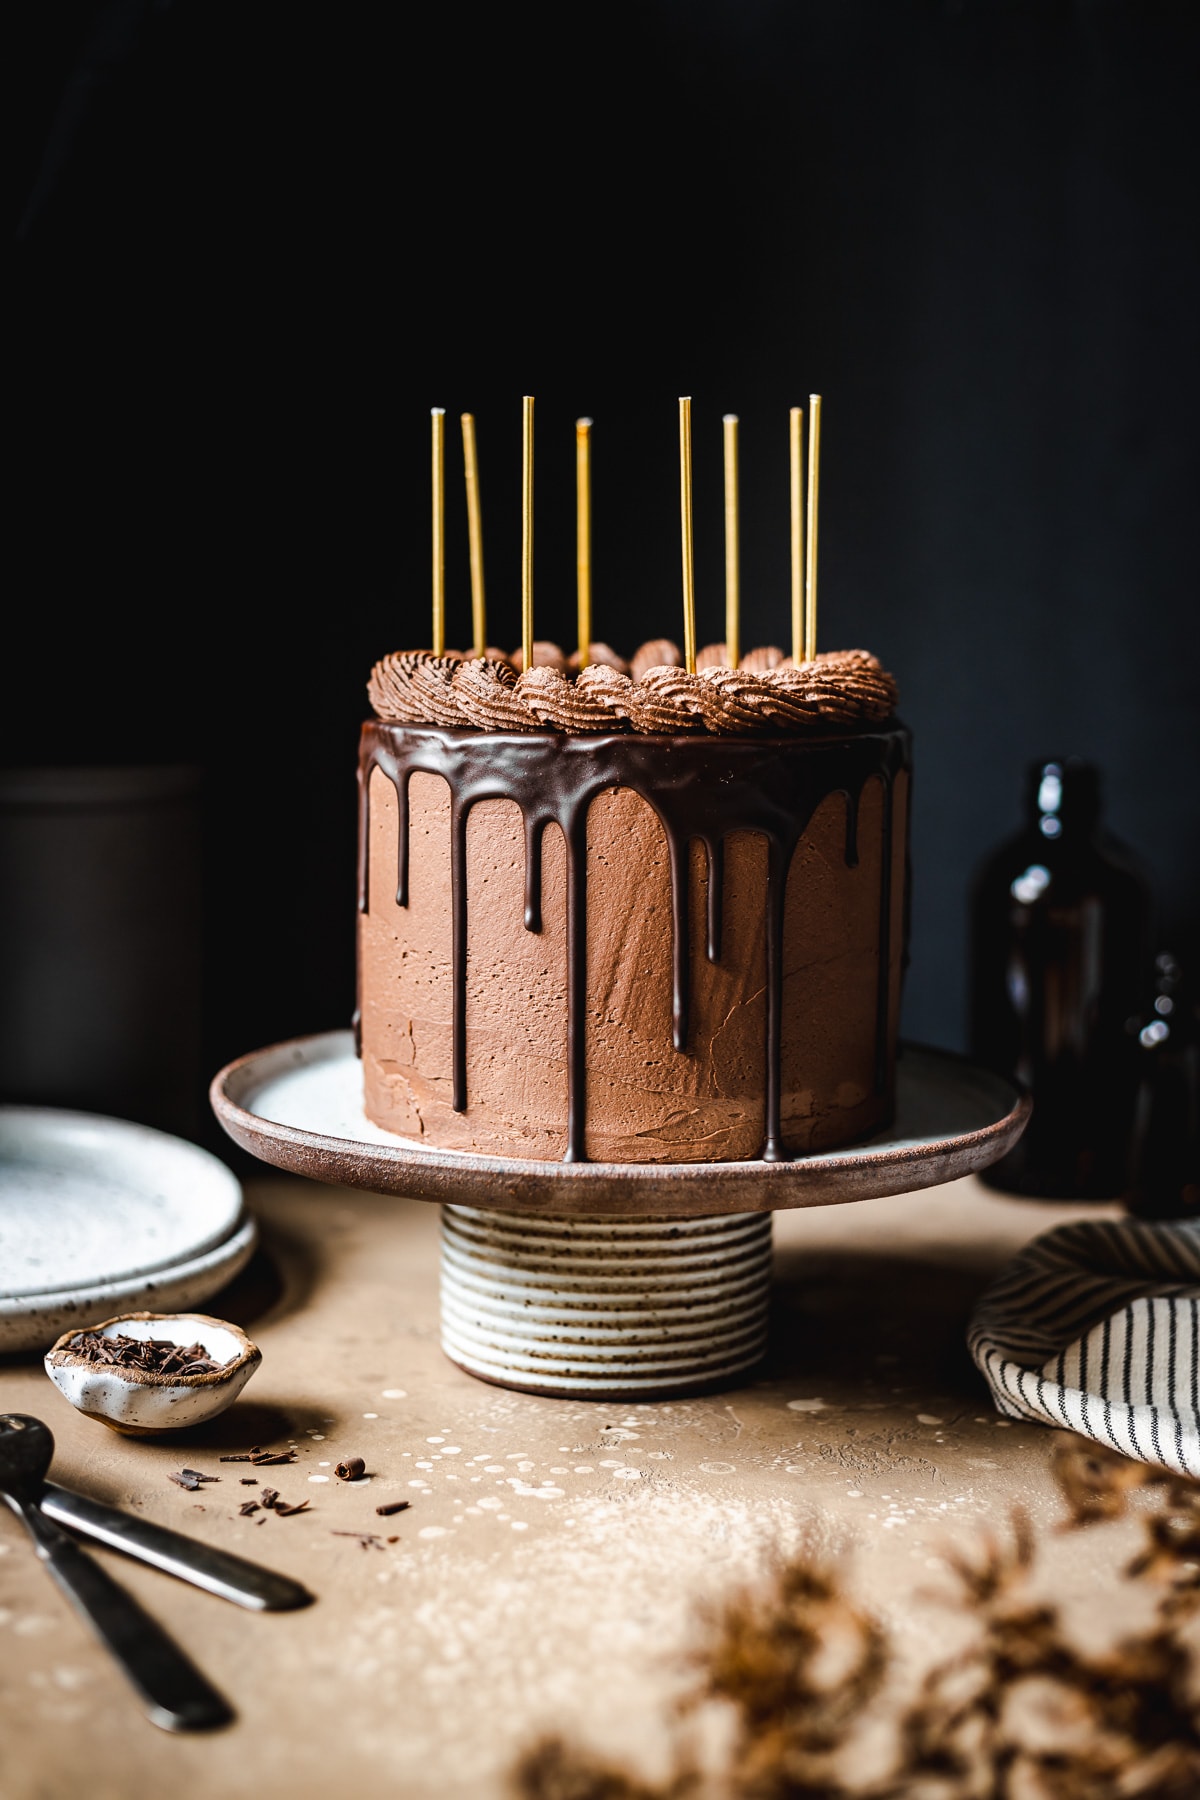
An elegant piped rope border crowns the cake and serves as a simple yet beautiful decoration. This lavish chocolate cake is the perfect choice to celebrate any festive occasion!
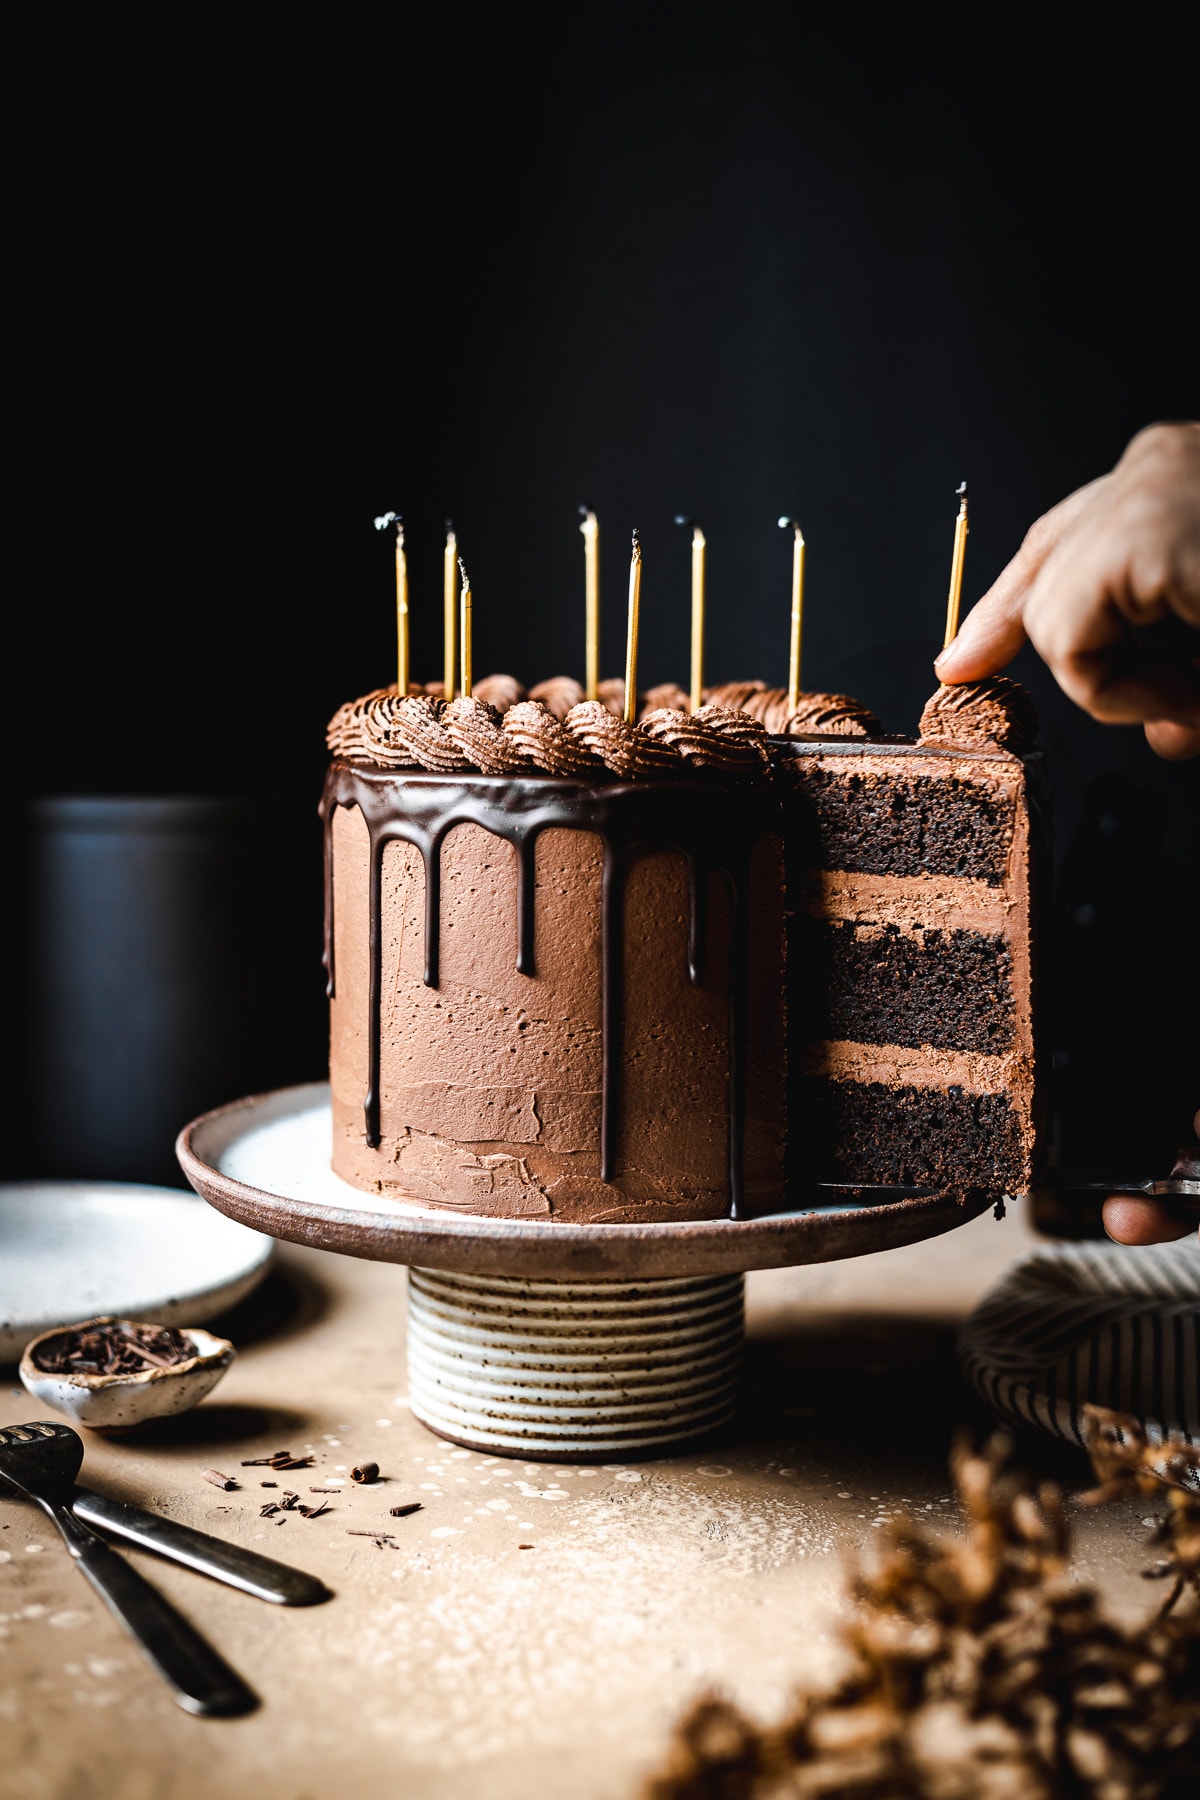
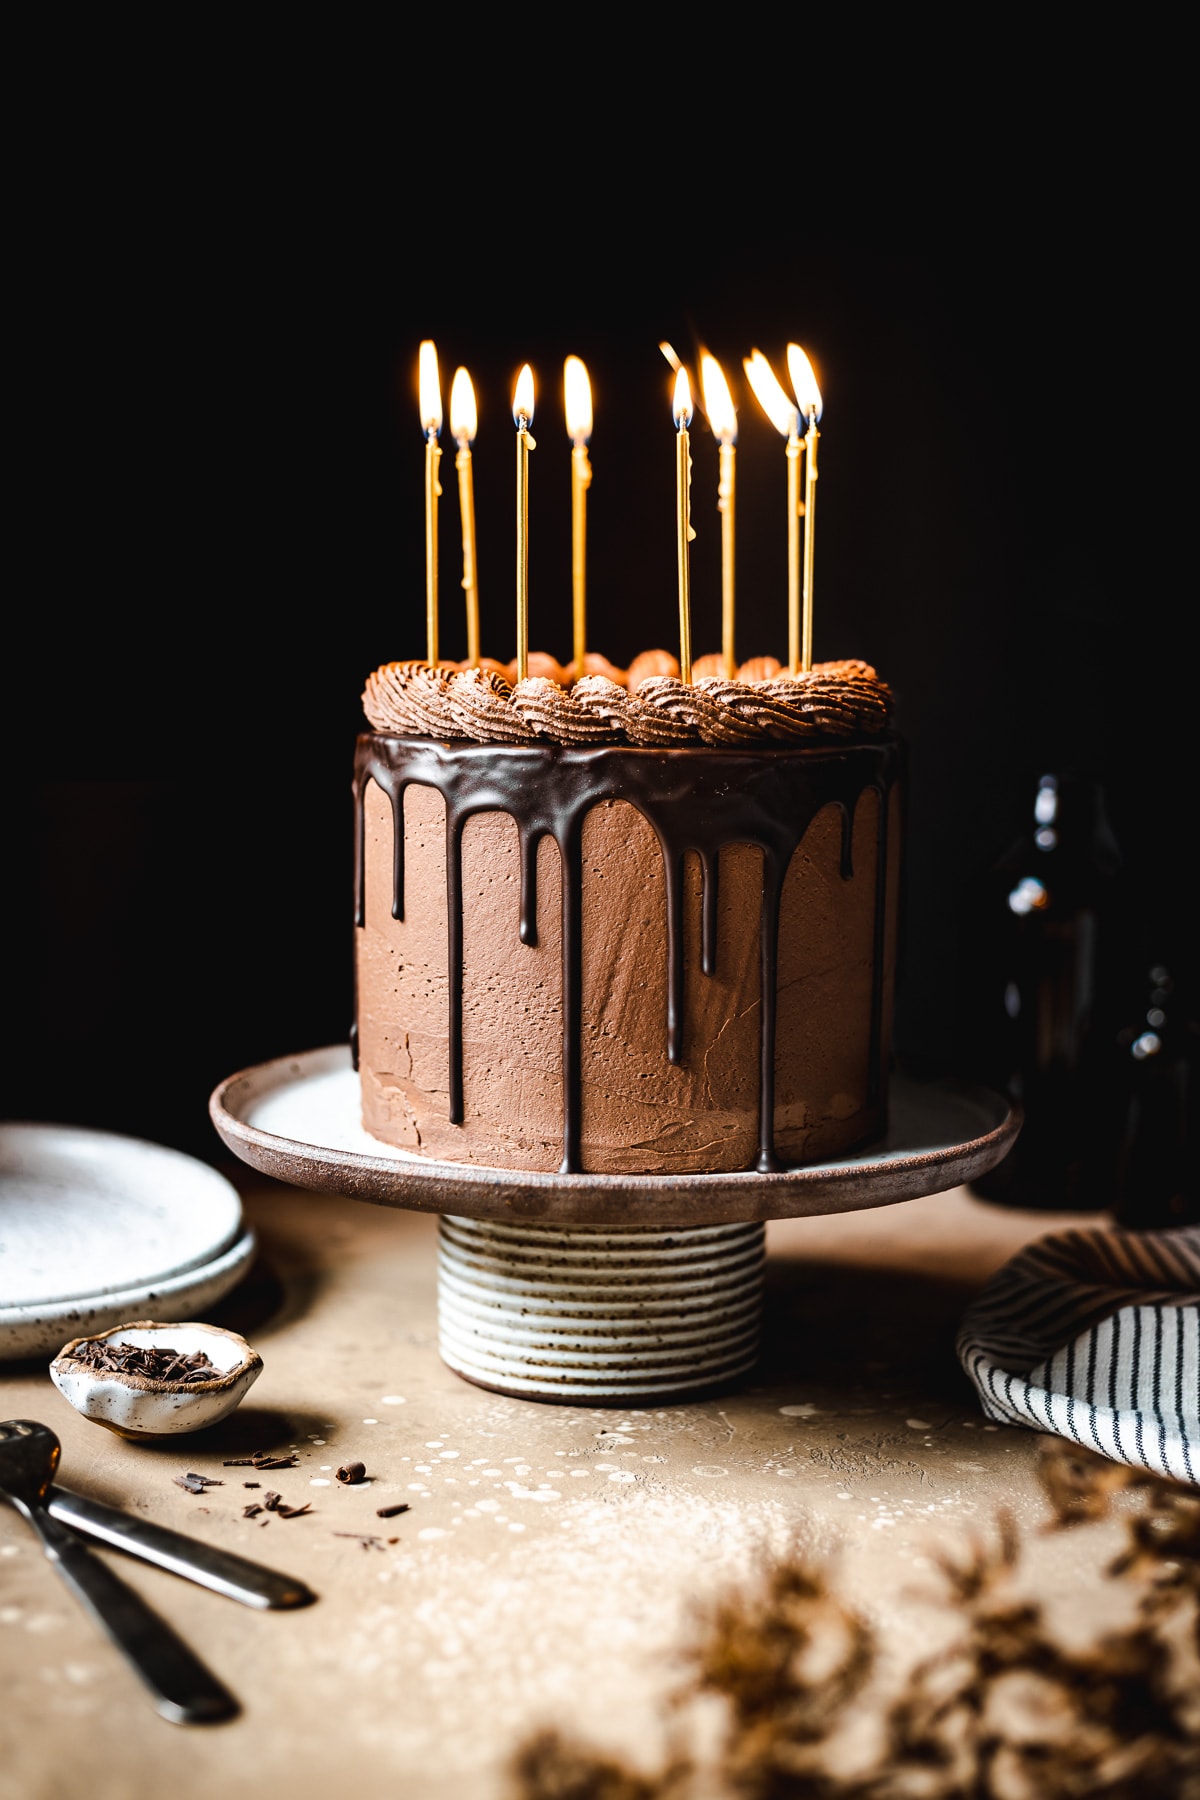
Happy birthday to me! My birthday falls in late November, near Thanksgiving. Rather than combine the festivities with Thanksgiving, we've always carved out a special time to celebrate, complete with special birthday cake requests.
I love baking my own cake (no surprise), so I went all out and made what's probably my ultimate chocolate birthday cake - triple chocolate - with three decadent layers of chocolate cake smothered in a dark chocolate Swiss meringue buttercream.
I drizzled the whole thing in a moody chocolate ganache and gave it a fancy buttercream rope border. The buttercream decoration makes it look like the cake is wearing a chocolate crown, which I have to say, I love.
This cake is an adaptation of a delicious and dependable chocolate cake I've made several times before. This time I used melted butter for a little firmer but still moist and flavorful crumb, and all brown sugar for some extra caramel notes.
I've also made a chocolate olive oil bundt cake version, a chocolate chestnut mousse cake, and a simple chocolate orange cake based off the basic chocolate cake recipe.
If you're a fan of dark chocolate buttercream, I've also made a unique and flavorful marzipan layer cake that has a similarly rich frosting and chocolate ganache drip. (I do like to decorate a cake with chocolate.)
Ingredients
* See recipe card for detailed list of ingredients and quantities.
FOR THE CAKE
Baking soda - Baking soda serves as the leavening agent in this cake, reacting with the acidic sour cream to create air bubbles and lift.
Unsalted butter - For this recipe, I used melted unsalted butter.
Dutch process cocoa powder - This recipe specifically calls for Dutch process cocoa powder. If you don't have any, you can most likely substitute with natural cocoa powder here. There is enough baking soda in this recipe that it should neutralize the added acidity from natural cocoa powder and also provide the needed leavening.
That said, since natural cocoa powder is lighter in color and flavor, you may find that the cake is not as dark in color or deeply chocolate in flavor as you'd like. My preference is to stick with the Dutch process variety for this recipe.
Coffee - I used freshly brewed, hot coffee as the liquid in the cake batter. If you prefer not to use coffee, water, black tea with a smoky profile, such as lapsang souchong, or milk will work as a substitute.
Using a hot liquid is a great trick to help the cocoa powder “bloom”. This helps to dissolve the cocoa powder and release additional flavor.
Sour cream - Sour cream provides the acid needed to activate the baking soda. I use full fat sour cream in my recipes.
FOR THE DARK CHOCOLATE BUTTERCREAM (SWISS MERINGUE)
Unsalted butter - The temperature of the butter is important here. It should be at room temperature, around 65-67 degrees Fahrenheit. You should be able to make a fingerprint in the butter with a bit of resistance. I like to cut my buttercream into tablespoon sized cubes to ensure even temperature.
Espresso powder - A bit of espresso powder dissolved in the vanilla extract helps add depth to the chocolate flavor, but isn't enough to impart a noticeable coffee taste to the buttercream frosting.
Dark chocolate - I use dark chocolate from a bar, chopped finely.
FOR THE CHOCOLATE GANACHE
Dark chocolate - The ganache drip is made with good quality dark chocolate, the kind you’d eat plain out of the wrapper while standing in the pantry.
I try to avoid using chocolate chips, as they often contain fillers intended to prevent them from melting and losing shape. This can impact the texture and consistency of the ganache.
Heavy whipping cream - For the ganache, use heavy cream or heavy whipping cream.
Don't substitute with milk, half and half, or other similar consistency non-dairy milks as they don't have the fat content required to create a thick ganache.
It is possible to create non-dairy ganache substituting equal parts full-fat coconut milk in place of the heavy cream.
Make in advance
The entire cake can be made and fully assembled up to one day in advance.
Cake layers - You can bake the cake layers up to a month in advance.
Wrap each layer individually and freeze until you are ready to make the buttercream and ganache drip.
Chocolate buttercream - You can make the chocolate buttercream in advance and store for up to a week in the refrigerator or up to a month in the freezer.
The buttercream will need to be remixed before spreading on the cake. Bring to room temperature before mixing in a stand mixer with the paddle attachment. See troubleshooting section for notes on reheating previously made buttercream.
Chocolate ganache for cake drip - For an easy drip cake, I prefer to make the ganache directly prior. However, the chocolate ganache can be made in advance and stored in the refrigerator.
To achieve a pourable consistency, gently warm the chocolate ganache over a double boiler or by 15 second bursts in the microwave, stirring frequently.
Storage
This cake can be stored for several days in an airtight container at room temperature. The flavor and texture of a cake made with butter, such as this one, is always best at room temperature.
To freeze, slice the cake into pieces, wrap individually, and place in an airtight container in the freezer for up to 3 months. Bring individual slices to room temperature before eating.
Troubleshooting
Chocolate swiss meringue buttercream troubleshooting
Sometimes when making Swiss meringue buttercream, you encounter challenges. Here are a few common problems, with solutions. If you have a digital thermometer, the temperature of the final buttercream product you're aiming for is about 72 degrees Fahrenheit (22 Celsius).
- Buttercream is soupy or liquidy. Does your buttercream become runny after adding the butter to the meringue?
- Your mixture is too warm. It's possible either the meringue wasn't cooled enough, or the butter was too soft.
- If it doesn't thicken after continuing to beat for a few minutes at medium-low speed, remove the bowl from the mixer and place it in the refrigerator for 10 to 15 minutes.
- This should chill the ingredients and bowl enough that it will thicken when you try again.
- Buttercream is broken or curdled. If your buttercream has curdled and looks lumpy, it's most likely too cold.
- Perhaps you cooled the Swiss meringue too long before adding the butter, or the butter was too cold. Maybe you made the Swiss meringue buttercream in advance and you're mixing it again after it's been in the refrigerator.
- Place the entire bowl of buttercream over a water bath for several minutes, until the edges begin to soften and melt. Place back onto stand mixer and beat on low speed using the paddle attachment.
- Alternatively, you can remove about a half cup of buttercream and heat it for 10 seconds in the microwave, until it is beginning to melt and get runny. Add it back to the bowl and beat.
- This should warm your buttercream enough. Repeat if needed.
Chocolate drip troubleshooting
Your ganache should be warm to the touch, but not hot. Chilling the buttercream coated cake for 30 minutes prior to adding the drip will help control the drips.
Always test the consistency of your chocolate drip. Do a practice run with a test chocolate drizzle on an upside down quart mason jar or similar container.
If it doesn't drip, it's too cool or too thick. If it runs too quickly, it might be too hot or contain too much cream. Check the troubleshooting suggestions below.
- Ganache is too thick - If your ganache is too thick, it will not pour smoothly and will have an unpleasantly rustic consistency. It might be too cool.
- Gently warm the chocolate ganache over a double boiler or by 15 second increments in the microwave to return it to a just warm enough, pourable consistency.
- If this does not work, add 1 Tablespoon (15 mL) additional heavy cream to slightly thin it out.
- Ganache is too runny - Your ganache might be too hot. If too hot, it will run down the sides too quickly and puddle at the bottom of your cake. It could also melt the buttercream layer underneath.
- Let it cool at room temperature for 5 minutes, and then try another test. If it's still too runny, it's possible you added too much cream.
- In that case, gradually add a small amount of finely chopped chocolate (start with 1 Tablespoon) and stir until melted. Gently warm per instructions above if needed.
- Ganache is broken - If your ganache looks oily, separated, or curdled, it has most likely split or seized. This happens when ganache gets too hot and the fat and chocolate separate.
- To fix a broken ganache, heat a few tablespoons of just warmed milk (low fat is better) and add one tablespoon at a time to the broken ganache, stirring slowly and gently.
Love this recipe? Please leave a comment and star rating. ★★★★★ Your feedback, suggestions, and adaptations are very helpful to other bakers!
📖 Recipe
Triple Chocolate Cake
INGREDIENTS
Chocolate Cake
- 240 grams (2 cups) all purpose flour
- 1 teaspoon baking soda
- 1 teaspoon kosher salt
- 300 grams (1½ cups) brown sugar
- 226 grams (1 cup, 8 ounces) unsalted butter
- 35 grams (⅓ cup) cocoa powder, Dutch process, sifted
- 250 mL (1 cup, 8 ounces) coffee, hot (OK to substitute black tea, milk or water)
- 2 large eggs
- 120 grams (½ cup) sour cream, full fat
- 1½ teaspoons vanilla extract
Dark Chocolate Buttercream (Swiss meringue)
- 180 grams egg whites , (from approximately 6 eggs)
- 300 grams (1½ cups) granulated sugar
- 340 grams (12 ounces, 3 sticks) unsalted butter, room temperature, cubed
- 1 teaspoon espresso powder
- 1 teaspoon vanilla extract
- 300 grams (10.5 ounces, about 1⅔ cups) dark chocolate, melted
- 1 teaspoon kosher salt
Chocolate Ganache Drip
- 108 mL (¼ cup + 3 Tablespoons) heavy cream
- 57 grams (2 ounces, ⅓ cup) dark chocolate, finely chopped
INSTRUCTIONS
Chocolate Cake
- Preheat oven to 350° F (177° C, Gas Mark 4). Grease three 6” cake pans and cut circles of parchment paper to place in the bottom of each pan.
- In a large mixing bowl, whisk together flour, baking soda, salt and brown sugar. Set aside.240 grams (2 cups) all purpose flour, 1 teaspoon baking soda, 1 teaspoon kosher salt, 300 grams (1½ cups) brown sugar
- In a medium microwave safe bowl, add butter and cocoa powder. Heat in microwave until butter is fully melted, approximately 60 - 90 seconds. Stir well.226 grams (1 cup, 8 ounces) unsalted butter, 35 grams (⅓ cup) cocoa powder
- Add hot coffee and whisk to combine. Add eggs one at a time, whisking well between additions to ensure they are fully incorporated.250 mL (1 cup, 8 ounces) coffee, 2 large eggs
- Add sour cream and vanilla, and whisk until completely blended and batter is smooth. Add dry ingredients and whisk again. Scrape the bowl with a spatula to ensure no flour pockets remain.120 grams (½ cup) sour cream, 1½ teaspoons vanilla extract
- Divide the cake batter evenly between the three prepared pans. Bake in oven for 30-32 minutes, until a toothpick inserted in the middle comes out clean and the cake edges are beginning to pull away from the sides of the pan. I use my kitchen scale to ensure that the batter in the pans is similar in weight.
- Cool in pans for 10 minutes and then flip onto a metal cooling rack and remove parchment paper. Once fully cooled, use a long serrated knife or a cake leveler to level the tops of the cake layers.
Dark Chocolate Buttercream (Swiss Meringue)
- Place the egg whites and granulated sugar into the top of a double boiler over medium heat. Stirring constantly, warm to a temperature of 160 degrees Fahrenheit, or until sugar has dissolved completely. If you rub the mixture between your fingers, you should not feel any graininess.180 grams egg whites, 300 grams (1½ cups) granulated sugar
- Remove pot from stove and strain mixture through a fine metal sieve into the bowl of a stand mixer fitted with the whisk attachment. Beat egg white mixture on high speed until glossy, stiff, pillowy meringue peaks form and bowl is cool to the touch.This will most likely take 5-10 minutes with a stand mixer.
- Swap out the whisk attachment for the paddle on your stand mixer. On medium speed, begin adding the butter a few squares at a time, beating until fully incorporated. Continue with this process until all butter has been added and buttercream is thick, creamy, and silky smooth. If the buttercream seems to curdle or turn soupy, keep beating! This is common with ingredients of different temperatures and should right itself if you’re patient. See post for troubleshooting if needed.340 grams (12 ounces, 3 sticks) unsalted butter
- Dissolve the espresso powder into the vanilla extract. Add to buttercream along with slightly cooled melted chocolate and kosher salt. Mix on low until completely blended together. Scrape the bowl several times to make sure the chocolate is entirely incorporated into the buttercream.1 teaspoon vanilla extract, 1 teaspoon espresso powder, 300 grams (10.5 ounces, about 1⅔ cups) dark chocolate, 1 teaspoon kosher salt
Chocolate Ganache Drip
- In a two quart saucepan, heat cream until almost simmering. Remove from heat and add finely chopped dark chocolate. Let sit for 1 minute, and then gently and slowly whisk until all chocolate has melted and no lumps remain.108 mL (¼ cup + 3 Tablespoons) heavy cream, 57 grams (2 ounces, ⅓ cup) dark chocolate
Cake Assembly
- Place the first of the three cake layers onto a serving platter. With an offset spatula, spread a generous amount of dark chocolate buttercream onto the entire layer. Cover with the 2nd layer of cake, cut side down. Press down gently. Check for level with each addition. Add another layer of chocolate buttercream. Cover with the 3rd layer of cake, cut side down.
- Using an offset spatula and a bench scraper, cover top and sides of cake with more buttercream frosting. If you have a cake turntable or a lazy suzan you can place the platter on, it will make this process much easier. Place a damp rag under the platter so it doesn't slide when turned.
- Refrigerate frosted cake for at least 30 minutes before adding chocolate ganache drip. Ganache should be warm and have a pourable, smooth and fluid consistency. Test the consistency of your chocolate ganache by doing a practice drip on an upside down quart mason jar or similar container.
- To add the drip, pour enough chocolate ganache onto the cake to cover the top. Using a mini offset spatula, gently push a bit of the chocolate over the edge in a sweeping motion, following the curve of the cake. This should create a waterfall effect that will push the chocolate over the edge into drips. If needed, add additional chocolate where needed to create extra drip Note that further pours will most likely create additional ganache layers - it won't melt into the first drip layer.
- Chill cake for an additional 30 minutes to set drip before adding buttercream rope decoration.
- Place the remaining chocolate buttercream in a 16 inch piping bag fitted with an open star tip (I used a 4B piping tip). Hold the piping bag at a 45 degree angle to the top of the cake. Use one hand to squeeze the piping bag, and the other hand to slowly turn the cake turntable away from you.
- Start your rope on the cake surface. Applying gentle and constant pressure, move your hand in small circles as your other hand slowly turns the cake turntable. Continue until you have returned to the starting point. Watch a video of a piped rope border.
NOTES
- When pouring the cake batter into the 3 pans, I use my kitchen scale to ensure that the batter in the pans is similar in weight.
- When you finish heating the egg white-sugar mixture for the Swiss meringue, rub the mixture between your fingers (once cool enough to do so safely!) You should not feel any graininess.
- If the Swiss meringue buttercream curdles or turns soupy when you add the butter, keep beating! This is common with ingredients of different temperatures and should right itself if you’re patient. See post for troubleshooting details if needed.
- Using a cake turntable (or a lazy susan) makes the process of frosting and decorating the cake much easier.
- Place a damp rag on the turntable under your serving platter so it doesn't slip when turned.
- Here is a video demonstrating the rope buttercream border.
- This cake can be stored for several days in an airtight container at room temperature.
- To freeze, slice the cake into pieces, wrap individually, and place in an airtight container in the freezer for up to 3 months. Bring individual slices to room temperature before eating.
- The flavor and texture of a cake made with butter such as this one is always best at room temperature.

Courtney says
I made this cake for a last minute dessert auction but I got impatient and tried to remove the cake from the pans when they were too hot. Unfortunately, I lost one of my layers because it fell apart. Naturally, I had to make some deconstructed cake jars with it and this recipe is THE BEST recipe I've ever made for chocolate cake. And the frosting? OMGOSH. Seriously so good.